How to Draw a Key
Welcome to a fresh tutorial where I’ll be showing you how to draw a key, an object steeped in symbolism and daily necessity. This lesson simplifies the process into easy steps, turning a complex subject into a manageable creation. You’ll learn to piece together simple forms that collectively open up the potential of your drawing skills.


How to Draw a Key: Basic Information
Unlocking the secrets of simple forms and lines, today, I bring you a guide on how to draw a key. This tutorial is designed to transform a basic shape into something much more, a representation of security and mystery. With each step, you’ll see a common object become a little piece of art, crafted by your own hand.
Creating this lesson was an exercise in breaking down complexities into something you can easily follow. The key you’re learning to draw is a blend of straight lines and precise curves, an amalgamation that results in an everyday object we often overlook. My method strips the process down to the essentials, making it approachable for anyone.
By the time we reach the final step to draw a key, you’ll have not just a drawing but a symbol. This isn’t merely about replication; it’s about understanding shapes and their relationships. I crafted this tutorial to open not just locks, but also the doors to your perception of what you can achieve with pencil and paper.
Key Drawing Tutorial
Materials
- Pencil
- Paper
- Eraser
- Coloring supplies
Time needed: 25 minutes
How to Draw a Key
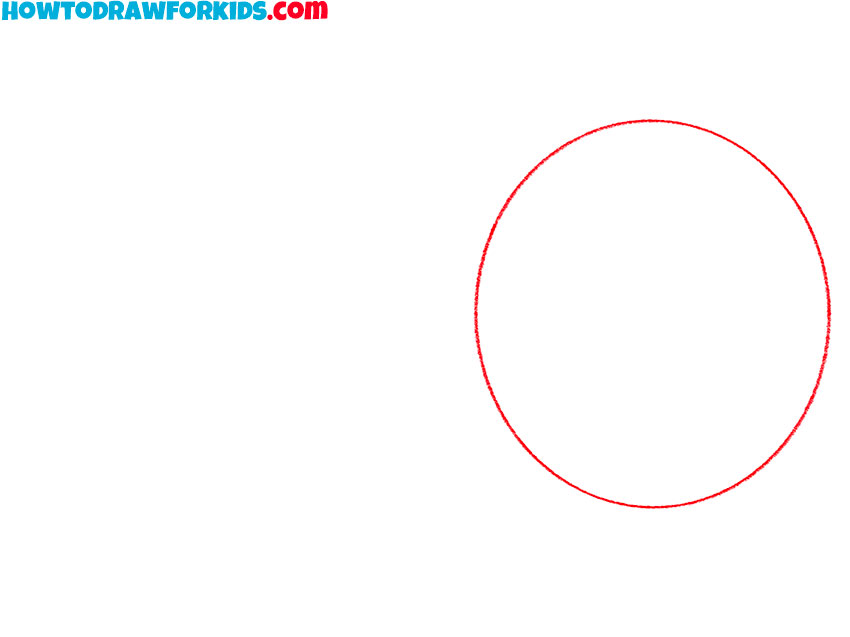
- Start drawing the key.
To complete this simple step, you should draw one oval, as shown in the picture.
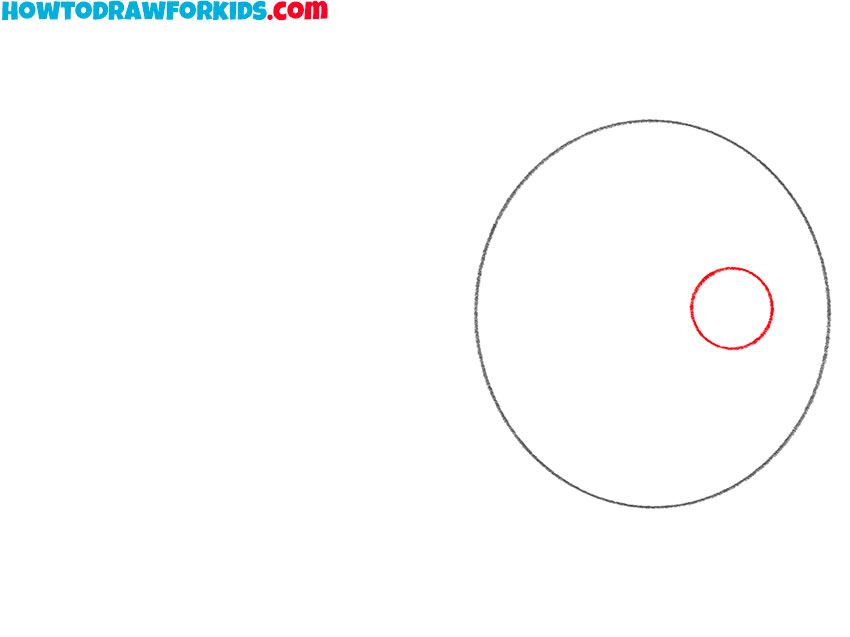
- Depict the cut hole.
Inside the previously drawn oval, add one circle on the right side.
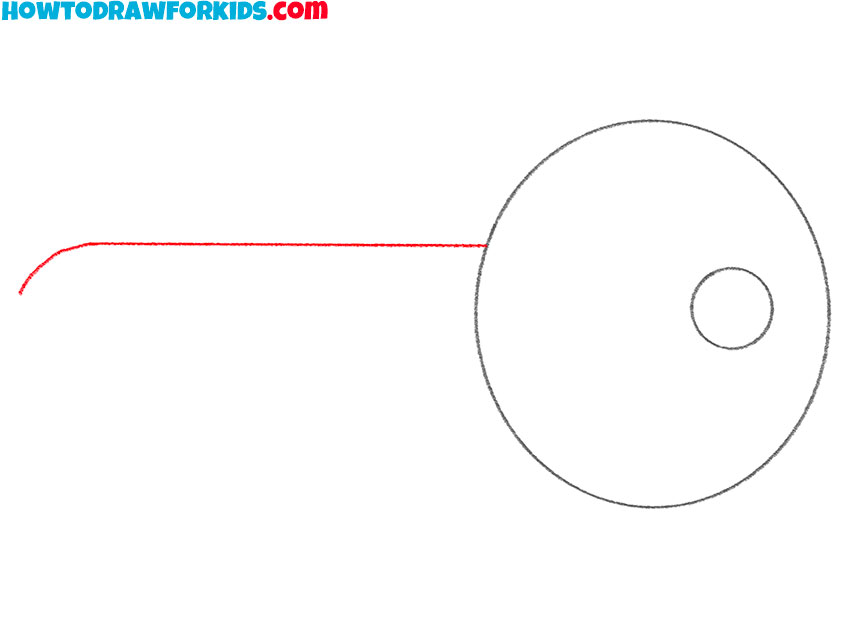
- Start drawing the main part of the key.
From the left side of the drawn elements, draw a straight line with a rounded end.
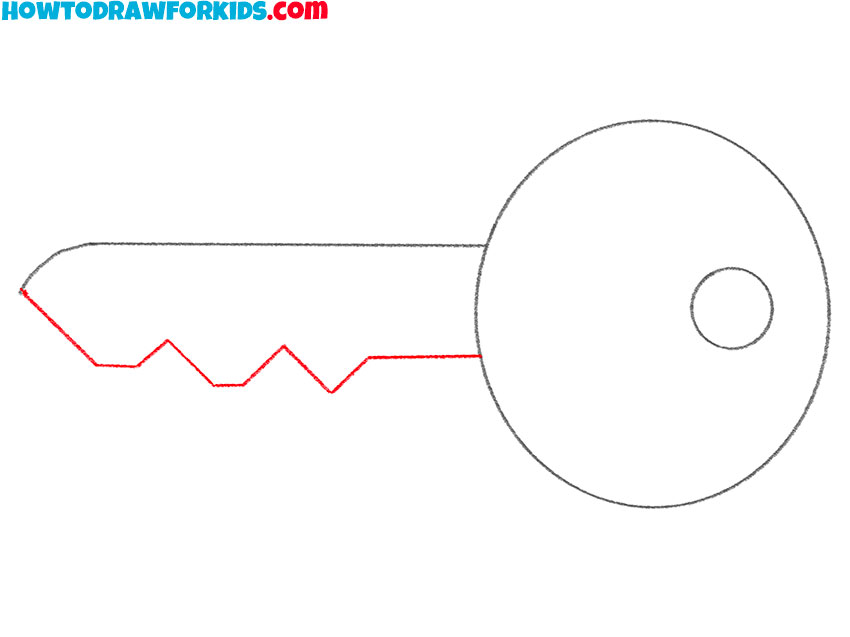
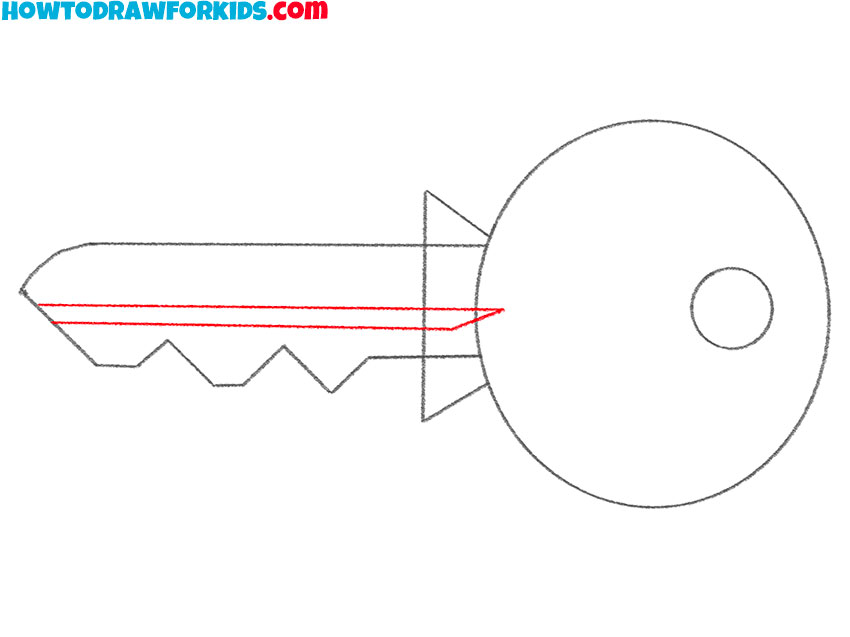
- Draw the key thread line.
Below the drawn line, add many straight lines of varying lengths.
- Add another element.
Near the base of the key shaft, draw a shape that looks like a trapezoid without one base.
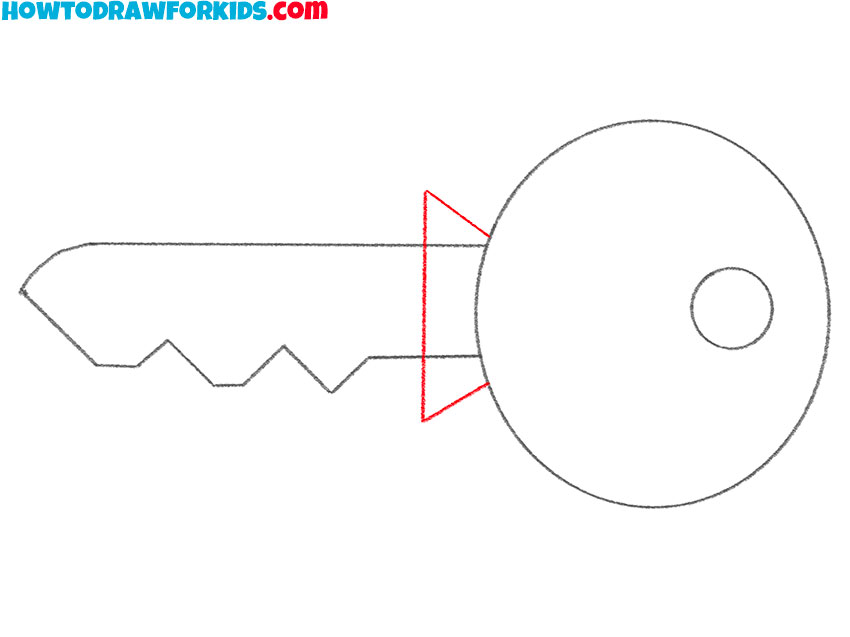
- Finish drawing the key.
Add an element in the form of straight lines of different lengths along the shaft of the key.
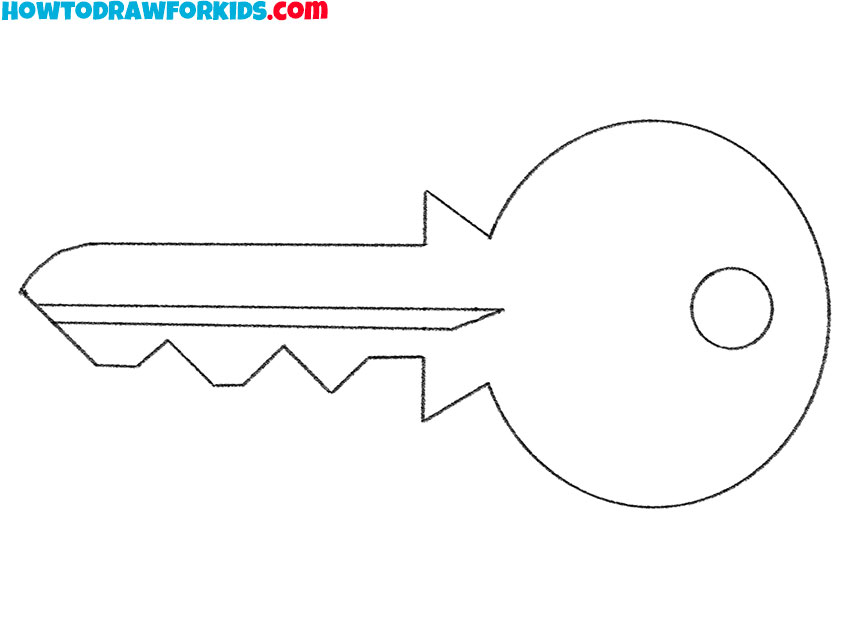
- Correct inaccuracies.
Use the eraser to remove all unnecessary lines.
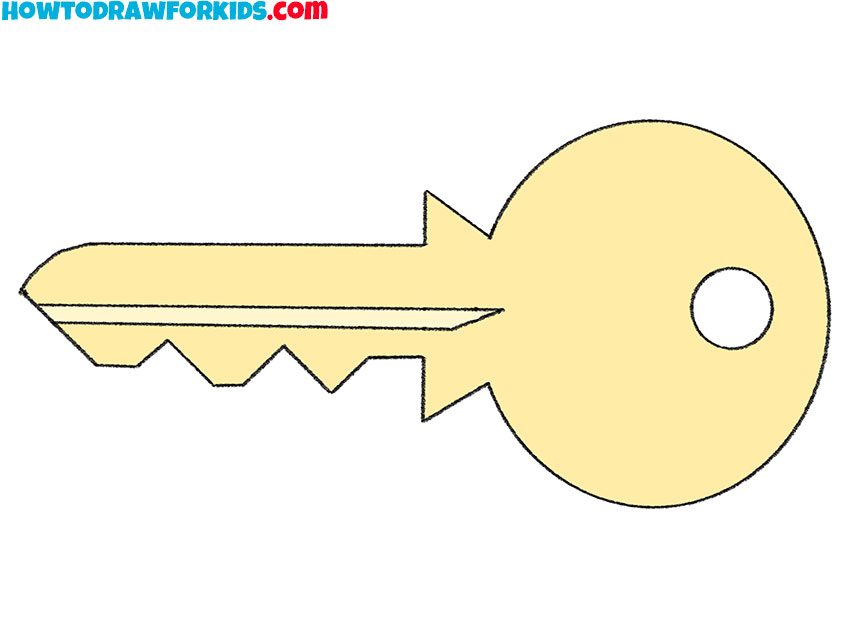
- Color the drawing.
To color the key, use yellow and beige.


Additional Content
To further support your journey in art, I’ve crafted a complimentary PDF file tailored for this key drawing lesson. It’s a succinct version, perfect for offline use, allowing you to practice anytime, anywhere. This isn’t just a reiteration of the lesson but a standalone tool designed to enrich your learning experience.
Within the pages of this PDF, you’ll discover additional materials focused on advancing your drawing abilities. After you’ve navigated through the main tutorial, these resources will challenge you to refine your technique, offering exercises to build on the foundation you’ve established. It’s a continuation of learning, meant to push your skills even further.
Consider this PDF an artistic ally, one that’s available with just a click. It’s a quiet companion for those moments of inspiration when you’re away from the screen, yet yearn to create. Use it to delve deeper into the art of drawing, ensuring that your progress as an artist is constant, even when your access to the digital world is not.
Alternative Drawing Technique
In pursuit of perfecting your craft, I’ve devised yet another method for drawing a key, even more streamlined than before. This new approach distills the essence of the key to its purest form, stripping away complexity and honing in on the bare essentials. It’s a practice in minimalism, designed to enhance your ability to capture the essence with fewer strokes.
This additional technique is a testament to the power of simplicity in art. It challenges you to focus on the absolute fundamentals, encouraging a deeper understanding of form and function. With this method, even the most intricate details become approachable, allowing for a more intuitive drawing process that sharpens your skills with each practice.
Embrace this simplified approach as an exercise in artistic efficiency. Let it serve as a reminder that sometimes less is more, and through restraint, you can uncover a greater sense of clarity in your work. This alternative technique is not just about drawing a key; it’s about refining your vision and executing with precision, which is essential for any artist.
How to Draw a Key for Kindergarten
This alternative method is so simple, consisting of just four steps, it’s perfect for kindergarten friends. First, we draw a circle in the middle of your paper – think of it as a cookie that’s missing a tiny bite, which is the smaller circle inside.
Now, we draw a straight line coming out from our cookie – that’s the shaft of the key. Then we add a neat triangle at the end; it’s like the pointy beak of a bird. This makes the shape of our key, and it’s starting to look like the one you might see in your house!
For the last part, we’re going to give our key some teeth – not for biting but for turning the lock! We draw some zigzags on the bottom edge of our bird’s beak, and there you have it, a perfect key! Color it in any shade you like; it could be a golden key to a treasure chest or a silver one to a secret garden. What door will your key open?

The Master Key: Tips to Elevate Your Drawing Skills
As our drawing session comes to a close, it’s time to add some polish to those keys we’ve crafted. Here’s a selection of tips and tricks to elevate your drawings, each one designed to enhance the skills we’ve practiced today.
- Circle Mastery: For a perfect key head, trace around coins or bottle caps. It’s a great way to practice your circle skills.
- Line Perfection: A ruler isn’t just for measuring; it’s your best friend for drawing straight lines. Use it to guide the shaft of your key.
- Zigzag Uniformity: Consistent zigzags make the key’s teeth look neat. Draw them in a rhythm – up, down, up, down – like the beat of a song.
- Stay Inside the Lines: When adding color, moving slowly helps keep your artwork tidy. Treat the edges like a fence you don’t want to cross.
- Bold Colors: Who says a key can’t be blue, pink, or even have polka dots? Let your imagination run wild with colors.
- Shadows and Highlights: Add a touch of grey on one side to make your key pop out from the page. It’s like adding magic to make it real.
- Bow Designs: Draw tiny stars, hearts, or any favorite shape on the key’s bow for a personal touch.
- Practice Makes Perfect: First, sketch lightly until you’re happy with the shape, then go over the lines more firmly to finalize your drawing.
Wrapping up, these tips are the key to turning good drawings into great ones. They’re the small turns you make to bring your artwork to life, opening up new avenues for your creativity. So keep practicing, using these tricks to sharpen your art, and unlock new levels of your drawing talent.
Conclusion
Now that we’ve sketched our key, why stop there? My site is brimming with drawing adventures – from the prehistoric fierceness of a megalodon to the snap-together fun of drawing LEGO pieces. Each lesson unfolds a new scene, a new skill, a new delight for your artistic senses.
For a continuous stream of creativity, make sure to follow my social media. You’ll get the latest scoop on new content, ensuring you won’t miss a single stroke. And if your mind is buzzing with ideas for our next drawing journey, drop a comment below. Your insights are the very key to the treasure trove of our upcoming lessons.


