How to Draw a Beaker
I have prepared a lesson for you in which you will learn how to draw a beaker. This tutorial is very helpful and simple.
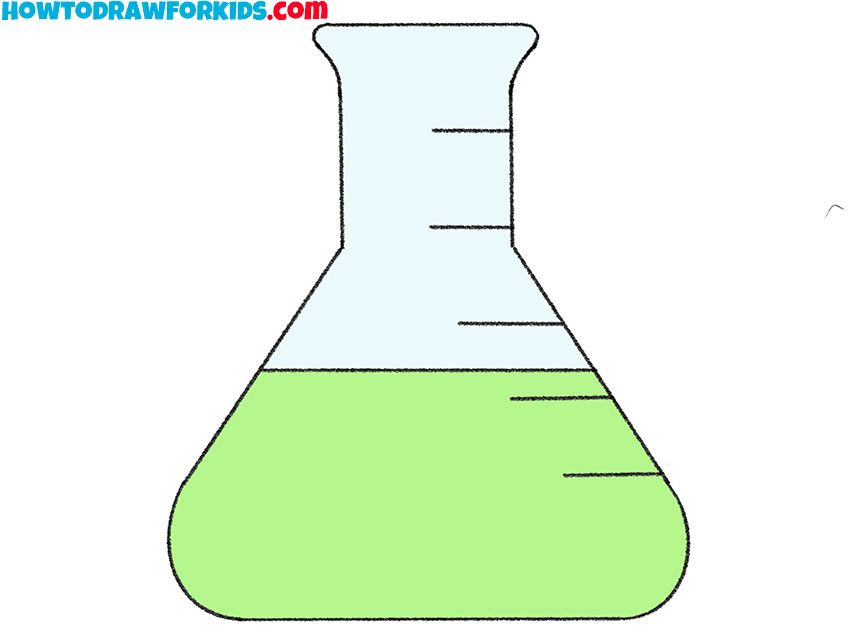
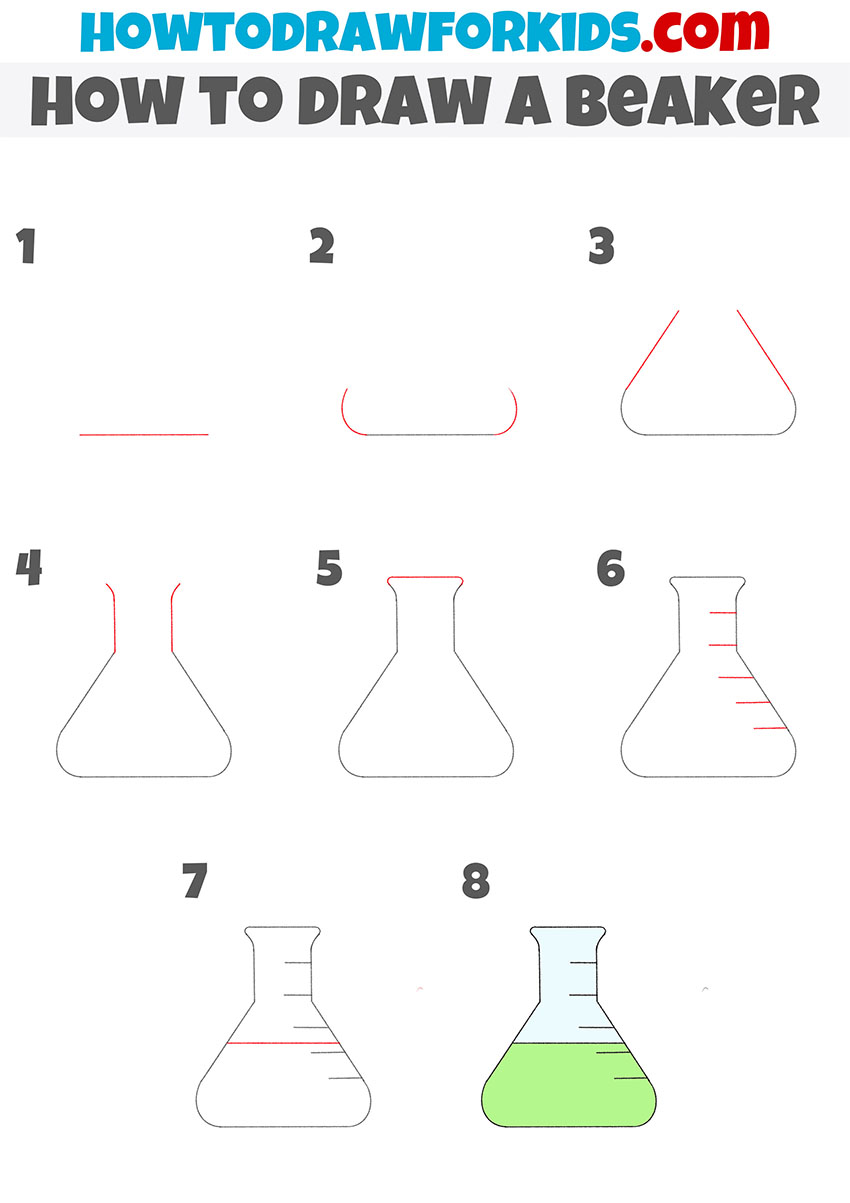
In this new drawing lesson I will show you how to draw a beaker. This step-by-step guide is designed specifically for beginners, so it contains simple lines and a minimum of elements.
With the help of a simple instruction, you will learn how to depict a beaker step by step. This is a great object for drawing, and now you will once again train your creative abilities.
The beaker is a pharmacy or laboratory vessel that is designed to measure liquid. The figure shows a beaker with several divisions, there is liquid inside.
Materials
- Pencil
- Paper
- Eraser
- Coloring supplies
Time needed: 20 minutes
How to Draw a Beaker
- Add the bottom.
Sketch out a straight horizontal line.

- Depict the bottom sides.
Continue drawing the bottom of the beaker and add smooth rounded lines on each side.

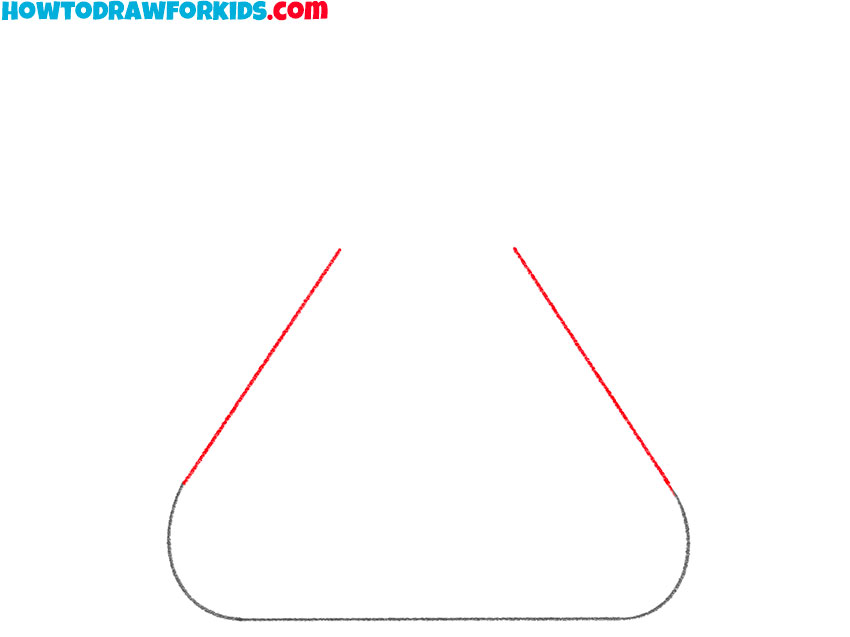
- Draw the sides.
On each side, draw straight lines that are located diagonally.
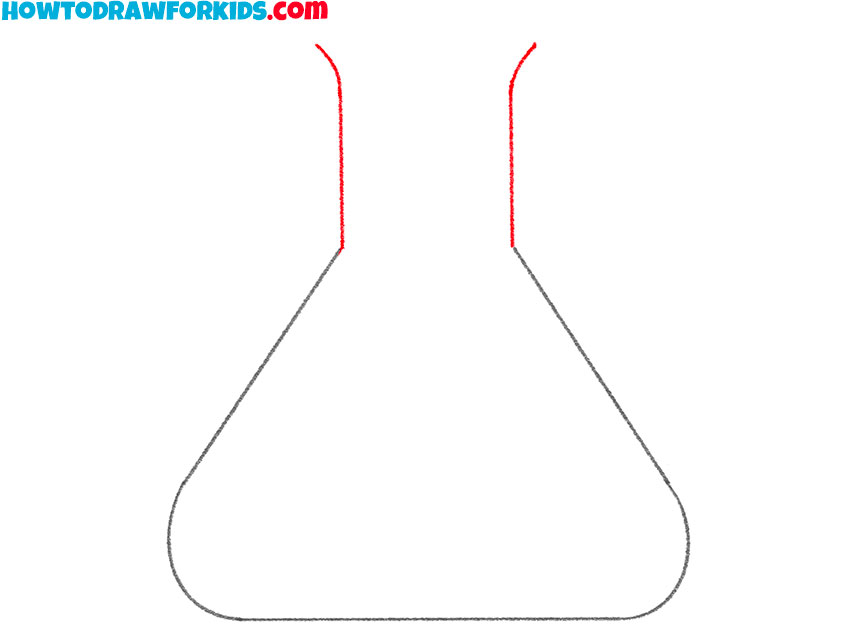
- Sketch out the narrow neck.
Using two symmetrical lines, draw the narrowest part of the beaker.
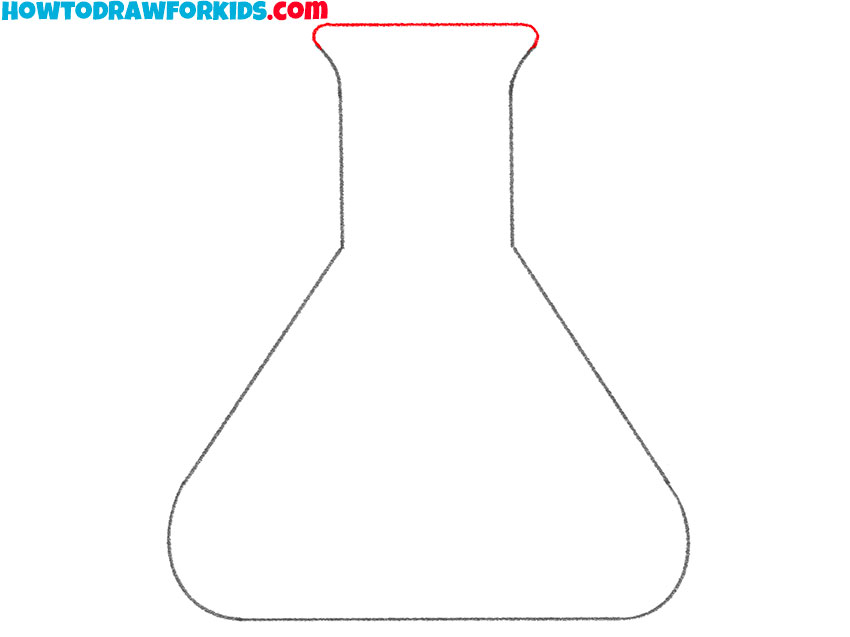
- Draw the top.
Depict a horizontal line at the top and rounded lines on the sides to make a closed outline.
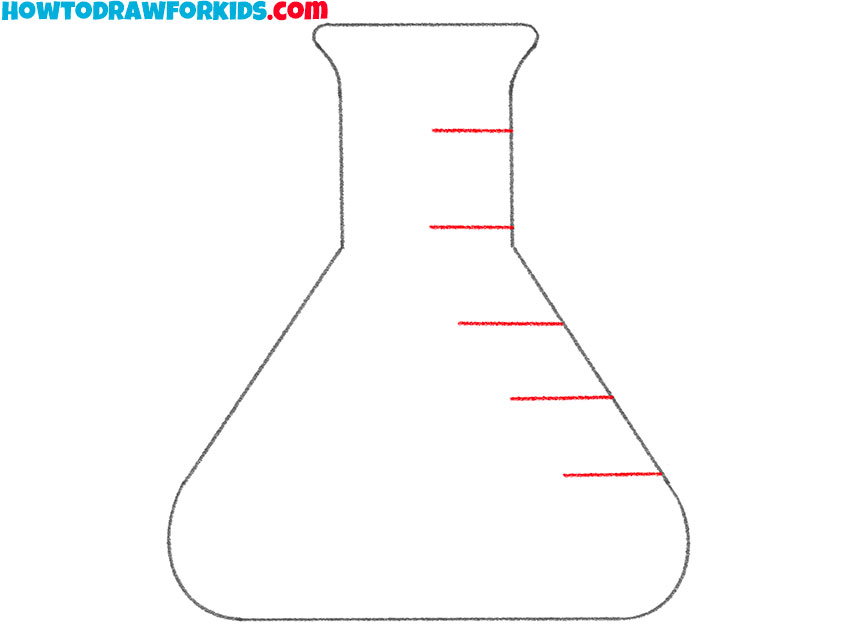
- Add the divisions.
On the right side, draw a few short horizontal lines.
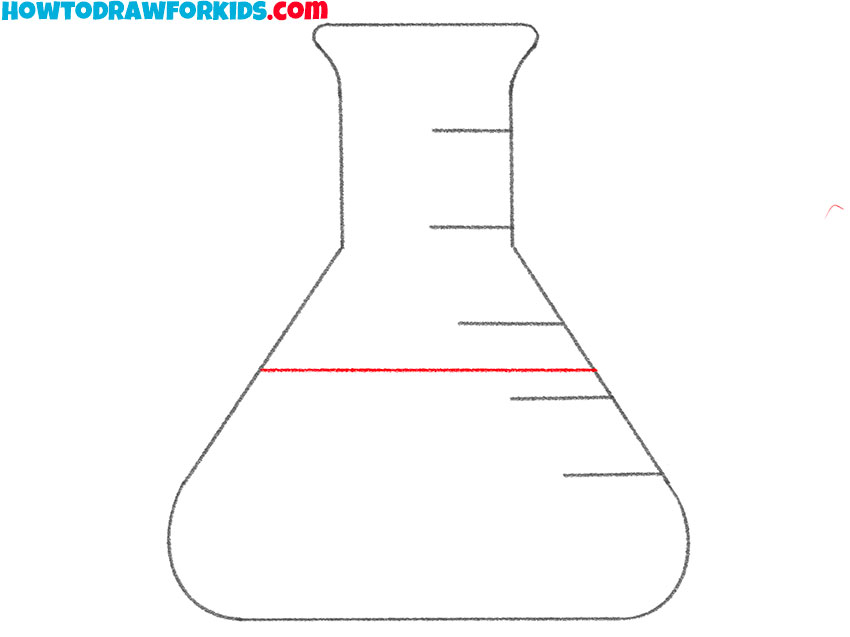
- Note the fluid level.
Draw a straight horizontal line in the middle of the beaker.
- Color the drawing.
Color the beaker light blue and color the liquid light green.

Great! Now you have completed all the steps in this instruction to learn how to draw a beaker. Share your impressions in the comments and suggest ideas for new drawing lessons. Download a PDF file with a short version of this lesson. Don’t forget to subscribe to our social networks.



It hard