Lesson 2: Line and Hatching
Every drawing begins with a line. Learning to control that line is the first step toward mastering the fundamentals of art, so let’s look at what line and hatching are.
What is Line
A line is one of the most basic tools in drawing. Line is literally what the drawing is made of, and what can show the shape of an object, the way it moves, or even how it feels. That’s why line is one of the first things you need to understand if you want to draw well.
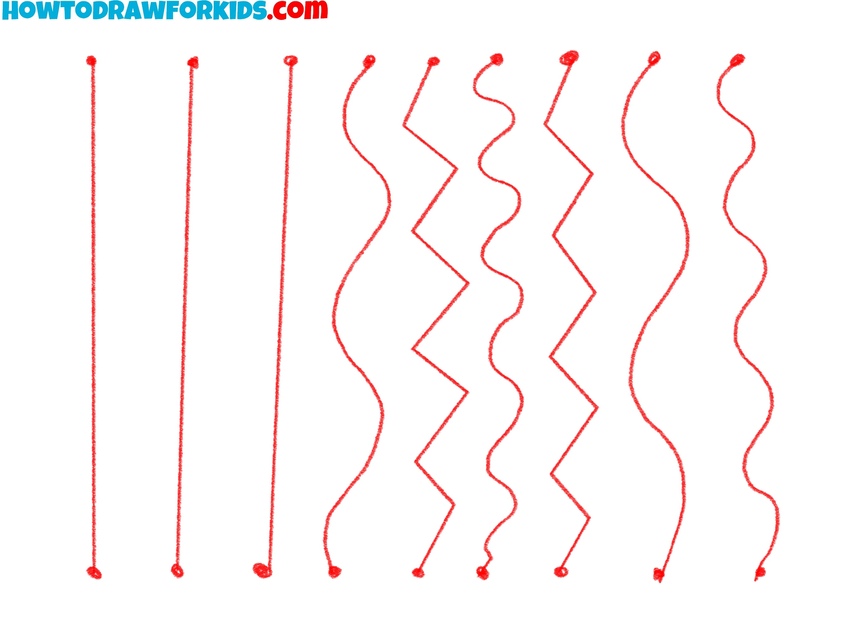
There are many types of lines: straight, curved, broken, zigzag, thick, thin, long, or short. You can draw them slowly or quickly, with different pressure. These choices affect how the line looks and what it tells the viewer. For example, fast and sharp lines can look energetic or angry. Slow, light lines might look calm or soft.
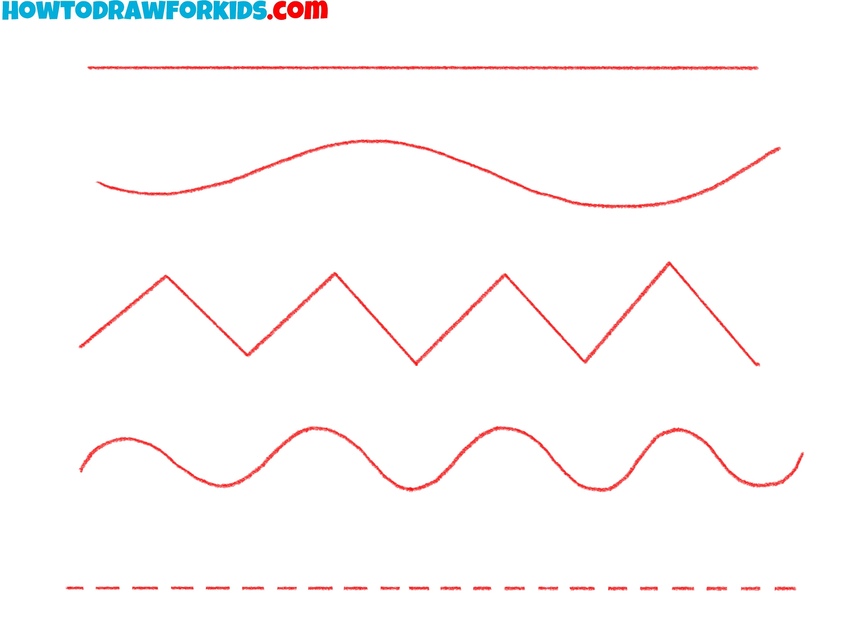
In classical drawing training, students spend a lot of time learning to control their line. This includes practicing straight lines, curves, spirals, and crossovers. Even exercises like drawing parallel lines or evenly spaced strokes are important. They help you control your hand and understand how to create a complete drawing.
One of the first skills you need to develop when learning to draw is how to draw lines confidently by hand. Artists always draw with a free hand, not with rulers or tools. This gives the drawing a natural and lively feel. That’s why it’s important to learn how to draw both straight and curved lines in different directions and lengths, just by moving your hand.

A good straight line is drawn with a fast, controlled stroke. The movement should be sharp and elastic, as if the pencil is stretched like a tight string. Curved lines are drawn the same way, just with a different motion. If the line is too long to draw in one stroke, you can break it into smaller parts and connect them carefully. To master this, you should practice drawing from the shoulder, not just the fingers or wrist.
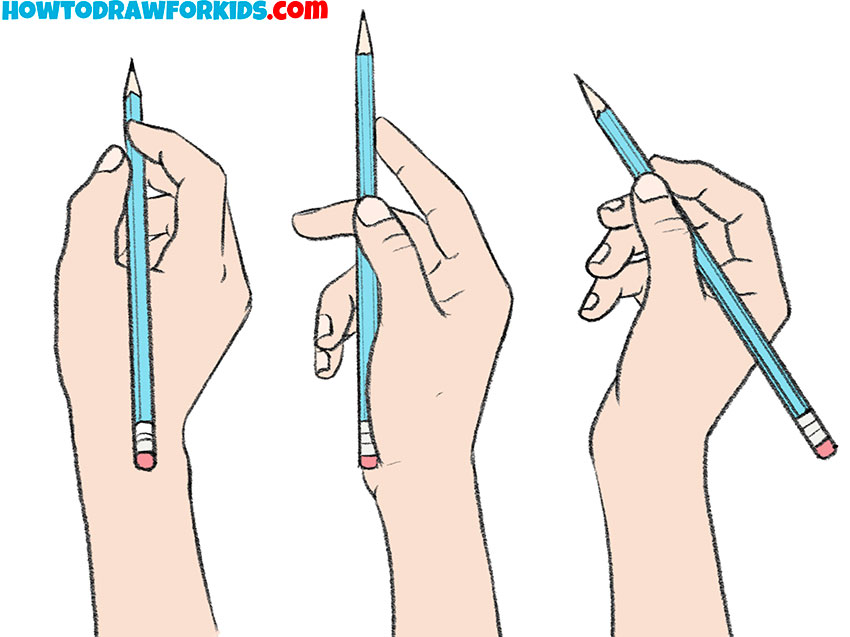
It’s also important to hold the pencil correctly. The shorter the line you want to draw, the closer you should hold the pencil to the tip. For longer lines, it’s better to hold the pencil farther back to allow for a freer, more fluid motion. This gives you more freedom and helps create longer and smoother strokes.
Understanding line is the first step in drawing, but it’s also something you’ll keep exploring over time. The better you understand what a line can do, the more control you’ll have over your drawings and the more confident your sketches will look.
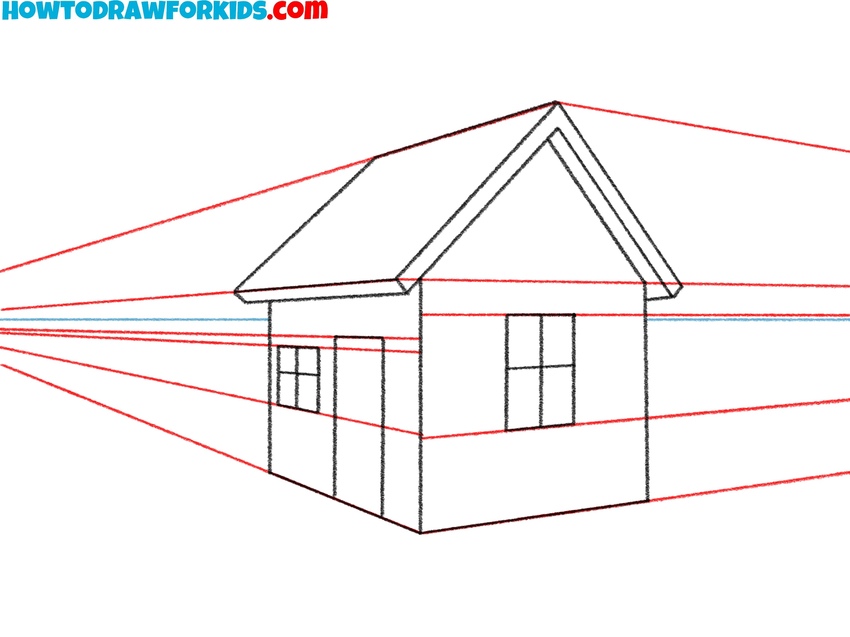
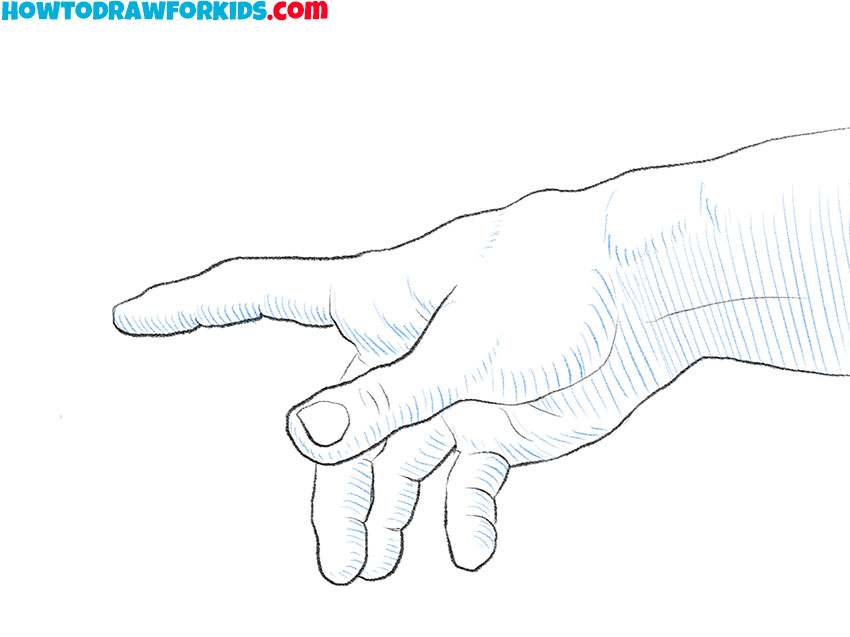
Lines can help show space and volume. Even without shading, a well-placed line can convey whether something is close to the viewer or farther away. This effect depends on the line’s thickness, sharpness, and contrast. A thick or dark line often appears closer, while a thin or faint line seems more distant. These effects are based on basic rules of linear and atmospheric perspective.

Lines also separate the object from the background. A soft edge can make a form look like it’s receding into space, while a sharp edge brings it forward. These changes in line quality help guide the viewer’s eye and give a sense of three-dimensional space on a flat surface.
Understanding these properties takes practice. Even if two lines are the same thickness and tone, they can feel different depending on how they interact with nearby shapes. Learning to control line strength and placement will make your drawings clearer and more convincing.
What is Hatching

Hatching is another highly important technique in drawing. It helps to convey the volume in the two-dimensional space of a sheet of paper. Hatching can consist not only of straight lines, but also of rounded, dotted or wavy lines.
Hatching is not just shading. Each line should follow the shape of the object. This helps the drawing look more three-dimensional. The lines also show the direction and surface of the form – whether it is flat, round, or curved.
The distance between the lines creates tone. If the lines are close together, the area looks darker. If the lines are far apart, it looks lighter. You can also add more layers of hatching, crossing the lines at different angles. This gives more tone, but the drawing should still stay clean and readable.
The way you press on the pencil also matters. A light touch makes thin, soft lines. More pressure gives darker, stronger strokes. It’s important to control how each line begins and ends. The lines should not look messy or uncontrolled.
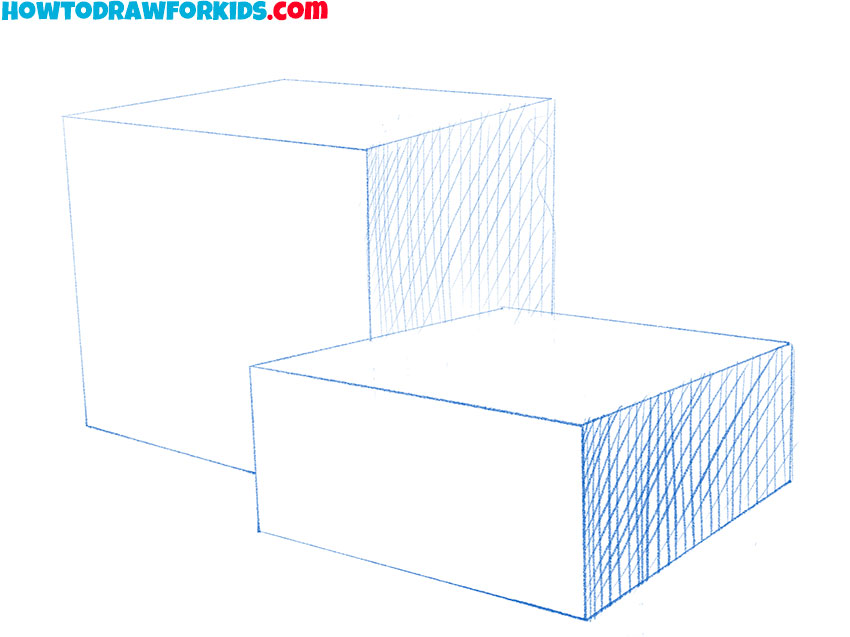
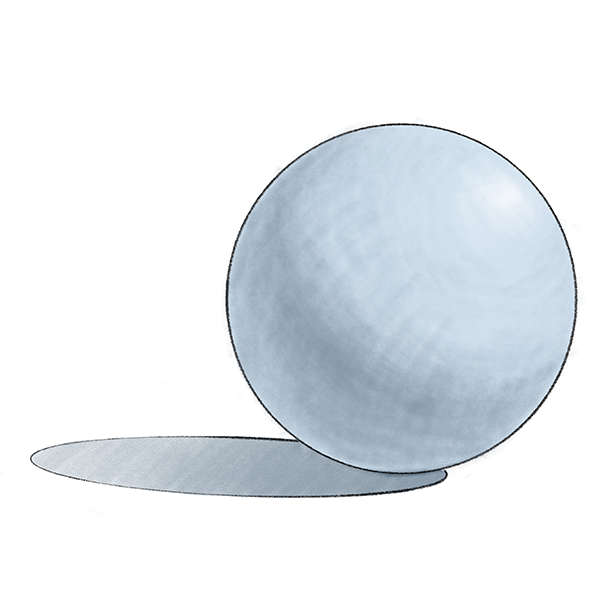
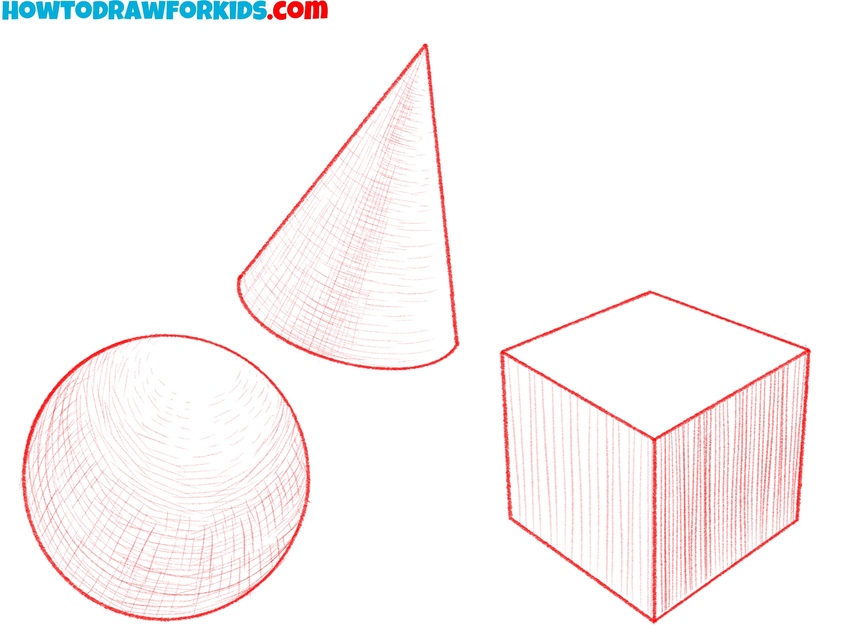
Hatching should always match the form. On a round shape, lines should curve with it. On flat planes, the lines can stay straight. In drawing, hatching is never random. It is used to support the structure and form of what you are drawing.
Correctly placed lines in hatching help to convey the shape and texture of an object more accurately. The saturation of tone in your hatching depends on the intensity and thickness of the strokes, as well as the distance between them.
The closer the strokes are to each other, the deeper the tone will be. The degree of saturation of strokes depends on the force of pressure. The ideal tool for this technique is a graphite or mechanical pencil. The better the pencil is sharpened, the thinner and neater the strokes will be.
Practice Line and Hatching
One of the first challenges for any beginner is learning how to draw clean, confident lines without lifting the pencil or interrupting the motion. With a bit of regular practice, you’ll quickly get a better understanding of line and hatching.
You can start with a few basic exercises. Draw several diagonal lines, keeping the same distance between each. Then, without rotating the paper, draw a series of vertical and horizontal lines the same way.
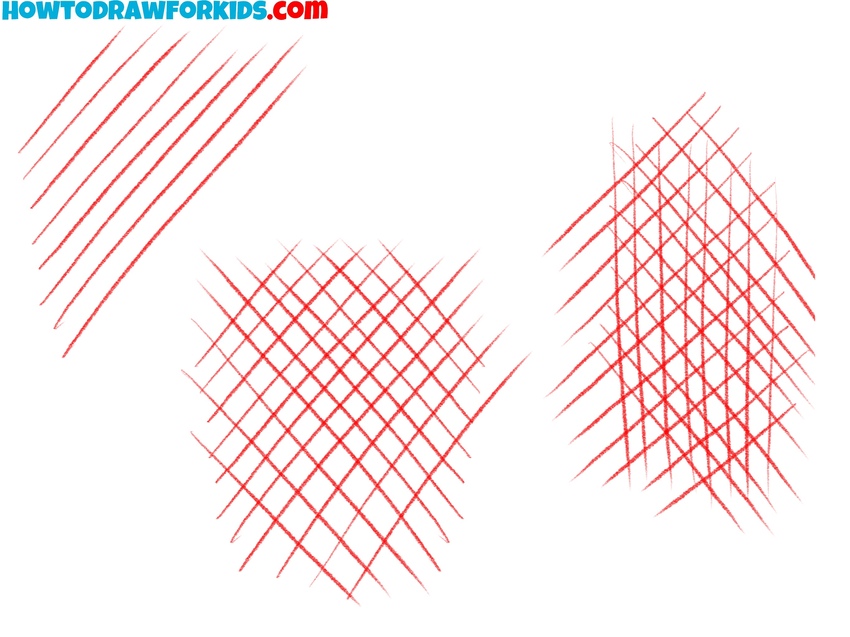
Experiment with the tilt and pressure of your pencil to see how it affects the shading. Within a single drawing, try using different hatching methods depending on the effect, tone, or color you want to achieve.
Another useful exercise is to place dots along the edge of your page and connect them with either straight or curved lines. Repeating this helps improve your control and line accuracy.
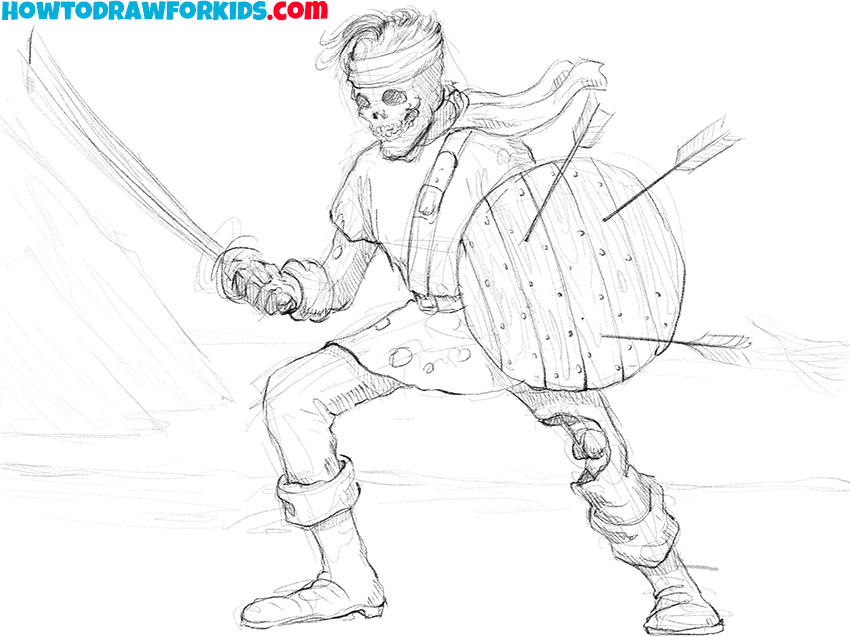
Once you’ve practiced creating gradients on simple shapes, it becomes easier to move on to more complex forms and studies.
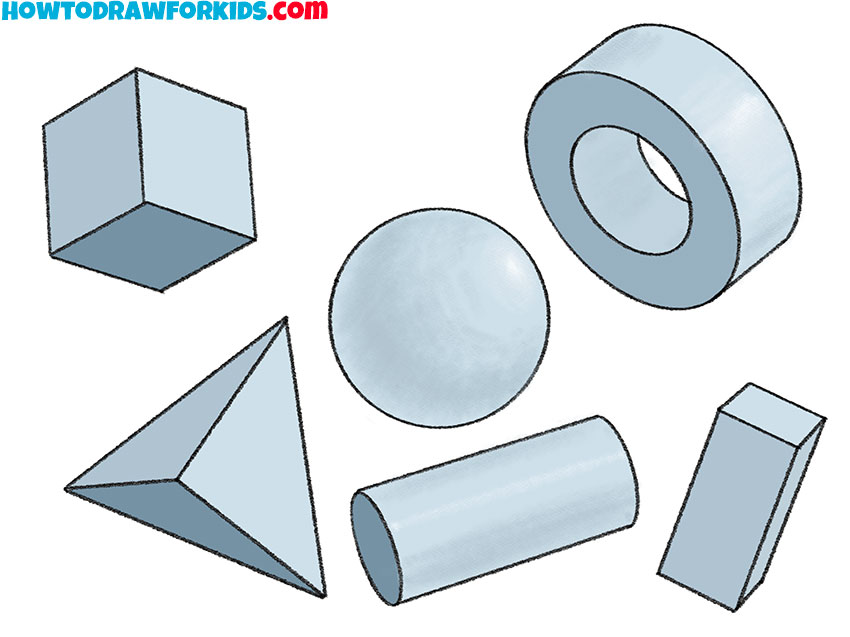
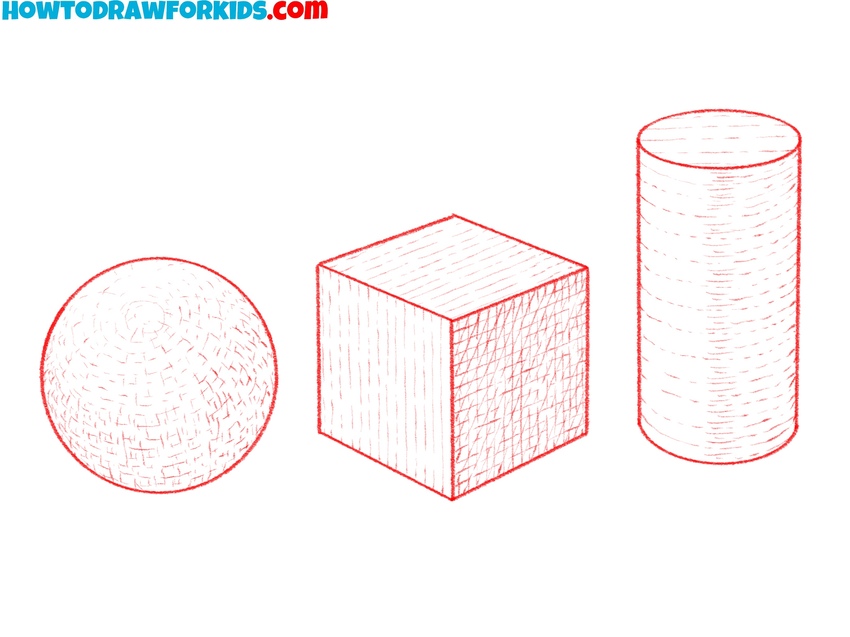
When learning to hatch, begin with the basics. Try drawing lines over simple shapes like cubes, spheres, or cylinders. Focus on following the surface of the form, and keep your lines consistent. These exercises help train your hand and make it easier to understand how hatching works.
Conclusion
Line is the foundation of any drawing – it’s what the drawing consists of. Learning how to control your lines will help you create drawings that feel clear, confident, and professional. That’s why mastering both line and hatching is such an important step for every beginner.
Even the simplest exercises, like drawing clean strokes and filling basic shapes with parallel lines, can greatly improve your control and understanding. In addition, do not forget to constantly draw and monitor the resulting lines, trying to improve and perfect them each time.