How to Draw a Beanie
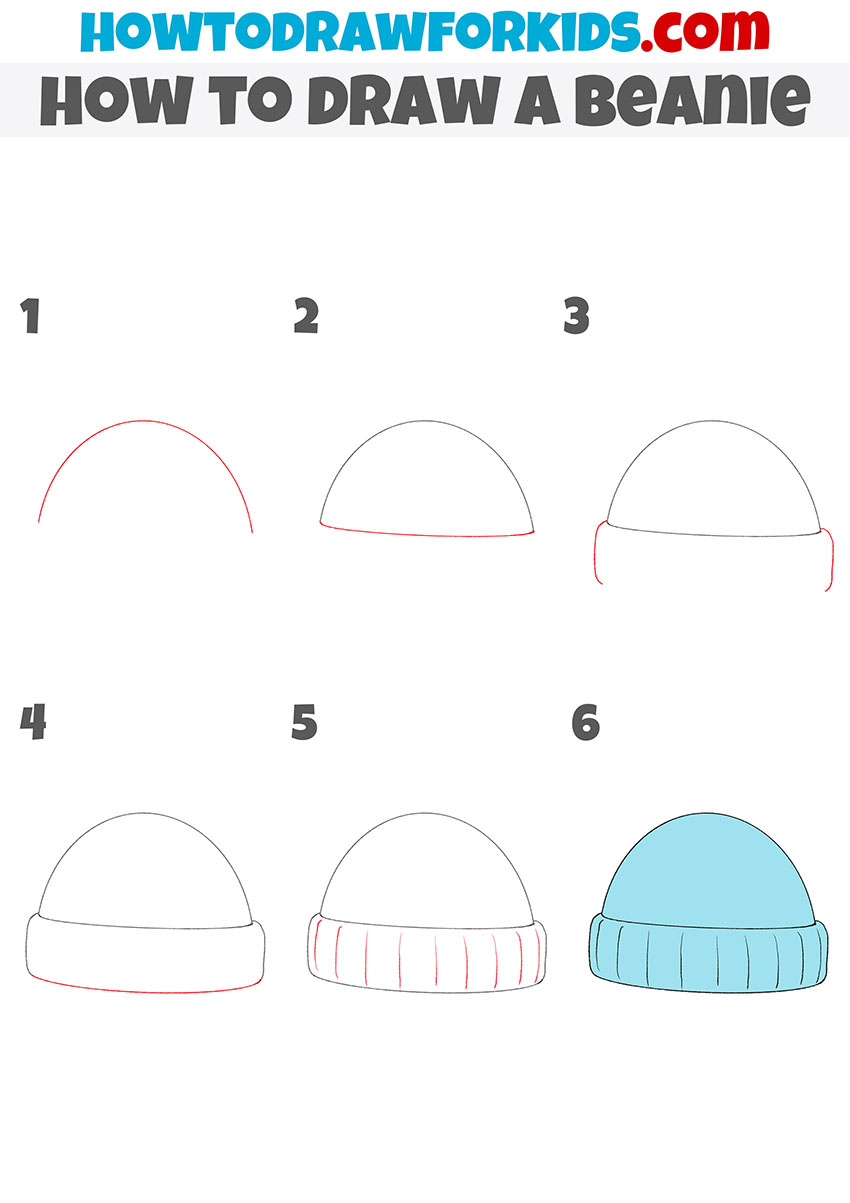
Today, in this lesson, I want to show you how to draw a beanie step-by-step. This lesson consists of six simple steps.
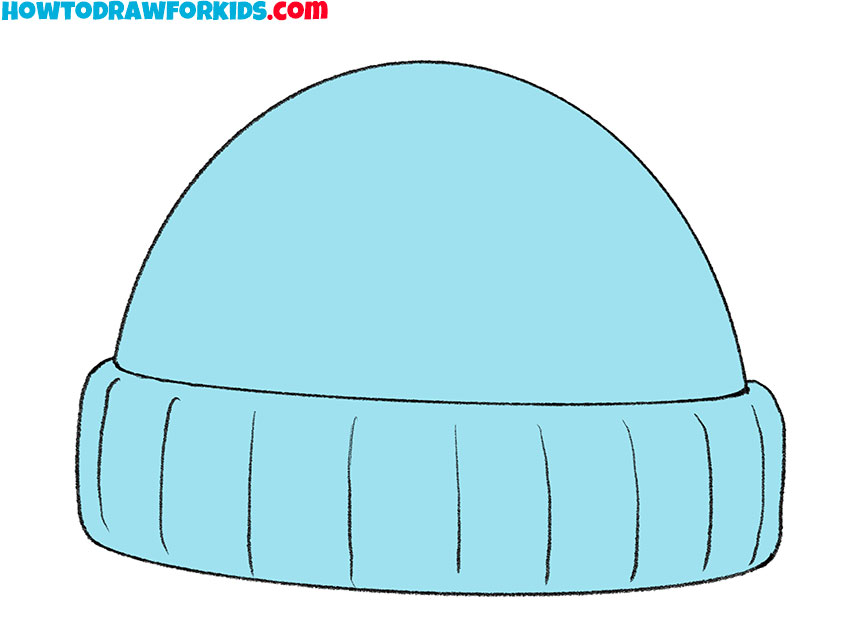
I suggest you complete a new lesson on the topic of beanies, and now you will learn how to draw a beanie. This piece of clothing is indispensable in the cold season.
The beanie warms the head from frost and wind and is a great accessory. The beanie can be made from natural or artificial materials. The color of the beanie can be any.
Beanies with an ornament look very beautiful. The knitted beanie has a rounded shape and fits snugly to the head. Beanies of this style are worn by men, women, and children, only the color and decorative trim differ.
In this lesson, you will draw a plain beanie in bright blue. This beanie is perfect for walking in the cold season. There is a flap at the bottom of the beanie.
For coloring, you can use the same color as in the example or choose any other shade of your choice. If desired, you can add a beautiful pattern or cross stripes. As a decoration, you can add a round pom-pom at the top of the beanie.
Materials
- Pencil
- Paper
- Eraser
- Coloring supplies
Time needed: 30 minutes
How to Draw a Beanie
- Draw the top of the beanie.
Depict a smooth semicircular line.

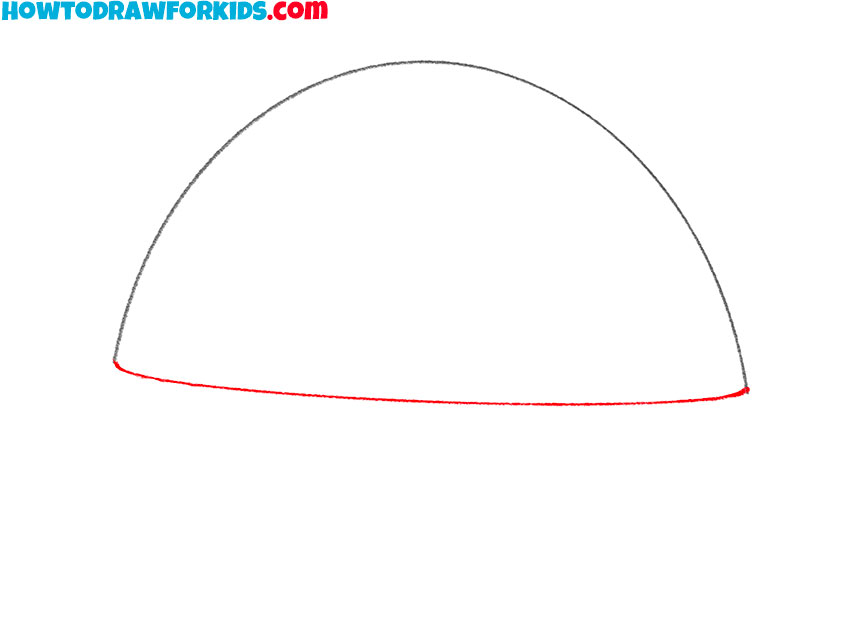
- Start drawing the lapel.
Add a connecting line at the bottom to end up with the closed loop.
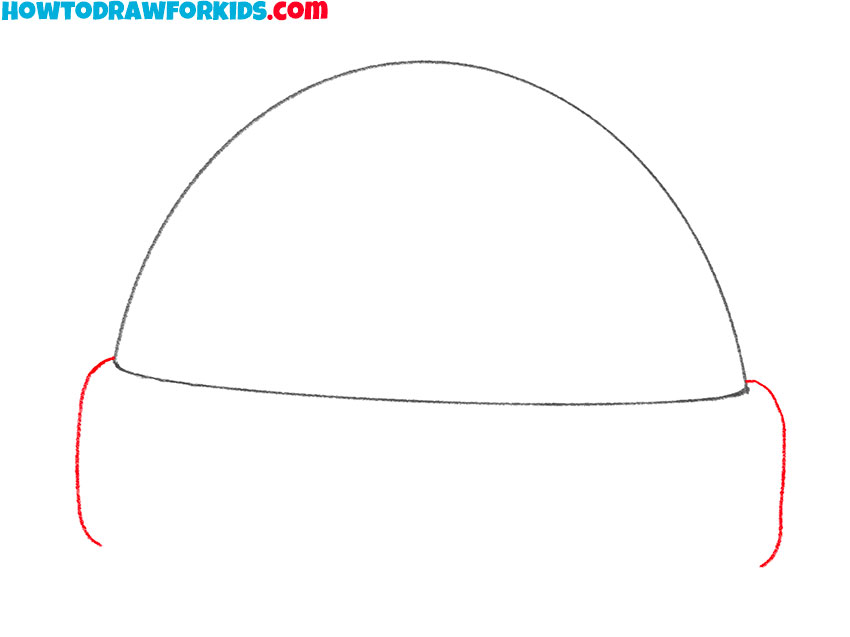
- Draw the sides of the lapel.
On each side, draw smooth curved lines, as shown in the example.
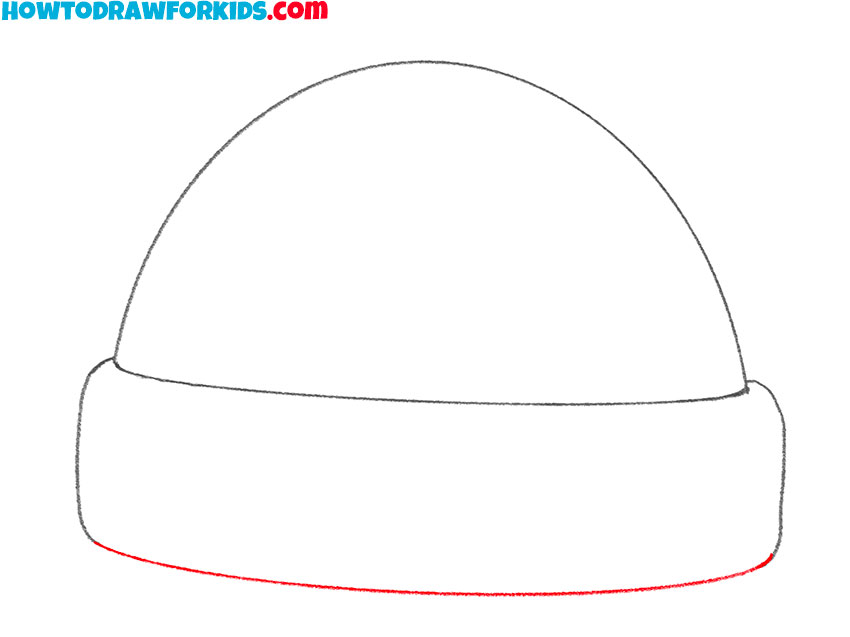
- Depict the bottom of the lapel.
Sketch out a smooth connecting line at the bottom of the cap.
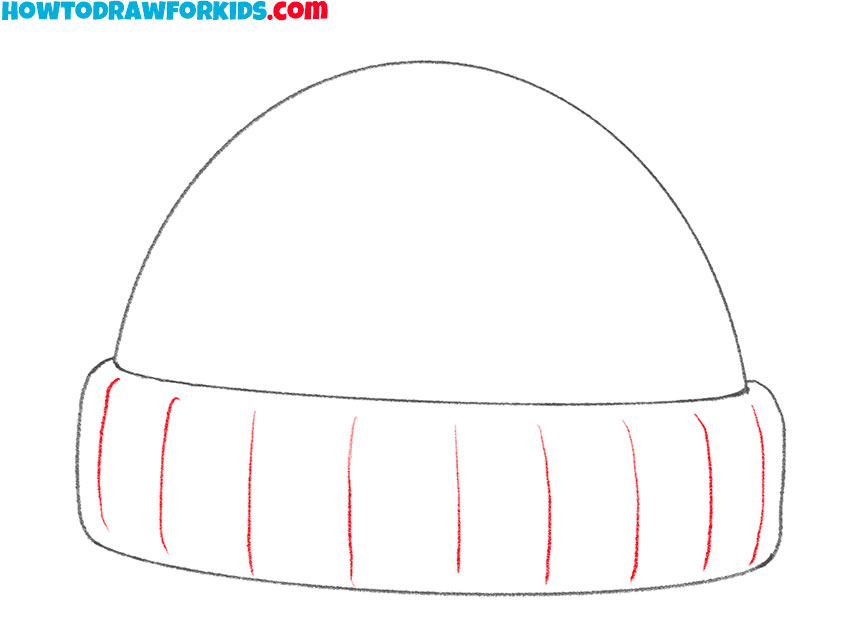
- Detail the lapel.
Sequentially draw thin transverse lines along the lapel.
- Color the beanie.
Use bright blue or any other color you like.

Finally, I suggest you download a short version of the lesson as a PDF file so that you can return to this lesson at any time and complete it, even if you do not have access to the Internet.

