How to Draw a Corgi
I invite you to a new drawing lesson in which I will show you how to draw a corgi. This step-by-step guide is very simple.
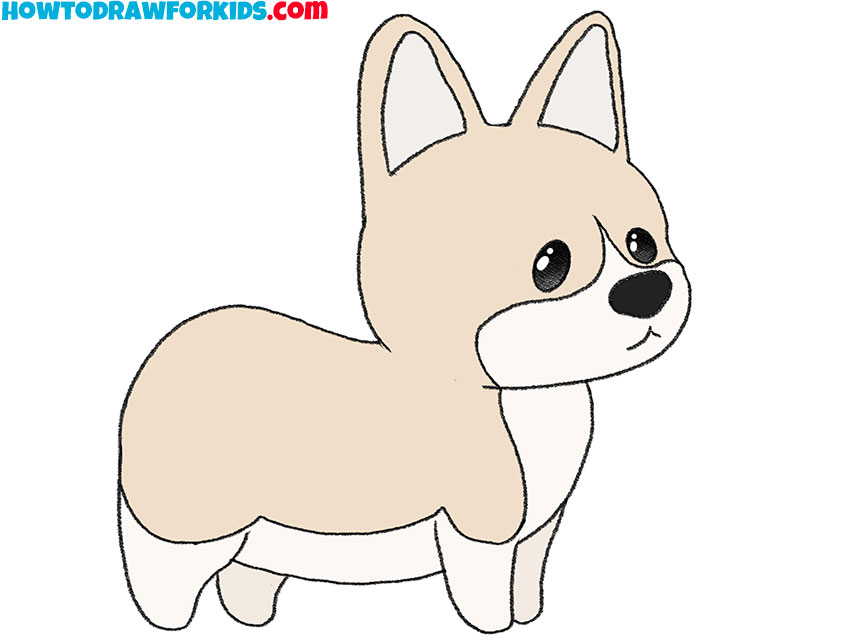
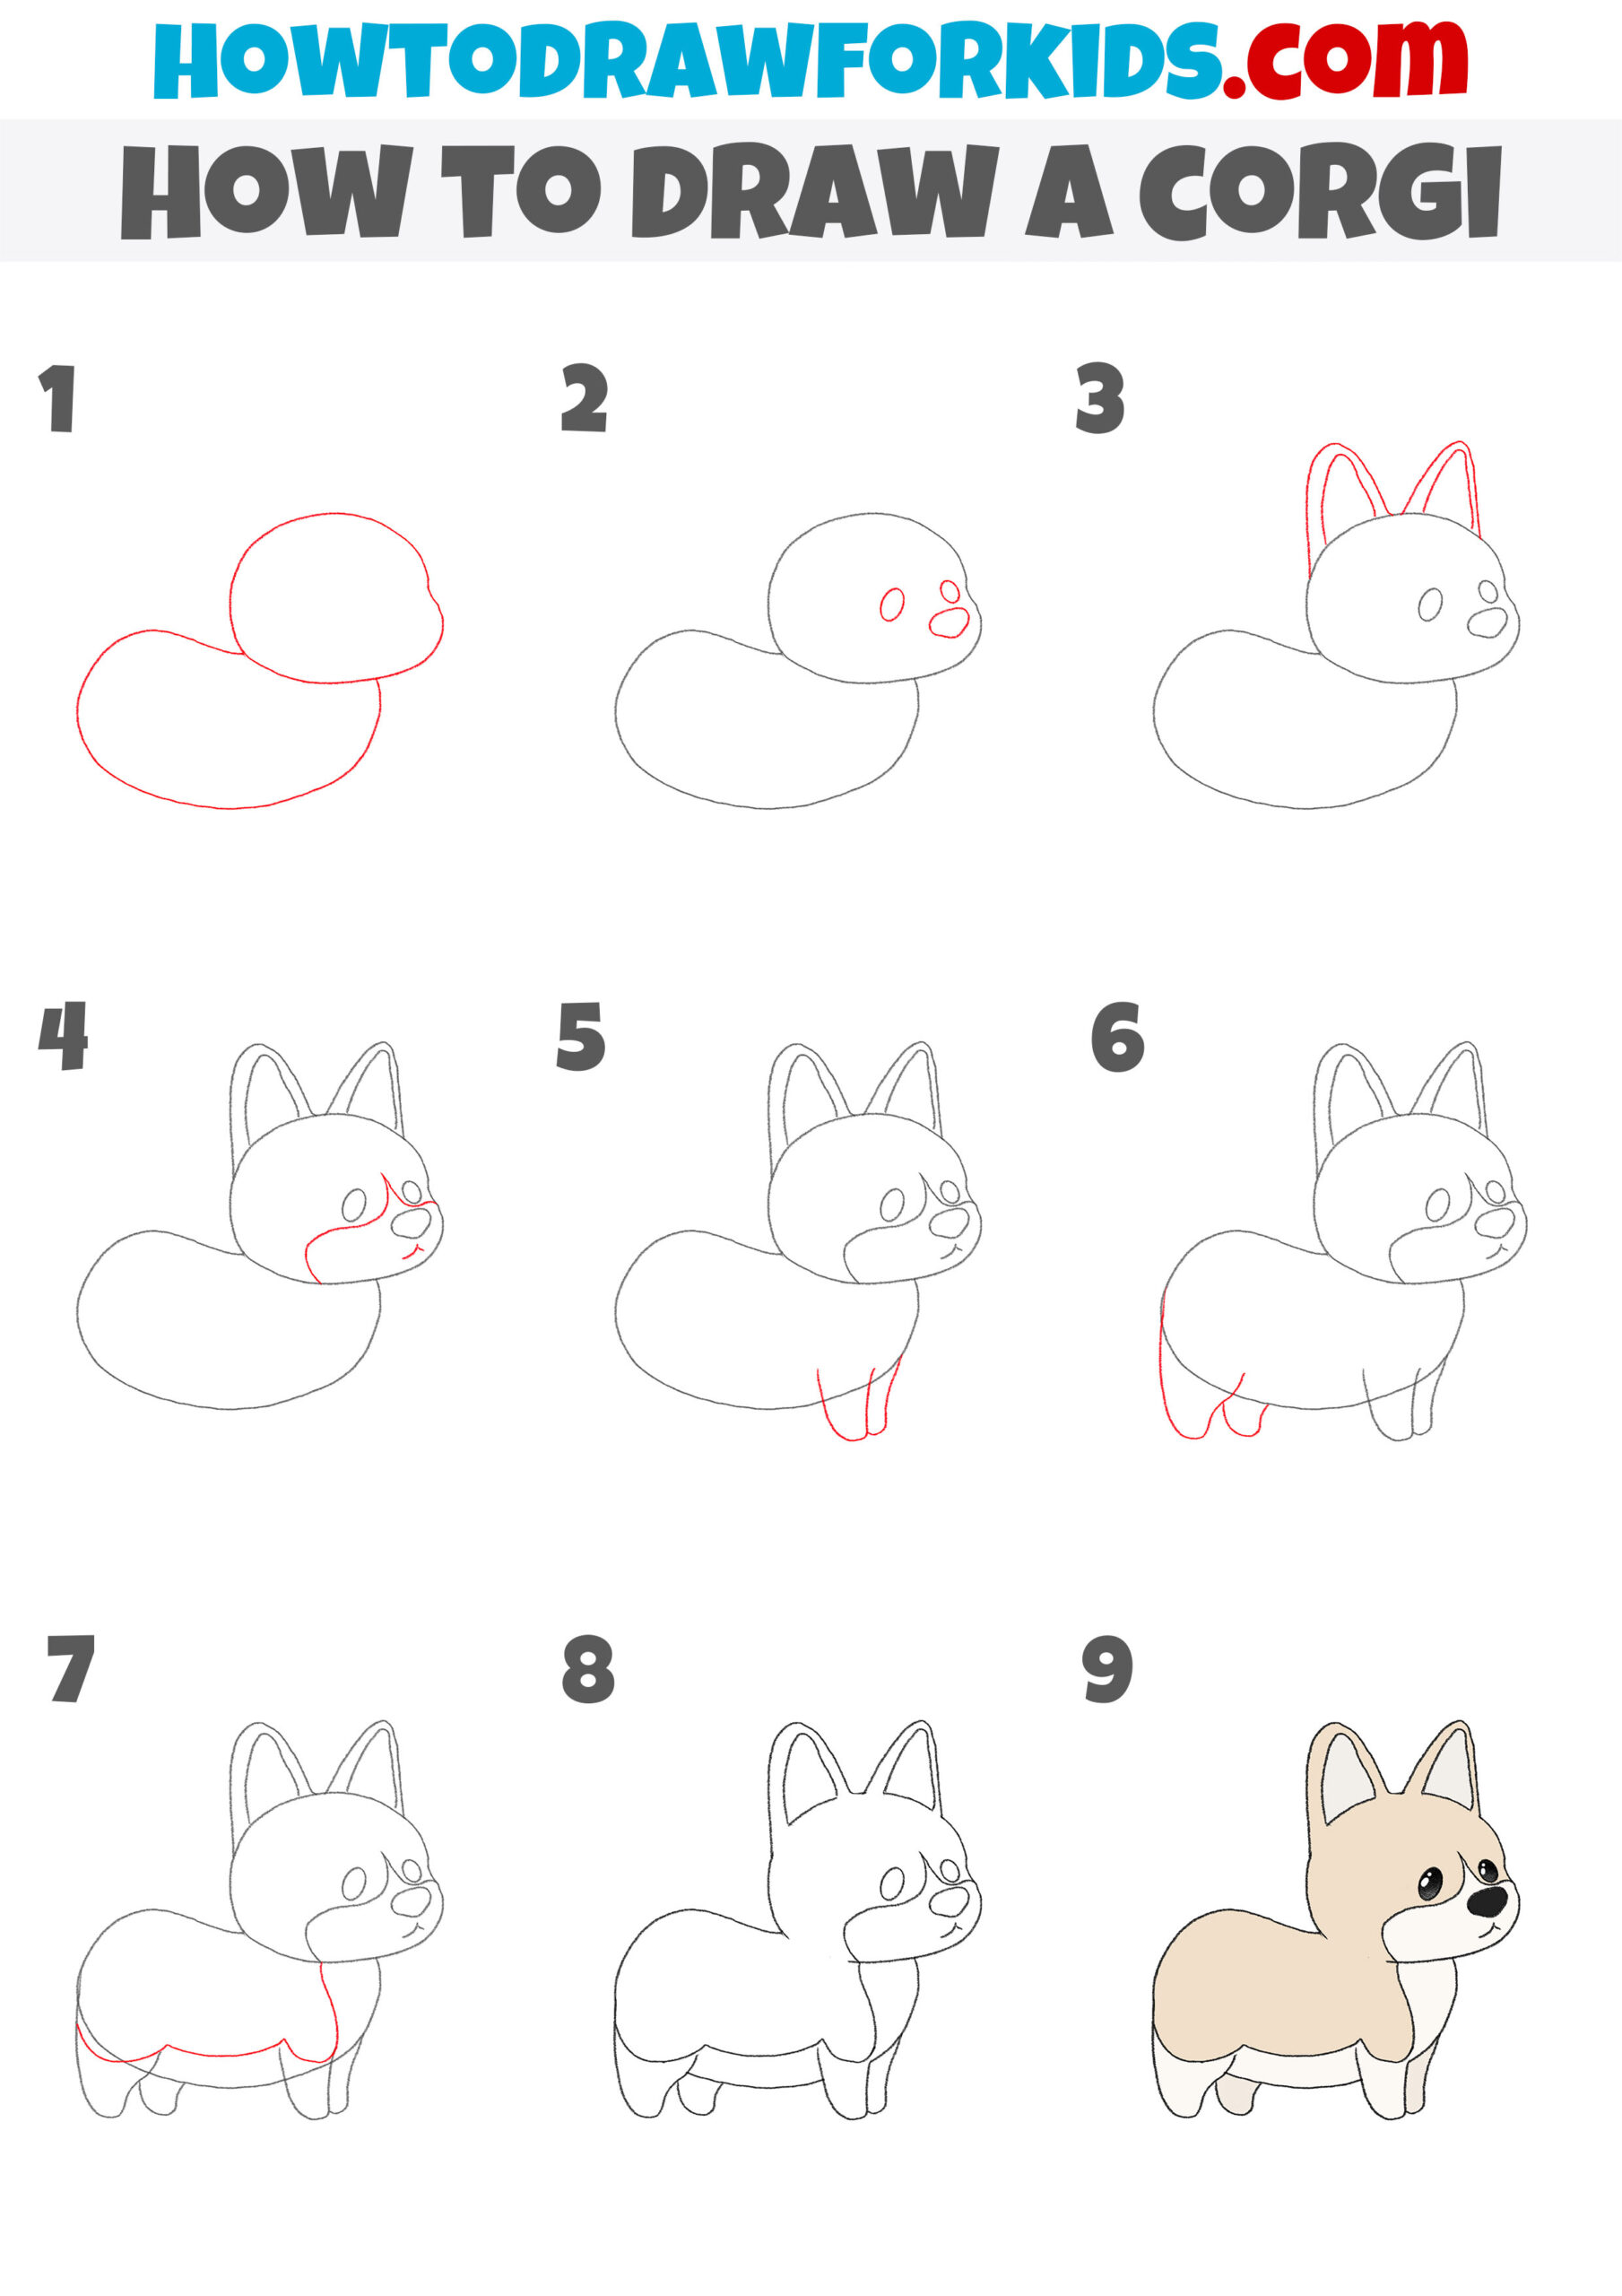
So, I am glad to bring to your attention a new drawing lesson, in which I will tell you in detail how to draw a Corgi. If you love dogs and want to improve your creative skills, then you will love this tutorial.
And now I want to tell you some interesting facts about this breed of dog. The Corgi was originally used as a herding dog. These dogs are good watchdogs because they are agile and short in stature. Corgi has a strong elongated body, short legs, erect ears and have the shape of an equilateral triangle with rounded ends.
I hope that you will enjoy this tutorial, especially since it is very easy to do thanks to the accessible instructions. Each step is one simple action that you can quickly complete. You only need to be attentive and careful.
Materials
- Pencil
- Paper
- Eraser
- Coloring supplies
Time needed: 30 minutes
How to Draw a Corgi
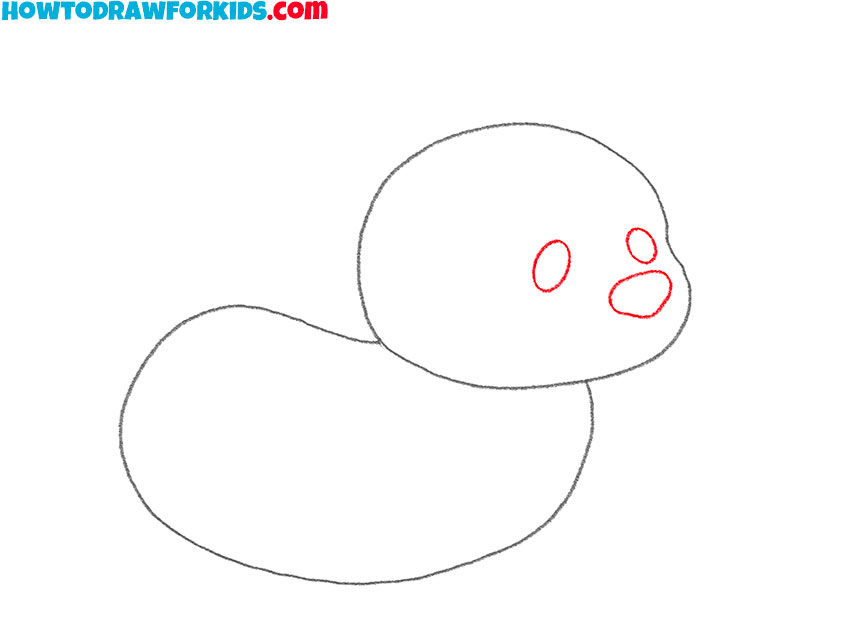
- Draw the base.
First draw the outline of the head and torso.

- Depict the elements of the muzzle.
Sketch out two eyes in the form of an oval and add the nose.
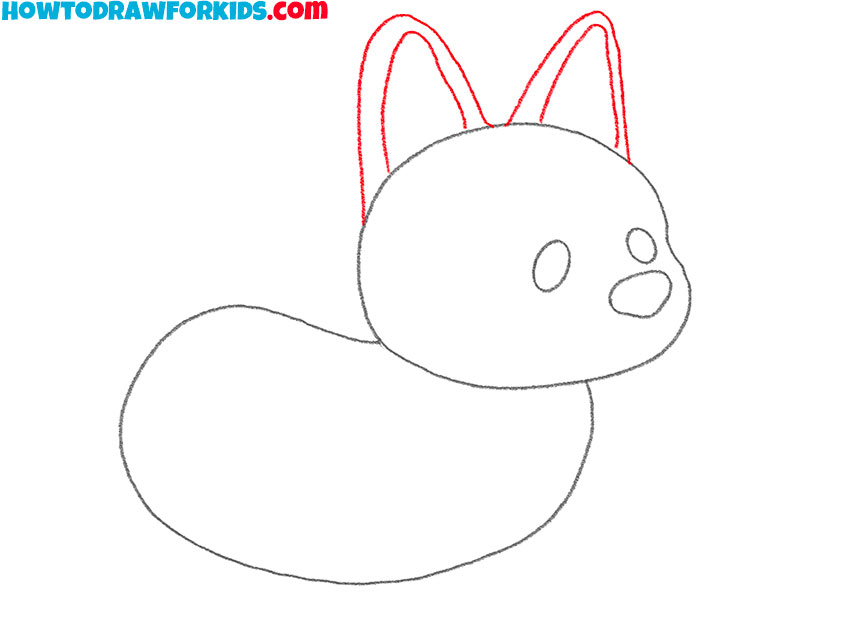
- Add the ears.
Draw two erect ears and immediately add the inner outline.
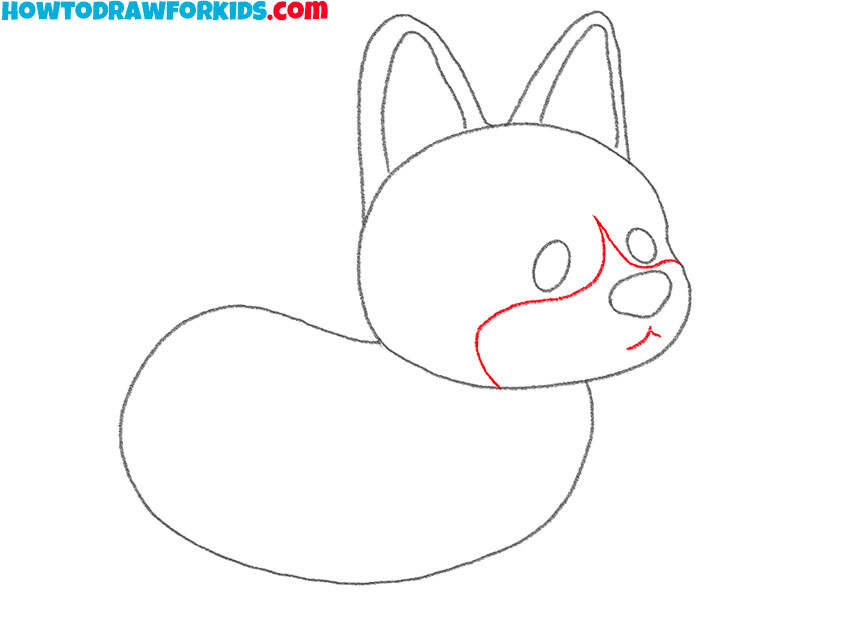
- Detail the color of the head.
In front of the head, draw a contour where the color of the fur will differ.
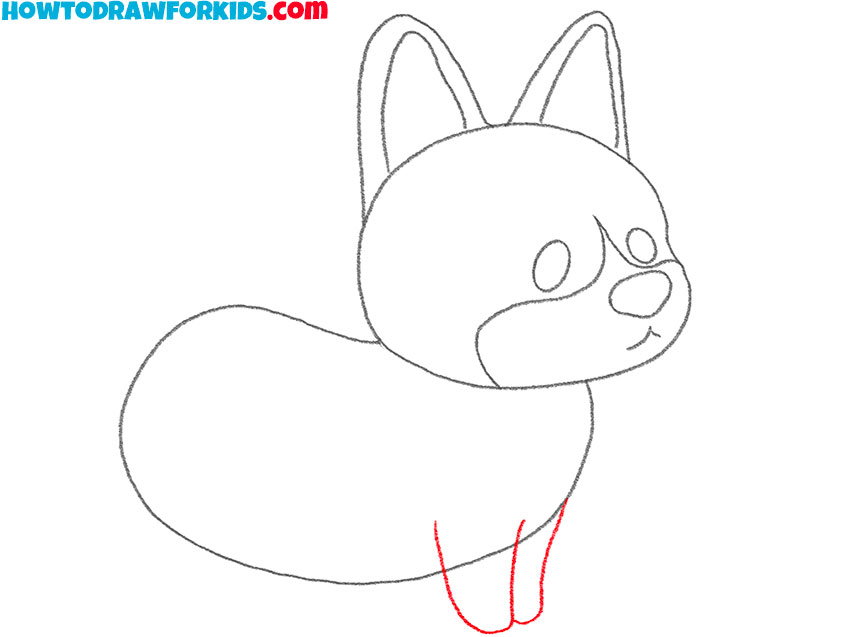
- Sketch out the front paws.
Using smooth lines, add two short front legs that are located next to each other.
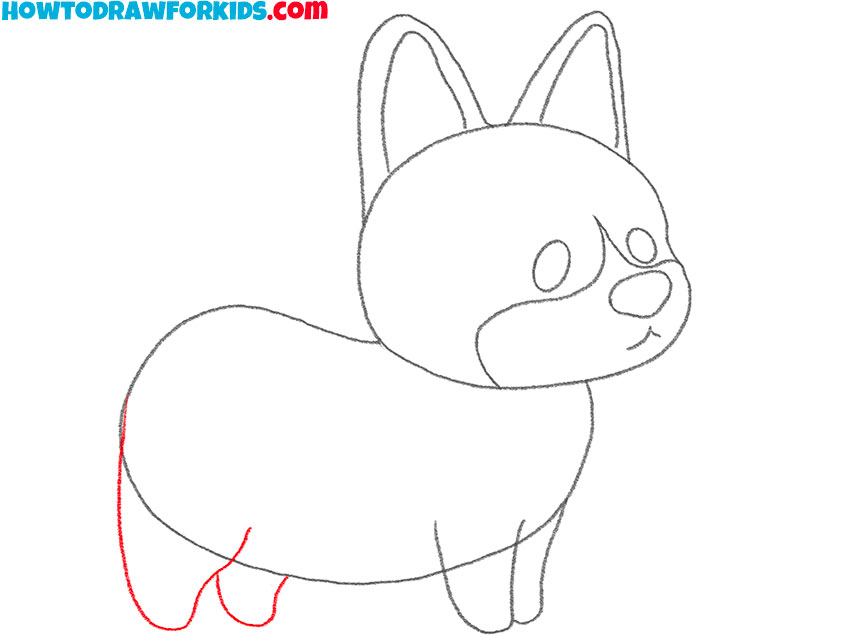
- Draw the hind legs.
Depict two hind legs, which have a wide base and taper downwards.
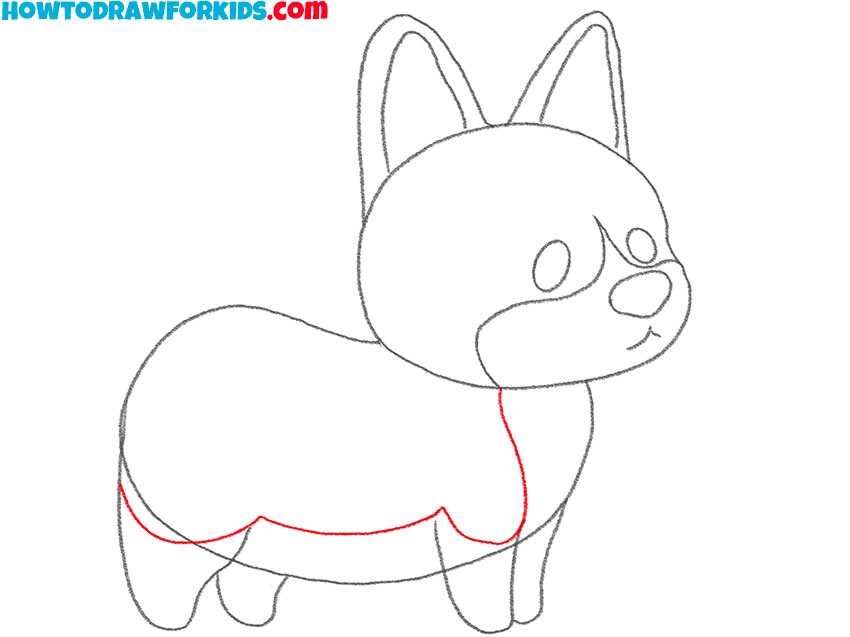
- Detail the color of the torso.
Draw a curved line along the torso to mark the outline where the fur color will differ.
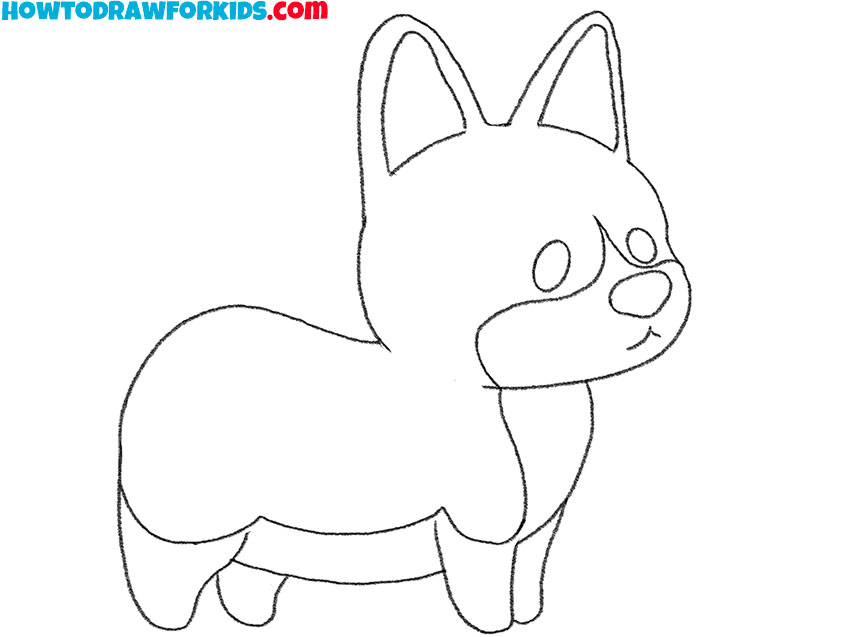
- Correct inaccuracies.
Check your drawing and carefully remove any unnecessary lines.
- Color the drawing.
For coloring, you will need several shades of beige and black.

At the end of the lesson, I suggest you download a PDF file that contains a short version of the lesson and additional useful materials. Rather download the file and enjoy drawing at any convenient time.


