How to Draw Crossed Arms
Today I suggest you complete the lesson in which I will show you how to draw crossed arms. The lesson includes eight steps.

For all beginner artists, I have created a new tutorial in which I will show you how to draw crossed arms step by step. I am sure that this lesson will be very useful for you, as you will once again practice drawing a human figure. You can use the acquired skills in your next drawings.
It is very common to see a posture in which people cross their arms in the chest area. People most often take this position of the body while waiting. Also, this gesture may indicate that a person is uncomfortable and this position of the hands is a kind of protection.
Sometimes this position of the hands can indicate a defensive position. For example, if the interlocutor crosses his arms, it means that he does not agree with something. You may think that drawing crossed arms is difficult, but it is not.
With the help of a clear and accessible instruction, you can easily draw crossed arms and get a good result. Follow the sequence and carefully draw all the lines that are marked in red.
Materials
- Pencil
- Paper
- Eraser
- Coloring supplies
Time needed: 30 minutes
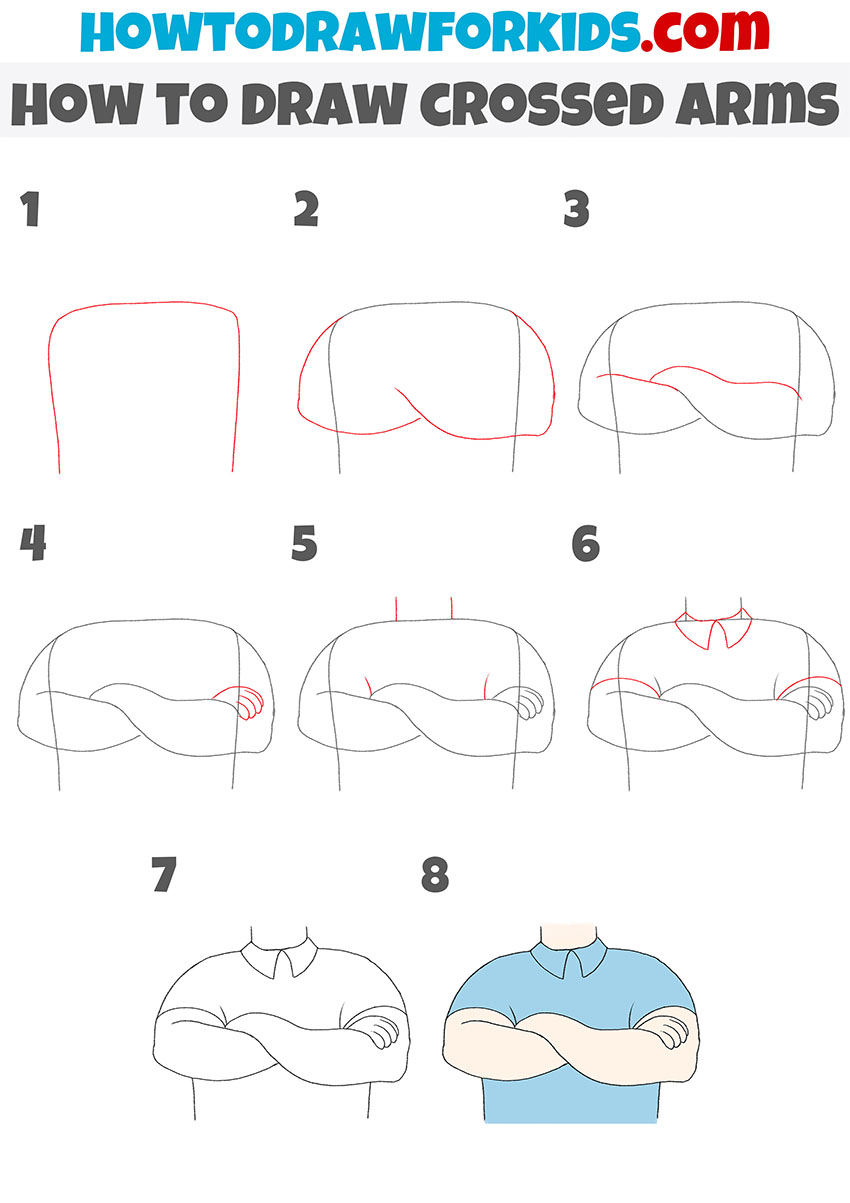
How to Draw Crossed Arms
- Draw the body of the torso.
Depict a square shape with a smooth line.

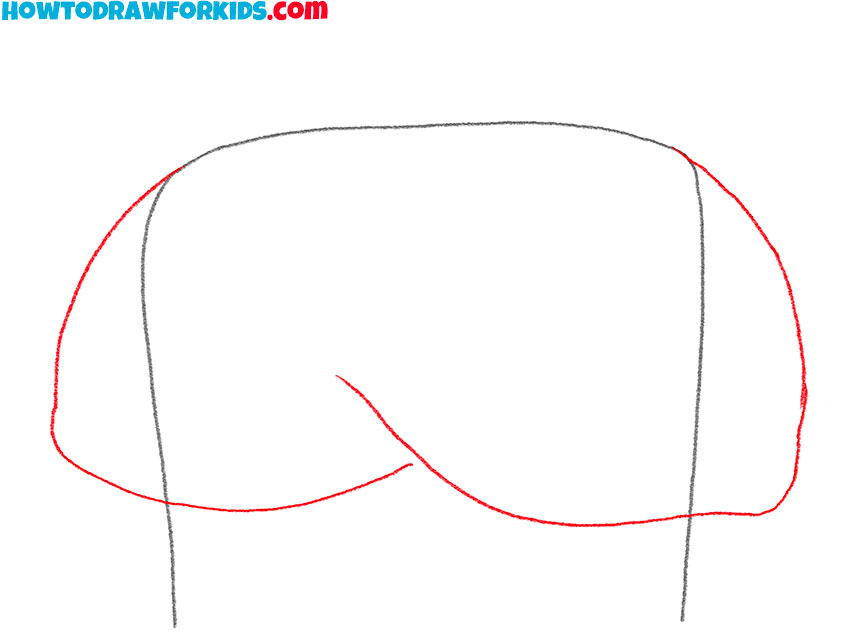
- Add the lower outlines of the arms.
From the upper corners, draw smooth lines to the sides, and then connect them in the center.
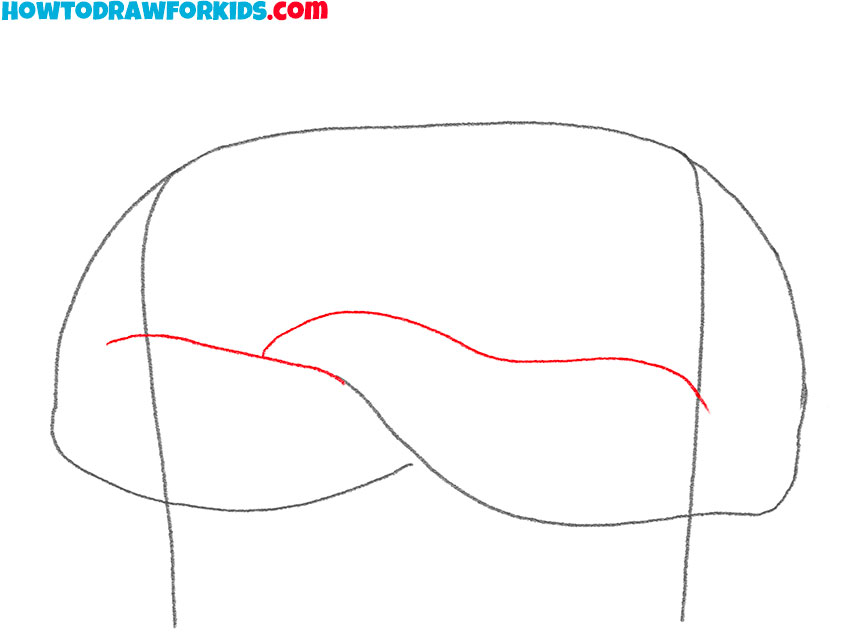
- Depict the upper outlines of the arms.
With the help of smooth curved lines, give the hands the necessary thickness.
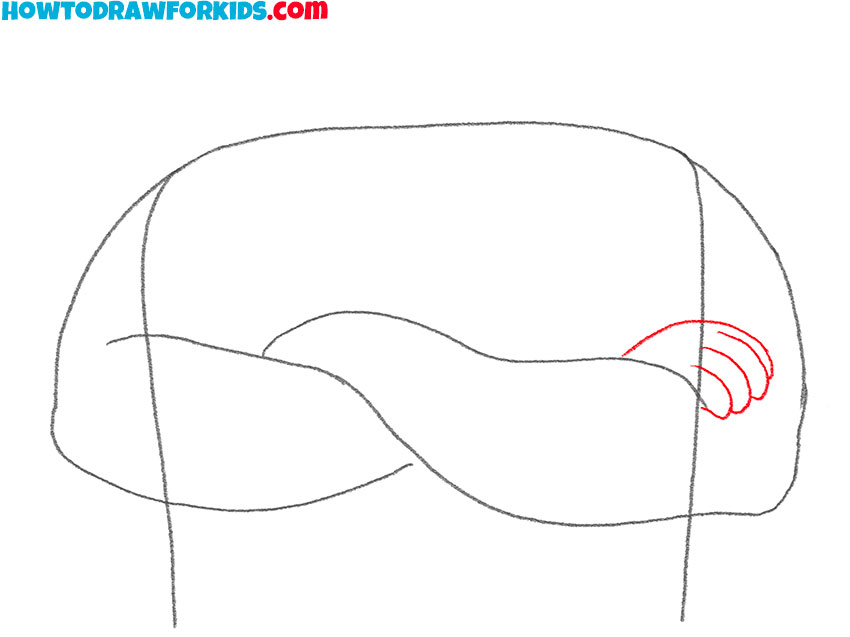
- Sketch out the hand.
On the right side, depict the hand, while the fingers are folded together and slightly bent.
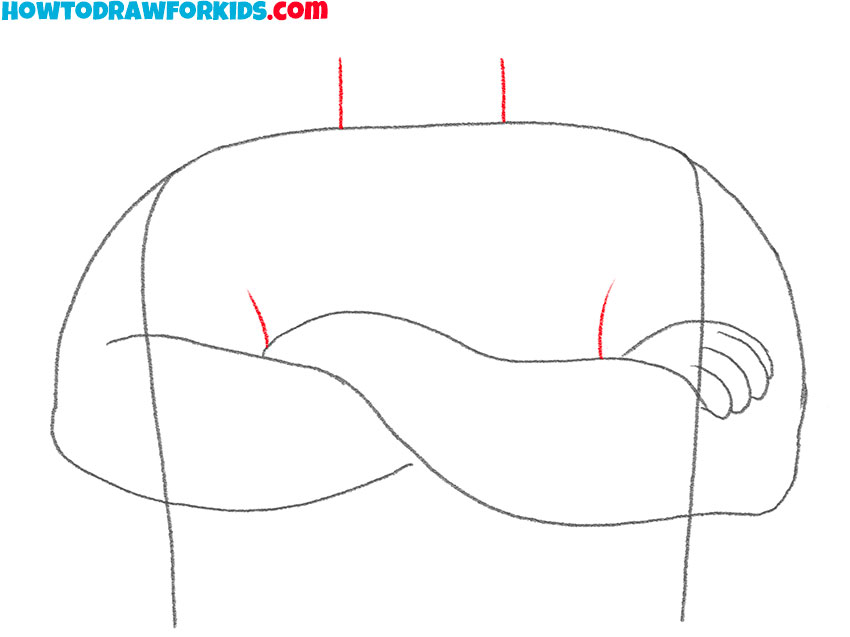
- Draw the neck and axillary folds.
This is a very simple step in which you have to draw a few short lines.
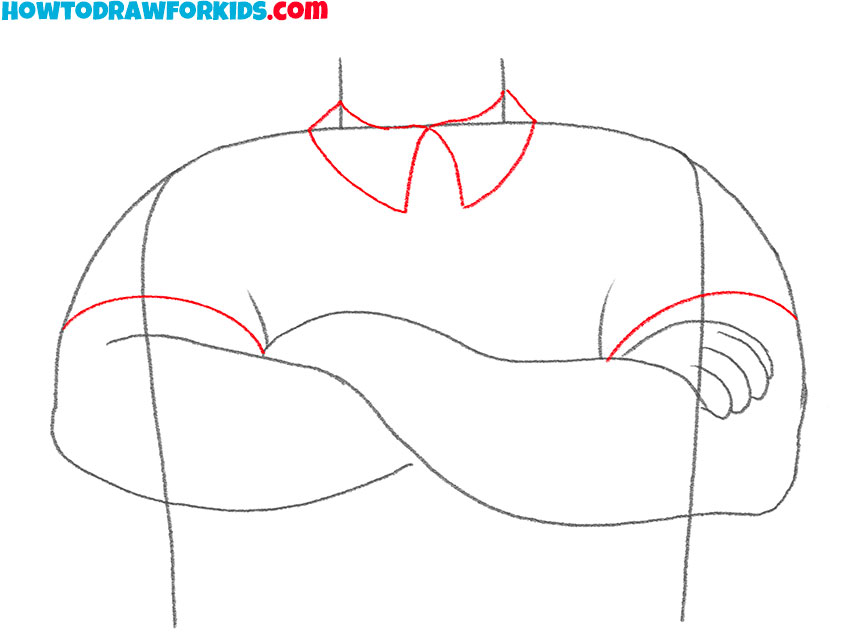
- Add the collar and sleeves.
Draw the small collar on the neck, draw a rounded line on each arm.
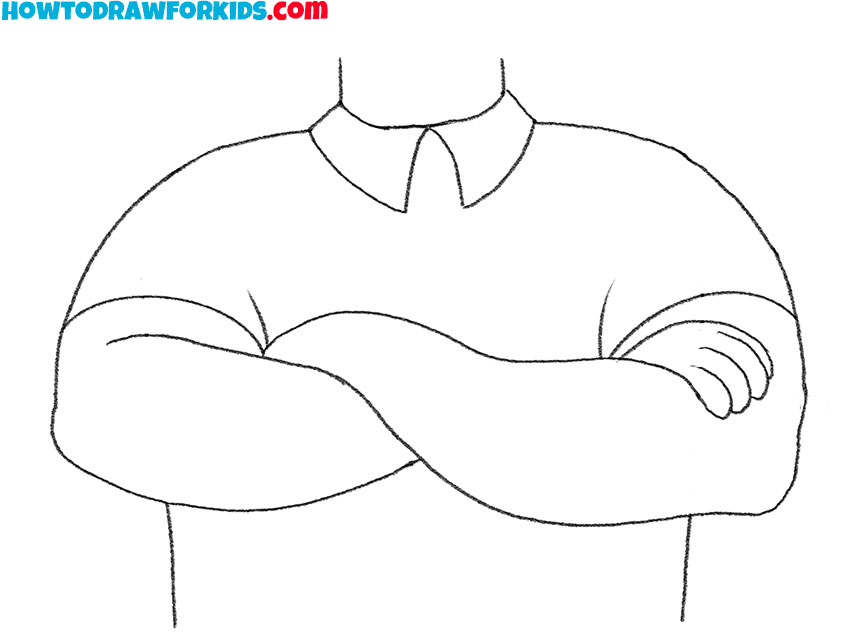
- Correct inaccuracies.
Remove any extra lines in your drawing and correct the mistakes if necessary.
- Color the drawing.
Choose any colors for your drawing.
By tradition, at the end of the lesson, I prepared a PDF file for you, which contains a brief instruction and additional training materials. Save this file so that you can return to the lesson at any time convenient for you, even if there is no Internet access.