How to Draw a Water Droplet
Even drawing small objects and details has many nuances, and in this lesson on how to draw a water droplet I will demonstrate this.

How to Draw a Water Droplet: Introduction
As I often say both on my website and in offline classes and lessons, it is very important for an artist to be able to draw basic things, the elements that make up the surrounding world. This ability gives an artist incredible flexibility in their work.
In this lesson, I want to show you how to draw a water droplet, an object that at first glance seems unbelievably simple. But not everything is as simple as it seems, so here I will share with you all the nuances that will help you draw a drop of water in just four steps while giving it a three-dimensional and fairly realistic look.
To reinforce the material, I will supplement the basic lesson with a second, equally simple one, in which I will show a slightly different shape of the drop.
Water Droplet Drawing Tutorial
Materials
- Pencil
- Paper
- Eraser
- Coloring supplies
Time needed: 15 minutes
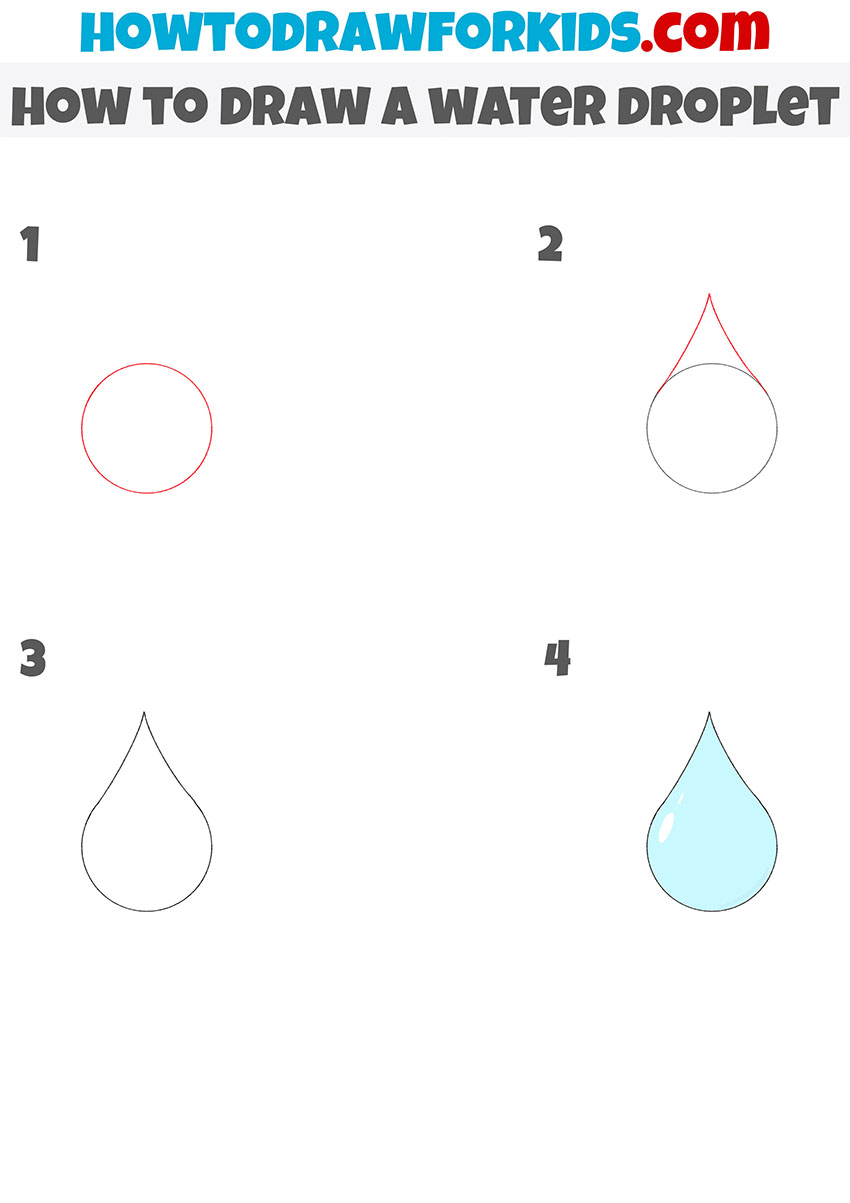
How to Draw a Water Droplet
- Draw a circle as the base of the droplet.
Sketch a simple circle in the middle of your paper. This will serve as the base shape for the water droplet. Using very light hand movements, barely touching the paper, draw this shape, gradually refining and darkening the lines until you get the correct shape of the circle.

- Draw the droplet’s narrow top.
Next, sketch two curved lines that rise from the top of the circle and meet at a sharp point above it. This step transforms your simple circle into something that begins to look like a real water droplet. If you want to practice, draw several droplets quickly in a row to train your hand.

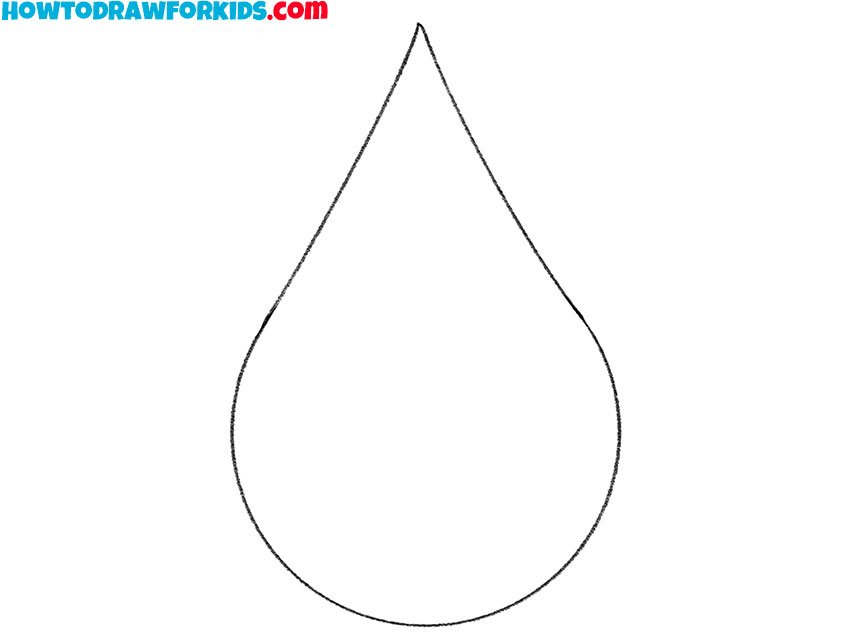
- Adjust the droplet’s final contour.
Erase the unnecessary part of the circle inside the pointed shape so you have one clean outline of the droplet. Pay attention to how the base remains round and full while the top narrows gently into a sharp point. Check the proportions and symmetry of the water droplet.
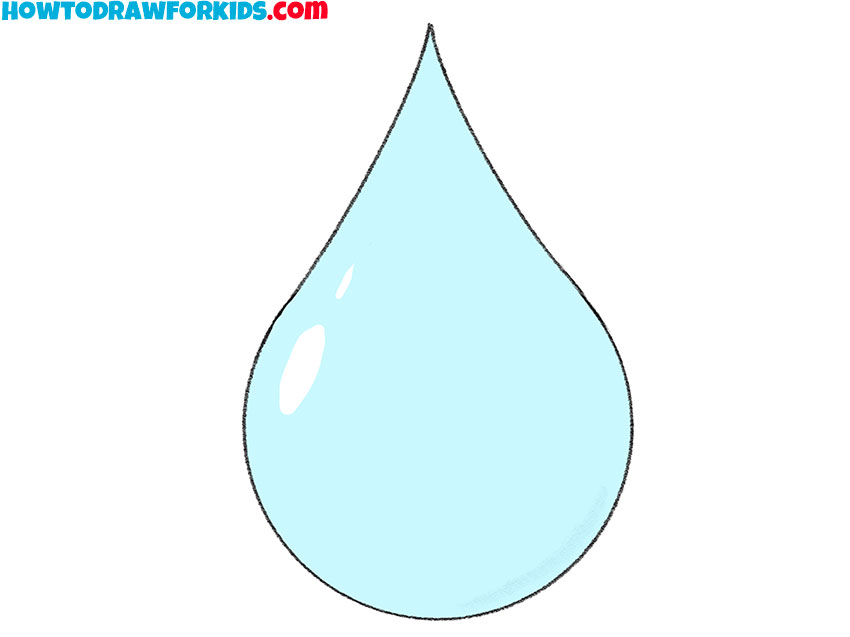
- Finish by adding color, shadow, and highlight.
Now, shade or color the droplet with a light blue tone and add a small oval highlight near one edge. This little detail is what makes the drawing look glossy, as if light is reflecting off its surface. If you want to push the realism, make the lower part slightly darker and the upper area lighter to convey volume.
Additional Content
As always, I’ve prepared a free PDF version of this lesson on how to draw a water droplet. It’s a shorter version of the tutorial with the main steps collected in one place, making it easy to follow offline.
The file also includes extra materials such as a coloring page, a tracing worksheet, and a grid drawing worksheet. You can download it, save it, and return to the lesson whenever you want, even without an internet connection.
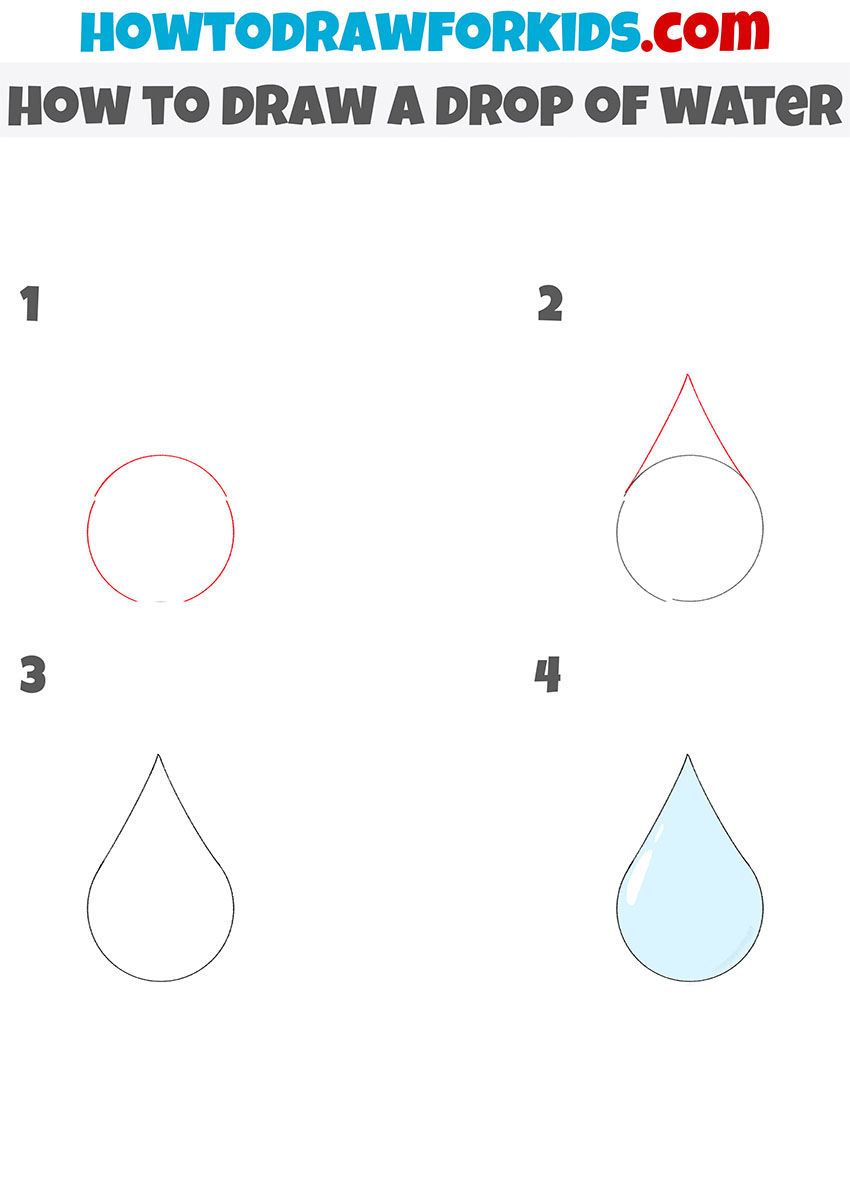
Additional Drop of Water Drawing Tutorial
So, dear artists, let’s draw a water droplet once again. This additional tutorial shows another way to draw a water drop using the same simple method as in the main lesson, but with a slightly different shape and coloring. Instead of a more rounded drop, here the form is elongated.
It’s a good idea to try this variation after completing the main tutorial. By comparing the results, you’ll see how even small changes in proportions and coloring can affect the overall impression of a drawing. This will help you get more confident in adjusting basic forms and experimenting with details.
Sketch a simple circle to form the base of the water drop. On top of the circle, sketch two slanted lines that meet at a point above, creating a triangular shape that will define the sharp top of the drop. Once the shape is complete, erase the extra lines inside. For the coloring, use a soft light blue fill, then add a white highlight near the upper curve to create reflection and transparency.
Conclusion
As I’ve mentioned at the beginning, a water droplet may look like a very simple object, but it’s a useful shape to practice because it appears in many kinds of drawings, from weather scenes to still life studies. Now that you have a clean step-by-step water droplet drawing, a good next step would be to combine it with other related lessons.
You can look at the snowflake drawing tutorial if you want to build a full winter theme, or try the cloud drawing tutorial to place droplets into a scene. For something different, you can also visit the ocean drawing tutorial and see how water looks in art in a different form. By linking these ideas, you’ll start to see how even a small form like a droplet can be part of larger and more complex drawings and compositions.