How to Draw a Rope
In this lesson, I want to show you how to draw a rope step by step. This tutorial has eight steps and will be very easy for you to follow.
I bring to your attention an excellent drawing lesson in which you can learn how to draw a rope. This tutorial is great for beginners and kids to complete and will help you develop your artistic skills. Follow my instructions carefully to get a great drawing. I think each of you has ever seen different ropes. Ropes are made up of many strands, fibers, or strands that are twisted or woven together into a larger, stronger form.
Ropes are used for dragging and lifting various objects, they are often used in construction and for tying various objects together. You can also measure the size of something with ropes or use them to climb to a height. The rope you draw with this tutorial will look realistic by drawing the fibers on it. In the future, you will be able to supplement any of your paintings with the image of a rope.
Before you proceed with this instruction, you need to prepare art supplies, and then be very careful and follow each step of the instruction with high quality. I wish you good luck, and I am sure that you will get an excellent result of your work.
Rope Drawing Tutorial
Materials
- Pencil
- Paper
- Eraser
- Coloring supplies
Time needed: 30 minutes
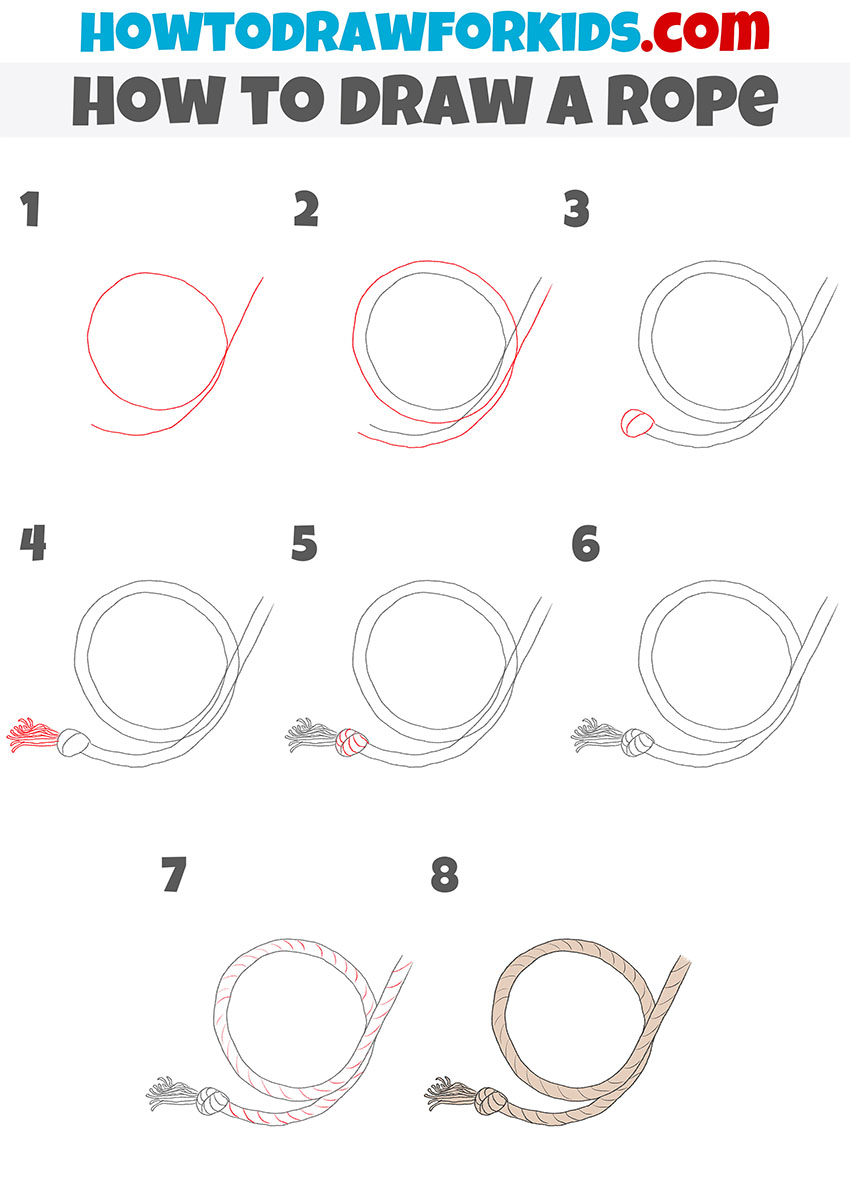
How to Draw a Rope
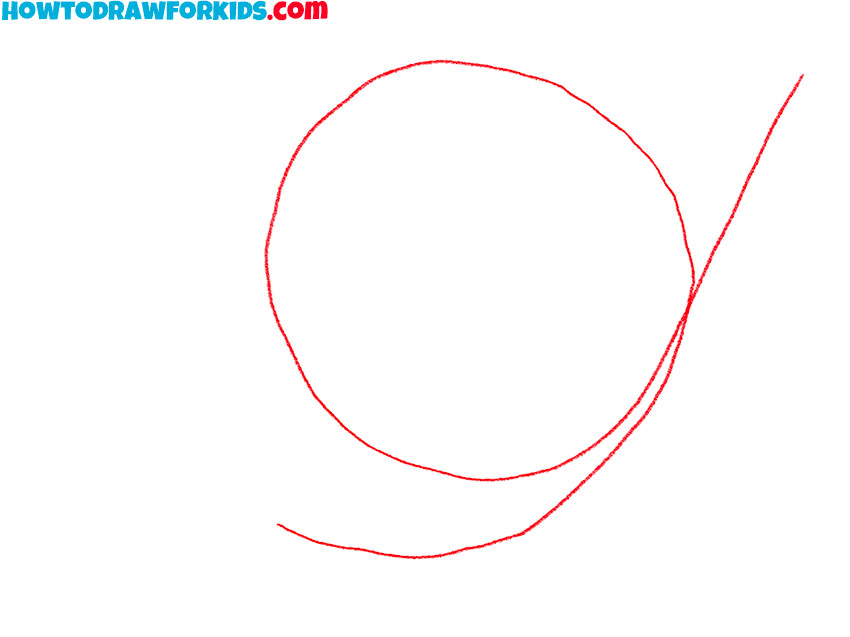
- Draw the inner outlines of the twisted rope.
To complete this simple step, you will need to draw one long, curved line.
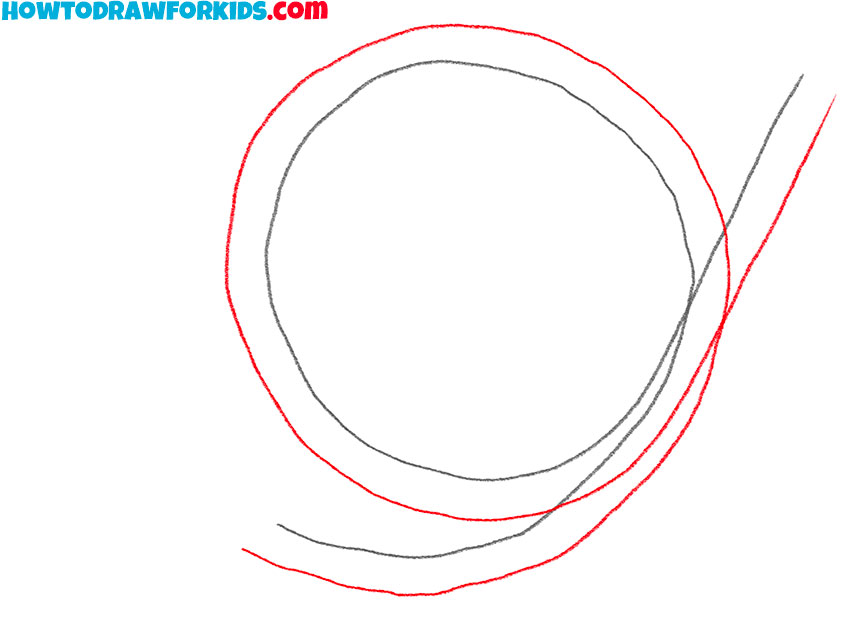
- Add the outer outline of the rope.
Stepping back a small distance from the drawn line, draw another curved line along it.
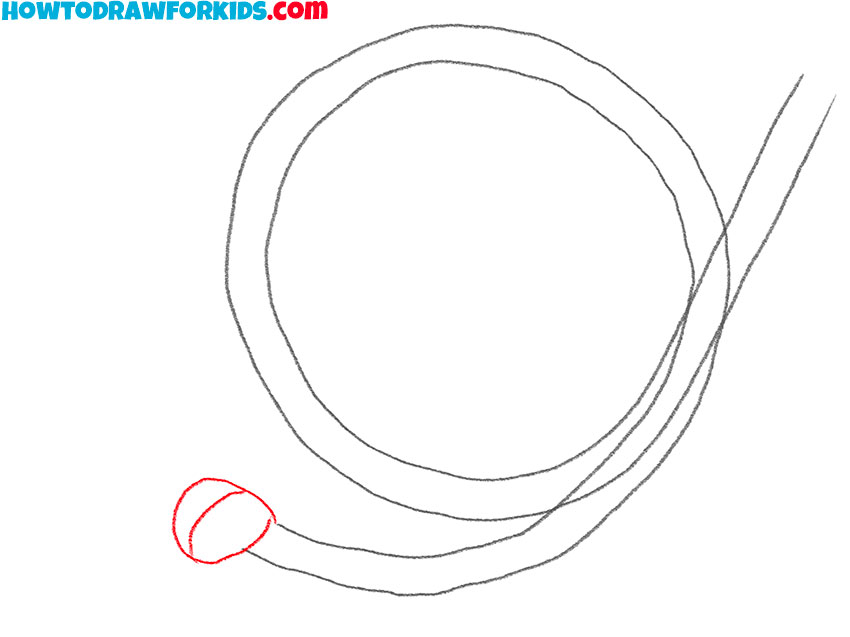
- Depict the rope knot.
At the bottom of the rope you have drawn, draw the knot using rounded lines.
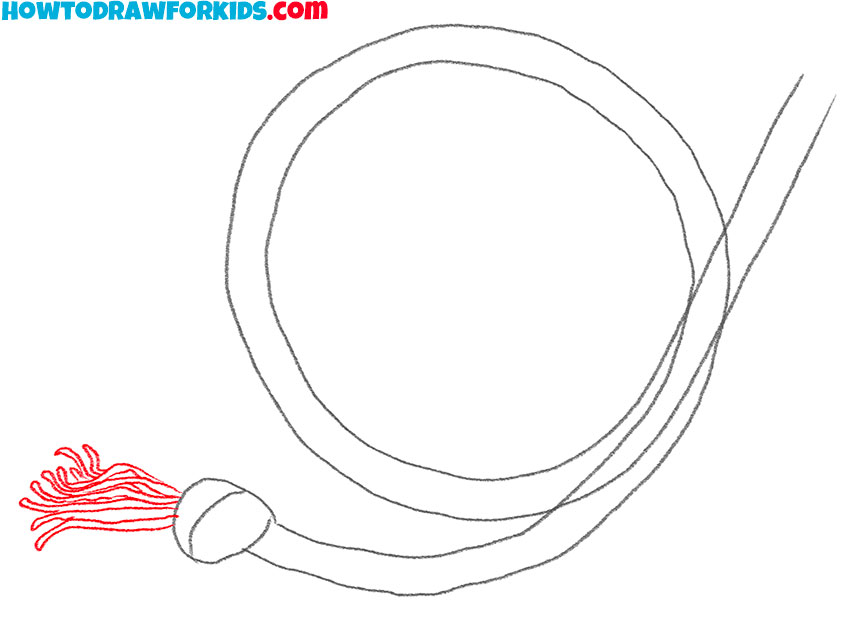
- Sketch out individual fibers at the end of the rope.
Next to the previously drawn knot, depict many individual fibers using curved lines.
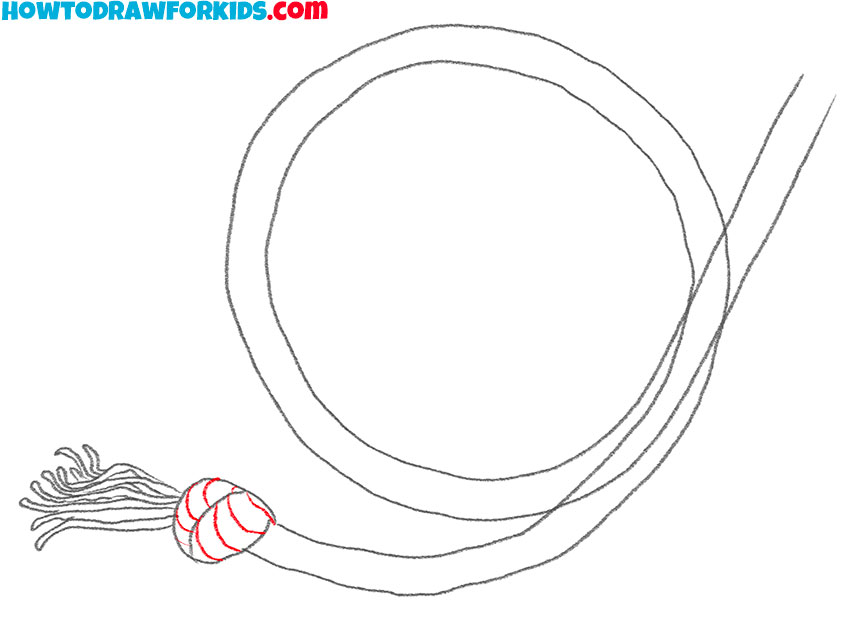
- Add the knot more realistic.
Inside your knot outline, add many curved lines as shown.
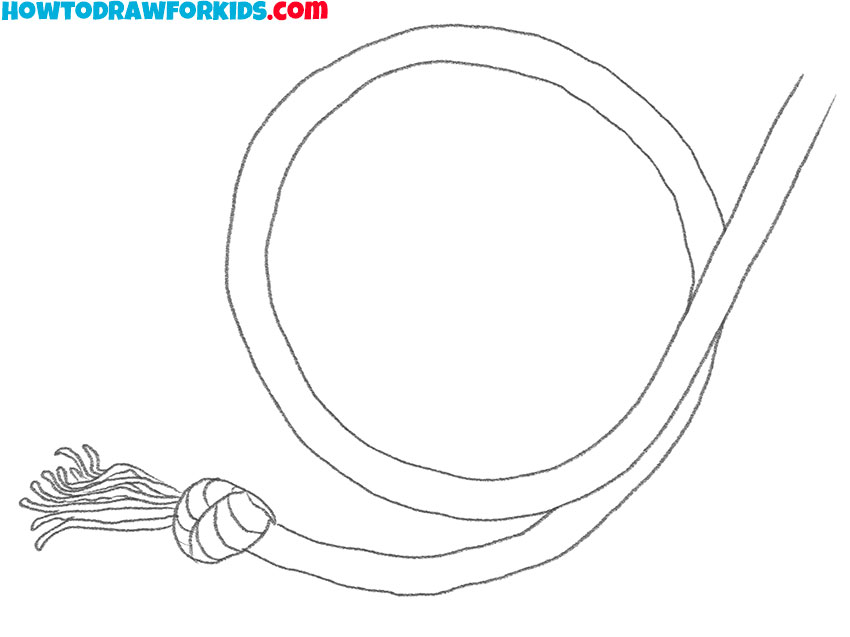
- Correct inaccuracies.
Use the eraser to remove unnecessary auxiliary lines from the rope you have drawn.
- Make your drawing more realistic.
Now you should add a lot of curved lines all over the surface of the rope.

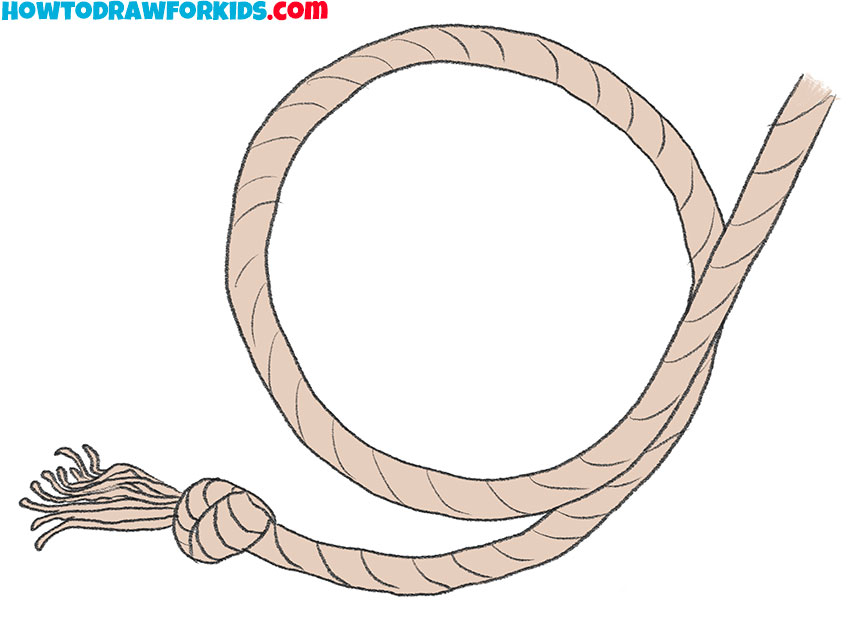
- Color the drawing.
To color this rope, you should use beige or light brown.
I remind you that you can download the PDF file that I have prepared especially for your convenience. This file contains a short version of this lesson and has additional useful training materials. Download this file so as not to lose it and return to this lesson at any time convenient for you.