How to Draw a Child
In this lesson, I want to show you how to draw a child. Improve your artistic skills and enjoy the drawing process.

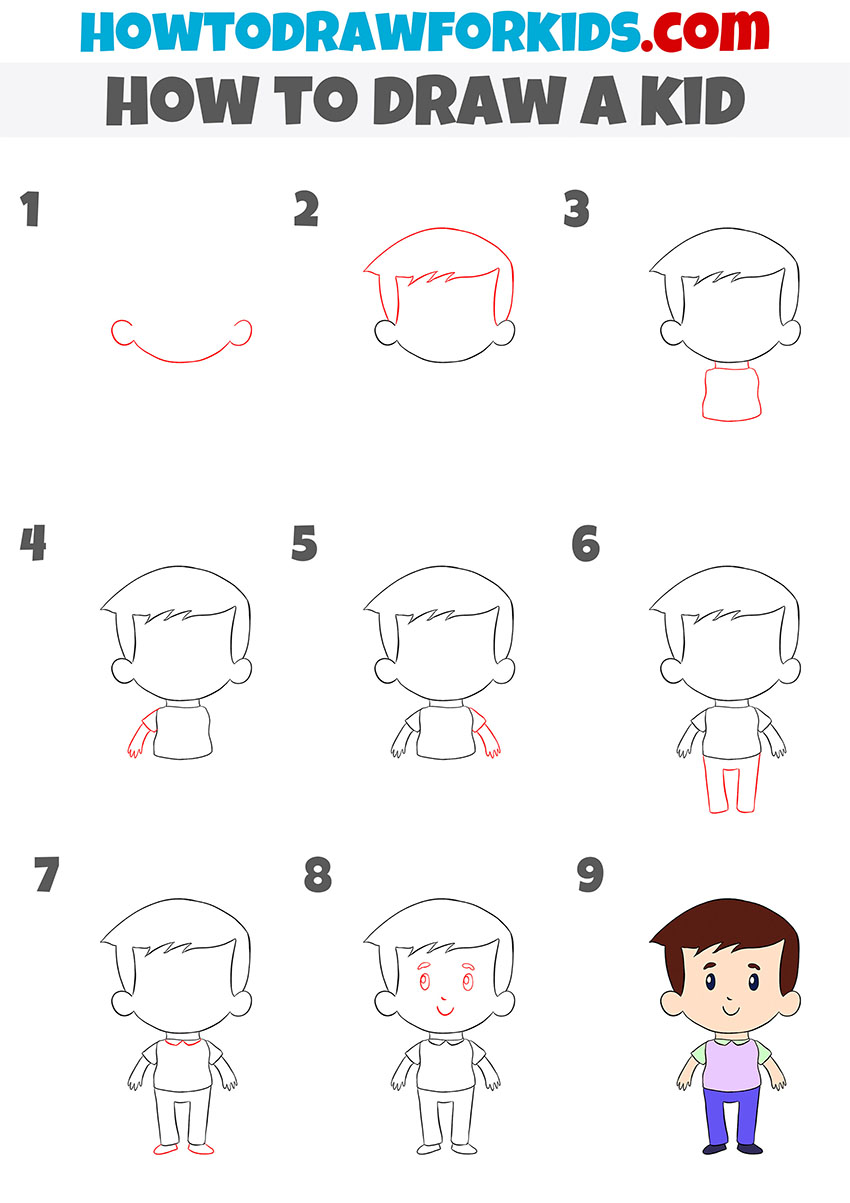
Now you will learn how to draw a child step by step. As an example, I chose a boy of primary school age. I have made this step-by-step guide as simple as possible so that any novice artist can easily follow all the drawing steps.
The drawing is made in a cartoon style, so the boy does not look realistic, but very funny. During the lesson, try to keep the same proportions of the body. The head is much larger than the body, the arms, and legs are short and thin.
You can use any colors you like to color the drawing. Check that you have all the art supplies at hand and start the lesson.
Materials
- Pencil
- Paper
- Eraser
- Coloring supplies
Time needed: 30 minutes
How to Draw a Child
- Draw the head.
This is a simple step in which you should draw an even oval.

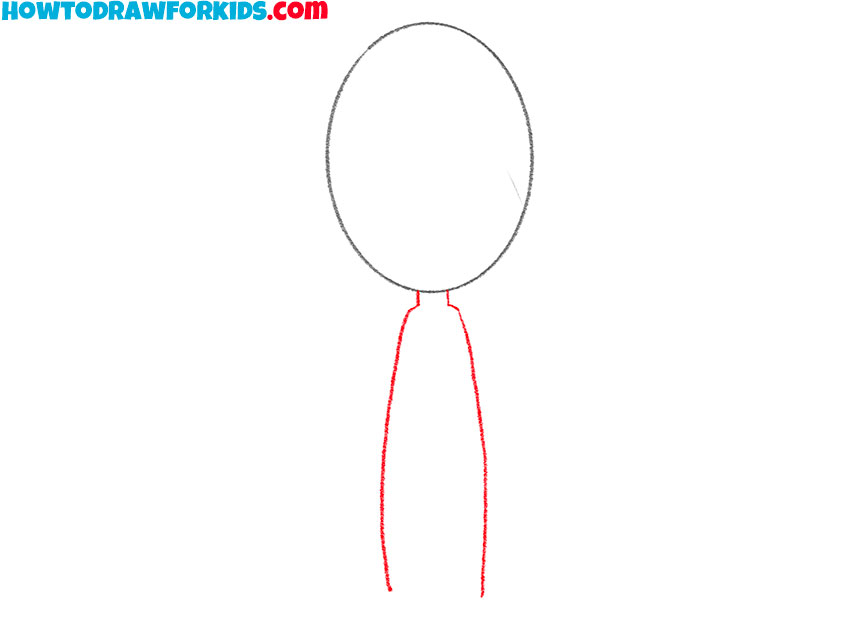
- Depict the torso.
Below the head, add a short neck and draw the thin elongated body.
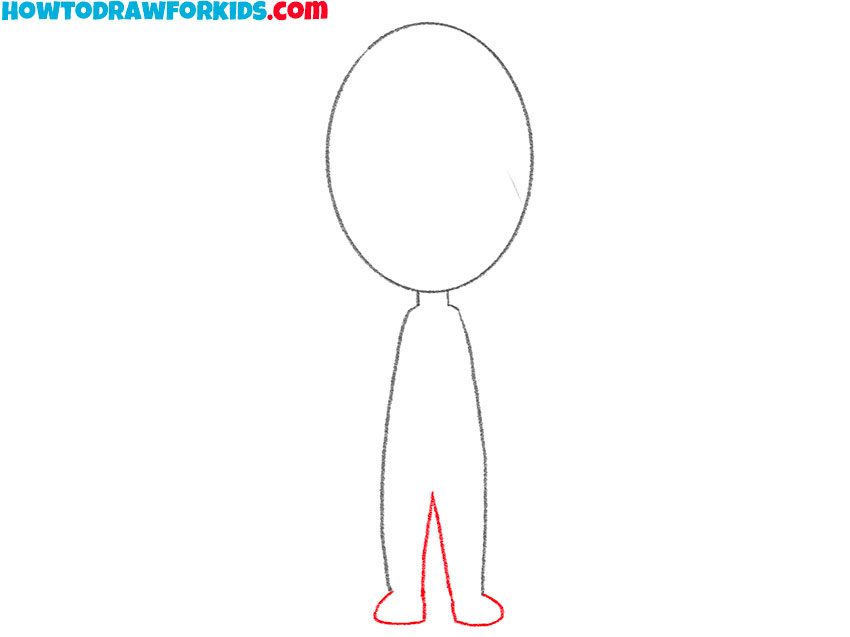
- Sketch out the legs.
Draw a few lines to depict the outline of the legs. The feet are turned in opposite directions.
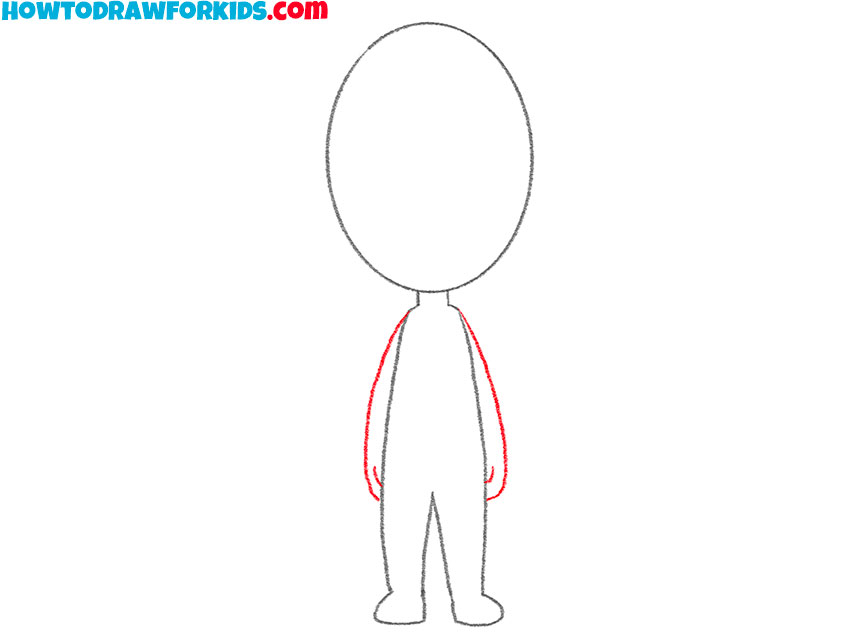
- Add the arms.
The arms are thin and close to the body.
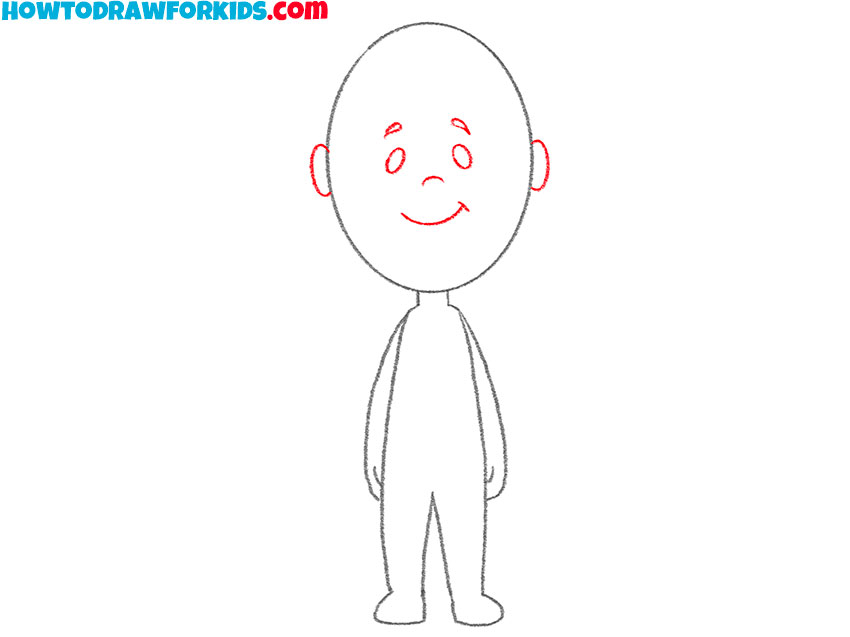
- Depict the ears and facial features.
Sketch out two oval ears, add eyes, eyebrows, nose, and mouth.
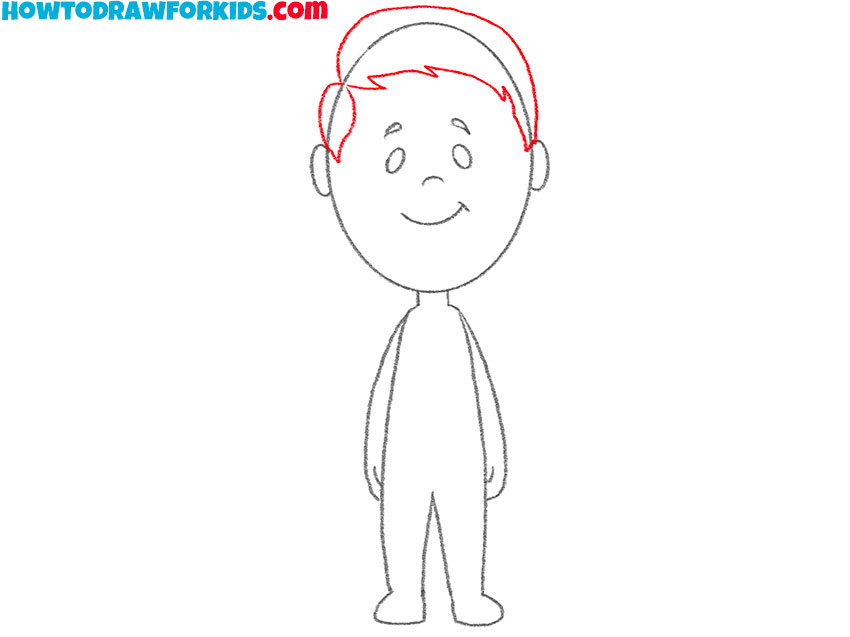
- Draw the hair.
Use jagged lines to depict the spiky strands.
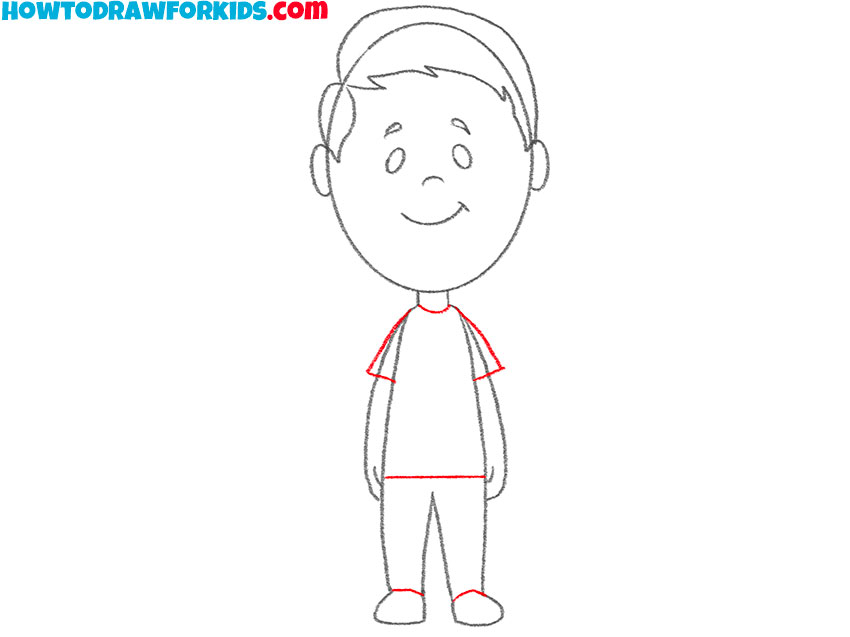
- Add the clothes and shoes.
Draw a few lines to represent the t-shirt. Depict transverse lines on the legs.
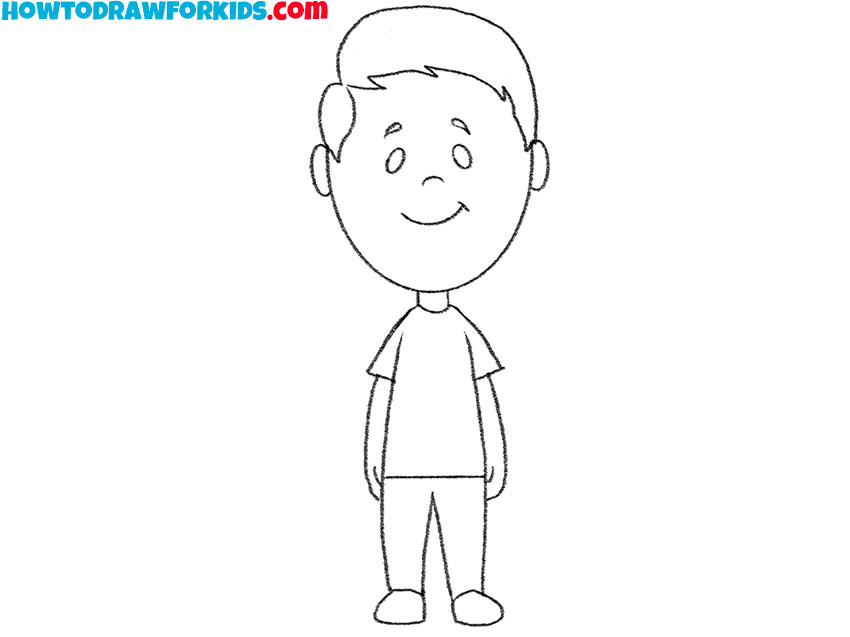
- Correct inaccuracies.
Use the eraser to carefully remove any extra lines and correct the mistakes if necessary.
- Color the child.
Use any color for the skin and hair. Color the clothes with bright colors.
As usual, at the end of the lesson, I prepared a PDF file that contains a brief instruction and additional useful materials. This will help you return to the lesson at any time and complete it again.
How to Draw a Child: Alternative Method
In this tutorial, you will draw a little boy. The kid you draw with this tutorial will be drawn in a cartoon style, so his head will look quite big in relation to his body size.
If you are ready to start doing this work, then I advise you to take the art supplies that are listed below right now, and then carefully follow my instructions.