How to Draw a Camera
I suggest you complete an excellent drawing lesson in which you will learn how to draw a camera step by step.
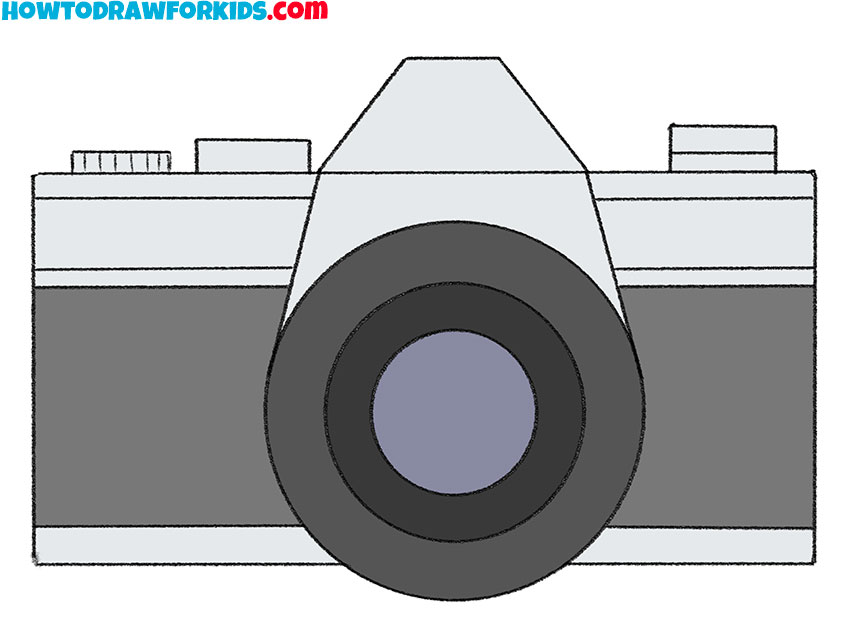
I am glad to bring to your attention another fascinating and very useful drawing lesson, in which I will tell and show you how to draw a camera step by step.
This drawing lesson will greatly help you to improve your skills as an artist, as you will be able to practice drawing various geometric shapes in it. To make your drawing more beautiful, you can use a ruler to draw straight lines and a compass to draw circles.
The camera is a common item that many of you have. The camera is known as a device with which you can take a photo or video. This helps us keep many beautiful and bright moments in our memory.
Outwardly, we always see a lens on the camera, as well as various buttons that help to focus the image and take a photo. If you already want to start this drawing lesson as soon as possible, then you can prepare art supplies right now, and then carefully follow this step-by-step instruction.
Camera Drawing Tutorial
Materials
- Pencil
- Paper
- Eraser
- Coloring supplies
Time needed: 30 minutes
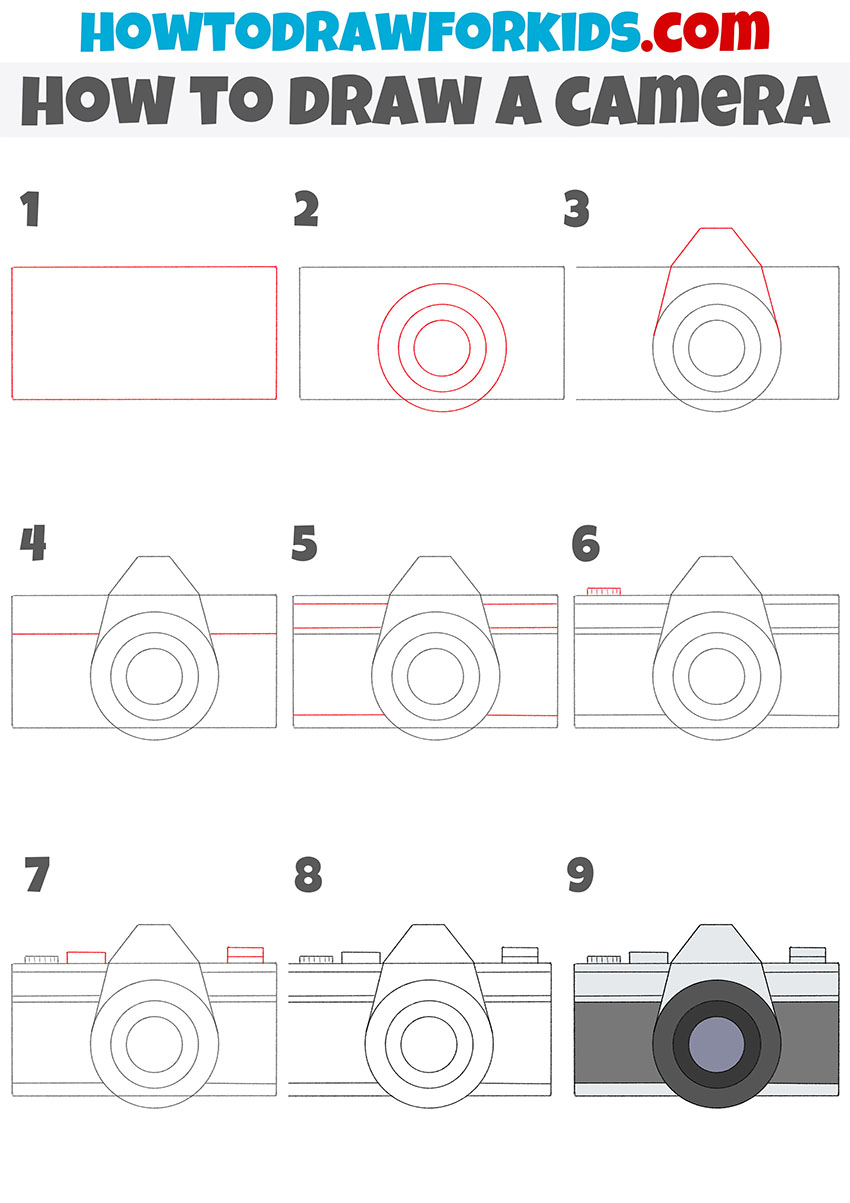
How to Draw a Camera
- Draw the outline of the main body of the camera.
To complete this step, you need to draw one rectangle using straight lines.

- Start drawing the lens.
Inside the drawn rectangle and outside its lower limits, draw the outlines of three circles.
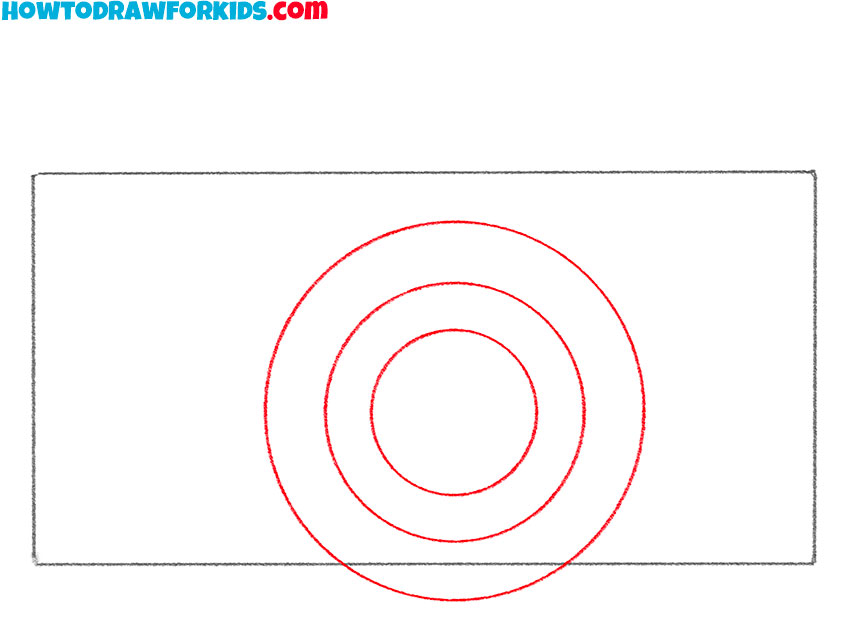
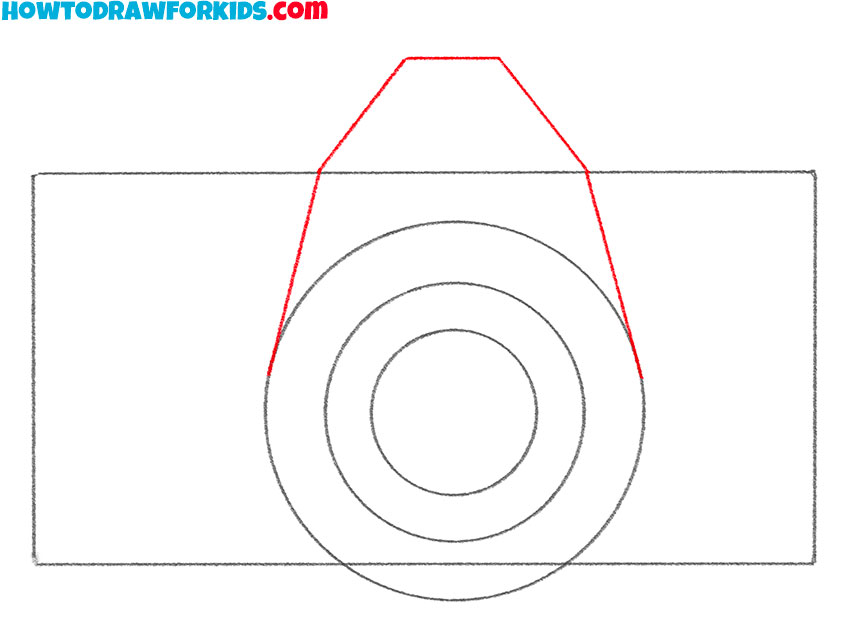
- Add another camera lens element.
On top of the drawn circles, add a shape using five straight lines, as shown in the image.
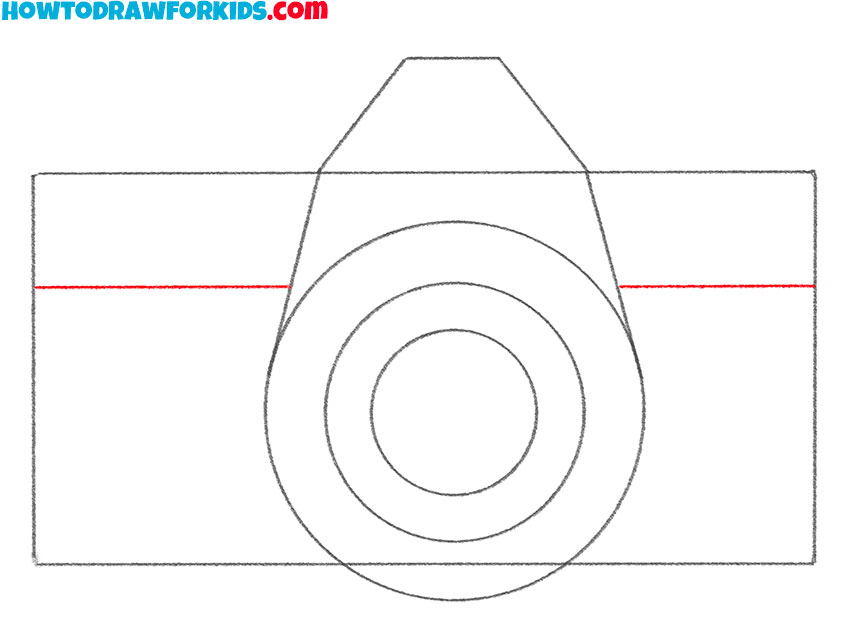
- Depict an element of the main part of the camera.
Inside the drawn rectangle, draw two straight horizontal lines of different lengths.
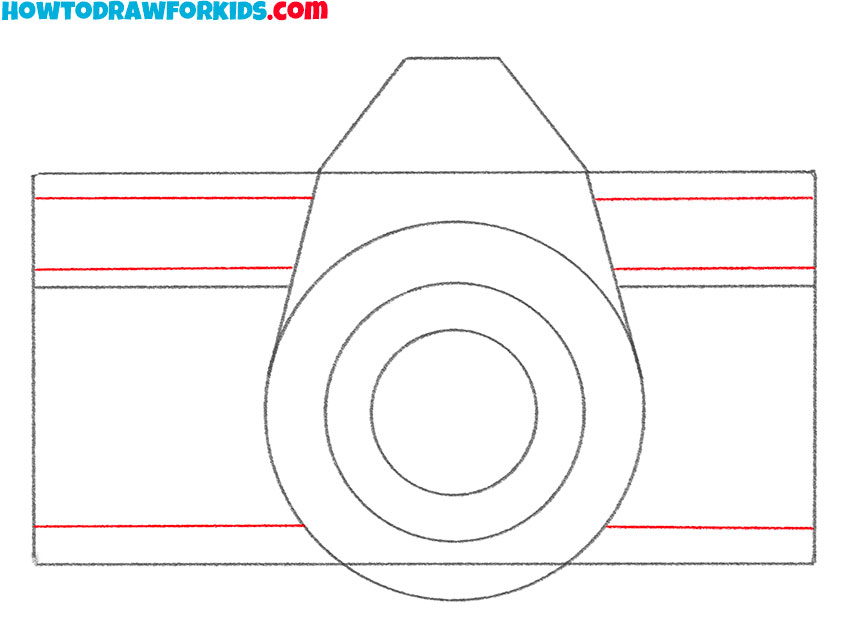
- Add some more camera elements.
Now you should draw some more straight horizontal lines as shown in the picture.
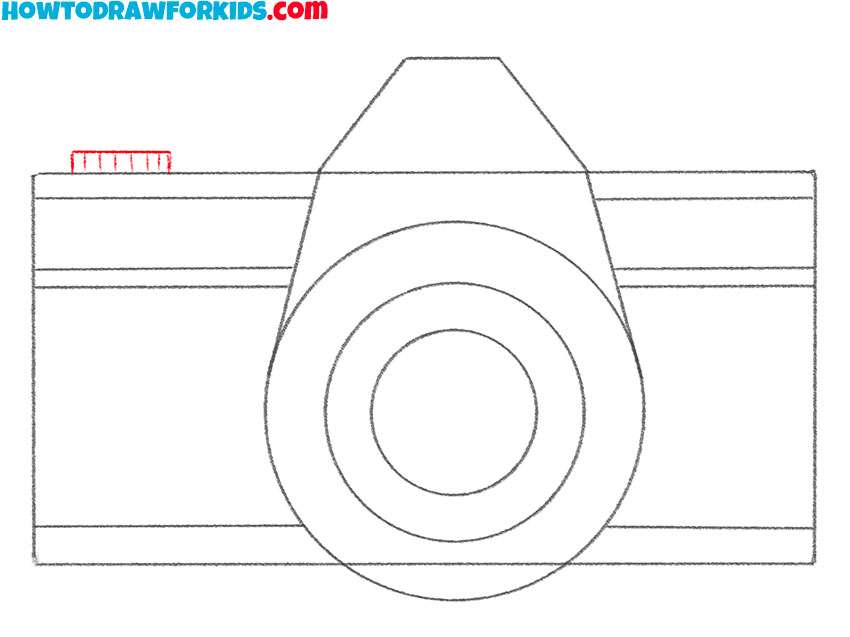
- Draw the wheel on top of the camera.
At the top of the camera, add equal straight vertical lines and a longer horizontal line.
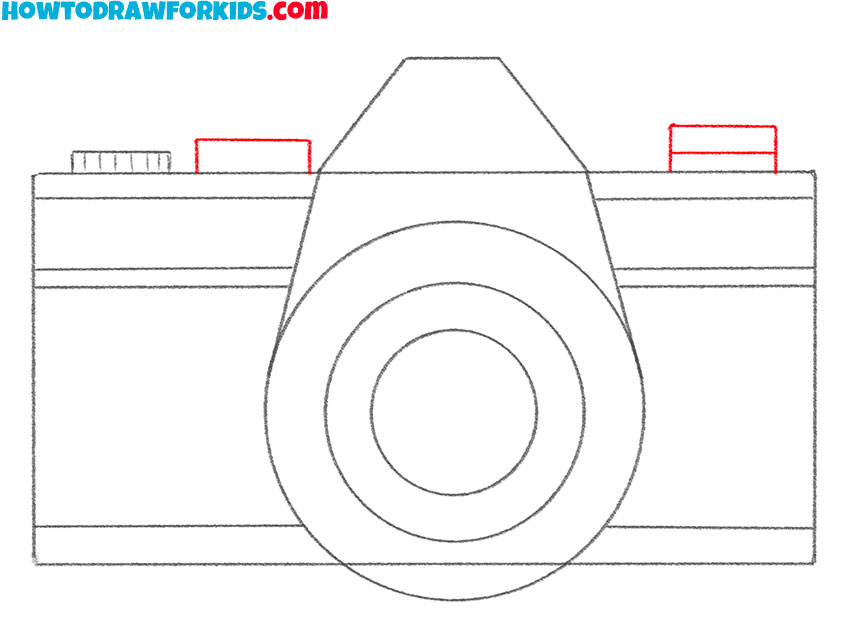
- Depict two more buttons on the top of the camera.
On the right and left sides of the camera lens, add the buttons.
- Correct inaccuracies.
Now you should use the eraser to remove unnecessary lines.

- Color the drawing.
To color the camera, use shades of grey, black, light green and brown.
Don’t forget to download the PDF file, which contains a short version of this lesson, as well as additional practice materials to help you complete it.
Mirrorless Camera Drawing Tutorial
So let’s now try to draw a mirrorless camera. As you can see, there are quite a lot of differences between these two types of cameras.
The first thing that catches your eye is, of course, the absence of a mirror mechanism in the example that you can see below. Also, you can see that I used a slightly different sequence of steps here.