How to Draw a Diamond Ring
In this lesson, I show you how to draw a diamond ring. With the help of clear instructions, you will practice drawing simple geometric shapes.
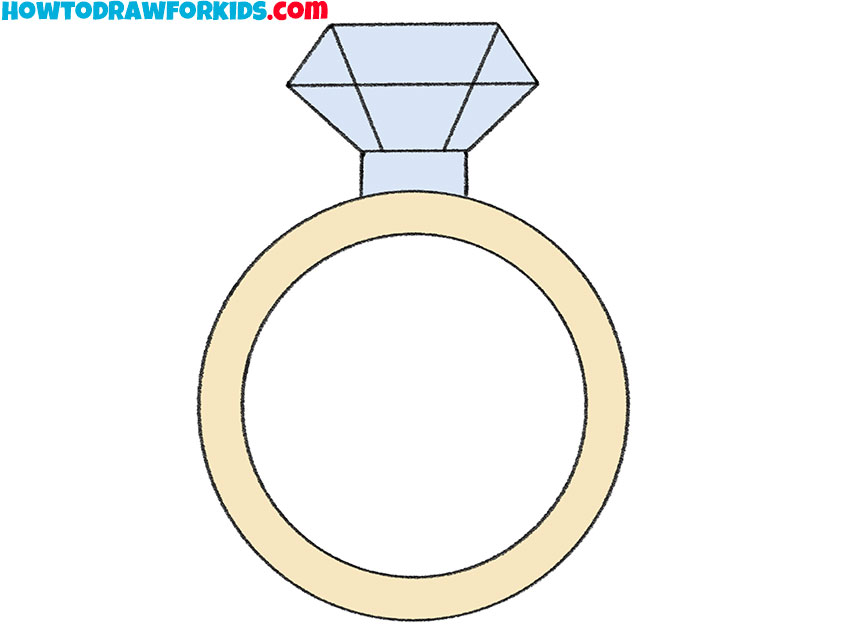
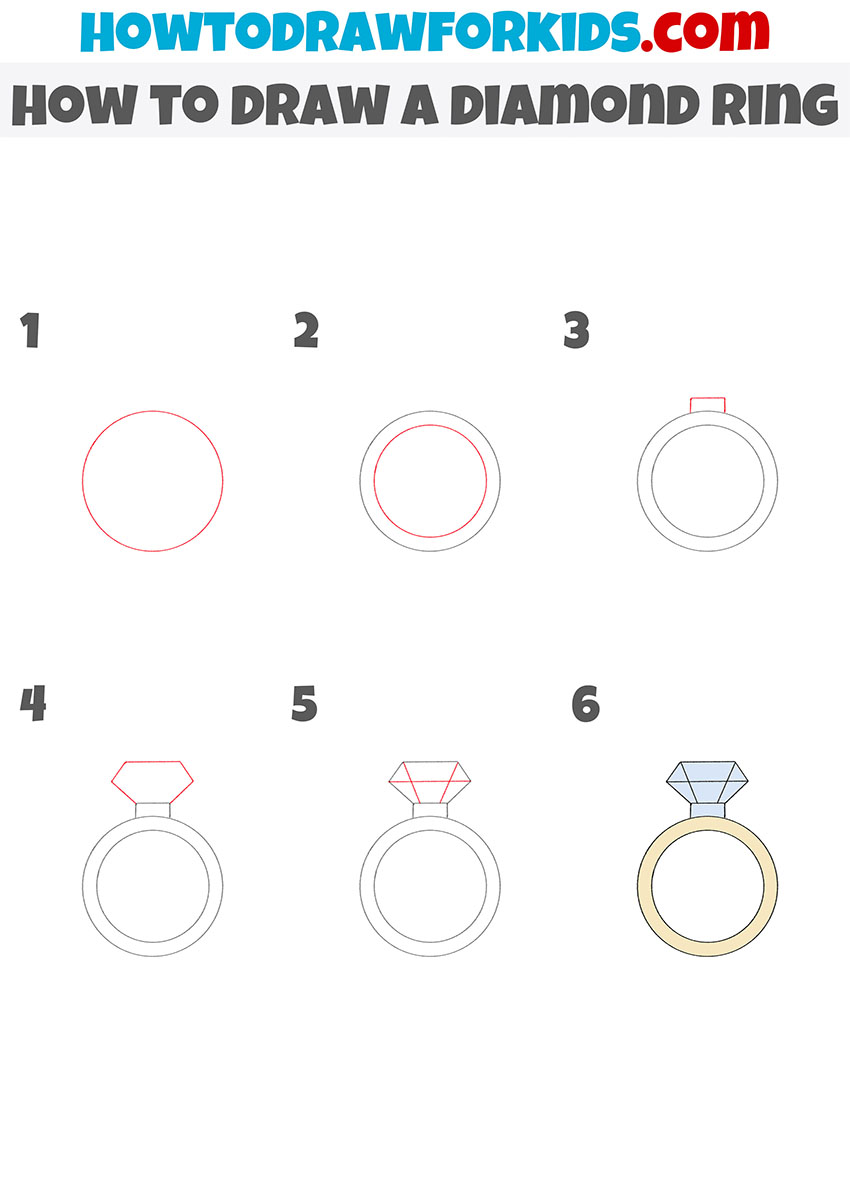
So, here is a fascinating step-by-step tutorial with which you will learn how to draw a diamond ring. Rings with precious stones are a very popular piece of jewelry that emphasizes the taste and status of its owner.
A diamond has a unique brilliance and an endless lifespan, which is why diamonds are widely used in the production of jewelry. The ring is a symbol of love and endless fidelity, so there was a tradition to insert diamonds into wedding rings. Also, a diamond ring can be a great gift for any occasion.
In this picture, you see a round ring and a diamond as decoration. This tutorial will require your ability to draw rounded and straight lines. Try to do it carefully. In the process of work, you can use improvised tools, but it is better to draw all the lines yourself, this will be a great workout for you.
Materials
- Pencil
- Paper
- Eraser
- Coloring supplies
Time needed: 30 minutes
How to Draw a Diamond Ring
- Draw the outer outline of the ring.
Determine the size of the drawing and draw an even circle.

- Add the inner outline of the ring.
Inside, draw another circle, thereby indicating the thickness of the ring.

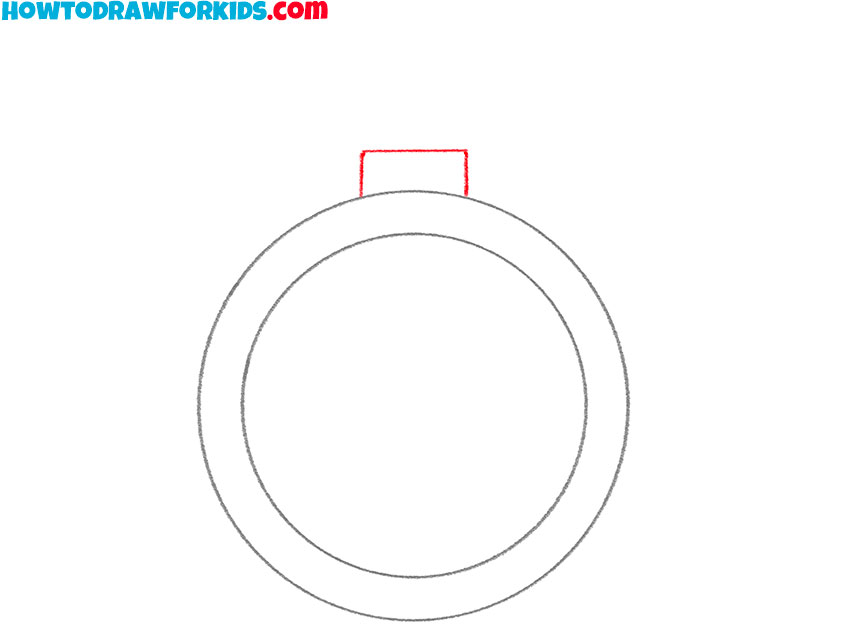
- Sketch out the mount for the diamond.
At the top of the ring, draw a small rectangular shape.
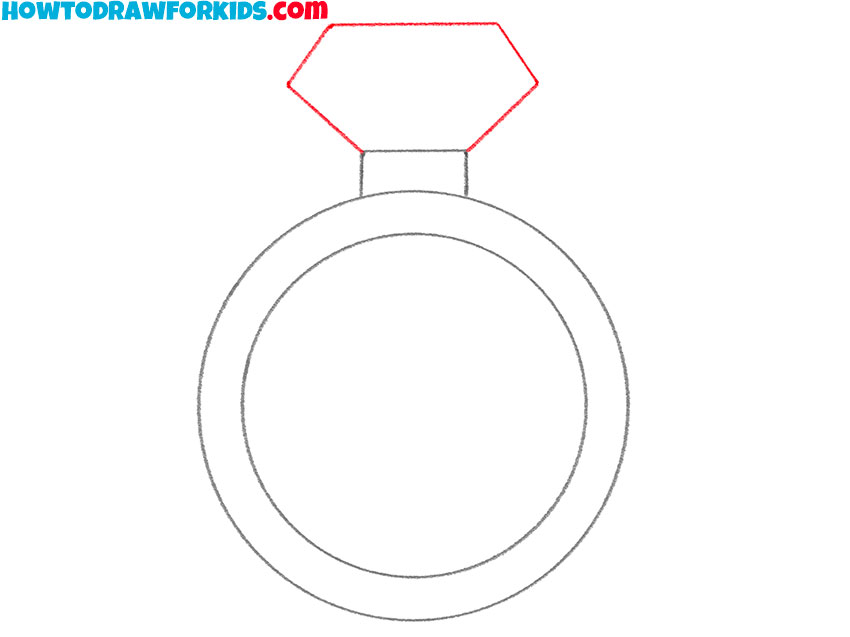
- Depict the diamond.
Using straight lines, draw the polygon of the same shape as in the example.
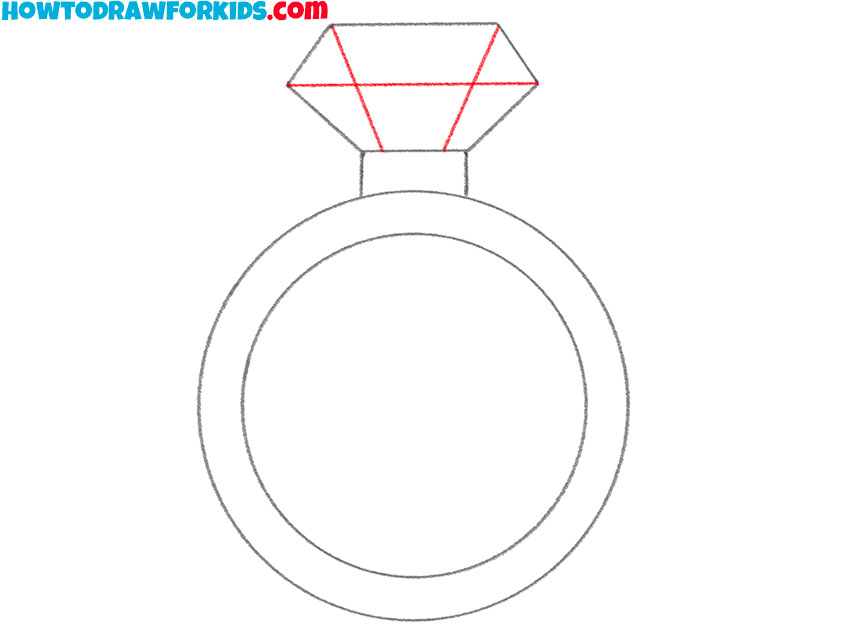
- Draw the facets on the diamond.
Carefully draw three even transverse lines.
- Color the diamond ring.
For coloring, use light beige and light blue.

By tradition, I have prepared for you a simplified version of the manual in the form of a PDF file. Rather, download the file so that you can always return to the lesson and complete it if necessary.

