How to Draw a Fountain
I suggest you complete a lesson in which you will learn how to draw a fountain. This simple lesson consists of nine simple steps.
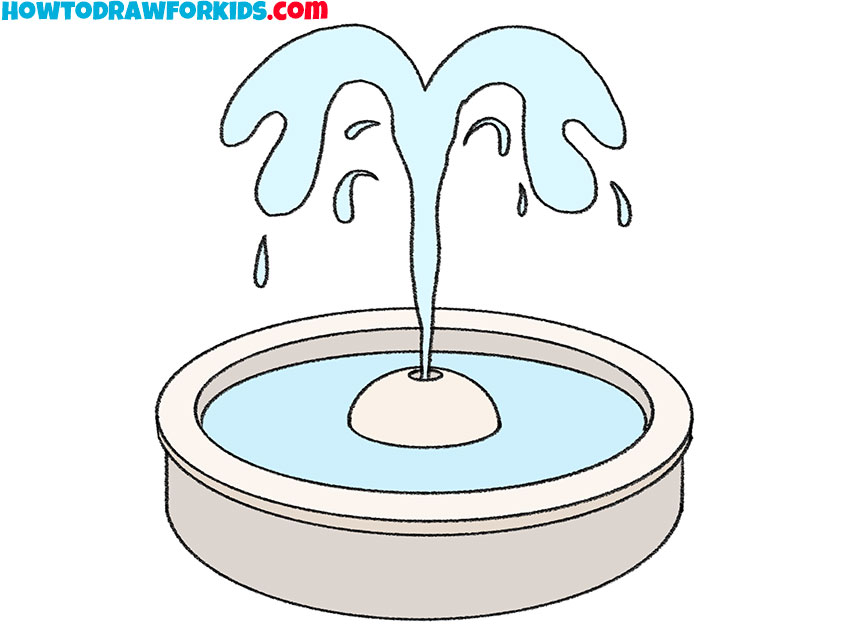
I have prepared for you a great drawing lesson in which I will tell and show you how to draw a fountain step by step. Any novice artist or child can easily cope with the implementation of this lesson, since this instruction does not contain any elements that are difficult to complete.
Each of you has definitely ever seen various fountains. The fountain is a structure that serves as a base or frame for jets of water beating up or flowing down. Initially, fountains were built mainly only as a source of drinking water. However, over time, these structures began to be used as a decoration, architectural object or attraction.
This drawing lesson will be useful for each of you, because when you complete it, you will be able to practice drawing various geometric shapes, such as arcs and ovals. To make this drawing beautiful and neat, you must be able to draw smooth lines. I think that you can’t wait to start this excellent drawing lesson, so I recommend that you prepare art supplies right now, and then carefully follow this instruction and enjoy the process of drawing.
Materials
- Pencil
- Paper
- Eraser
- Coloring supplies
Time needed: 30 minutes
How to Draw a Fountain
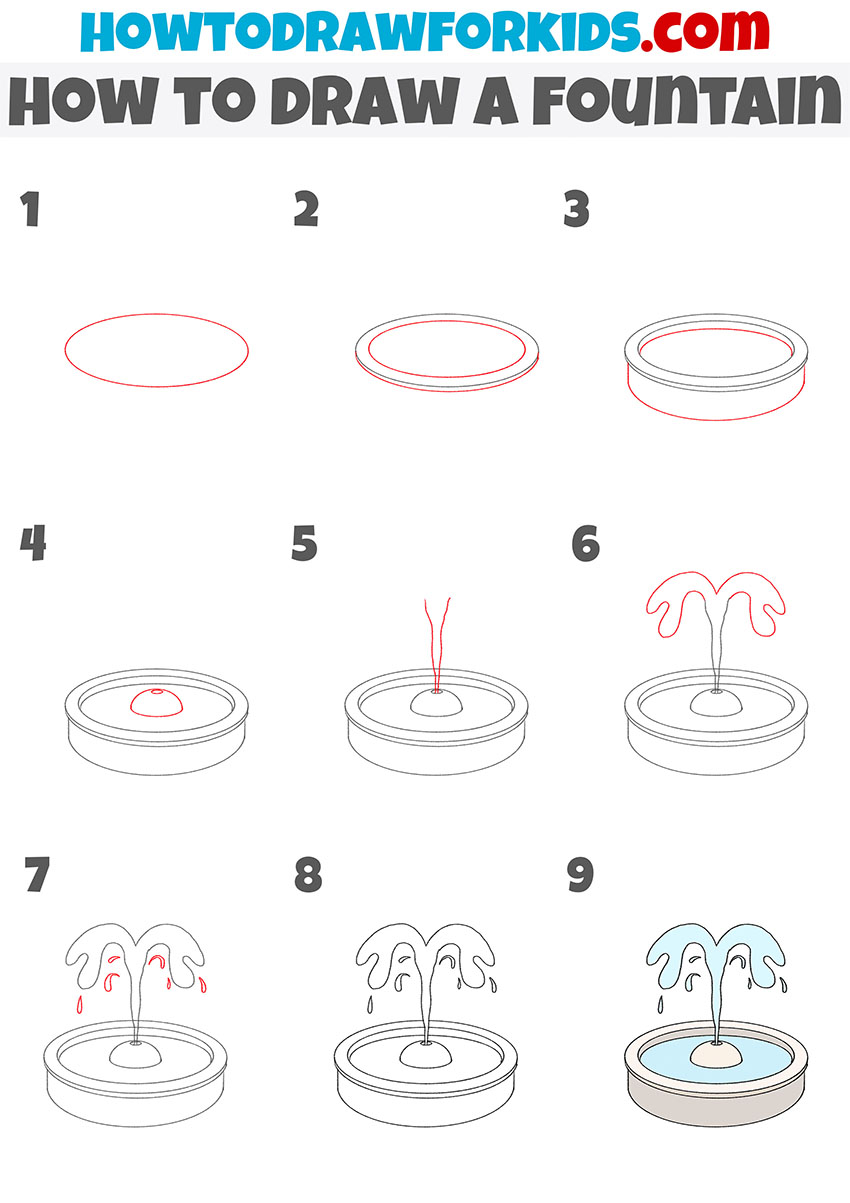
- Start drawing the outline of the fountain.
To start drawing the fountain, you need to draw one oval, as shown in the picture.

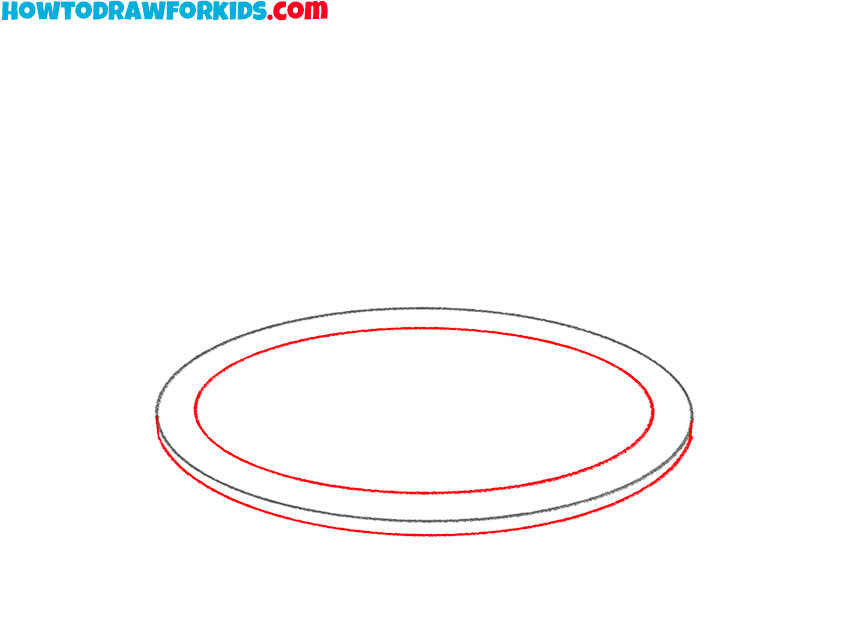
- Add an outline to the inside of the fountain as well as its outside face.
Draw another smaller oval inside the one drawn earlier, add an arc at the bottom of the fountain.
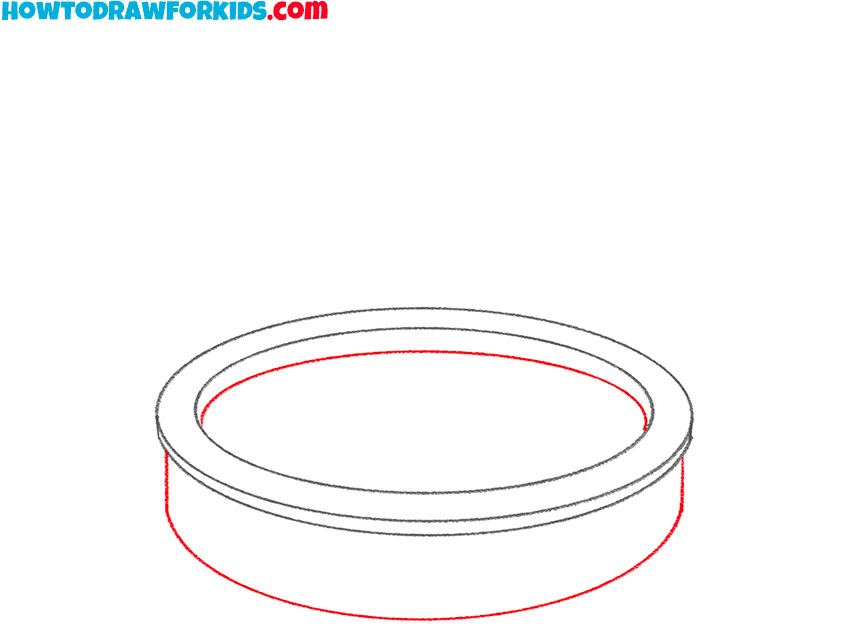
- Continue drawing the inside and bottom of the fountain.
Draw an arc inside the oval, and add an arc and two straight lines at the bottom of the fountain.
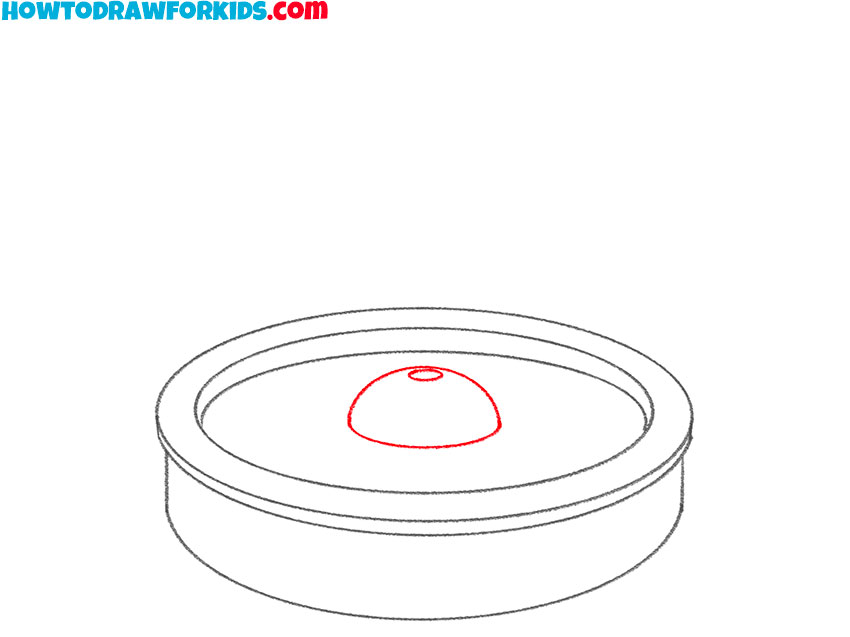
- Finish drawing the inside of the fountain.
Now you need to add two different sized arcs as well as one small oval as shown in the picture.
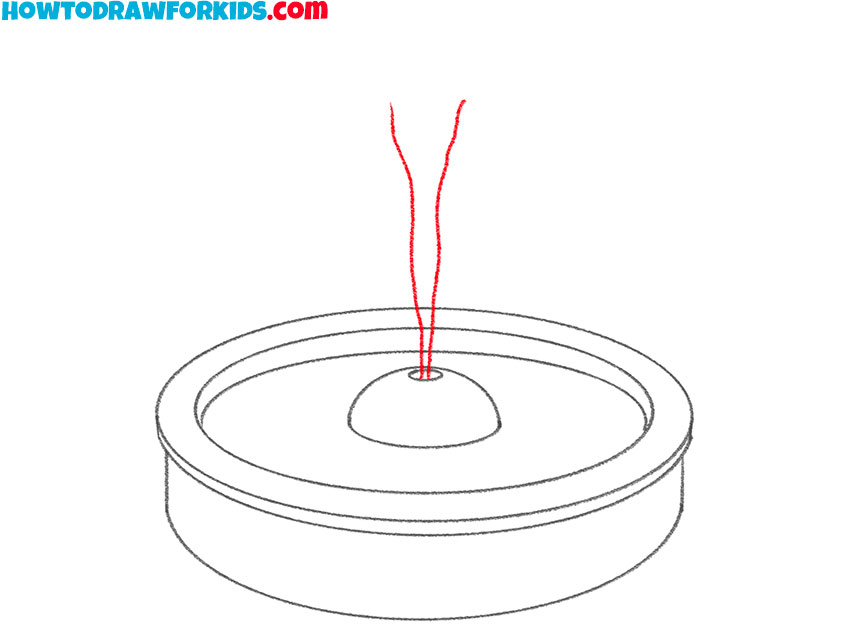
- Start drawing the water.
To draw the jets of water, draw two wavy lines from the small oval you drew earlier.
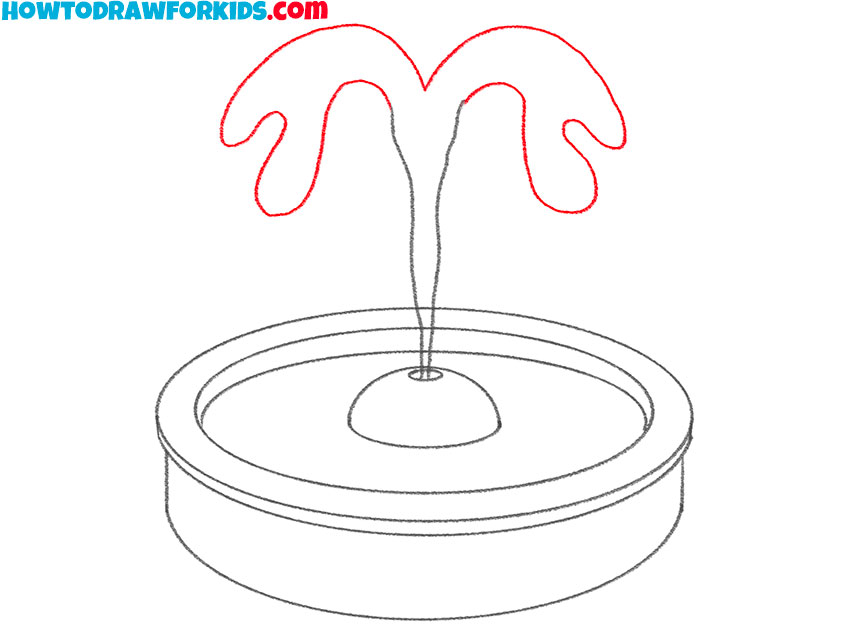
- Continue drawing the water.
From the ends of the previously drawn wavy lines, draw a few curved lines as shown.
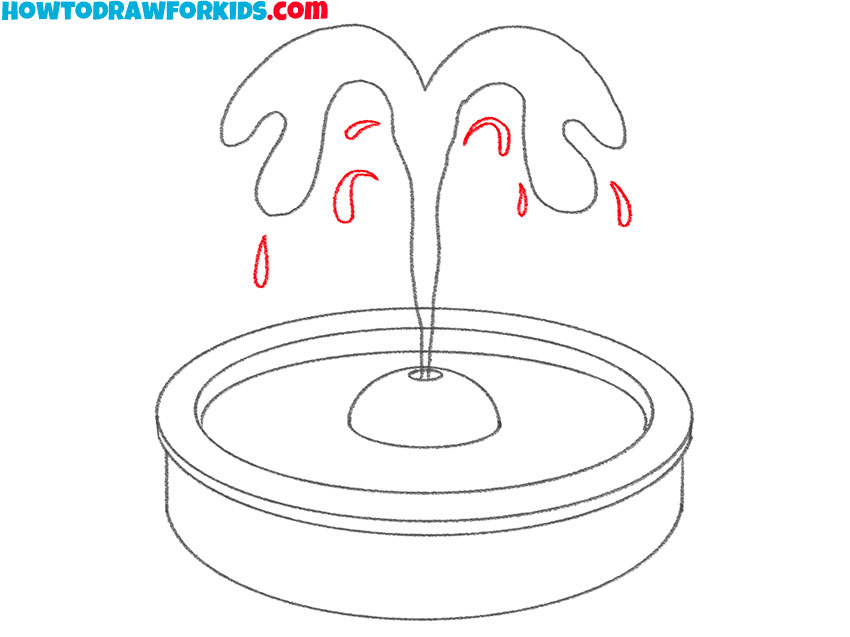
- Draw splashes of the water.
Now you need to draw individual water drops using curved lines of different lengths.
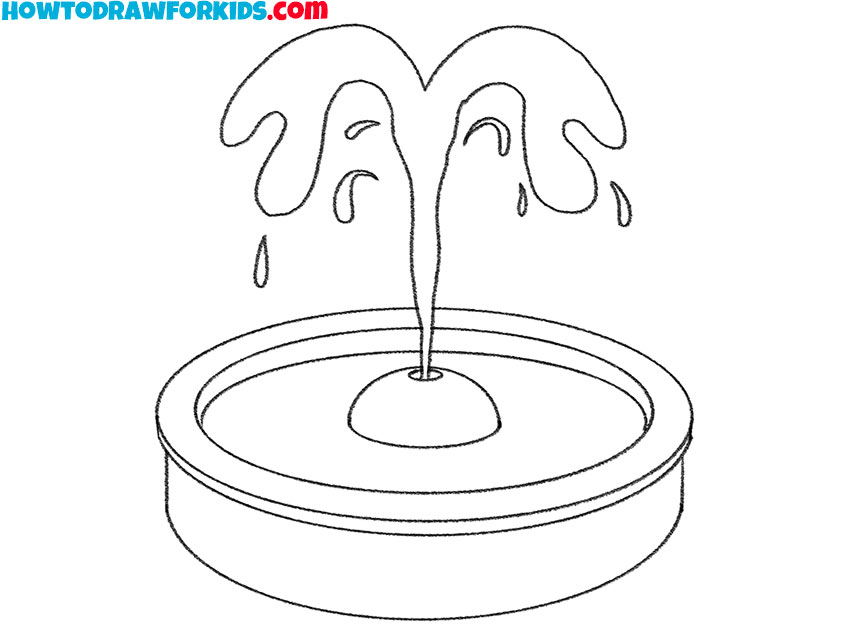
- Correct inaccuracies.
To prepare your drawing for coloring, erase unnecessary elements from it with the eraser.
- Color the drawing.
To color the fountain, you can use different shades of gray and blue.

Don’t forget to download the PDF file, which contains a short version of this lesson, as well as additional practice materials to help you complete it.

