How to Draw a Magnifying Glass
In this lesson you will learn how to draw a magnifying glass. If you master this lesson, you will acquire useful skills.
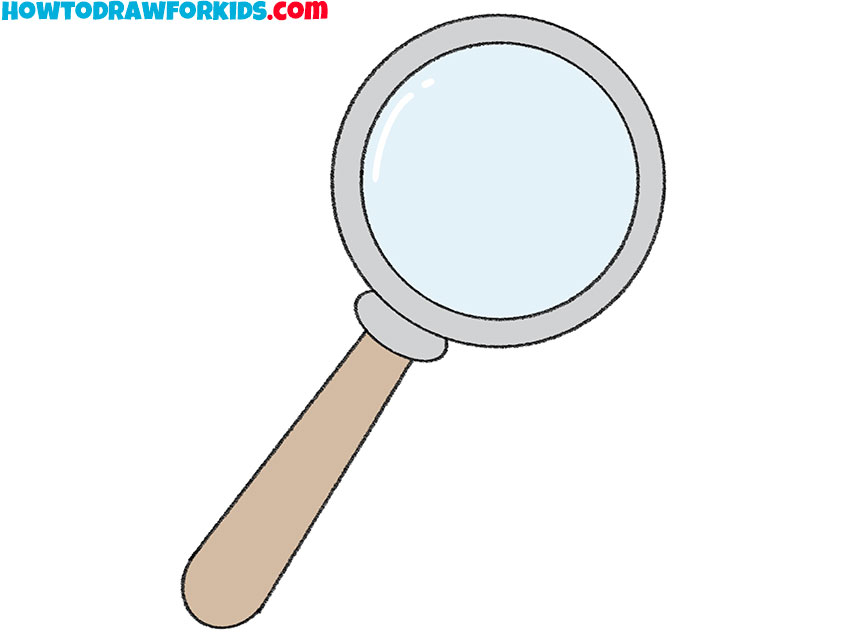
Especially for beginners, I have prepared a simple instruction on how to draw a magnifying glass. This subject is familiar to you. The magnifying glass is a framed lens with a comfortable handle on one side.
While doing this tutorial, you can use the tools at hand, but I recommend that you draw all the lines yourself, because it will be a good exercise for your creativity.
So, check if you have all the art supplies at the ready and start consistently following all the steps in this instruction.
Magnifying Glass Drawing Tutorial
Materials
- Pencil
- Paper
- Eraser
- Coloring supplies
Time needed: 20 minutes
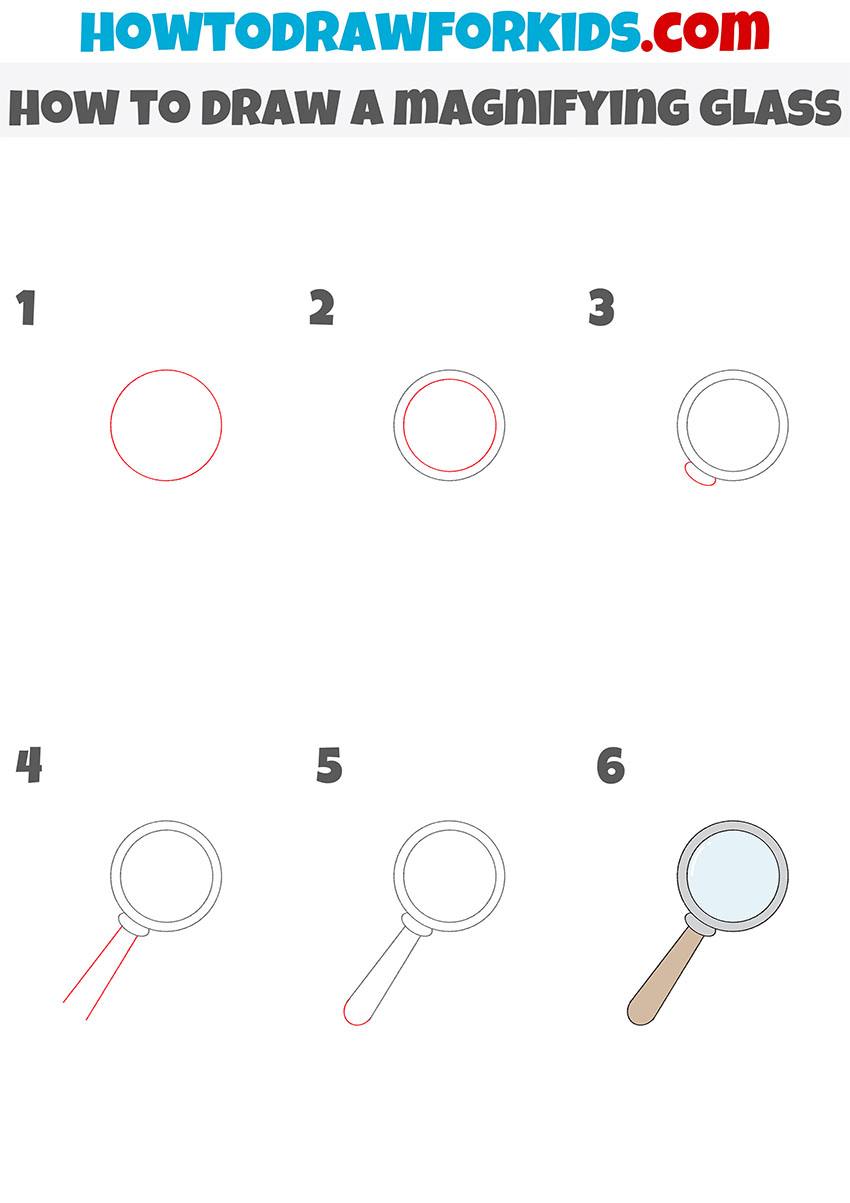
How to Draw a Magnifying Glass
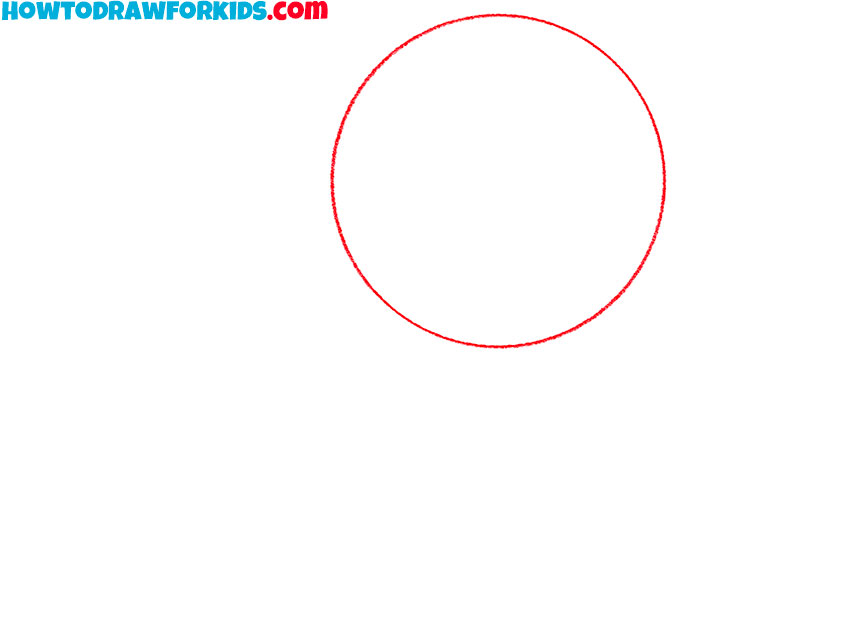
- Draw the outer outline.
Determine the size and location of your drawing and draw an even circle.
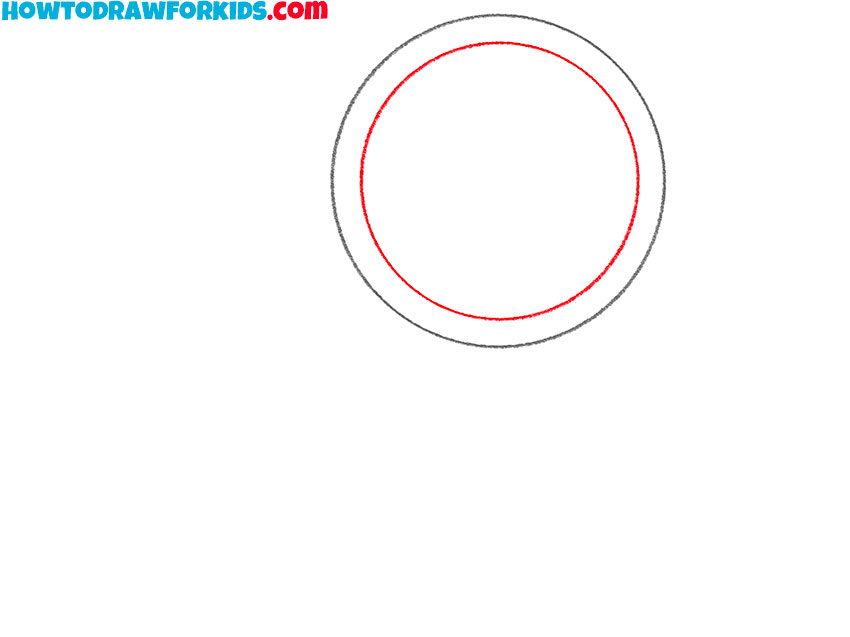
- Depict the inner outline.
Draw another circle inside. This way you will be able to depict the thickness of the frame.
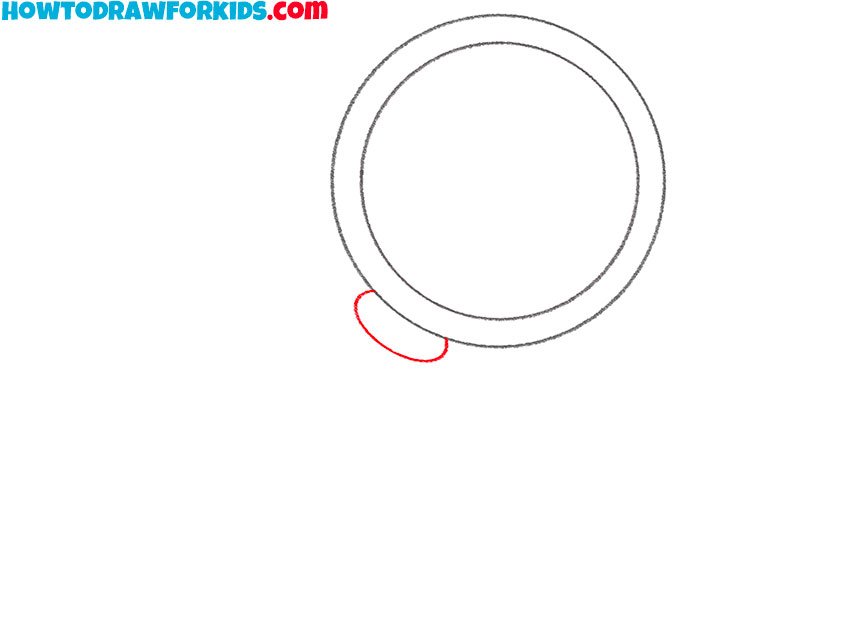
- Sketch out the pen mount.
At the bottom of the frame, draw a small oval-shaped element, as shown in the example.
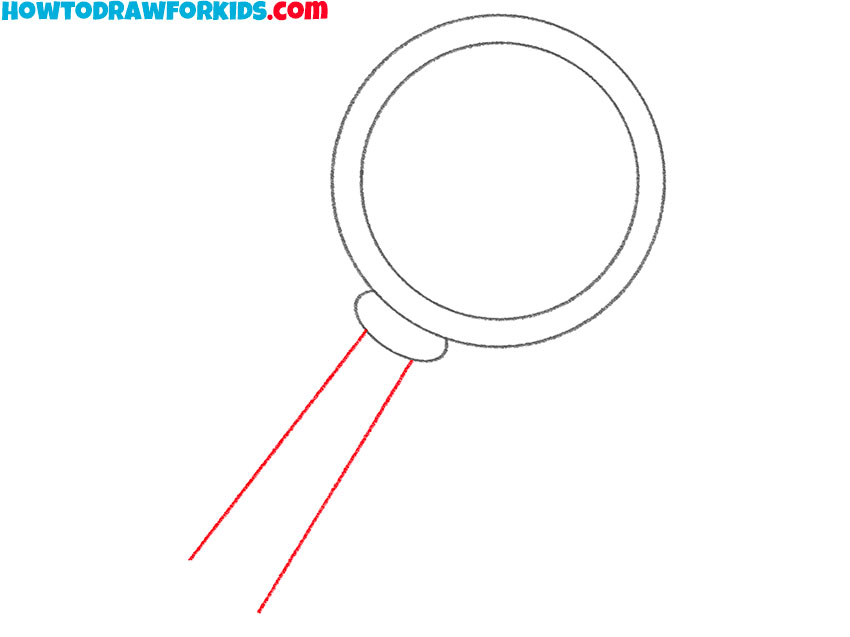
- Add the sides of the handle.
Draw two straight lines at some distance from each other.
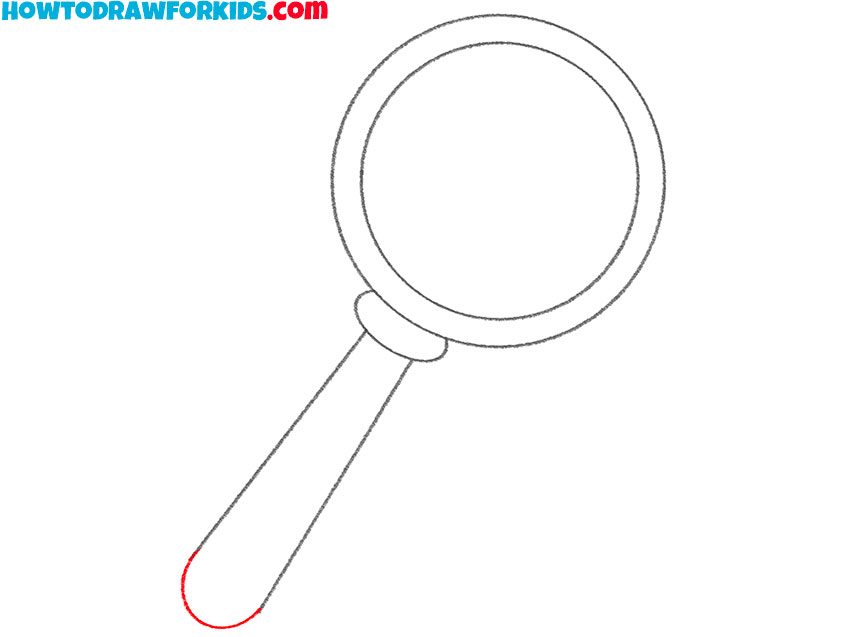
- Draw the end of the handle.
Depict a connecting line at the bottom to end up with a closed loop.
- Color the drawing.
You will need different shades of gray or blue and light brown.
Now you have learned how to draw a magnifying glass and made sure that it is very simple. I would be glad if you leave a little feedback in the comments, you can also offer your ideas for the next drawing lessons. Now you can download the PDF file that I prepared in advance for your convenience. The file contains useful information needed to complete this tutorial.