How to Draw a Plug
In this lesson, I want to show you how to draw a plug easily and quickly. Here is a very simple step-by-step guide.
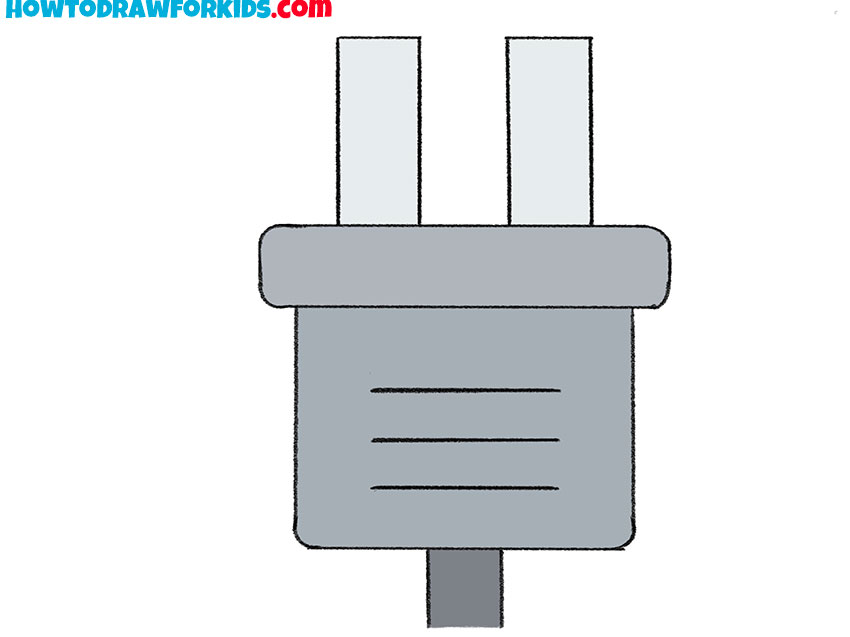
Now you will learn how to draw a plug. This lesson is suitable for any aspiring artist. This item is very familiar to you, because around us there are various electrical appliances in which the plug acts as a connector.
The design of the plug is very simple. The plug is made of plastic or any other material that does not conduct electricity. Electrical contacts are made of metal and have the form of pins.
Drawing a plug is very simple, and you will soon see for yourself. To successfully complete this lesson, you will need some drawing skills, as well as care and accuracy.
Materials
- Pencil
- Paper
- Eraser
- Coloring supplies
Time needed: 25 minutes
How to Draw a Plug
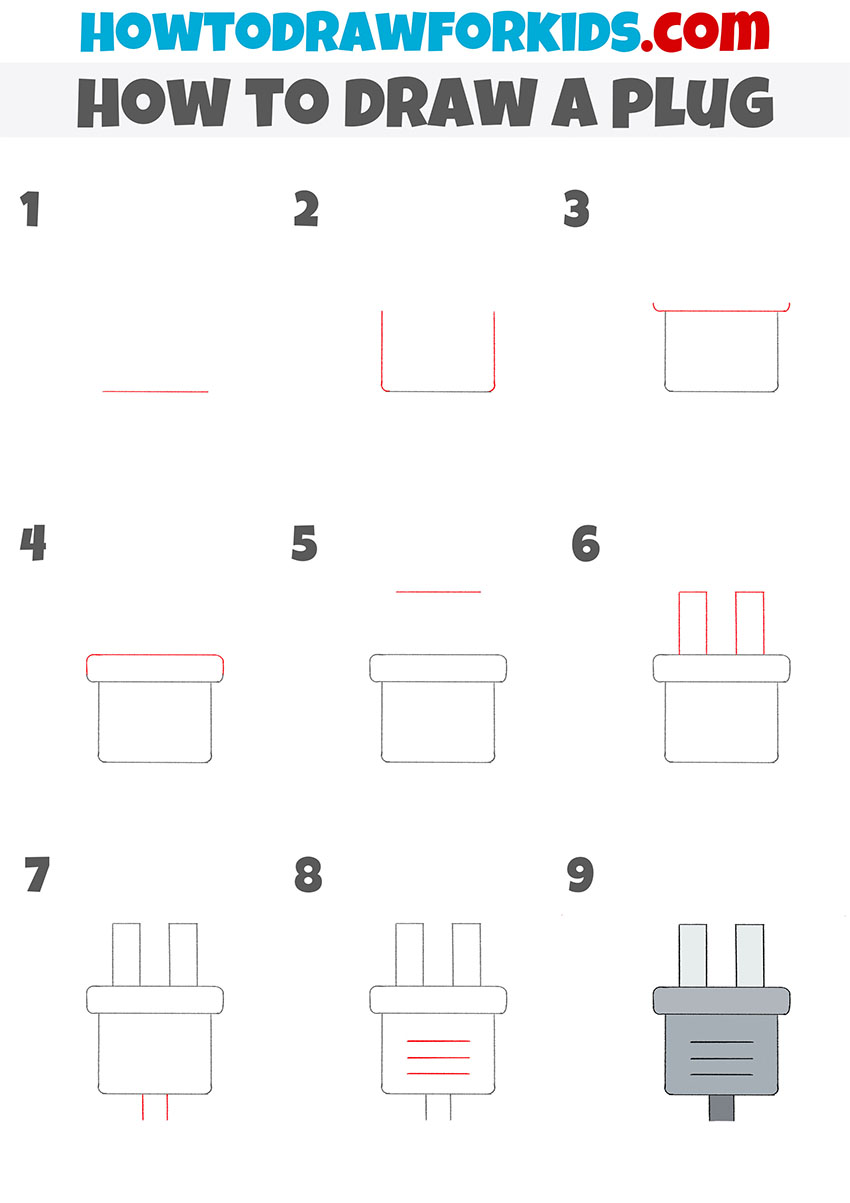
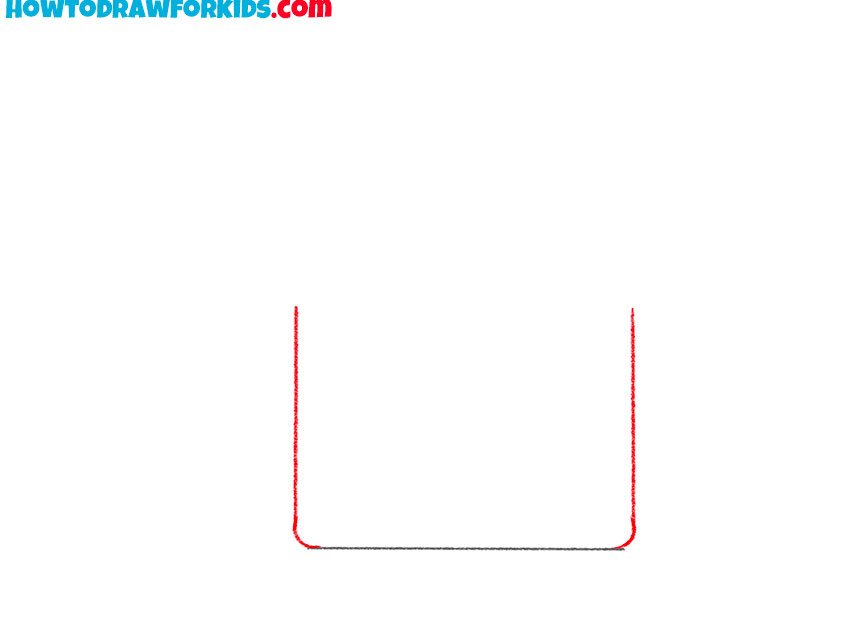
- Draw the bottom outline.
Depict a straight horizontal line.

- Add the sides.
Draw two vertical lines along the sides.
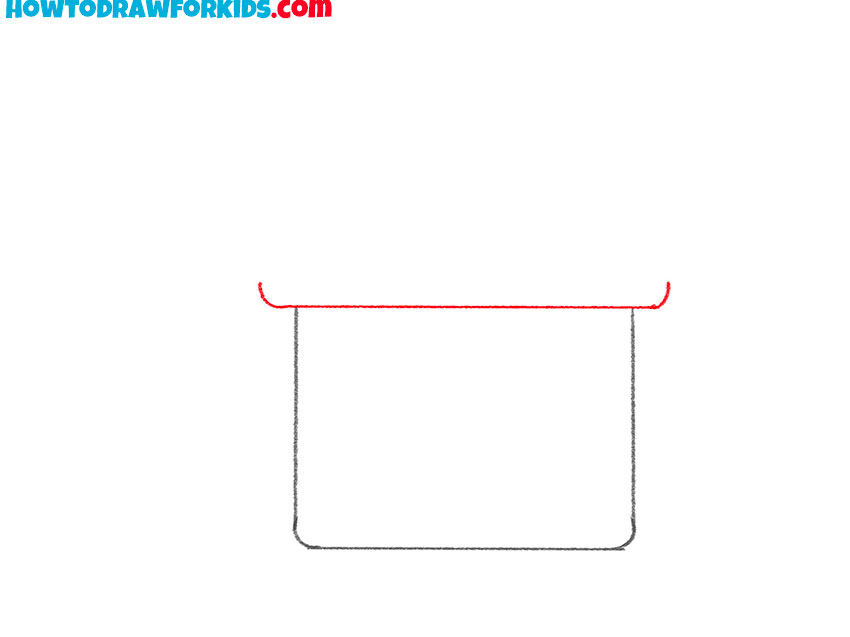
- Sketch out the next part of the plug body.
Depict a horizontal line and add rounded lines on the sides.
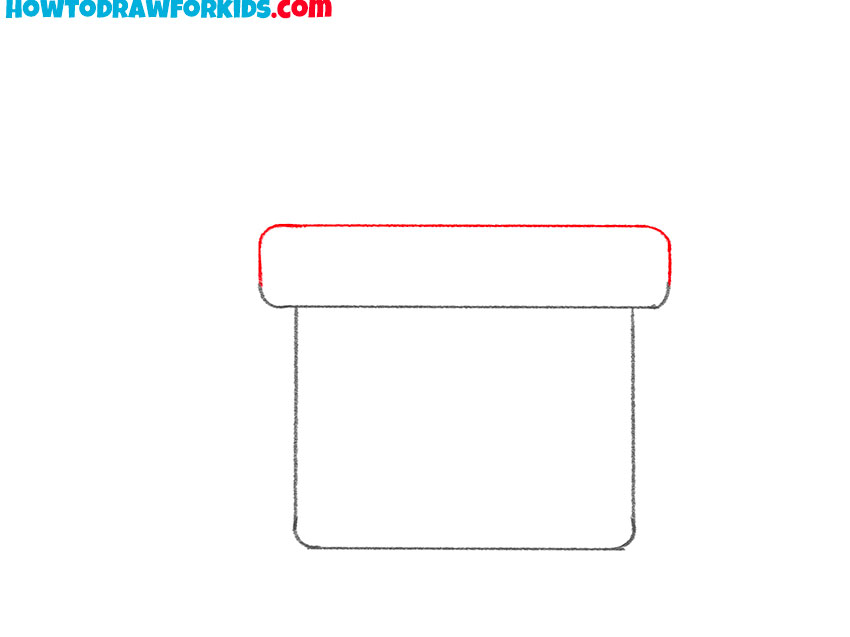
- Draw the top.
Depict the same lines as in the previous step to get the closed path.
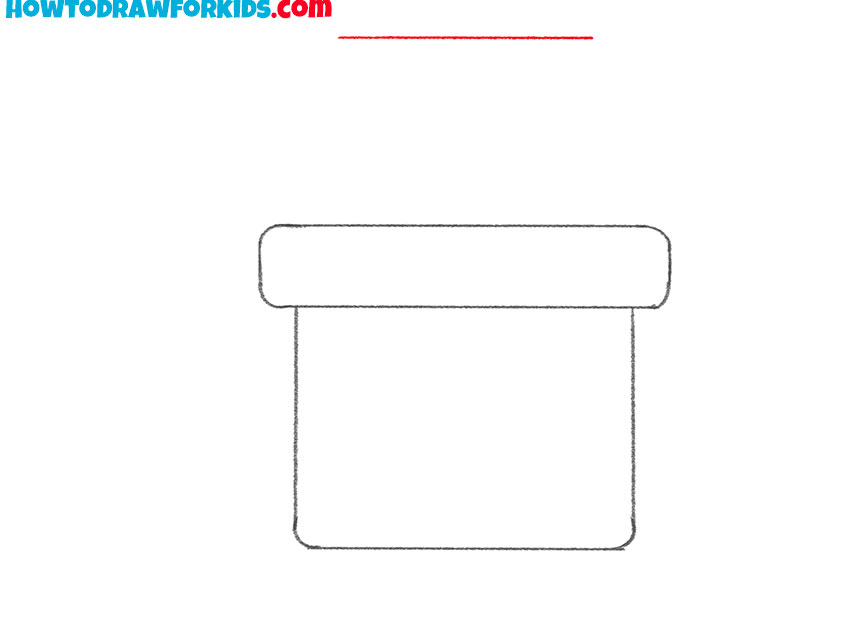
- Mark the length of the contact pin.
Sketch out a horizontal line over the body of the plug.
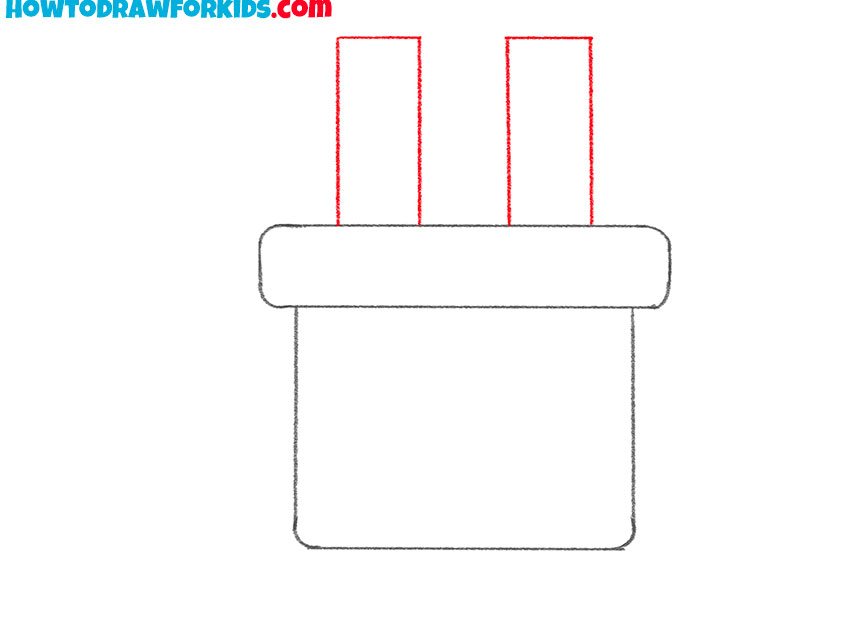
- Depict the contact pins.
Add vertical lines to draw two pins.
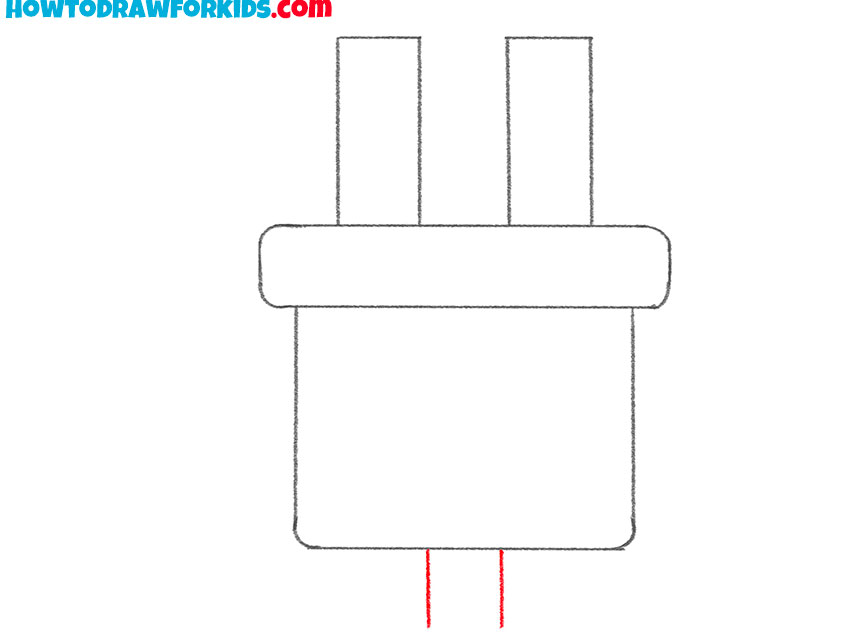
- Draw the occasion.
Add two small vertical lines at the bottom of the case.
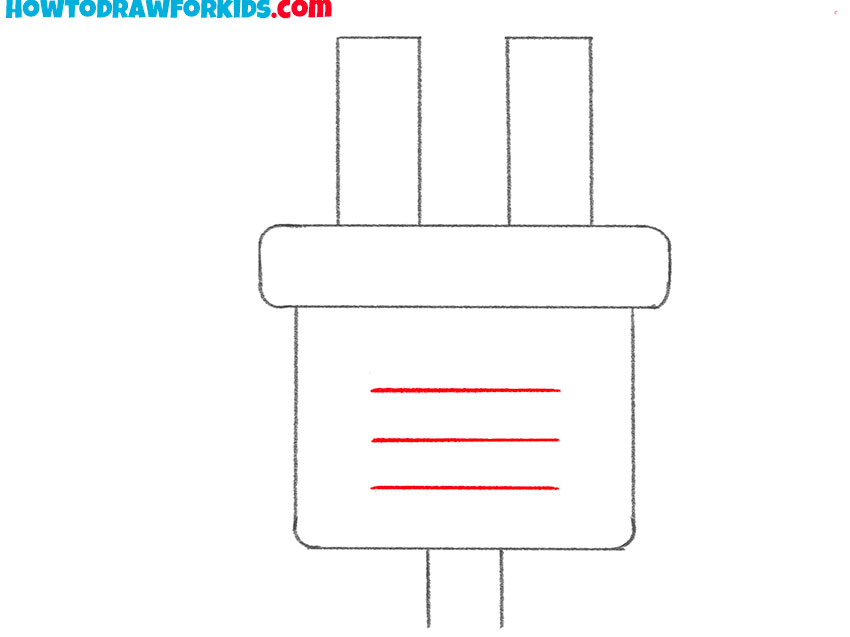
- Add the rest of the elements.
Depict three horizontal lines on the body.
- Color the plug.
Use different shades of gray.

The lesson has come to an end, and now you can evaluate the result of your work. If you carefully followed each step of the drawing, then you should get a great drawing. Write in the comments your opinion about this lesson and at the same time offer your ideas for the next lessons. I will definitely take into account all your wishes.
As a reminder, you can now download a short version of this tutorial as a PDF file. This will help you return to the lesson at any time, even if there is no Internet access.

