How to Draw a Pop It
This step-by-step tutorial on how to draw a Pop It toy will be as exciting and engaging as the process of playing with this item.
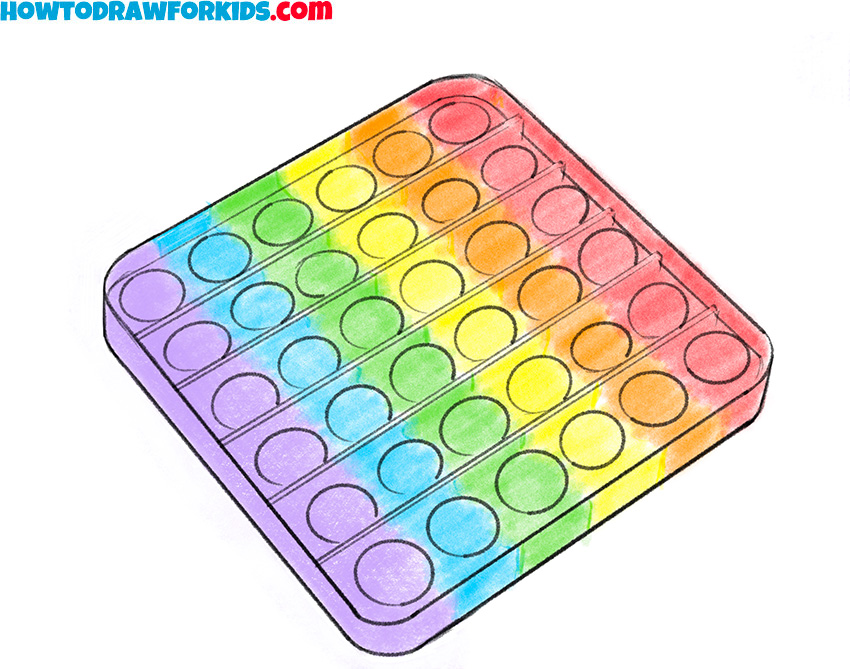
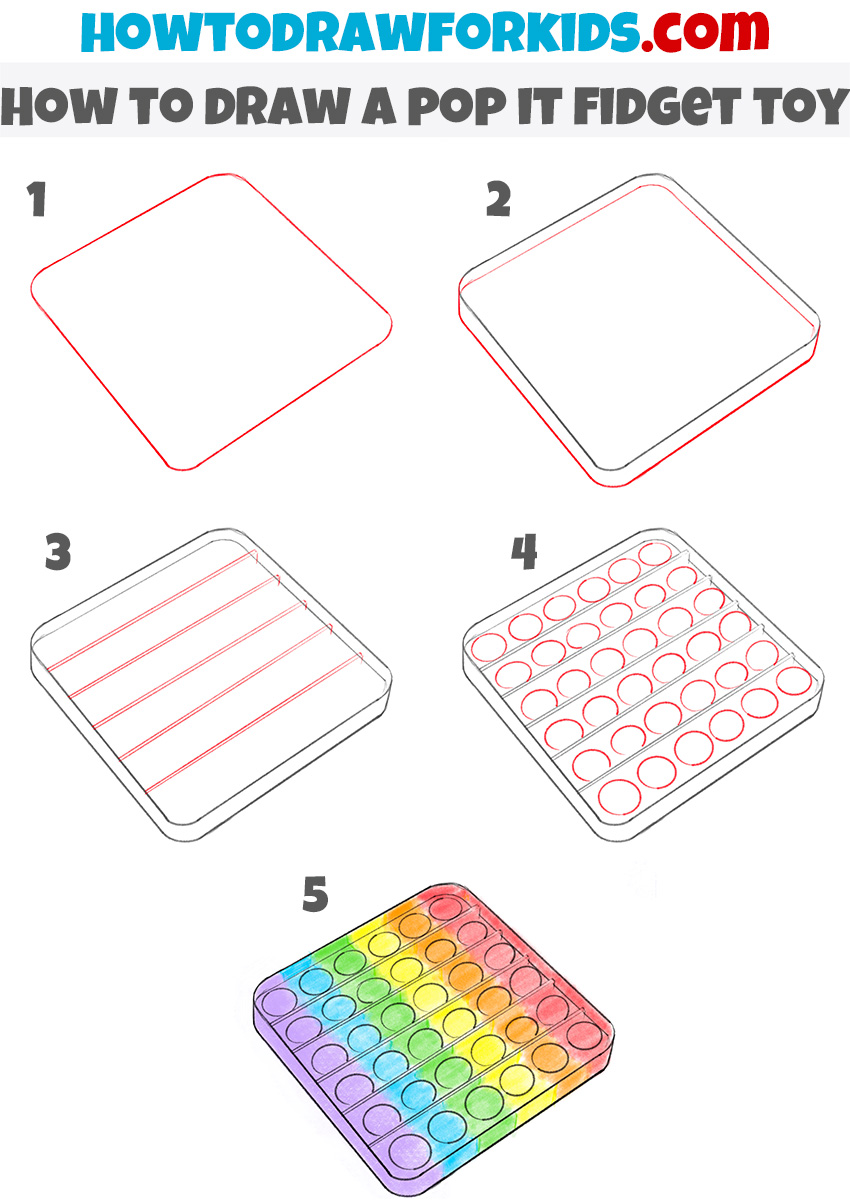
How to Draw a Pop It Toy: Introduction
Let’s draw a Pop It toy. Before starting, here are a few tips to make the drawing process more effective. First, try drawing the geometric shapes without using additional tools. This will help improve your ability to draw straight lines and speed up your progress. Second, use light lines in the initial steps. This approach will help to draw the pop it toy more accurately.
It is also important to draw the toy symmetrically. While drawing, check the proportions regularly to identify and correct mistakes, adjusting the lines as needed.
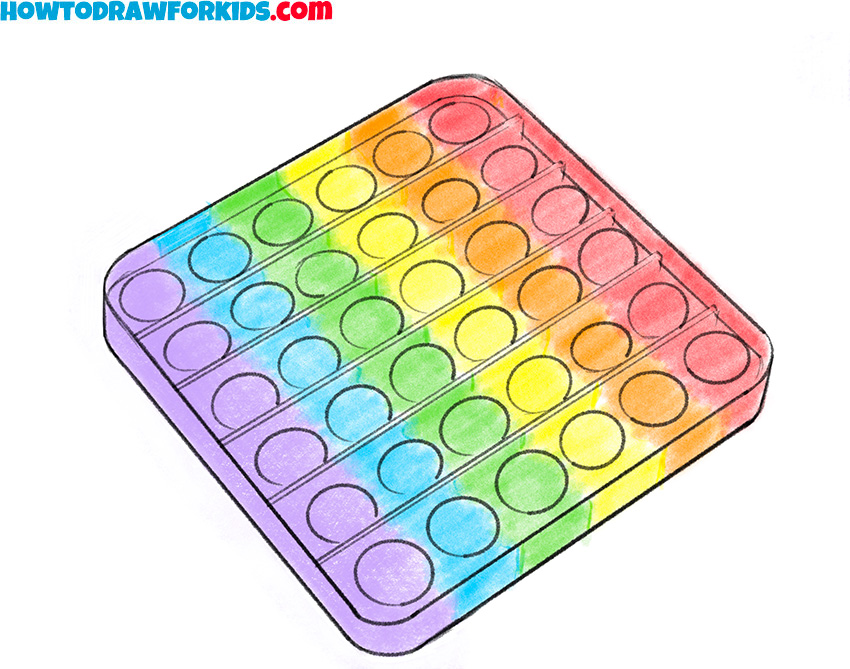
When coloring your Pop It toy, you can choose any colors. However, for the best results, it is recommended to match the color scheme and arrangement shown in the example.
Using these tips, you should achieve good results by following these steps. Carefully repeat the placement of lines and shapes, and you will create a clear, realistic Pop It toy on your paper.
Pop It Drawing Tutorial
Materials
- Pencil
- Paper
- Eraser
- Coloring supplies
Time needed: 30 minutes
How to Draw a Pop It
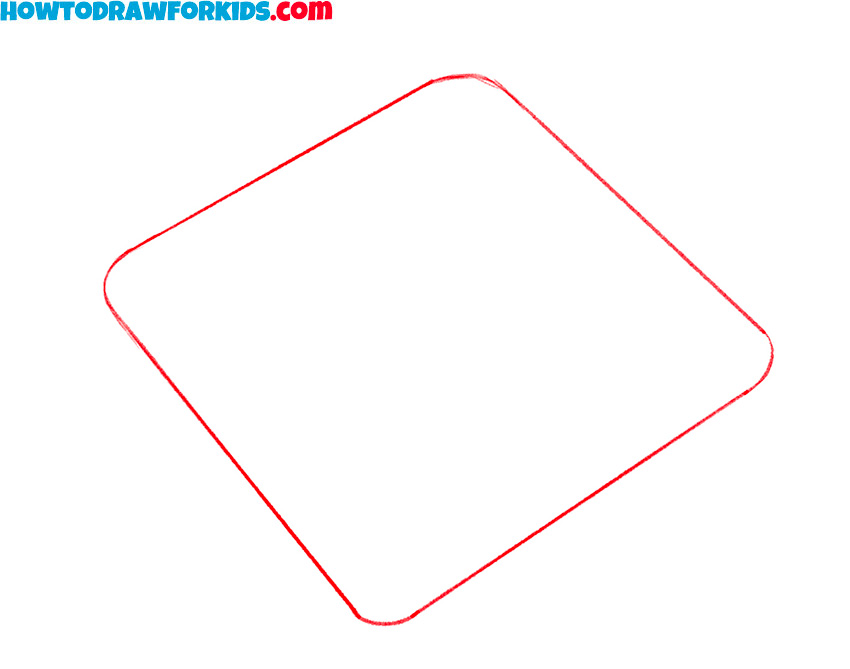
- Draw the basic shape of the pop it toy.
Begin drawing this pop it toy by sketching a square with rounded corners. This will serve as the basic shape of your Pop It fidget toy. Use light lines to ensure that the outline remains neat and can be easily adjusted if needed. Make the square symmetrical, as this will help maintain proportion throughout the drawing process.
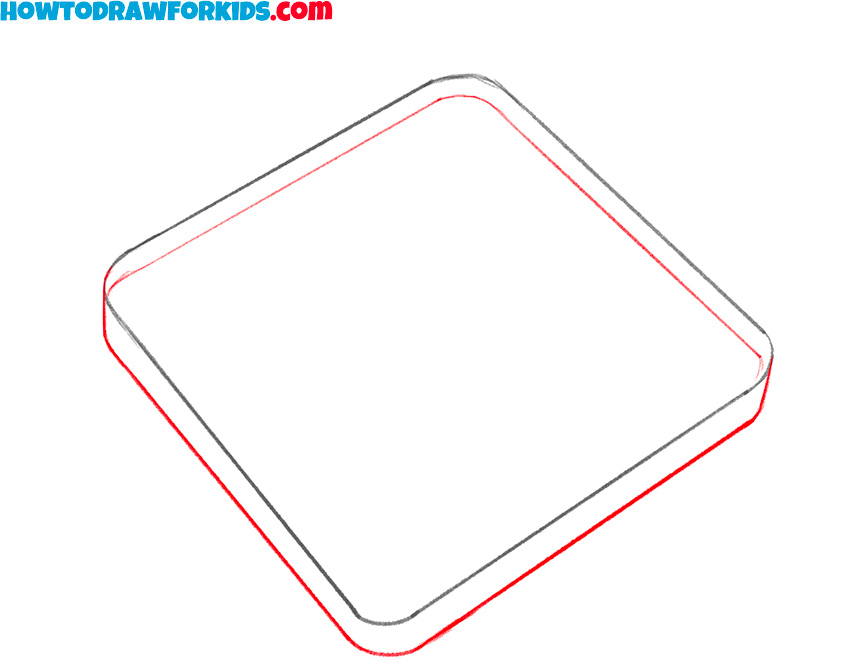
- Add the bottom edges.
Next, draw a smaller square inside the first outline, also with rounded corners. This inner square creates the bottom border of the Pop It fidget toy. The distance between the outer and inner lines should remain consistent. Use light strokes, so any corrections can be made as needed.
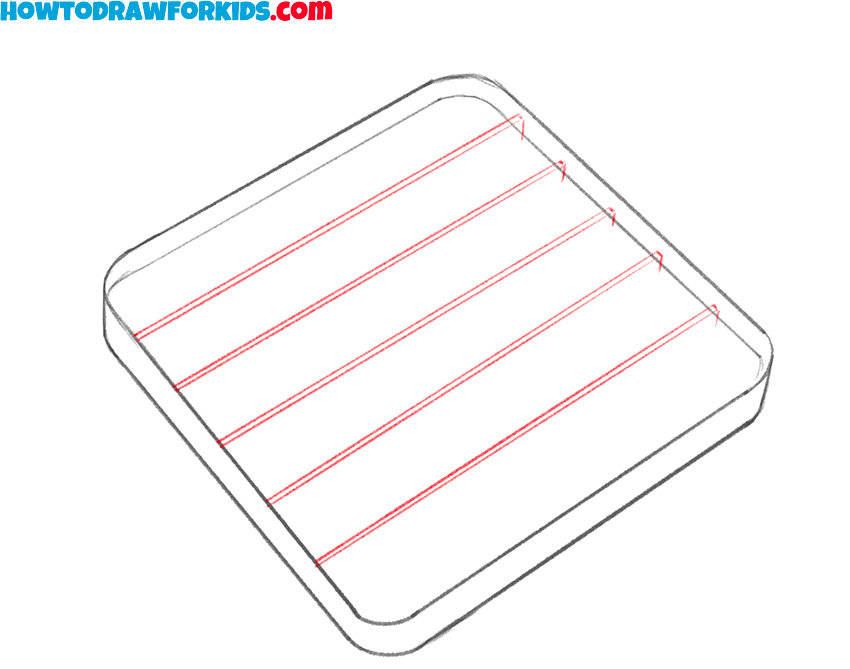
- Sketch the horizontal dividers.
Inside the inner square, add horizontal lines. These lines divide the Pop It toy into rows where the bubbles will later be placed. Ensure the lines are parallel to each other and run across the square’s width. You can use a ruler or freehand the lines carefully.
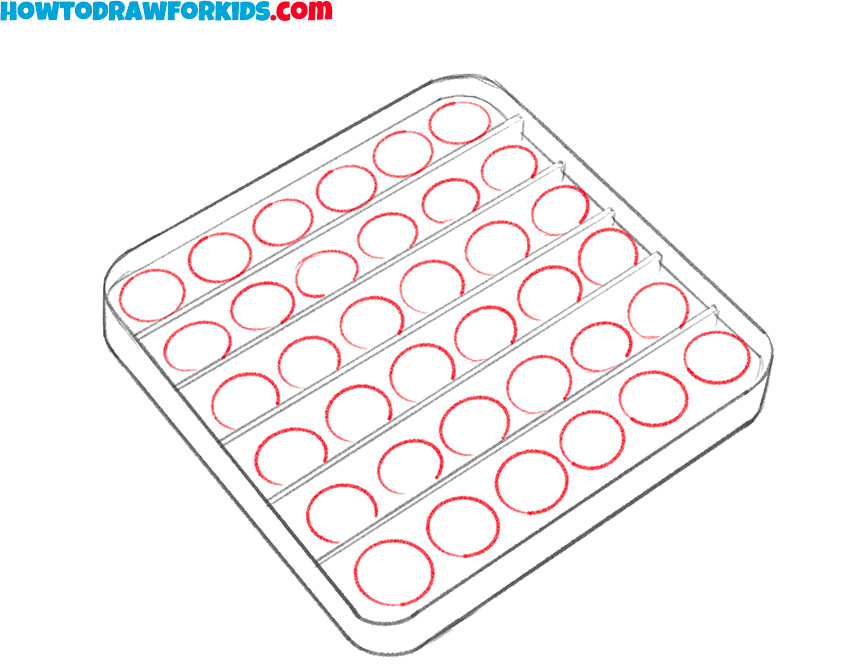
- Add the oval bubbles.
Now, draw circles within each section created by the horizontal dividers. These circles represent the bubbles of the Pop It fidget toy. Place them evenly within each row, ensuring they are similar in size and shape. Leave some space between the circles to mimic the toy’s design accurately.
- Color your Pop It toy.
Complete the drawing by adding colors to your Pop It toy. Choose bright, vibrant shades that reflect the rainbow-like appearance typical of Pop It designs. Use separate colors for each row of bubbles, to give your pop it drawing an authentic look.
Additional Content
We have completed this tutorial on how to draw a Pop It. I’m sure you achieved a good result. If you want to practice drawing it a few more times, you can use this PDF file.
This PDF file is quite practical. First, it allows you to practice drawing even without an internet connection. Second, it includes some specially prepared drafts to make the drawing process easier. If you are finding the basic steps of this drawing guide challenging, these drafts can be helpful.
Conclusion
We have reached the end of this lesson on how to draw a Pop It toy. How did you find the lesson? Was it helpful for you? Would you consider recommending it to your friends? What drawing lessons would you like to see on this site in the future? Feel free to share your thoughts in the comments section of this article.
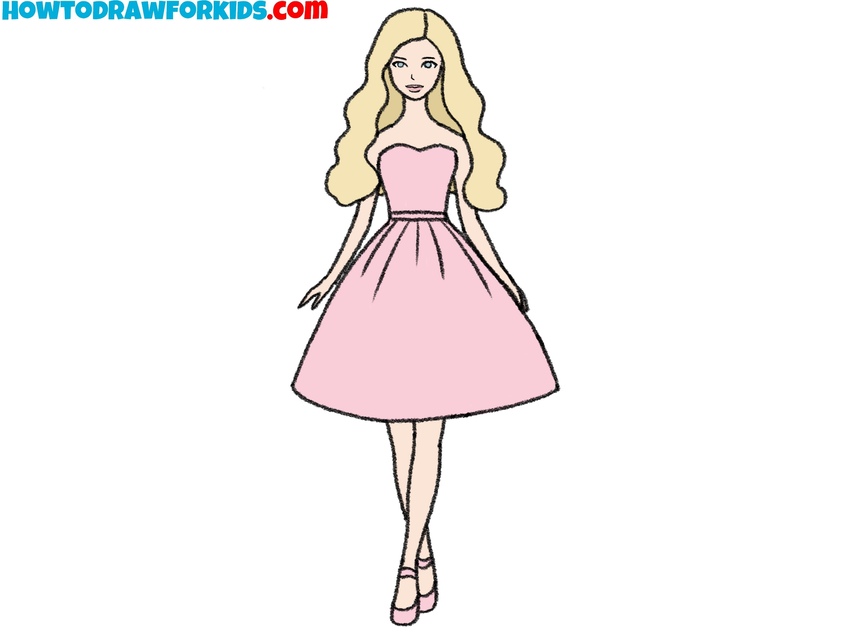
To further improve your skills, visit the Toys category on my website. You can learn how to draw a Teddy Bear, try drawing Barbie, or learn how to create images of other well-known toys.

wow pop it 🙂