How to Draw a Rose Bush
Since ancient times, roses have been known as the main symbol of love, and in this tutorial, I’ll show you how to draw a rose bush.
Rose bushes are a special kind of roses that are distinguished by their beauty and delicate aroma. Rose bushes are a decoration of any garden.
Shrub roses first appeared in China. There, for the first time, they began to collect bouquets of these flowers and decorate their homes and temples. Rose bushes bloom all summer and decorate the garden with luscious greenery and flowers of different colors.
This simple guide will continue my rose drawing tutorial and show you a very interesting way to sketch this flower. Also, this tutorial will help you to boost your flower drawing skills.
The finished drawing will turn out to be very bright and attractive! The rose bush drawing tutorial has nine easy steps. I hope that you will easily cope with this task, you will not have any difficulties.
Materials
- Pencil
- Paper
- Eraser
- Coloring supplies
Time needed: 20 minutes
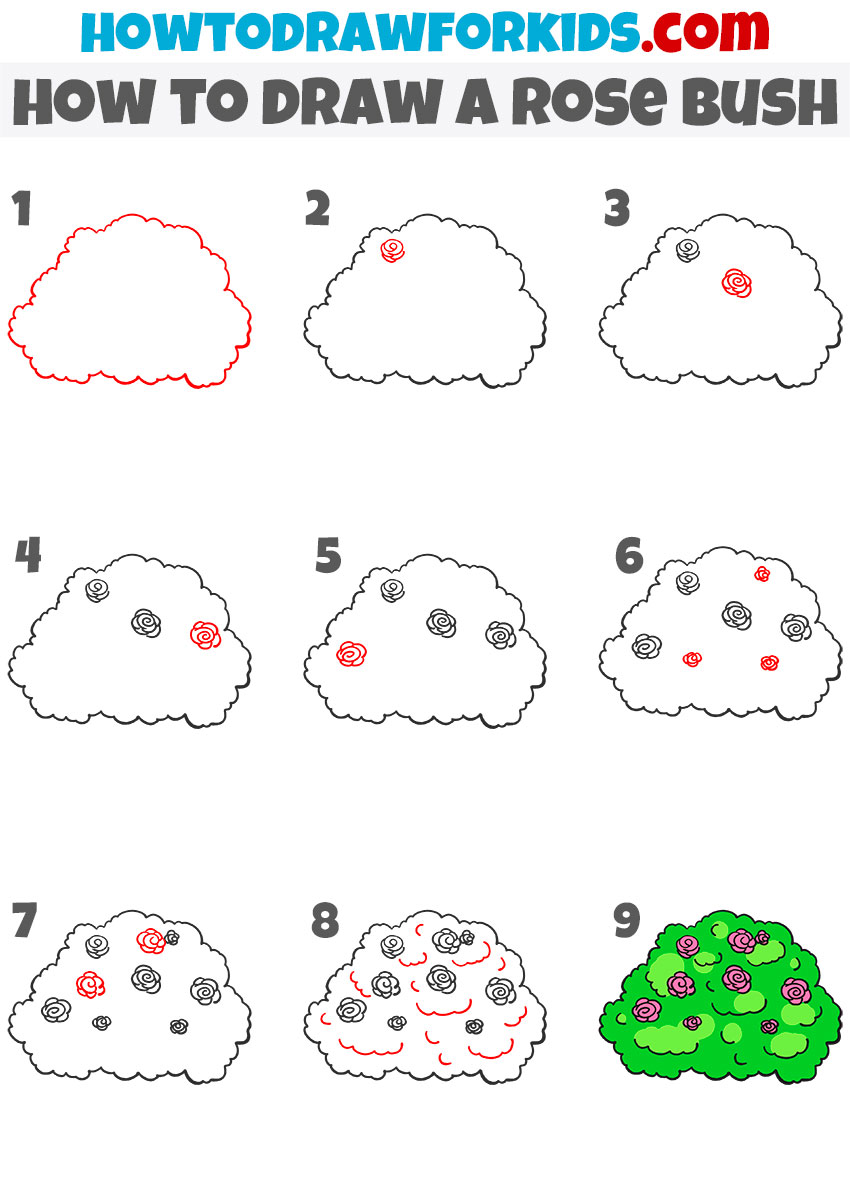
How to draw a rose bush step by step
- Outline the main shape of the bush.
Before adding roses or small details, establish the full silhouette so that the rest of your drawing look complete. To draw the bush shape, start by sketching a large, rounded outline that resembles a fluffy, cloud-like mass of leaves. Use small, curved bumps to illustrate the texture of foliage.

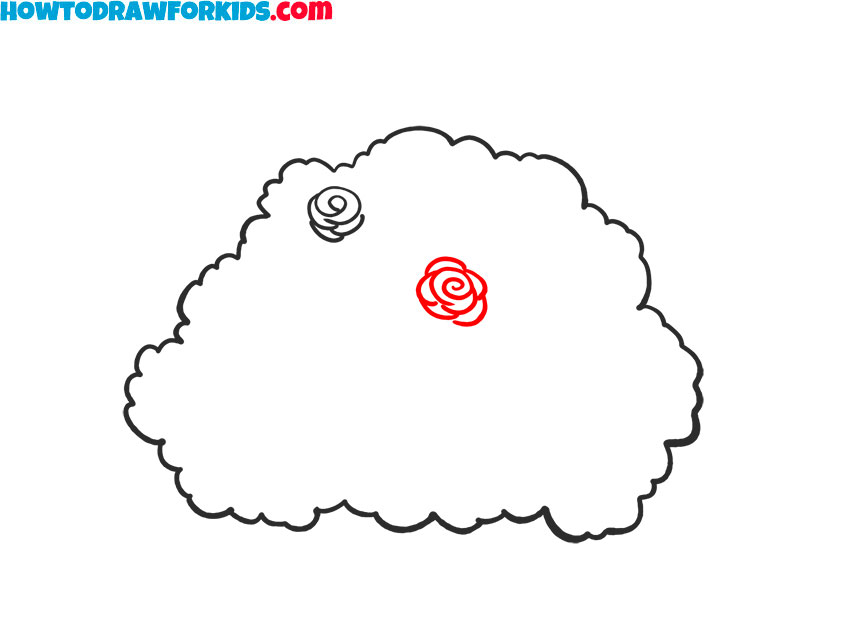
- Draw the first small rose inside the bush.
Once the outline is ready, begin filling the bush by sketching the first small rose near the top. Draw the rosebud by sketching a small spiral-like shape with short curved segments wrapping around a center point. Each line should feel like part of a petal curving inward.

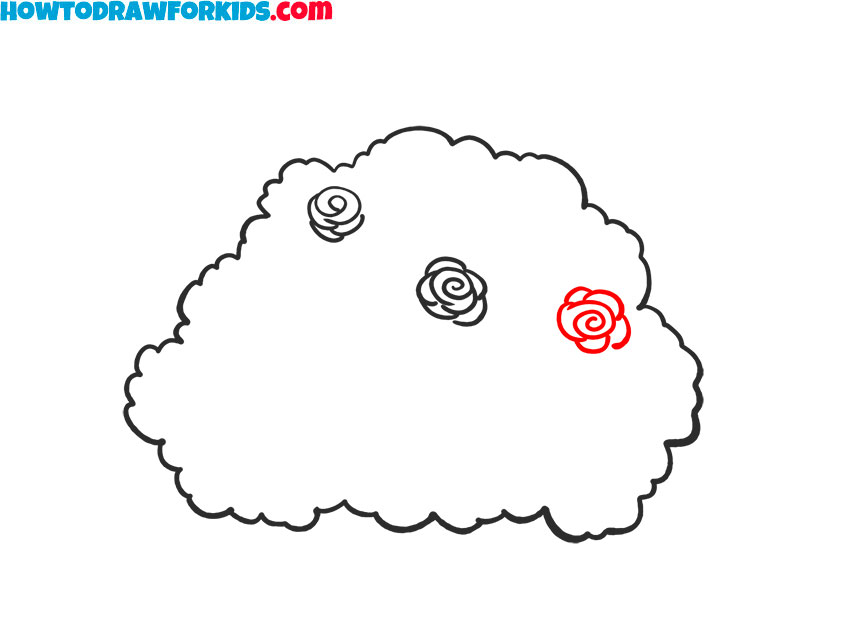
- Sketch another rose beside the first.
To build a fuller and more natural-looking arrangement, illustrate another rose near the first one. Vary its size slightly to give the drawing more interest. Draw the rose petals using the same loose curved-line approach, starting from a small center curl and expanding outward with rounded edges.
- Draw more roses across the bush.
Now that the initial pair of flowers is in place, begin filling additional open areas across the bush. Sketch several more roses in different positions and slightly varied sizes. Each rose should follow the same simple curved-spiral petal construction.
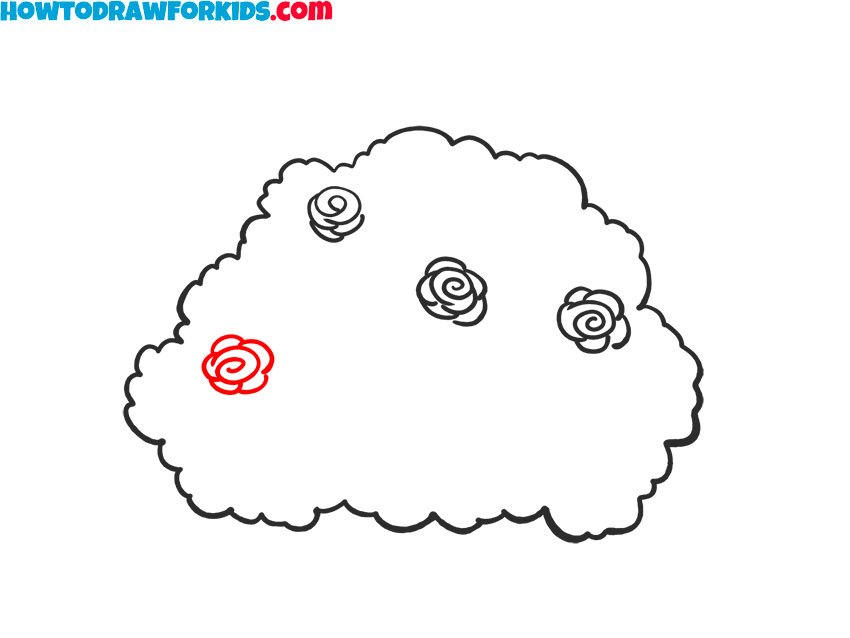
- Add another rose to fill a gap.
Look at your bush and locate a gap that feels too empty. Add another rose there, keeping its size consistent with the surrounding blossoms. Sketch the petals with soft, rounded strokes, building from the simple center curl outward.
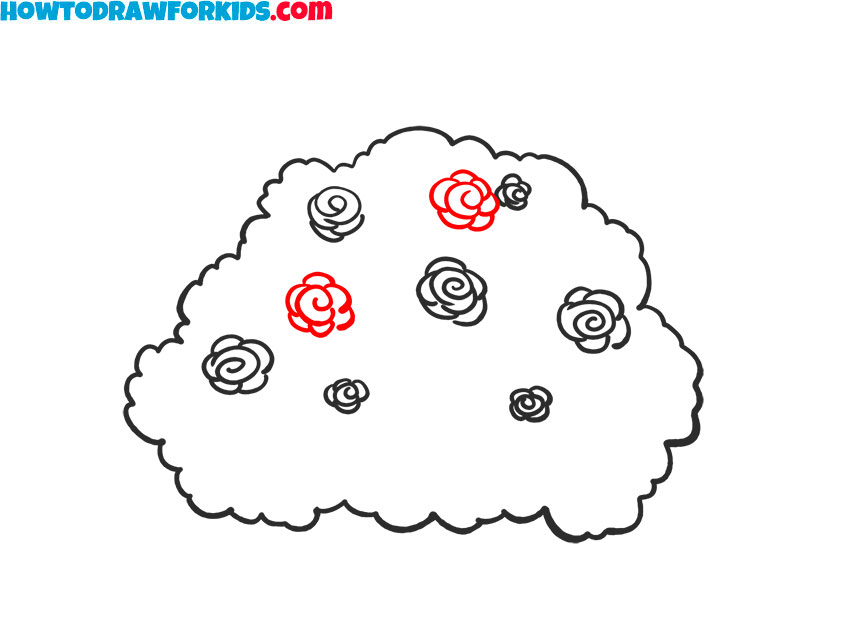
- Draw several small roses.
To make the bush fuller and more detailed, sketch several small roses between the larger ones. These tiny spiral blooms keep the rose bush from feeling like it’s built only from a few big flowers. Use shorter, tighter curved lines to form these small roses. Place them in open areas near the center.
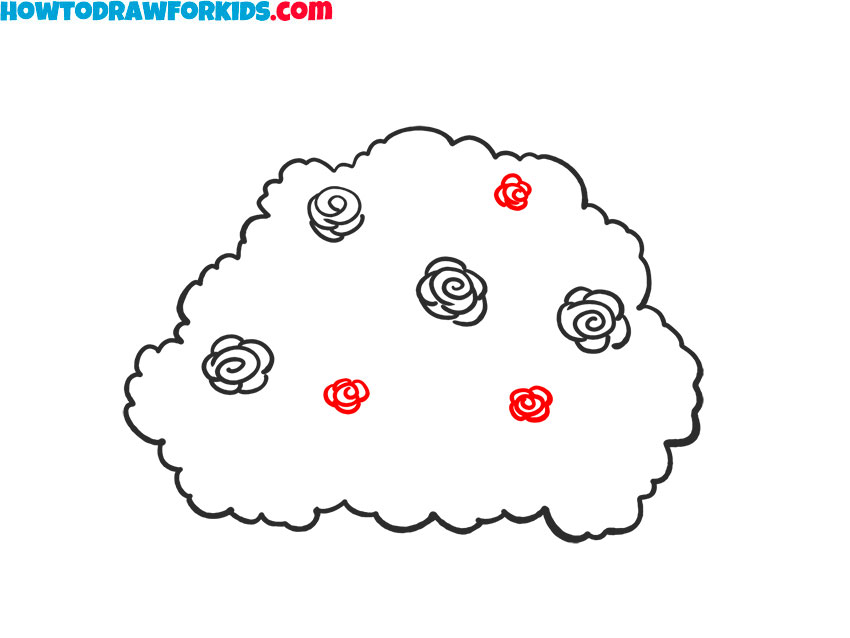
- Add the final roses for a complete cluster.
Before adding leaf texture, complete the floral portion by filling any remaining empty spaces with a few more roses. These final blooms can be medium or small, depending on what the drawing still needs.
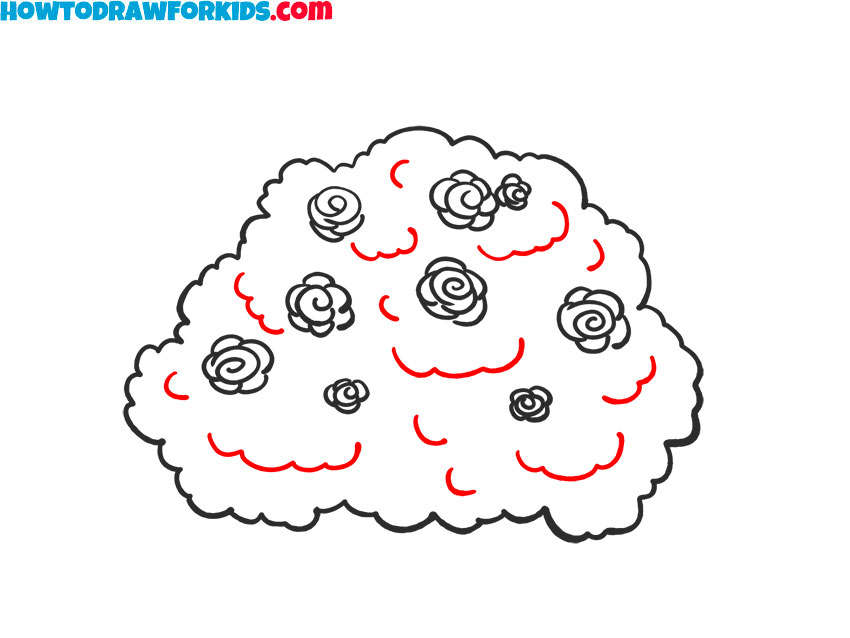
- Add leaf curves and foliage details.
Now, to draw the leaves, sketch simple curved leaf-like bumps throughout the interior of the shape. These small arcs help convey dense greenery behind the roses. Draw different-size curves beneath and between the flowers, using loose hand movements.
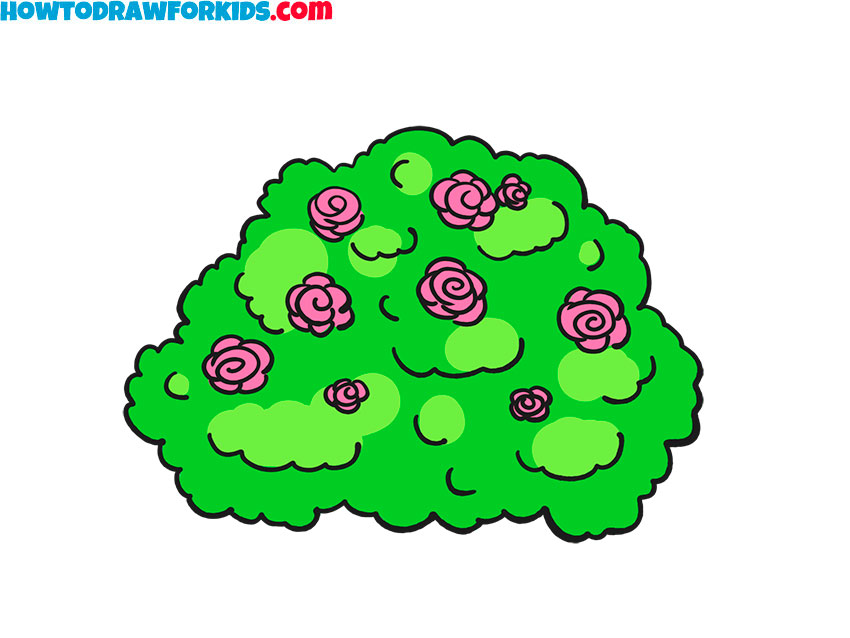
- Add color to the flowers and foliage.
Now that the rose bush drawing is complete, add simple colors, using greens for the bush, varying the shades slightly to make the foliage look more dimensional. Color each rose with pink or red, or mix several tones to add variety.

I am sure you did a great job and now you can enjoy the result of your efforts. You have learned how to draw a rose bush and now you can apply these skills to other drawings.
If you liked the rose bush drawing tutorial, be sure to share it with your friends. Leave your comments and share your impressions about this lesson, your questions, and ideas for new lessons. Don’t forget to follow us on social media.
I remind you that for your convenience, I have prepared the PDF file. After downloading this file, you can return to the lesson at any time convenient for you!