How to Draw an Easter Cake
With this lesson you will learn how to draw an Easter cake. This guide contains just nine easy steps with helpful hints.
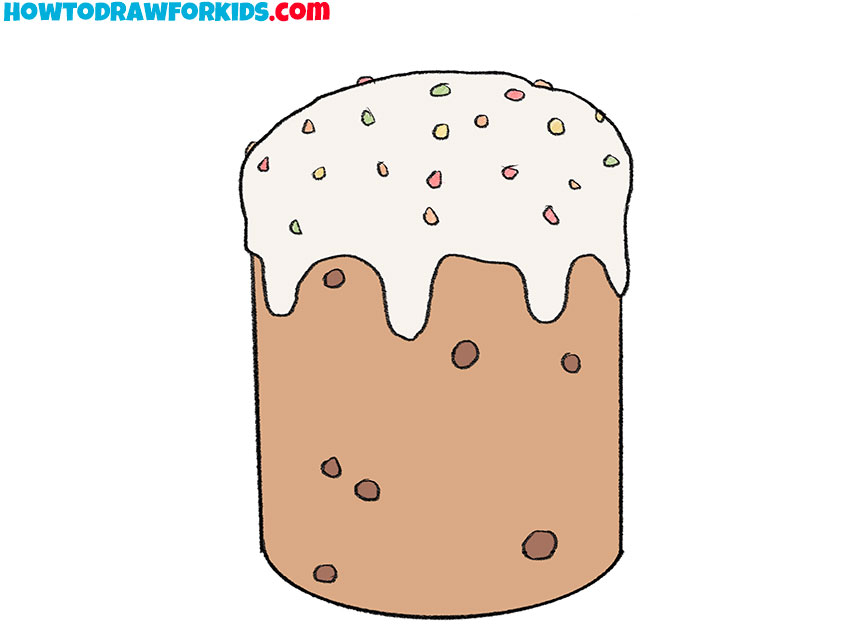
Now you will learn how to draw an Easter cake. This will be another exciting lesson that you can easily complete thanks to simple step-by-step instruction.
In many countries of the world, there is a tradition to bake Easter cake every year for the spring religious holiday. This is a small bread made from wheat flour and topped with icing and colorful sprinkles. For baking Easter cake, special round molds are used.
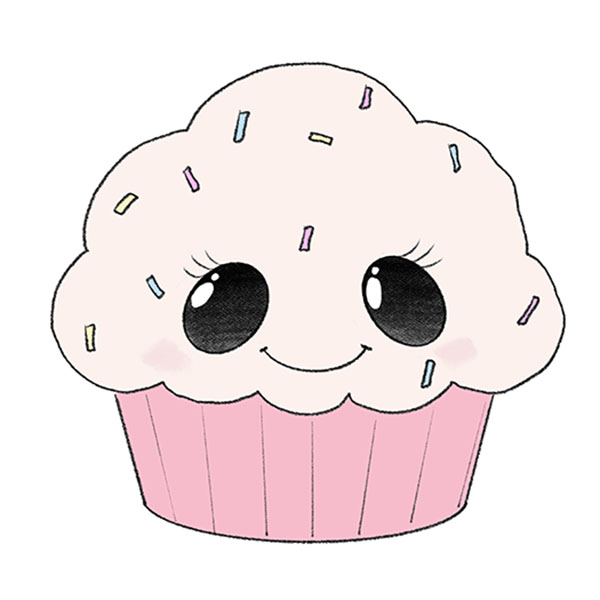
In the picture, you see a low Easter cake of a standard shape. In this lesson, you will need your ability to draw even geometric shapes when you make the outline of the Easter cake. You will then use freeform lines as you draw the white frosting.
Materials
- Pencil
- Paper
- Eraser
- Coloring supplies
Time needed: 25 minutes
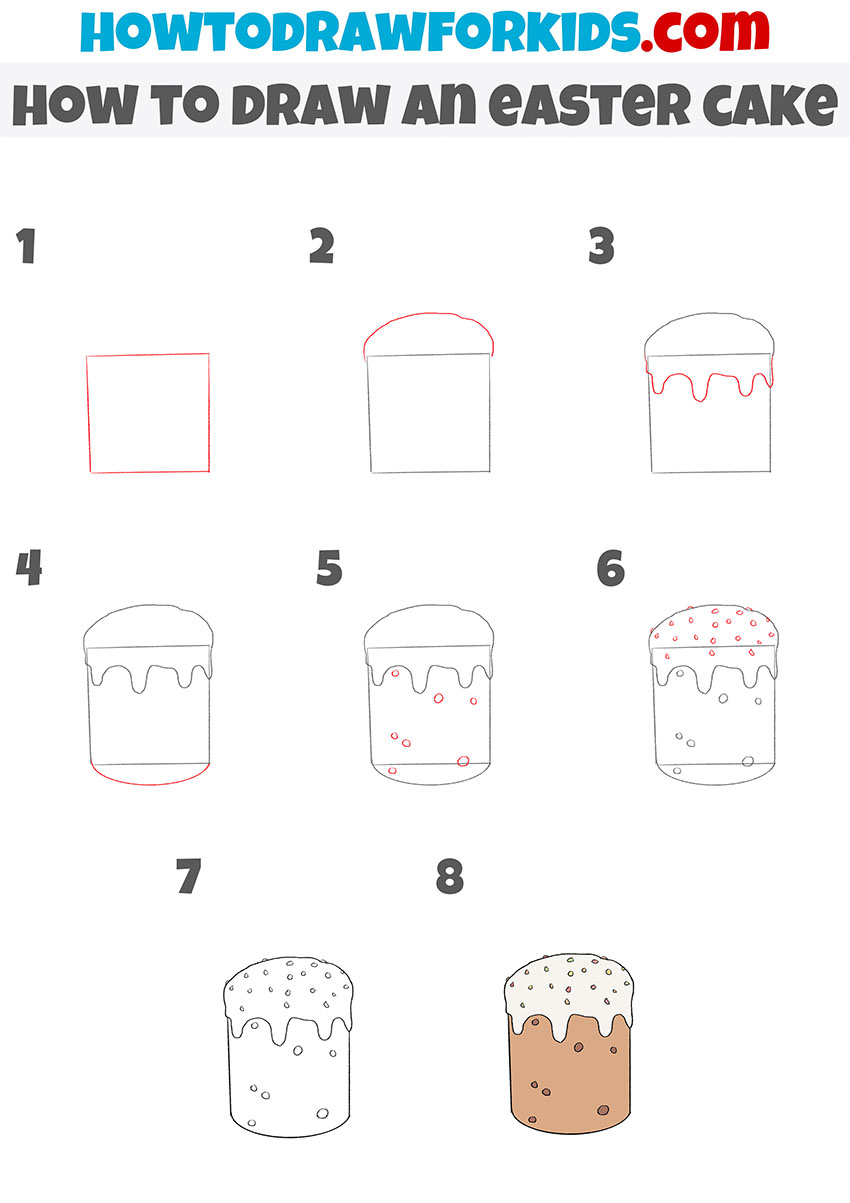
How to Draw an Easter Cake
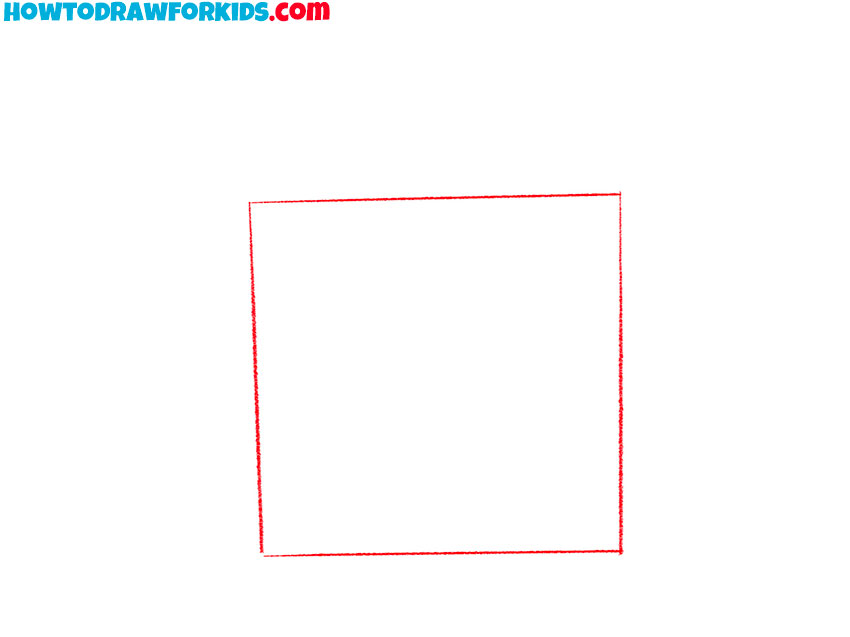
- Draw the outer outline of the Easter cake.
Determine the size and location of the cake and draw an even rectangle.
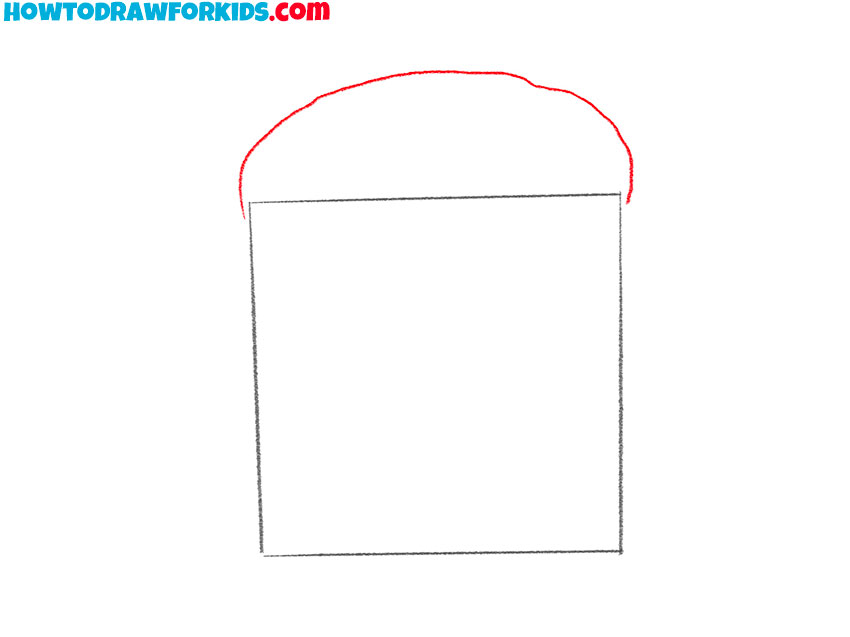
- Depict the top.
Draw a semicircle at the top.
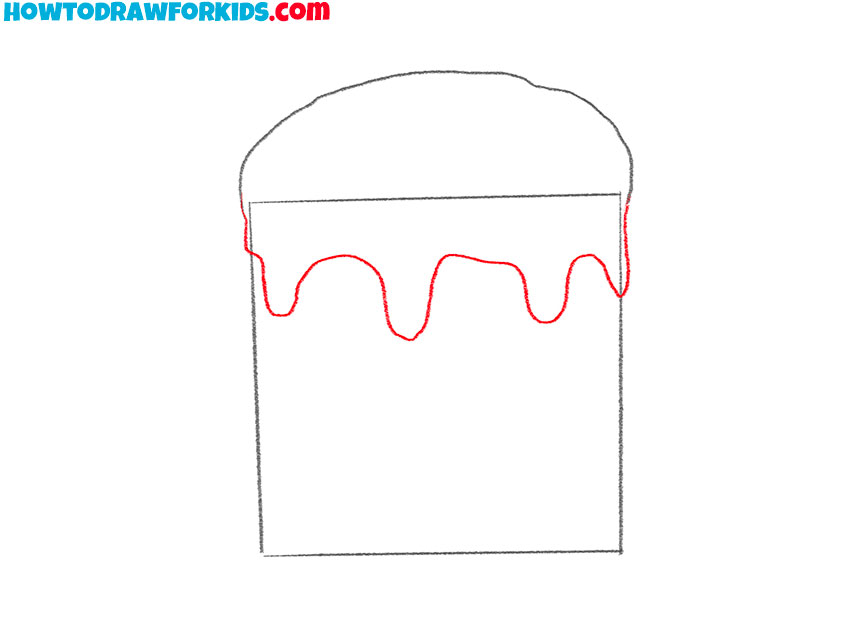
- Add the contour of the glaze.
Draw a wavy line of arbitrary shape.
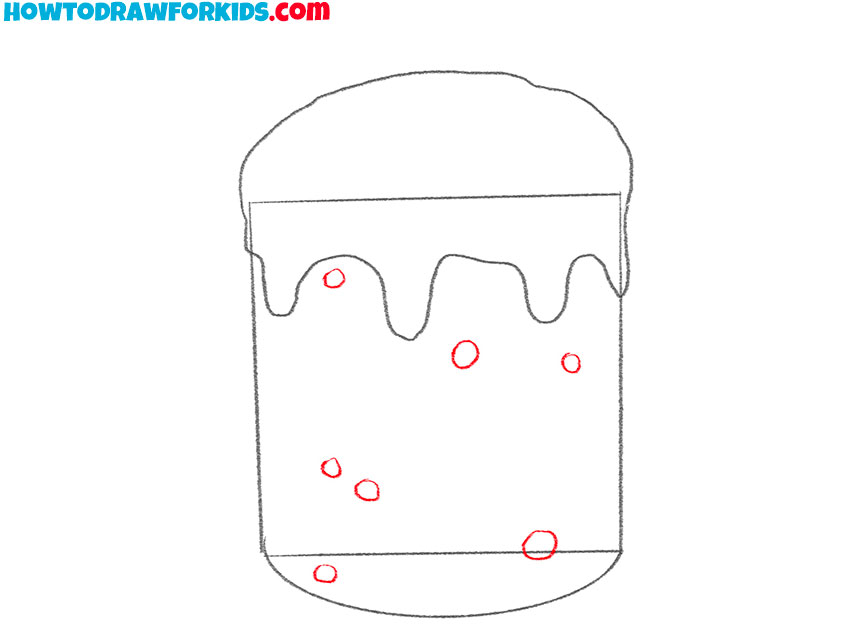
- Draw the bottom of the cake.
Sketch out a smooth rounded line at the bottom.

- Detail the surface of the cake.
At this stage, draw some small circles.
- Depict the powder on the glaze.
At the top of the cake, draw the powder in the form of small circles of irregular shape.
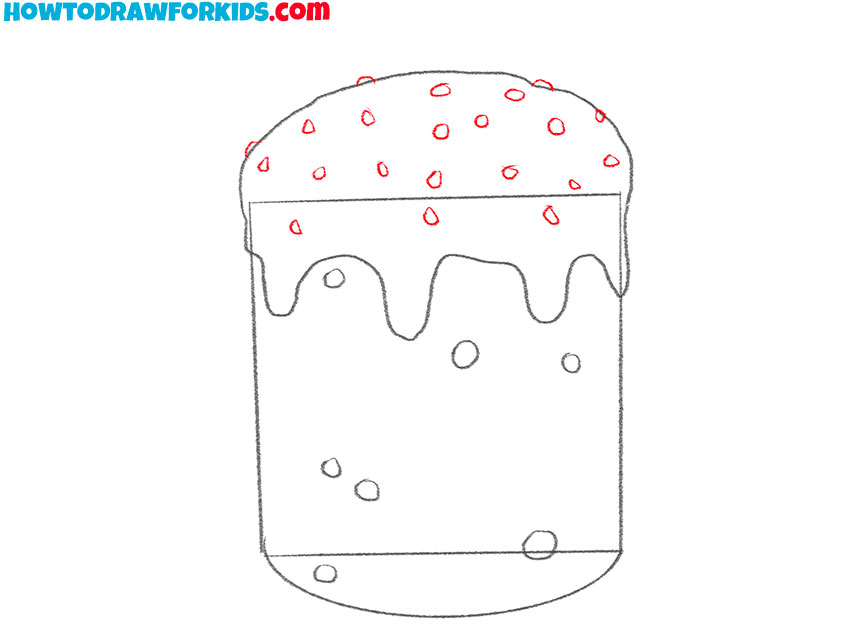
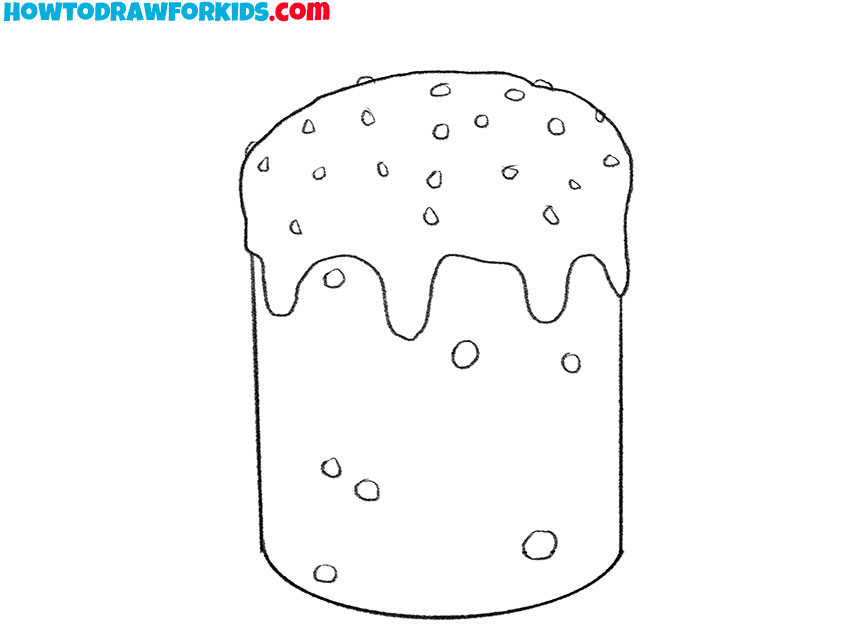
- Correct inaccuracies.
Delete all auxiliary lines and make the outline clearer.
- Color the drawing.
You will need a light brown color for the bread and a few different colors for the sprinkles.

For your convenience, I have prepared a PDF file that contains a simplified version of the step-by-step guide and additional useful drawing tools. Save this file to follow the lesson at any time convenient for you.
Conclusion
If you want to more Easter themed activities, visit my Easter coloring pages, where I’ve collected all characters and objects closely related with this holiday. Also, don’t forget to visit my Easter bunny drawing tutorial, where I’ve collected two different but equally simple step-by-step drawing methods.
So, dear young artist, their parents and teachers. What do you think about this simple step by step drawing tutorial? What other drawing tutorials and coloring pages do you want to see next? Don’t forget to write about it in the comments section below!

