How to Draw a Chair
I have prepared a new useful lesson for you in which you can learn how to draw a chair. This is another lesson on drawing everyday objects.
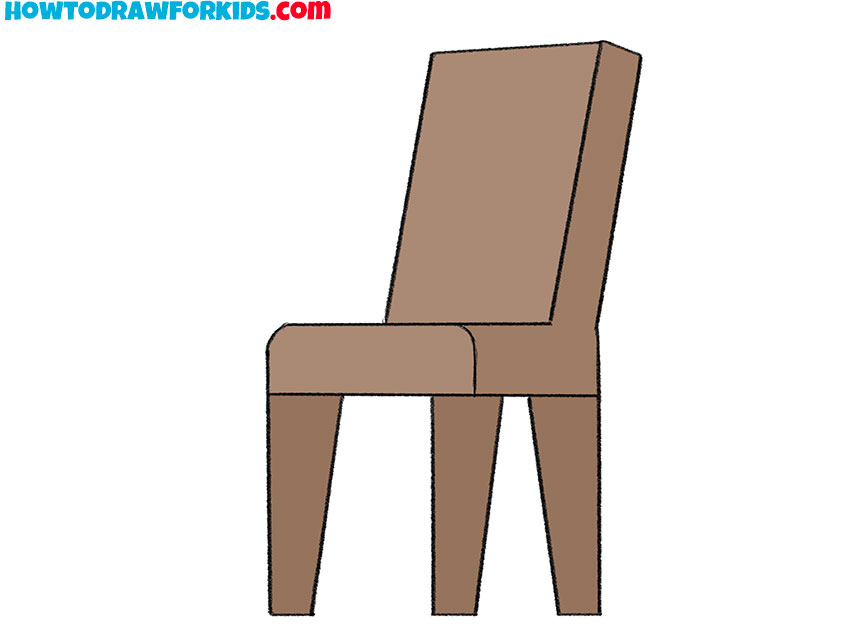
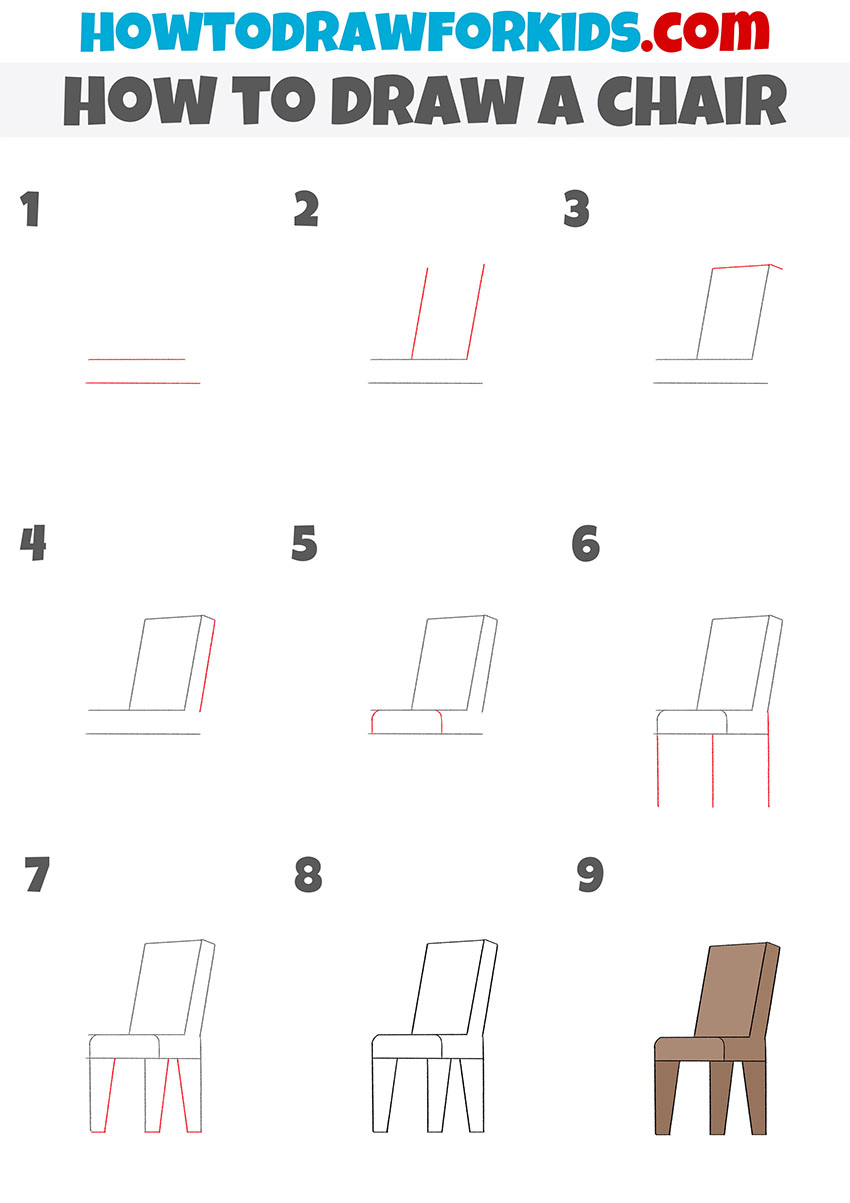
With this tutorial, you will learn how to draw a chair easy step by step. You can use the skills you’ve learned in this lesson if you want to draw the interior of any room. A chair is the most common piece of furniture we see. Chairs come in different types and sizes and are made of different materials.
I promise that this lesson will be simple enough for you because I created it for beginners and children. Use our lessons to improve your artistic skills.
So now is a good time to get your drawing materials ready and start doing this chair drawing lesson.
Materials
- Pencil
- Paper
- Eraser
- Coloring supplies
Time needed: 20 minutes
How to Draw a Chair
- Start drawing the chair seat.
To do this step you have to draw two horizontal straight parallel lines of different sizes.

- Draw a part of the chair back.
Above one of the previously drawn straight lines add two same straight lines slightly oblique.

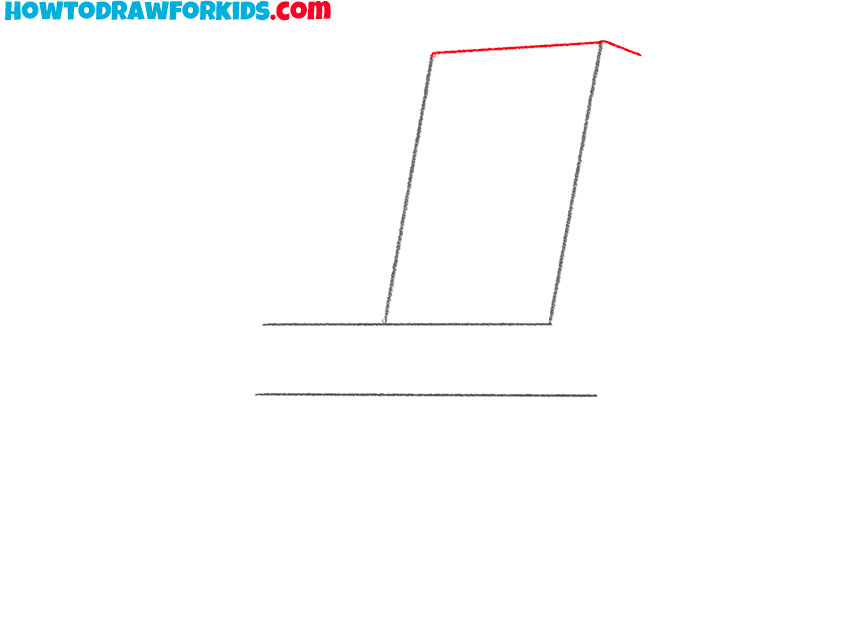
- Add the top of the chair back.
Connect the two straight lines with one straight line and add another short line.
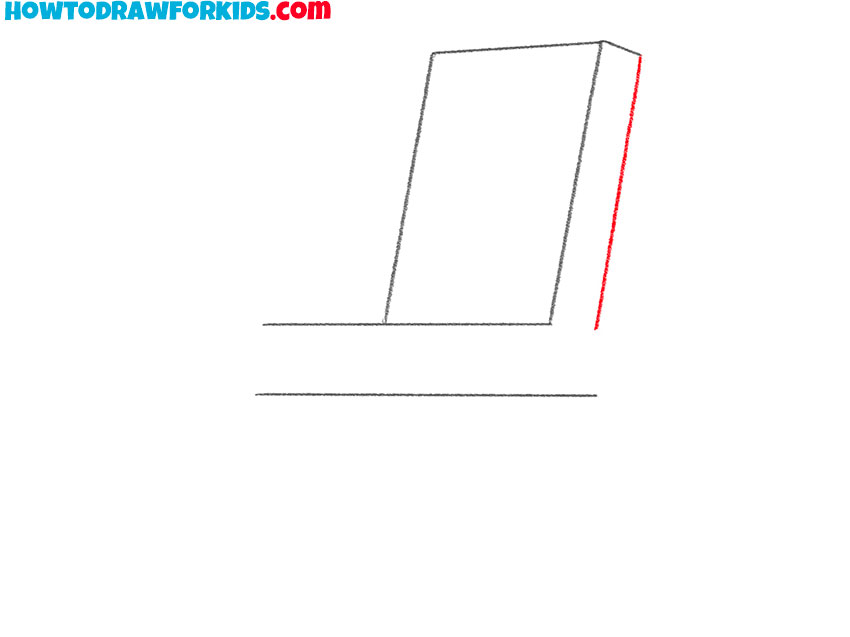
- Depict the rear of the chair back.
From the end of the previously drawn short line draw one straight line slightly oblique.
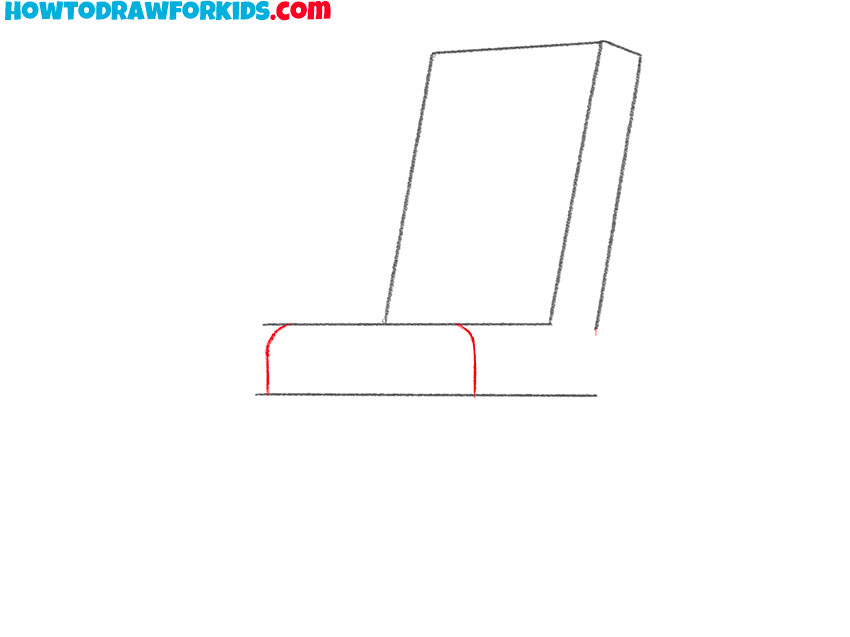
- Add the side contours of the seat.
You can depict these elements with two similar symmetrical curved lines.
- Start drawing the outline of the chair legs.
To complete this step, you should draw three straight parallel vertical lines of different sizes.
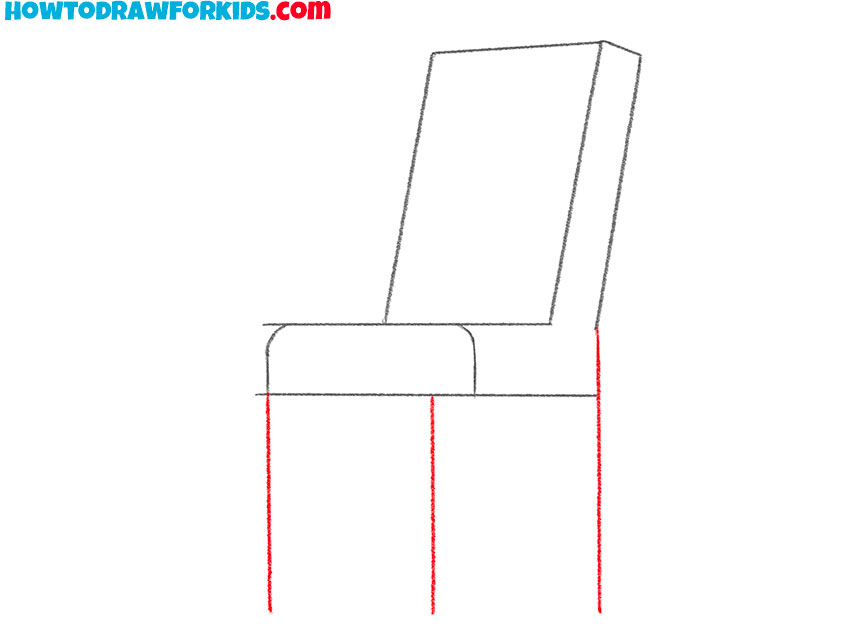
- Complete the drawing of the chair legs.
Near the straight lines you drew earlier, add three straight horizontal and three oblique lines.
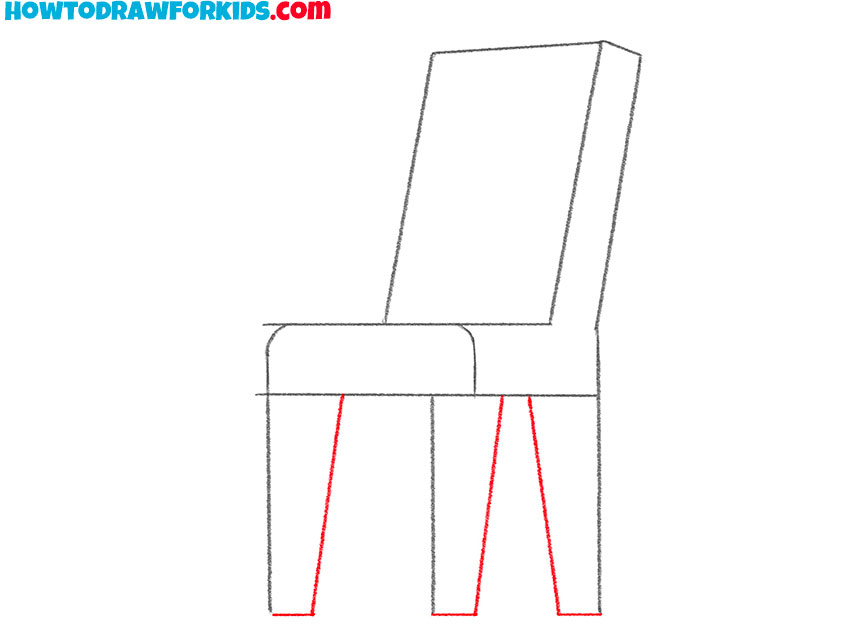
- Erase unnecessary lines.
Use an eraser to remove auxiliary lines that appeared during the drawing process.
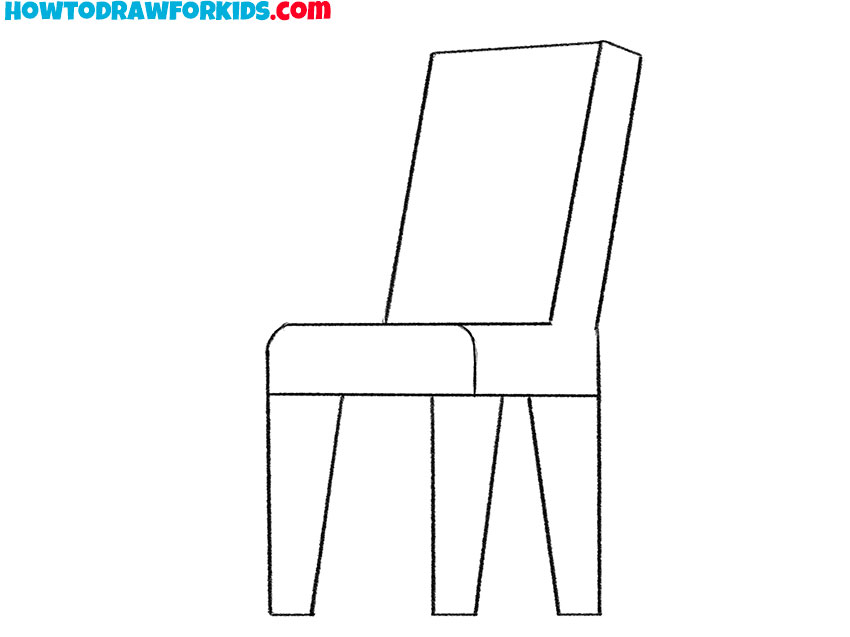
- Color the drawing.
To color the chair you drew, use different shades of brown.
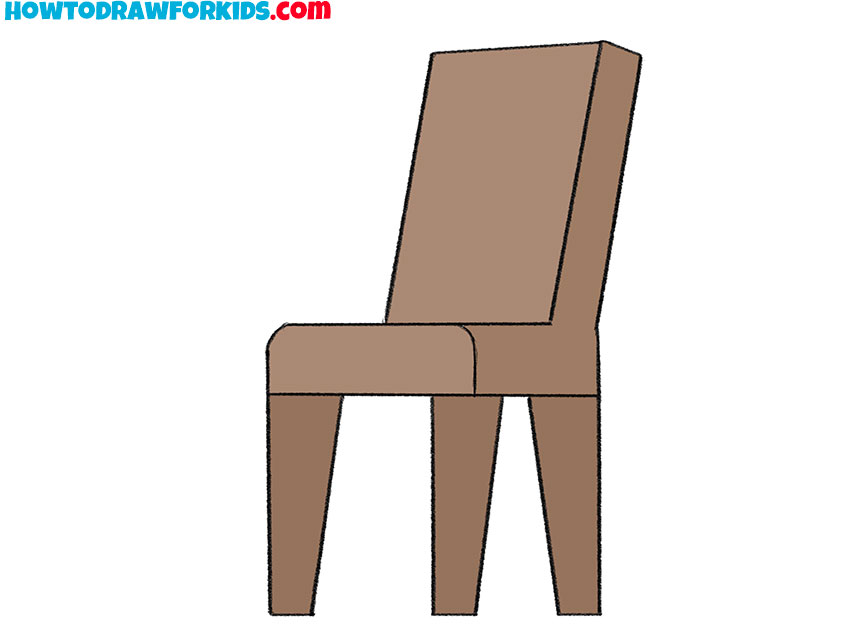
This tutorial on drawing a chair is now complete. Now you know how to draw this furniture item step by step and you can repeat drawing the chair when doing other different drawings. I will be interested to read your feedback in the comments to this lesson. I also suggest you download the PDF file which contains a short version of this guide.
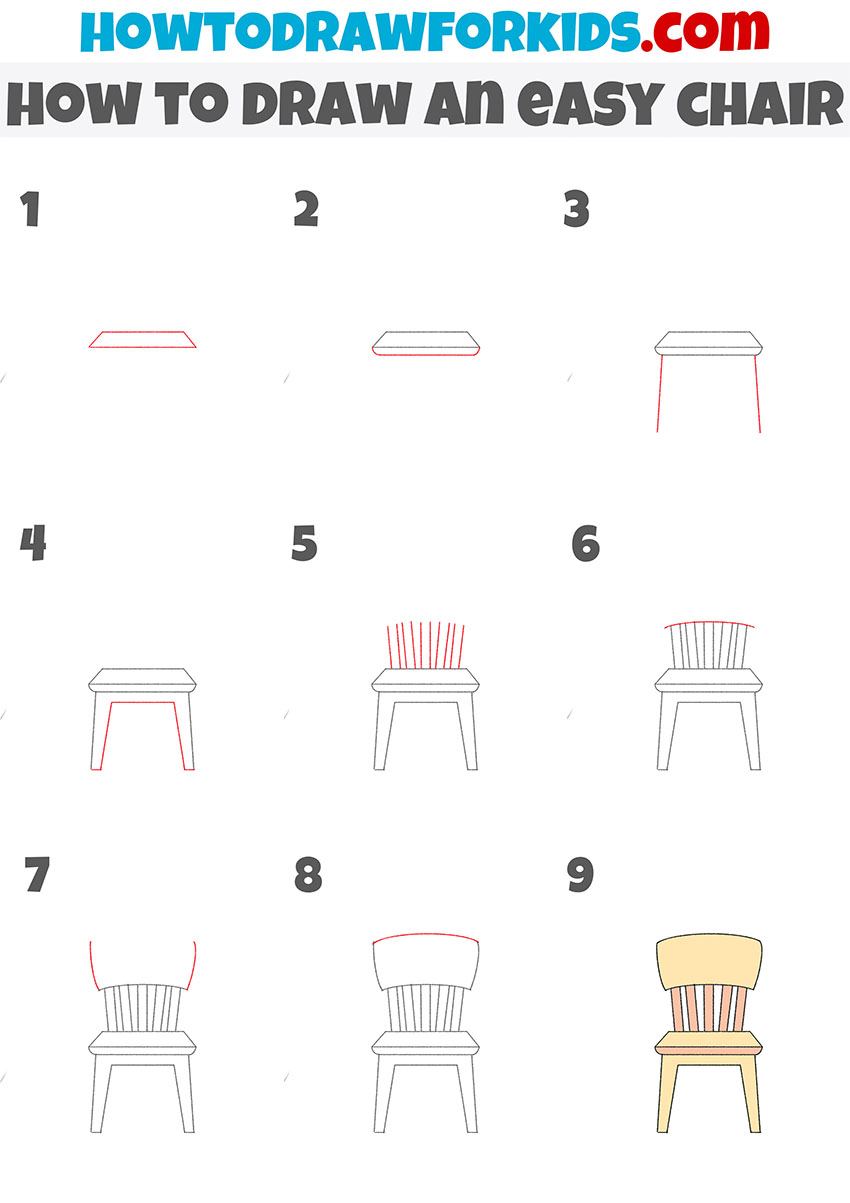
How to Draw an Easy Chair
This drawing shows the easiest way to quickly draw an easy chair. To successfully complete this lesson, you will need your ability to draw even, straight lines.
