How to Draw Curtains
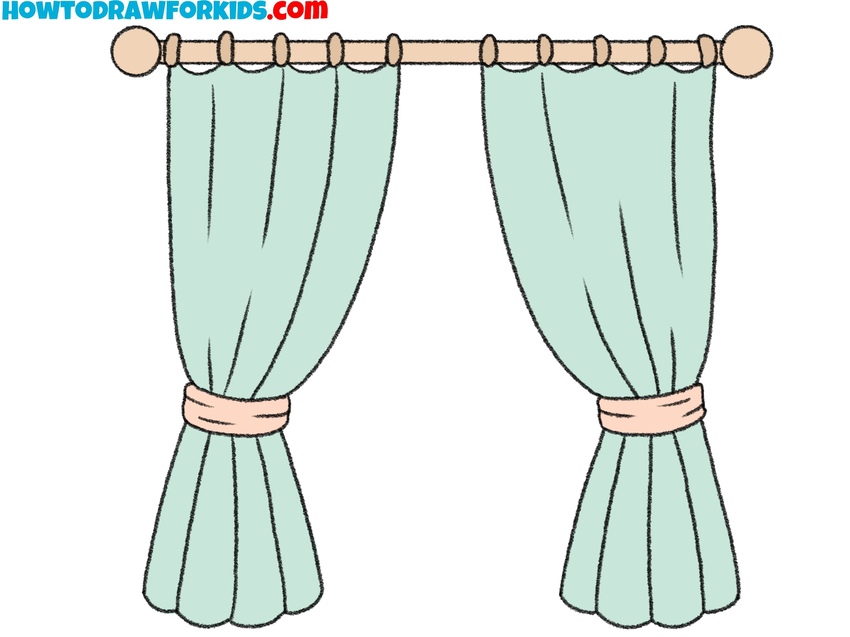
Continuing with the theme of architecture, I’d like to show you how to draw curtains using simple, smooth lines in two different ways.

How to Draw Curtains: Introduction
I really enjoy drawing in a variety of genres, and like any art teacher, I try to teach my students to develop their skills across different subjects. For example, drawing people shouldn’t be the only skill an artist focuses on. It’s much more valuable to be able to draw anything. To help strengthen your architectural drawing abilities, I’ve created a dedicated section on my website that focuses on architectural details.
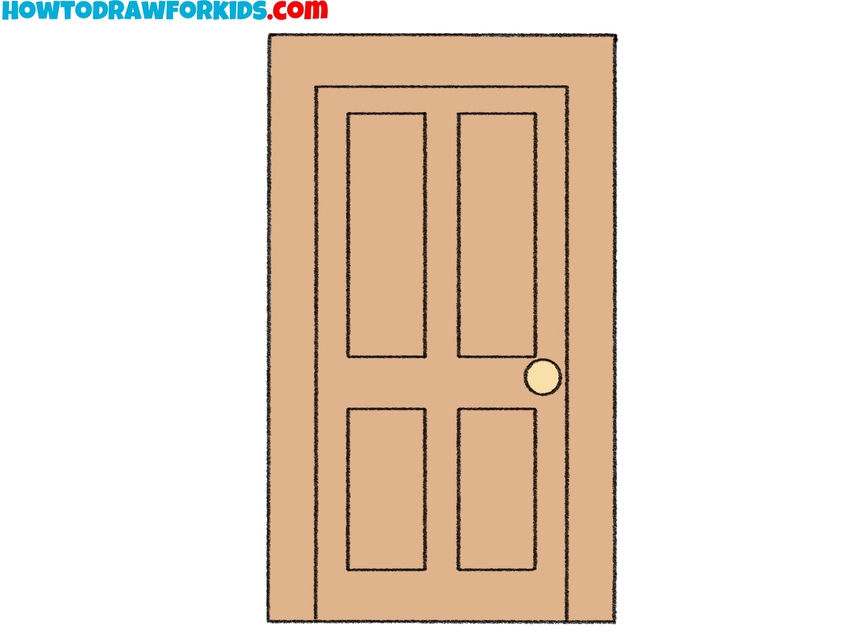
In previous lessons, we’ve already learned how to draw a window using simple rectangular shapes and parallel lines. We’ve also gone through a tutorial on how to draw a door using the same approach – clean, straight lines and basic forms. These lessons lay the foundation for understanding symmetry, which are the basic elements in architectural drawing.
In this tutorial on how to draw curtains, I want to shift the focus to smooth, flowing lines and softer shapes. This helps demonstrate that architecture isn’t limited to hard edges and straight lines. Drawing curtains allows you to learn a different kind of form within architectural spaces.
Since architectural elements rarely exist in isolation, learning how to draw curtains is also useful for more complete interior drawings. This skill is especially helpful if you’re trying to draw a full room. It also works well as a background element for more complex compositions – for example, you could enhance a portrait by adding a window and a set of curtains in the background to create a more finished and detailed scene.
Curtains Drawing Tutorials
Materials
- Pencil
- Paper
- Eraser
- Coloring supplies
Time needed: 35 minutes
How to Draw Curtails
- Create the base of the curtain rod.
Create the base of the curtain rod. Use a ruler or a steady hand to sketch two straight horizontal lines of equal length. This part will serve as the support for the curtains. The lines should be evenly spaced from each other along their entire length. Use light pressure so you can easily erase or adjust them if needed.

- Draw the curtain rod’s ends.
Next, draw the ends of the curtain rod by adding two circles, one at each end of the rod. These represent the rounded finials commonly seen on decorative curtain rods. These end caps help give the rod a finished appearance and help distinguish it from just being a plain line.

- Draw the curtain rings.
Now it’s time to draw the curtain rings that hang along the rod. Draw several small, evenly spaced ovals on the rod to represent the loops or rings that hold the curtain in place. You can fit about nine or ten rings between the two end caps. Make sure they follow a consistent pattern and maintain the same size throughout.

- Outline the curtain top parts.
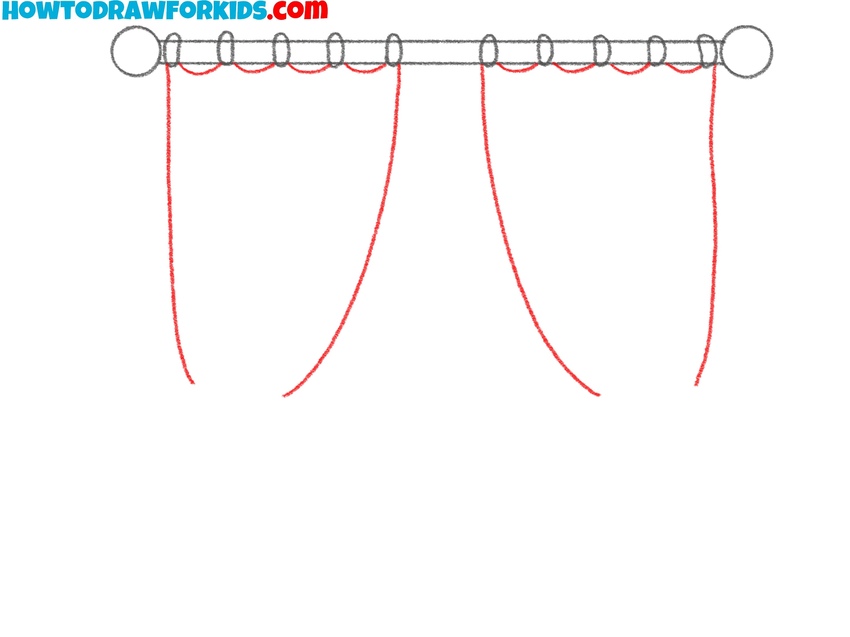
Draw two pairs of long, slightly curved vertical lines coming down from under the curtain rings – one on the left side and one on the right. Each pair of lines should gently curve to give the curtains a natural drape. Make sure they’re roughly the same size and shape on both sides to maintain symmetry.
- Add the curtain tiebacks.
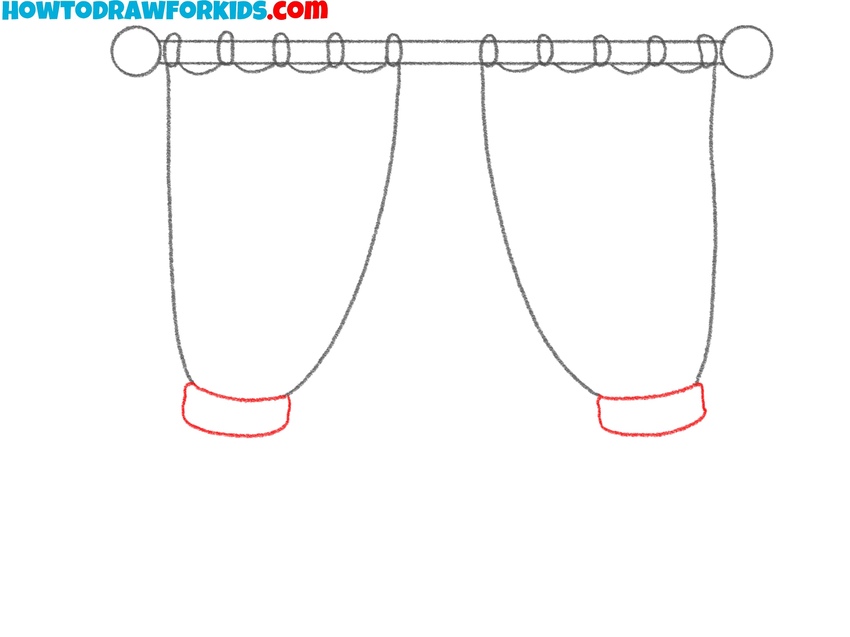
At the point where the lines curved inward in the previous step, sketch a horizontal oval shape for each curtain panel to represent the fabric tie or band. These ties help define the curtains’ shape and give them that pulled-back look often seen in window treatments. The placement should be the same on both sides.
- Draw the bottom part of the curtains.
Below each tieback, draw a bell-like shape that flares outward to represent the free-hanging part of the curtain. Use wavy lines at the bottom edge to illustrate a soft and flexible fabric. The shape should mirror the top part but appear slightly smaller. Try to keep the lines soft and symmetrical.

- Add inner folds and creases.
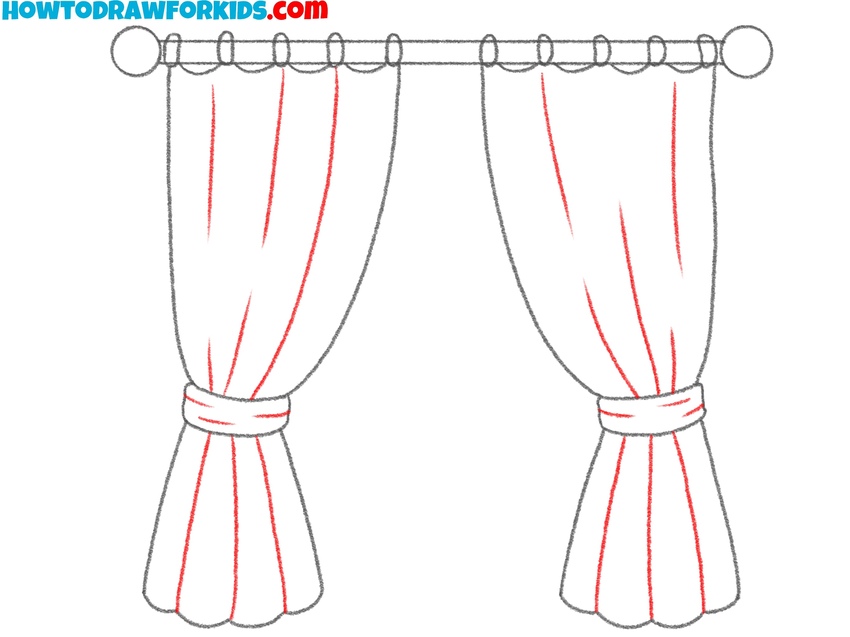
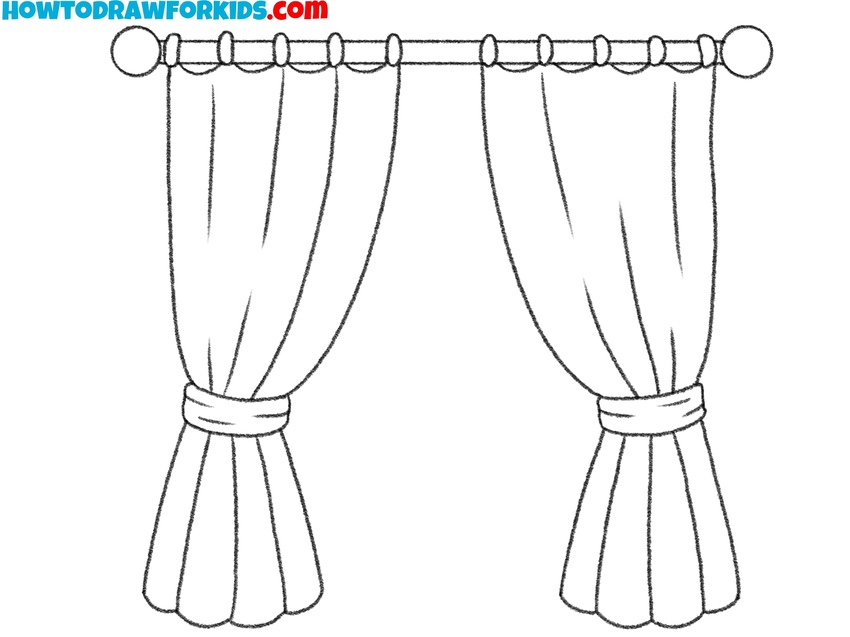
Now draw vertical lines within each curtain panel to show folds in the fabric. First, draw the folds at the top part. Then, add foods to the tieback and bottom part. Be sure to keep your lines light and slightly curved – avoid making them too straight or too close together.
- Finalize the curtain details.
Now, clean up any overlapping or sketchy lines with an eraser and darken your final outlines if needed. Double-check that the curtain panels are symmetrical and that the rod looks straight. You can also add any optional extra lines or small details like fabric texture or tiny creases if you’d like.
- Color the curtains.
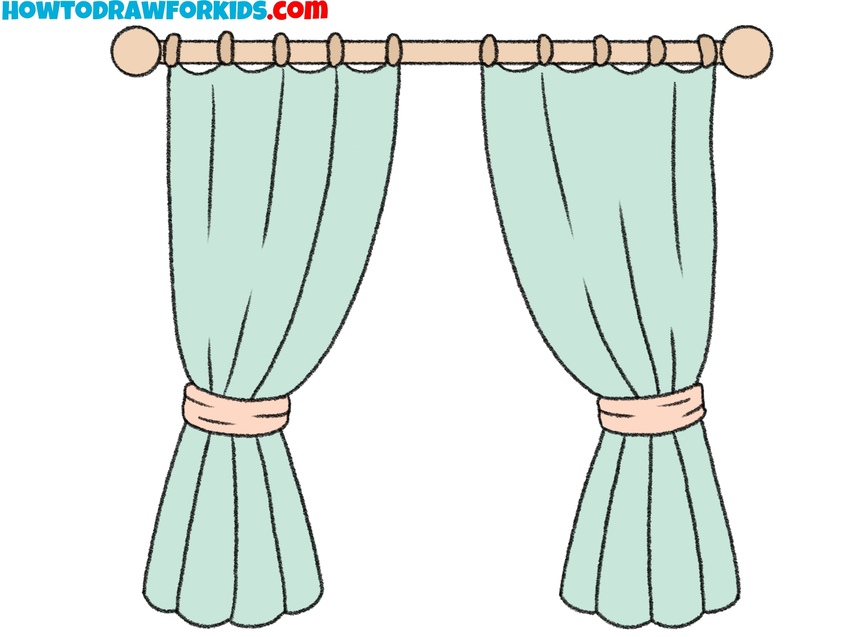
Use a soft color like light blue or pastel green for the fabric. Color the curtain rod in a warm brown or gold tone. The curtain ties can match the rod or contrast with the curtain panels for extra visual interest. Keep the colors solid and smooth. You can also add subtle shading by using a slightly darker color.
Simple Curtails Drawing Tutorial
This version of the tutorial on how to draw curtains is simpler than the first, using basic shapes and fewer construction lines. The steps are arranged in a different sequence, starting with the curtain valance and gradually building downward. This approach is better suited for beginners who want to learn how to draw curtains without focusing on complex structure or symmetry.
To follow this simplified version of the tutorial on how to draw curtains, begin by sketching a long horizontal wavy line for the bottom of the valance. Connect the ends and add a straight top to form a rectangular top section. Add the left curtain panel by drawing a curved shape hanging below the valance. Then repeat the same on the right side.
Sketch the tiebacks with simple looped shapes and small loose ends. Extend the fabric below the ties with straight, rounded panels that hang down to complete the sides of the curtain. Add vertical lines along the valance and curtain panels to show basic folds. Keep the lines simple and evenly spaced. Color the curtains drawing using red for the fabric and yellow for the tiebacks to match the final image.

Conclusion
I truly hope this lesson on how to draw curtains helped you improve your drawing skills in the area of architecture and maybe even inspired you to pursue further learning in architectural drawing. Remember, every serious career in any field begins with something simple.
I also hope you enjoyed this tutorial and found it valuable for developing your skills not only in architecture but in drawing other types of objects as well. Lessons like this build a strong foundation for many areas of art.
Feel free to share your thoughts in the comments section of this article. I’d love to hear how this lesson worked for you or what you found most useful.
Don’t forget to follow me on social media to stay updated on new drawing tutorials – both in architecture and other categories.

