How to Draw Dice
Use this step-by-step tutorial on how to draw dice to create two accurate 3d cubes with simple geometric shapes and dots.
How to Draw Dice: Introduction
In this guide on how to draw dice, you’ll create two cubes positioned at a slight angle, each showing three faces. This setup allows you train your proportion, symmetry, and consistent angles drawing skills. These skills are very important when working with basic 3D forms.
While drawing cubes with this method, the most important part is keeping the angles consistent between all sides of each cube. Even small inaccuracies can throw off the perspective. You can use light guidelines at first to make sure the lines will be straight and polished. If the angles don’t match up, the shape may look unstable or distorted.
Pay special attention to the size and placement of the dots. They should be consistent in size, following the angle of each visible plane. Dots should follow the cube’s tilt, not just be copied in a flat view. Watch the spacing between lines and avoid overly steep angles – each face should proportional.
Make sure the first cube is solid and symmetrical before beginning the second. The rear die should look positioned behind the front to illustrate perspective and volume. You can change the layout or show a different roll combination by shifting the positions of the dots.
Dice Drawing Tutorial
Materials
- Pencil
- Paper
- Eraser
- Coloring supplies
Time needed: 25 minutes
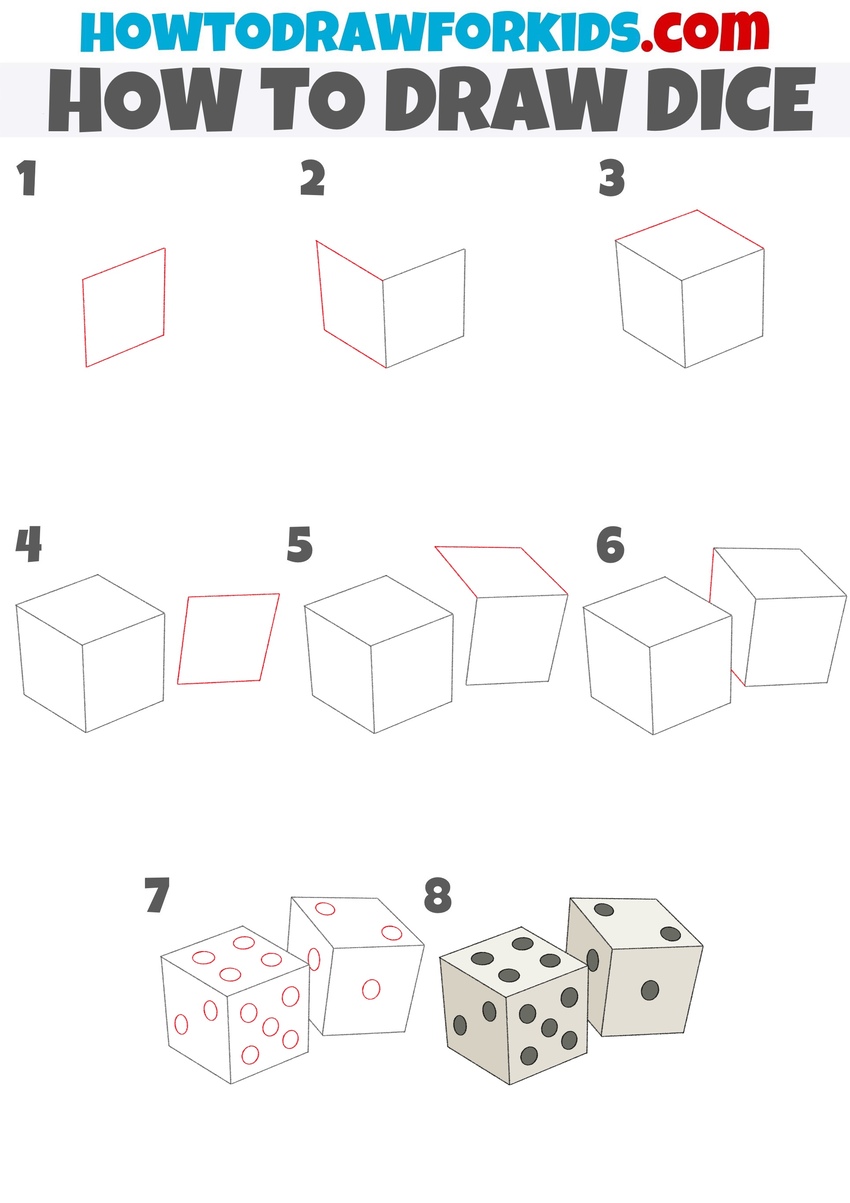
How to Draw Dice
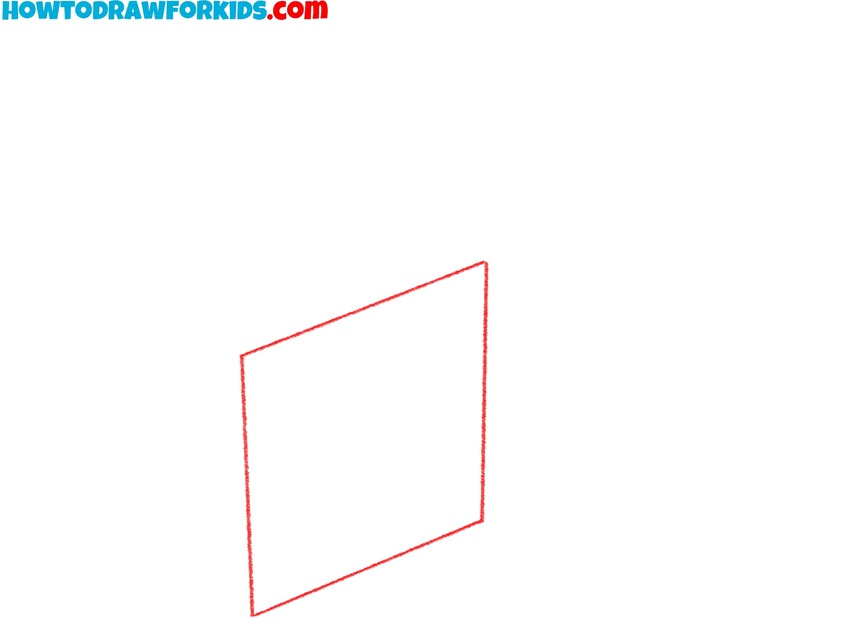
- Draw the front face of the first die.
To draw a dice, sketch a slightly tilted square near the center of your page. This square represents the front face of the first die and is angled to give the drawing a three-dimensional perspective. Make sure the lines are clean and straight. If it helps, lightly sketch guides first to better place each corner.
- Add the side face of the cube.
From the top left and bottom left corners of the square you just drew, extend two angled lines to the left. Then, connect the ends of these lines with a vertical line to form a second square that shares a side with the first one. This creates the side face of the die.

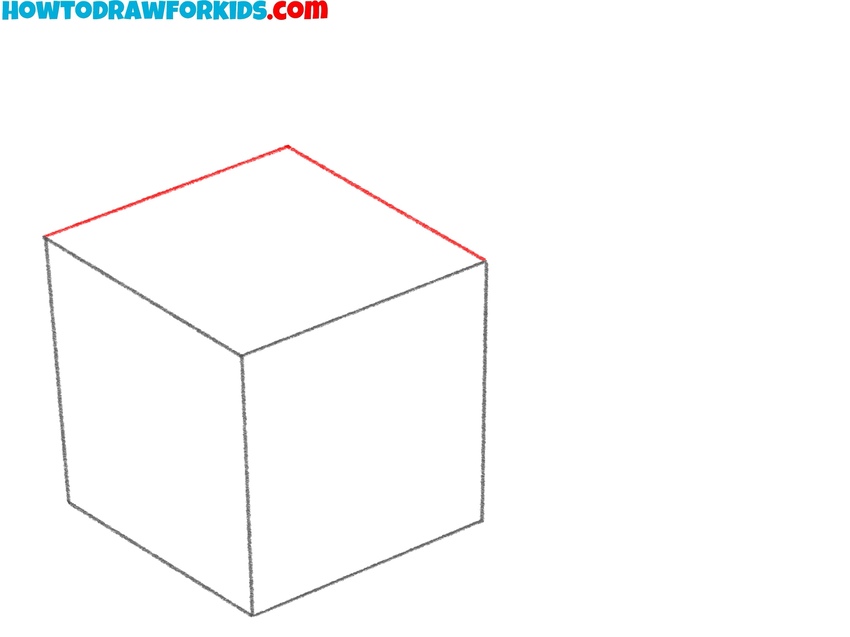
- Finish drawing the first die.
To complete the cube, draw two lines extending backward from the top corners of the first and second faces and connecting into a sharp angle. This triangular alignment visually closes the shape and locks all three visible sides into a 3D cube. Make sure that all connecting lines meet at clean, crisp corners.
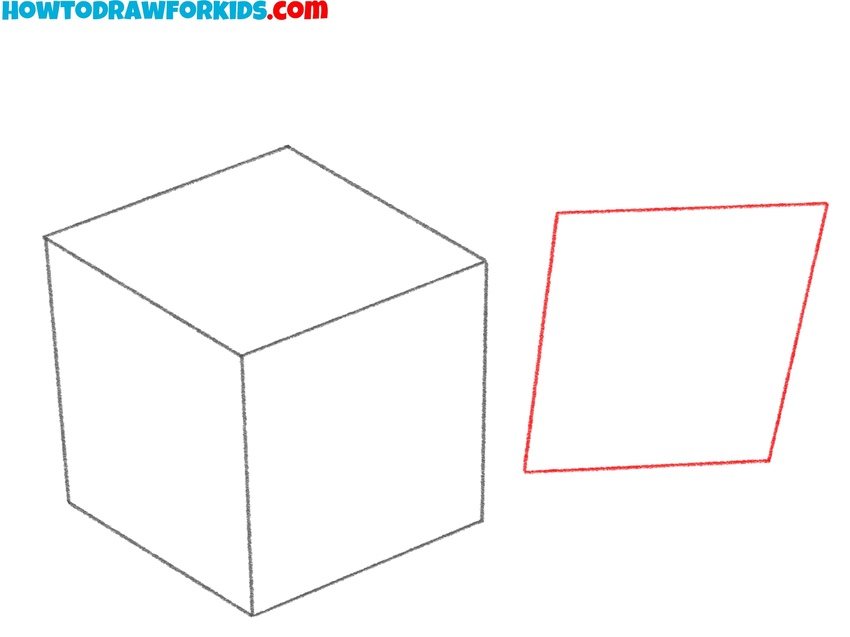
- Start the second die with a square.
Begin your second die by repeating the same process from Step 1: draw a square face to represent the front side. This square should be placed slightly to the right and above the first die, as if the two dice are next to each other in mid-roll. Angle the lines in a similar perspective.
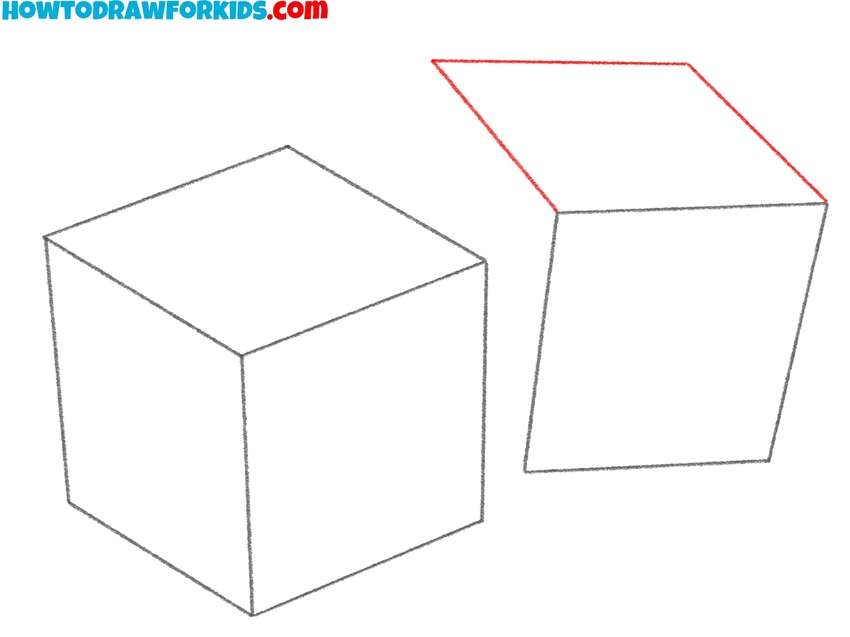
- Draw the top face of the second die.
Just as with the first die, extend two angled lines from the top edge of your new square, then connect them with a horizontal line to form the top face of the second die. Check the size and direction – if this face is too long or short, it’ll throw off the symmetry and scale of the cube.
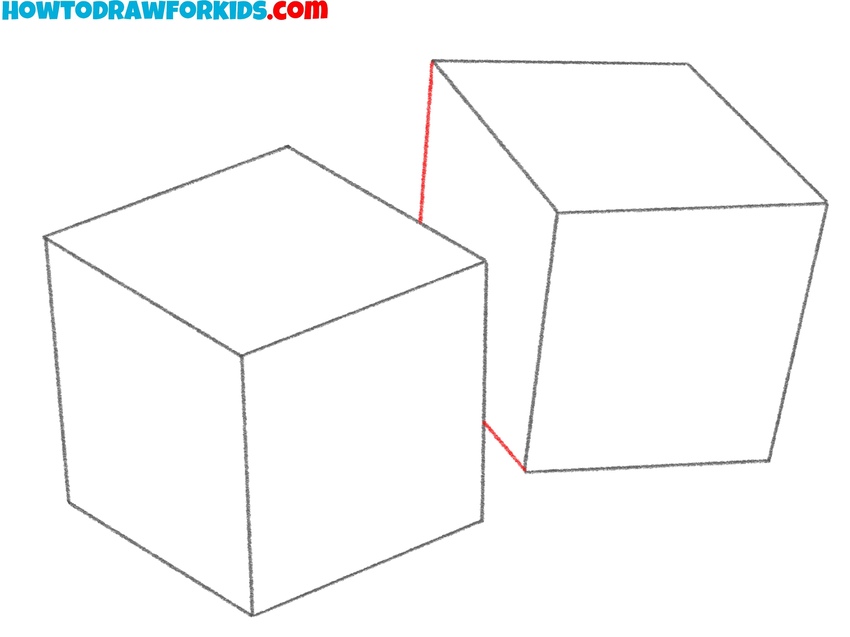
- Complete the second die’s cube shape.
Add the side face to the second die by drawing two short lines extending from the top and bottom corners of the front and top faces. This completes the cube just like in Step 3, but now with the second die. This cube may overlap the first slightly depending on how you placed it.
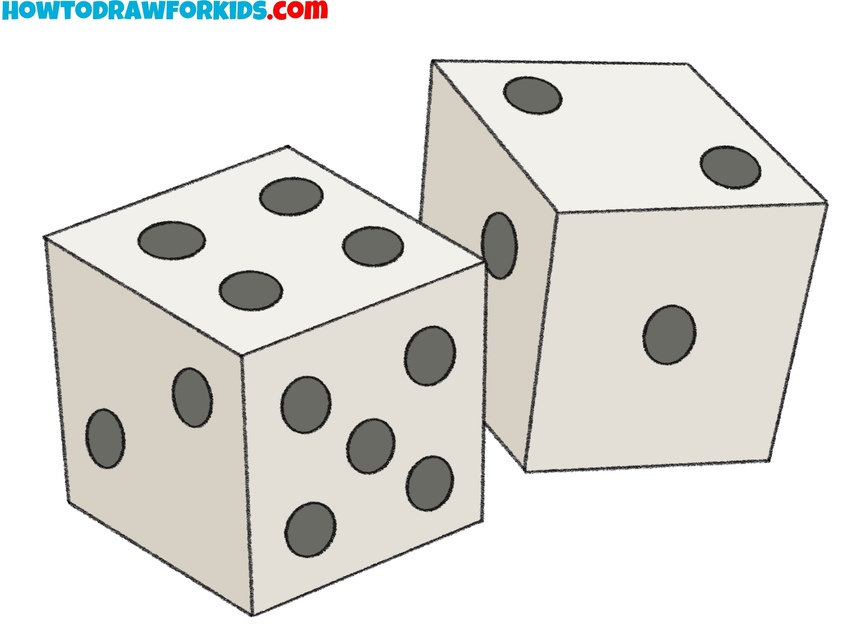
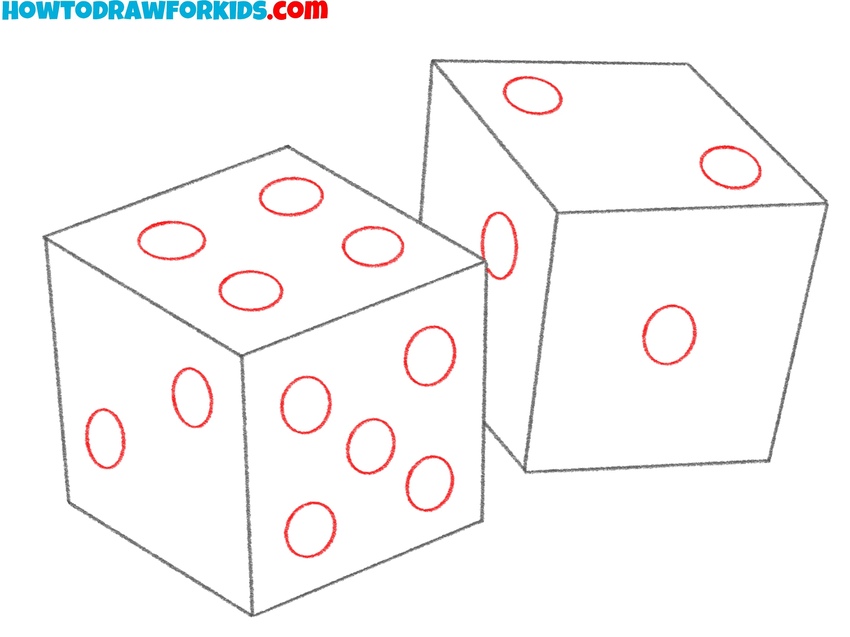
- Place the spots for each face.
Inside each cube face, draw small circles or ovals to represent the numbers on the dice. Place them carefully so they follow the cube’s surface perspective – this means adjusting the spacing and curvature slightly to match the angle of each face.
- Shade the surfaces and dots.
To color your dice drawing, use a light beige or ivory color for the surfaces to keep them authentic, then fill the dots with black or dark gray. Use slightly darker tones on the sides or bottom edges to create shadow and form. If you prefer a more simple look, go with white for the dice and black for the dots.

Conclusion
This simple tutorial on how to draw dice demonstrated you how to construct cubes using simple perspective lines and basic geometry. You can use this same technique to build boxes, buildings, or any symmetrical object in perspective.
Once you’ve finished the basic version, try experimenting with different views and placements. You can rotate the dice to show other number combinations, draw them mid-roll, or add motion lines to give a sense of action. For more challenge, practice drawing translucent dice or shading them based on a light source.
Also, you can use this simple technique to draw more complex drawings and compositions. To make it, you can draw chess or add some other similar things to create an interesting composition.
To continue improving your understanding of 3D forms, check out related tutorials on drawing cubes, geometric shapes, or everyday objects built from boxes. Don’t forget to subscribe to me on Pinterest, YouTube, and other social media.