How to Draw My Melody
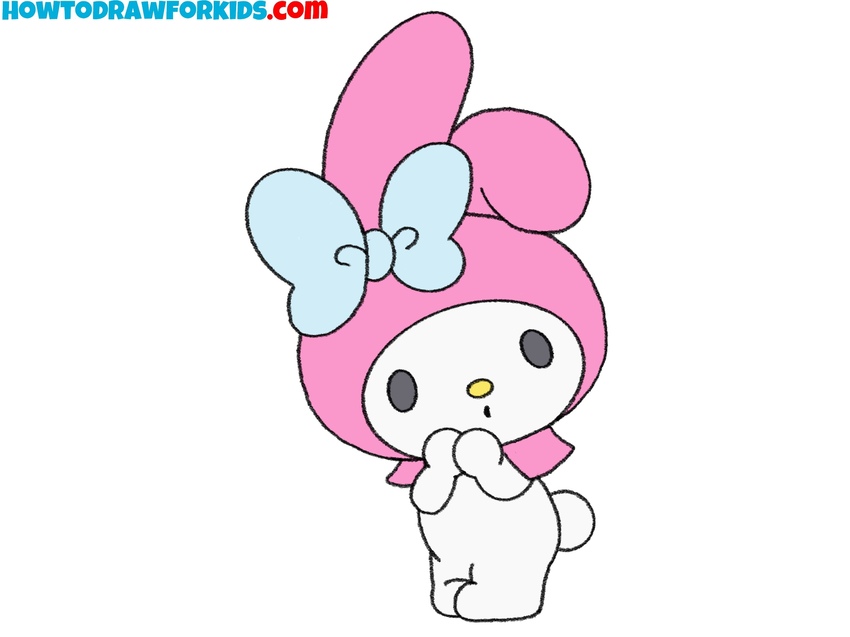
Use this guide on how to draw My Melody to create a sweet drawing of the famous Sanrio character with her iconic bow and ears.

How to Draw My Melody: Introduction
In this simple tutorial on how to draw My Melody, you’ll work on creating a famous character with big, soft shapes and a clear, readable silhouette. My Melody’s hood, with its floppy bunny ears, gives her a distinct look, and in this guide we will illustrate this part using very simple lines.
Pay close attention to the size of the head compared to the body. My Melody’s head is much larger, which gives her a cute, childlike look. If the head is too small or the body is too long, the drawing will lose its charm and recognizable Sanrio style.
The bow is an a really important element, but it should never overpower the head or hide the ears. Place it carefully so it enhances the silhouette. Make sure the loops of the bow are even, and keep the knot small and simple.
This version can be varied by changing the bow style, drawing My Melody holding different objects, or adding small background details like flowers or hearts. These adjustments help personalize the character without altering her key features.
My Melody Drawing Tutorial
Materials
- Pencil
- Paper
- Eraser
- Coloring supplies
Time needed: 35 minutes
How to Draw My Melody
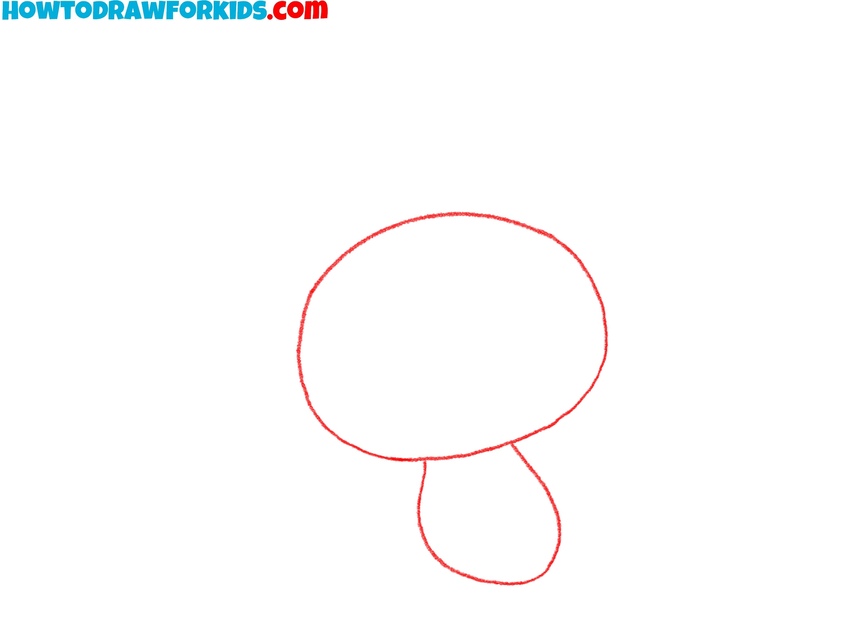
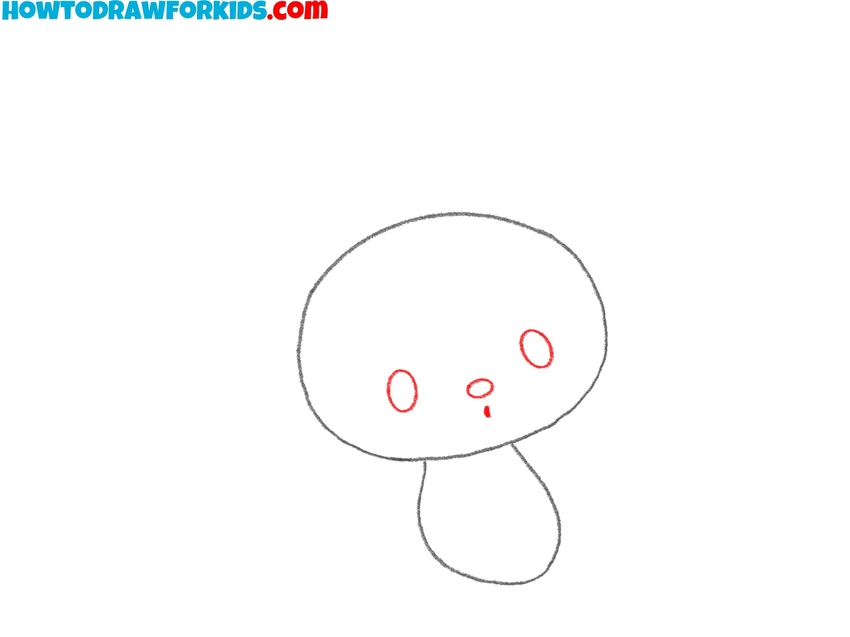
- Draw My Melody’s head and body.
Place the head of the character near the top of your paper, giving you room below for the body. Then add a small, curved oval shape just below the head – this will be the base for My Melody’s body. Keep the head bigger than the body to match her cute, chibi-style proportions.
- Sketch the facial features.
Add two small oval shapes inside the head for her eyes. Then sketch a tiny oval for her nose, placing it between and slightly below the eyes. After that, draw the mouth as a small dot below the nose. For extra cuteness, you can add small cheek marks or blush spots to either side of the face.
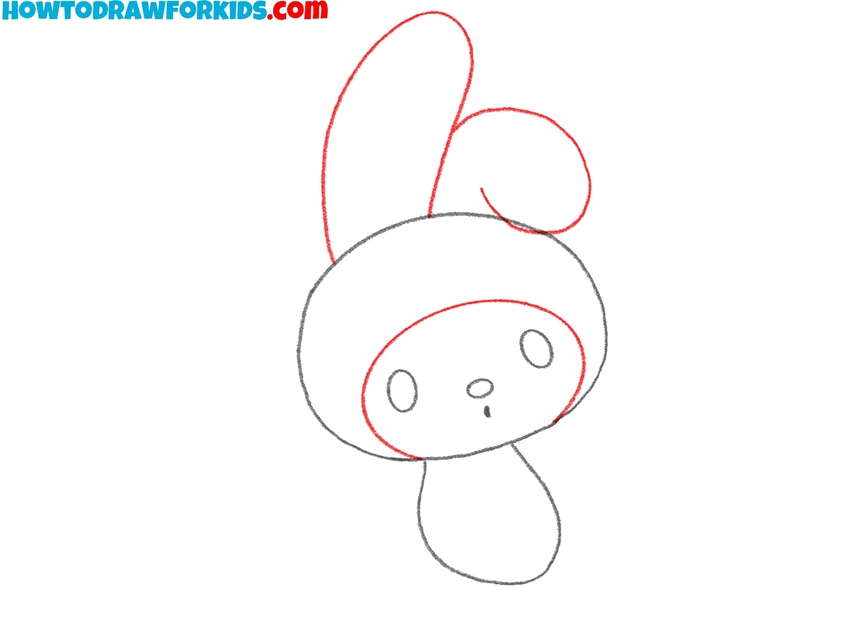
- Draw My Melody’s hood with long ears.
Now draw My Melody’s iconic hood with one ear standing up and the other bent. Start by sketching the rounded opening of the hood around her face From the top left of the hood, draw a long, tall ear pointing upward. On the right side, add a second ear that curves over.
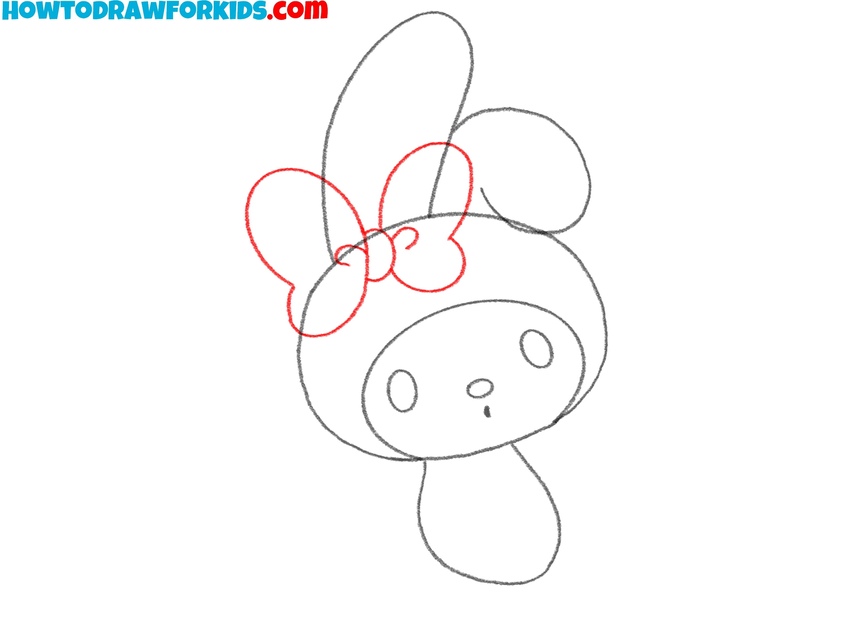
- Sketch the character’s bow.
To draw My Melody’s signature bow, start by sketching two large rounded loops – one on each side of where the ears meet on the hood. Connect the loops with a small oval or circle in the center to complete the bow’s knot. Position the bow slightly off to one side to match My Melody’s typical look.
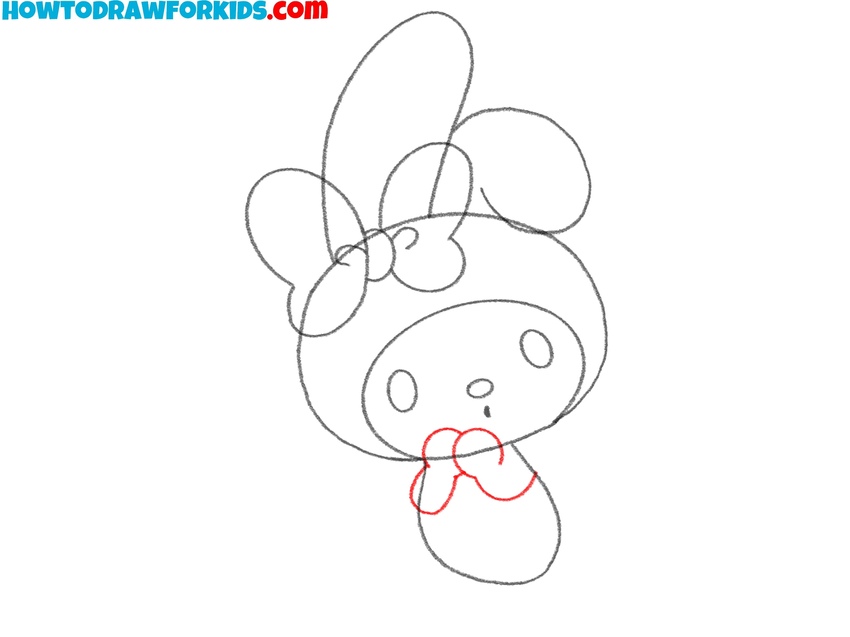
- Sketch the character’s rounded arms.
Next, draw My Melody’s arms and hands by sketching two small, rounded shapes in front of her chest, overlapping slightly for a shy pose. First, sketch the hands of the character as a couple of circles. Then, sketch the arms with smooth and short lines.
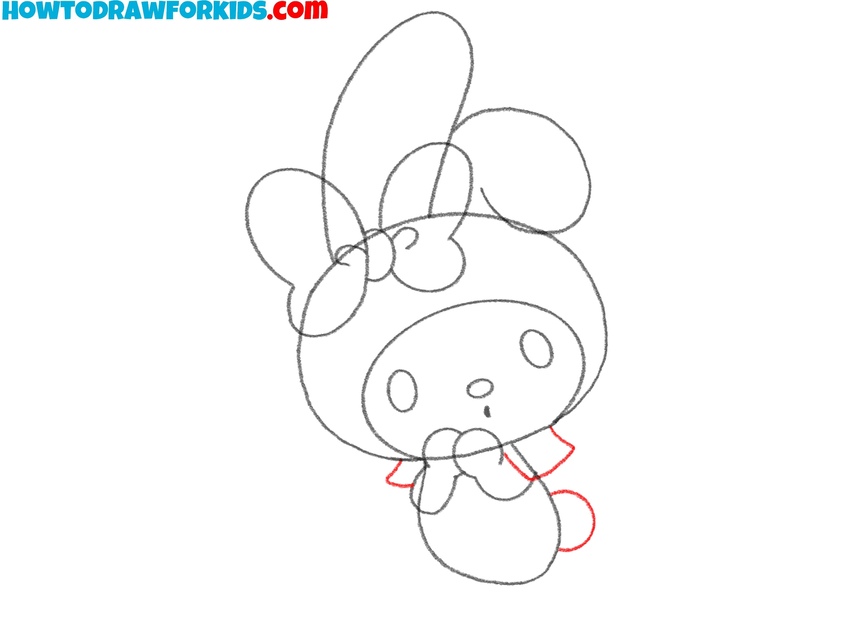
- Complete the hood and sketch the tail.
Finish the hood of the character, sketching the bottom part with a couple of simple lines. Then, continue to draw My Melody, and add a tiny fluffy tail behind her body by drawing a small circle or puffy cloud shape near the lower right side of the body oval. The tail should peek out just a bit.
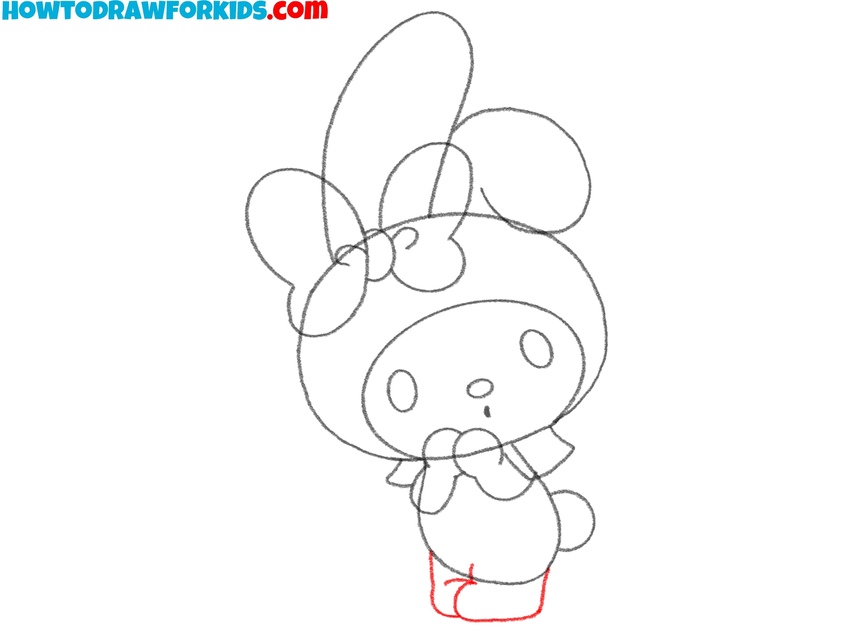
- Sketch the character’s lower limbs.
Now draw My Melody’s short legs and feet by sketching small, slightly curved shapes extending from the bottom of the body. Keep both legs about the same size and use very smooth lines. To give your drawing of My Melody a different look, you can adjust the position of the legs.
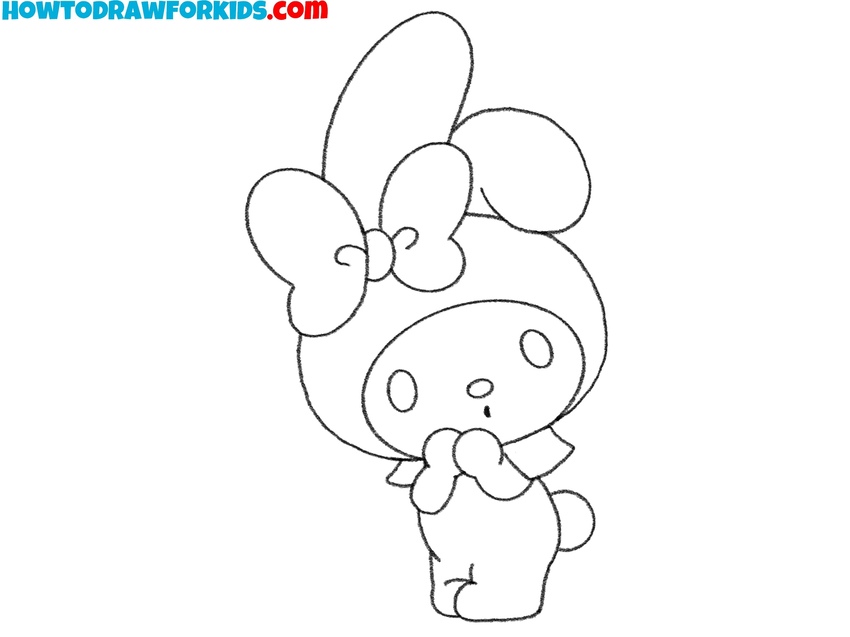
- Clean up sketch lines.
To finish drawing My Melody, carefully trace over your sketch lines with a darker pencil or pen. Strengthen the outer edges. Erase any extra guidelines or messy marks to clean up the drawing. Also, don’t forget to check the proportions and placement of each element to make sure everything looks proportional.
- Color your drawing of My Melody.
Fill in her hood and ears with a bright pink or red, and color her bow in a shade like light blue or yellow. Use a light cream or white for her face and body, keeping the eyes black and adding small pink blush marks on her cheeks for extra cuteness.

Conclusion
This tutorial on how to draw My Melody guides you step by step through creating one of Sanrio’s most beloved characters. Drawing My Melody helps you practice combining rounded shapes, cute facial features, and recognizable accessories like bows, to create famous characters.
It’s also a great exercise for maintaining simple cartoon proportions. By learning how to draw My Melody, you can build confidence in drawing other chibi-style or kawaii characters with soft and simple lines.
You can also try changing her bow’s size, adding different facial expressions, or giving her small props to personalize your version of the sketch.
If you’d like more tutorials in the same style, check out the Hello Kitty drawing tutorial or Kuromi tutorial, which complement My Melody perfectly. For more step-by-step lessons, printable worksheets, and video guides, follow on Pinterest and subscribe on YouTube.