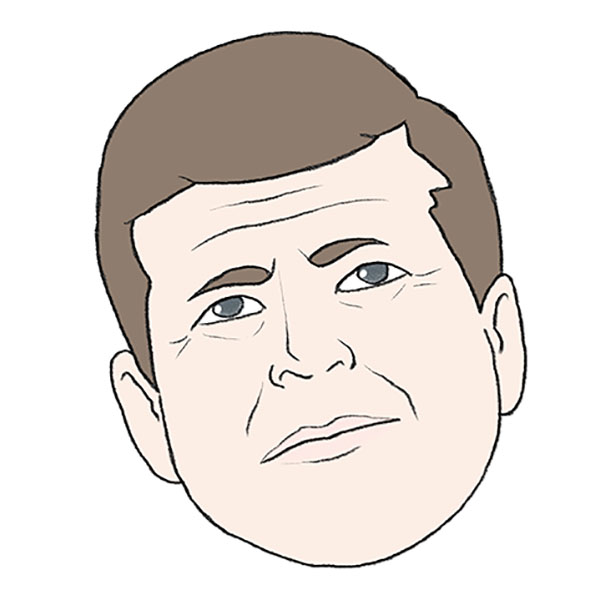
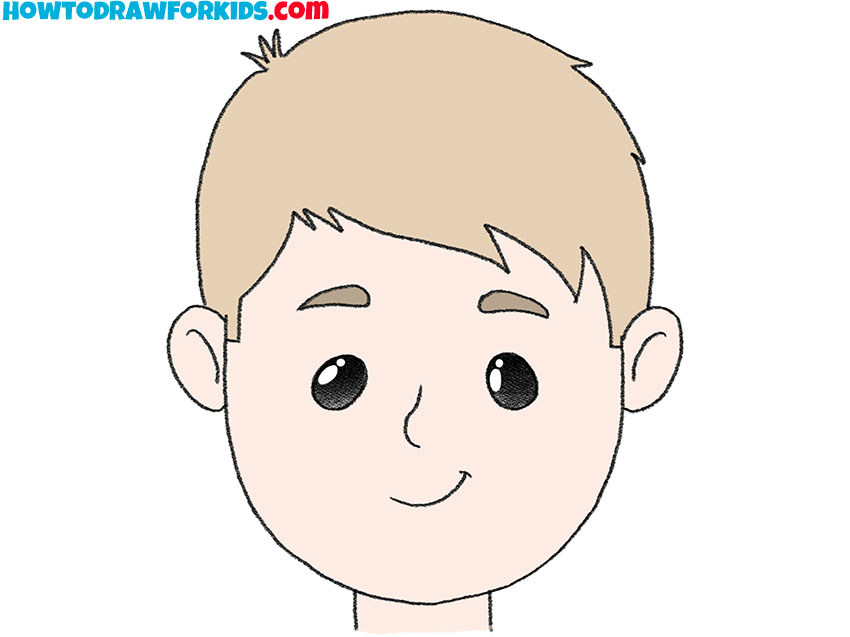
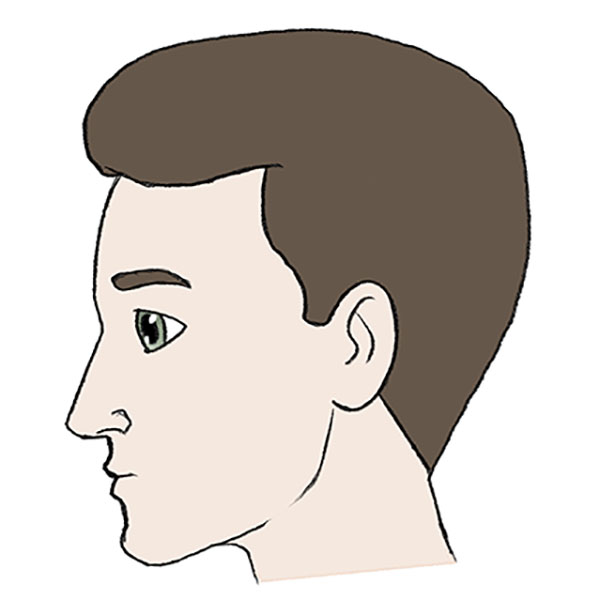
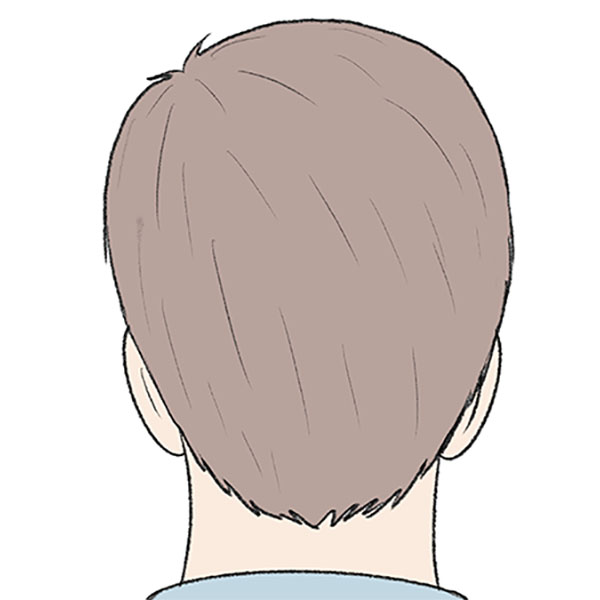
How to Draw Short Hair
In this drawing lesson, you will learn how to draw short hair step-by-step. I promise you will love this tutorial!
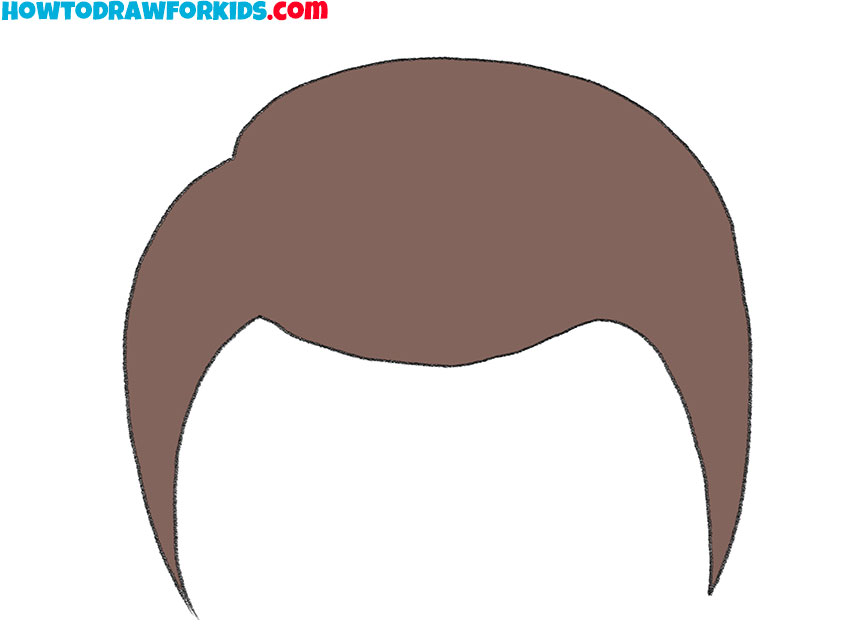
I have prepared for you a very interesting and useful drawing lesson in which you can learn how to draw short hair step by step. This tutorial is designed specifically for kids and beginners, so it doesn’t contain too many complex elements.
In just five easy steps, you will learn how to draw short hair and will be able to apply the skills you have learned to drawing your beautiful pictures in the future. If you want to draw any person or character with short hair, then this simple instruction will definitely come in handy.
It is known that hairstyle is a very important part of the image for every person. By changing the hairstyle, we can significantly change our appearance. Short hair can be worn by people of any gender and age.
When completing this drawing lesson, you will need to depict curved lines with high quality. Right now, you can start this lesson by preparing all the art supplies you need.
Materials
- Pencil
- Paper
- Eraser
- Coloring supplies
Time needed: 30 minutes
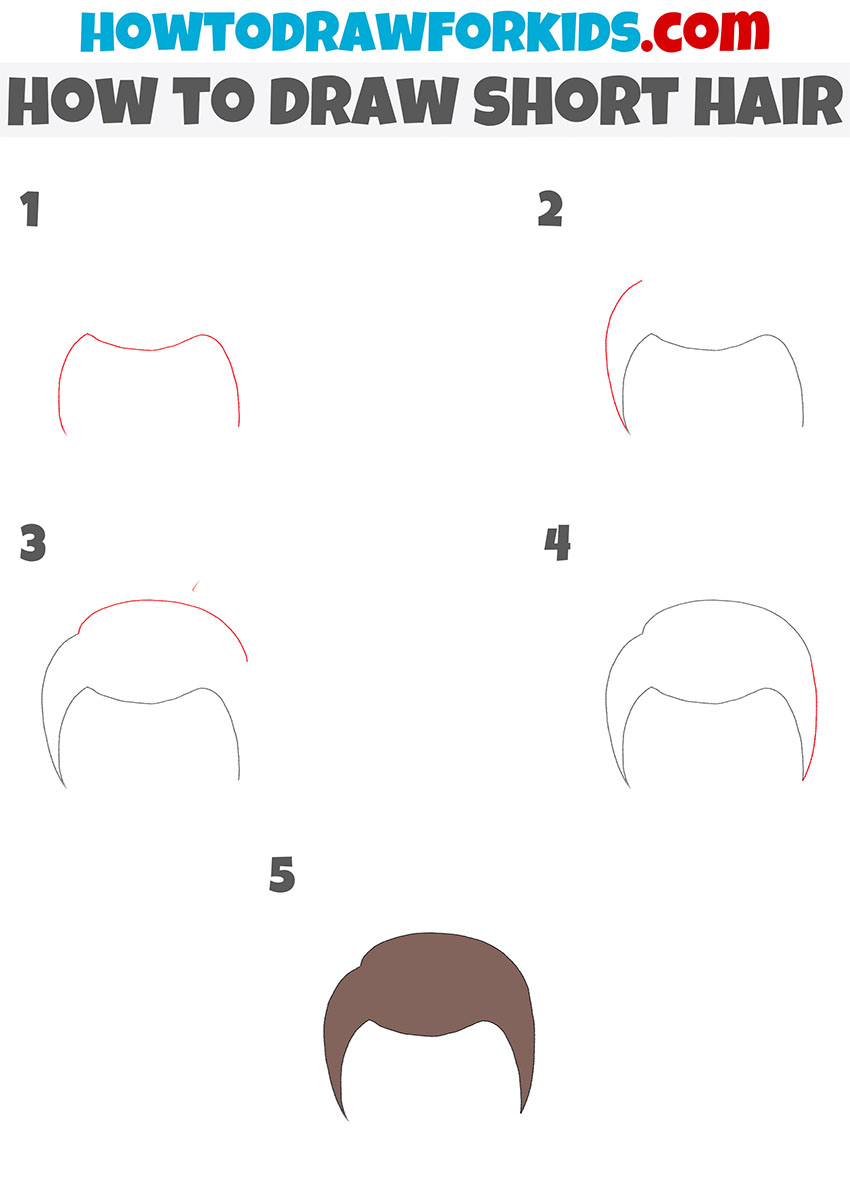
How to Draw Short Hair
- Start drawing the bottom part of the hairstyle.
To draw a line along the forehead, draw a long, curved line as shown.
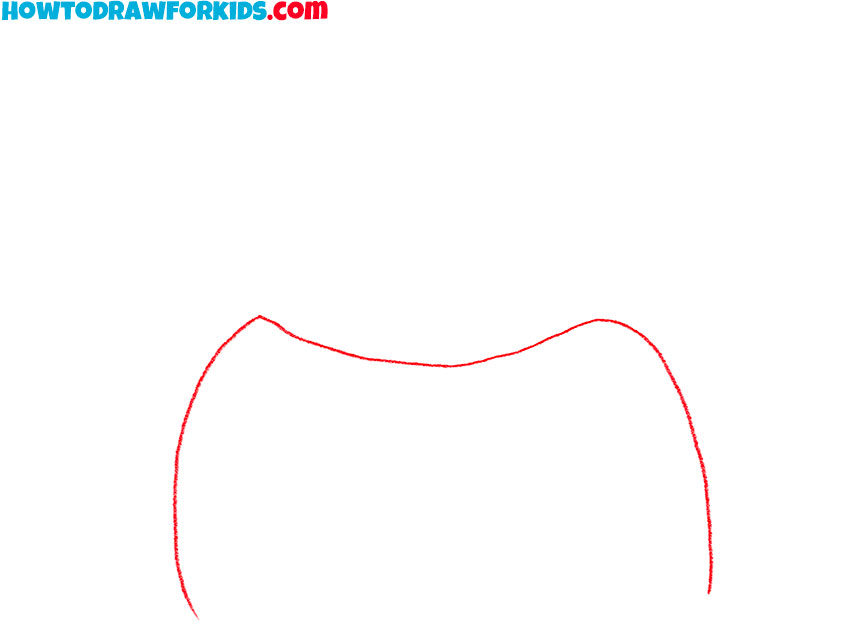
- Depict the part of the hair on the left.
Now you should add one curved line on the left side of your drawing.
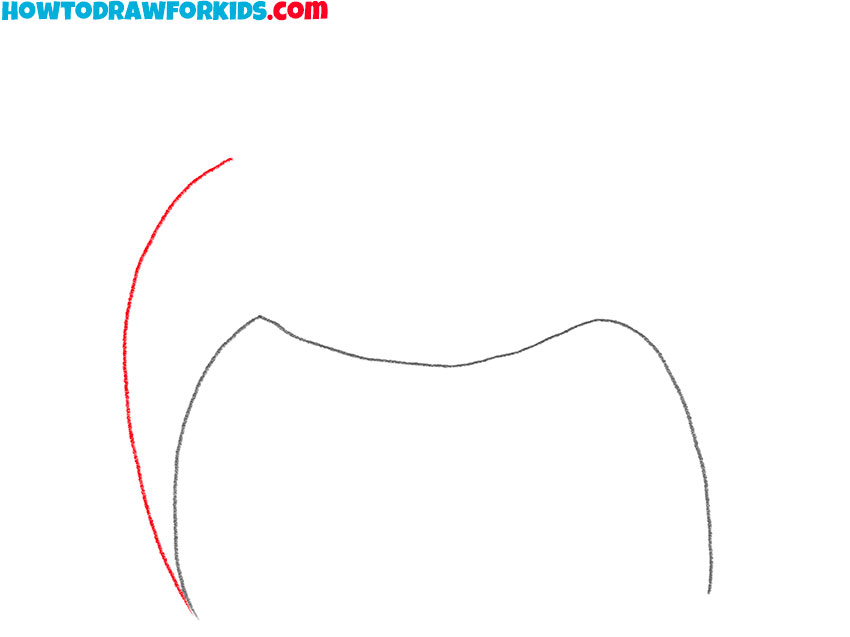
- Add some hair on top.
From the end of the previously drawn curved line, draw a long line as shown.
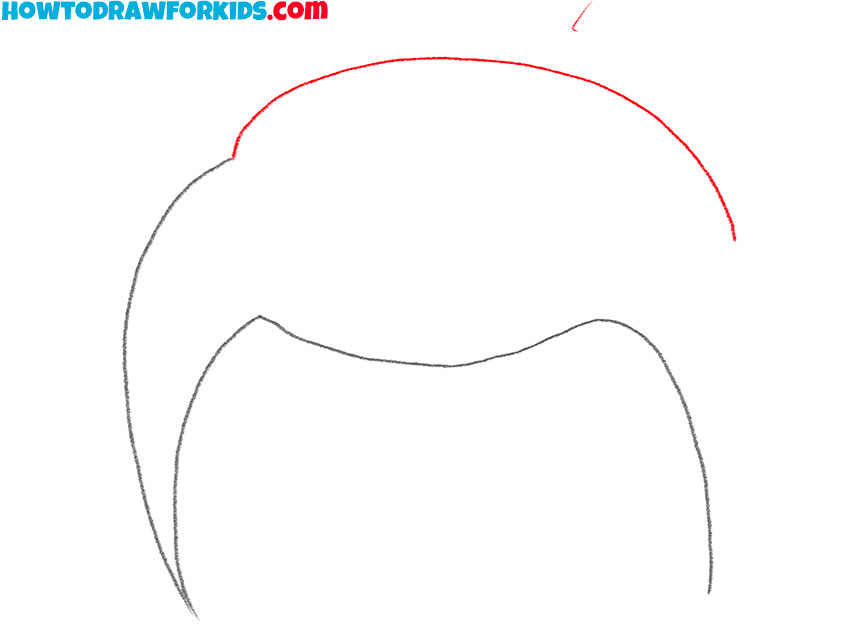
- Finish drawing the outline of the hairstyle.
Now, you should connect the ends of the previously curved lines with another small line.
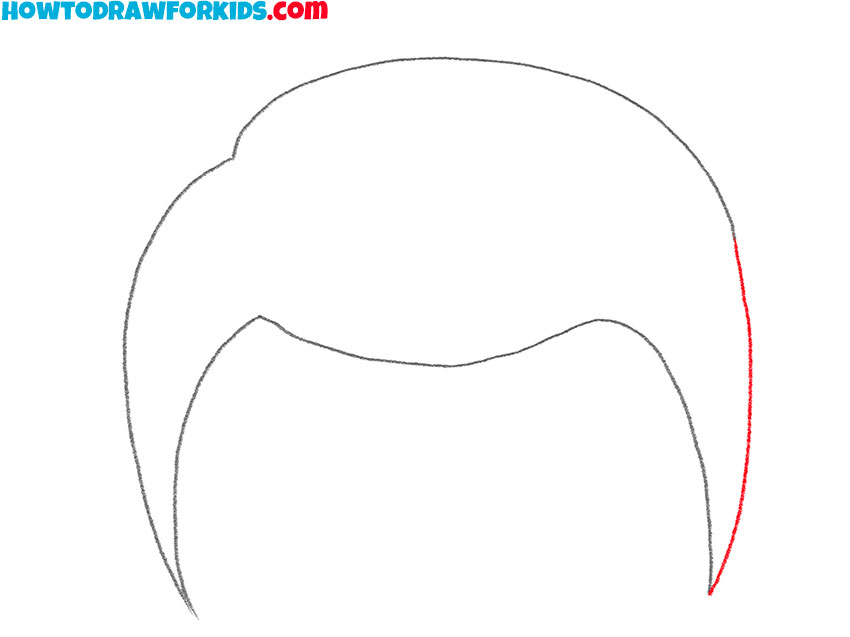
- Color the drawing.
You can choose any colors.

I remind you that for your convenience, you can download a PDF file that contains a short version of this lesson so that you can return to it at any time convenient for you, even if you are not connected to the Internet.

