How to Draw a Saxophone
We will now study in detail how to sketch the most romantic musical instrument with this lesson on how to draw a saxophone.

In this lesson you will learn how to draw a saxophone. I promise that this lesson will be very useful, interesting and exciting for you. You will definitely enjoy this lesson if you love music or are interested in the art of music.
Have you ever seen a saxophone or enjoyed someone playing this beautiful musical instrument. So, the saxophone is a wind musical instrument. This instrument is the main jazz instrument. There are different types of saxophones.
Having learned how to draw a saxophone, you can apply these skills when drawing musicians or musical groups, as well as any other drawings of similar subjects. Also, you can draw a drum at the background to create a musical still-life.
Materials
- Pencil
- Paper
- Eraser
- Coloring supplies
Time needed: 25 minutes
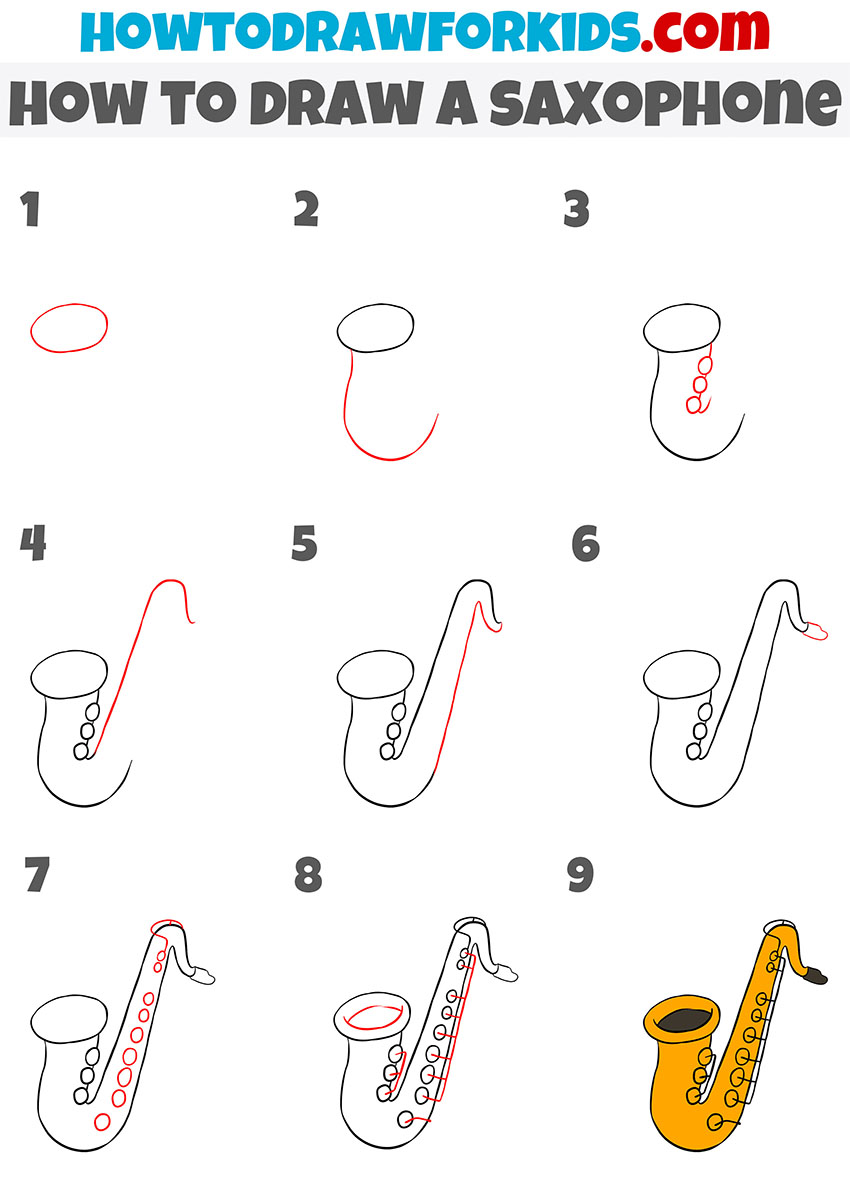
How to draw a saxophone step by step
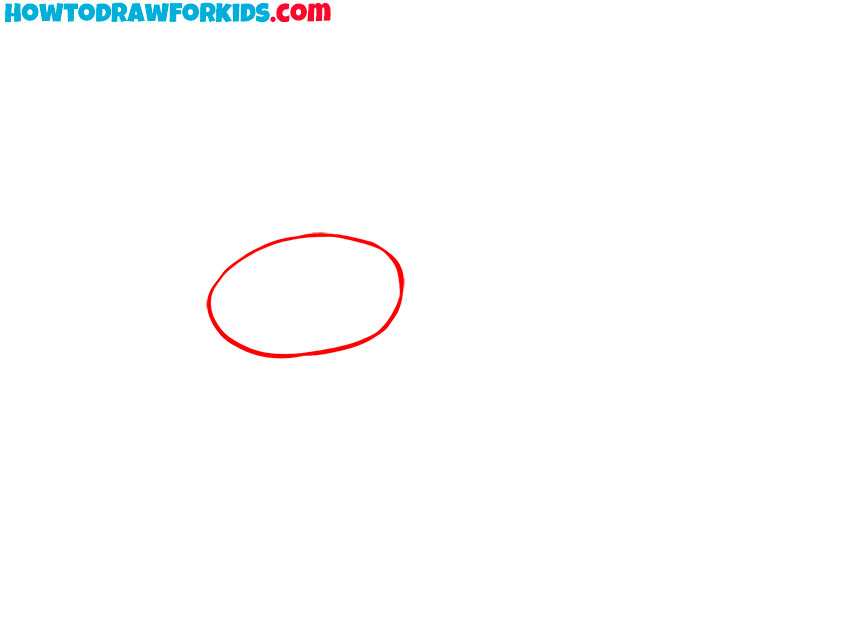
- Sketch an oval for the saxophone bell.
Start with the bell so the rest of the saxophone can scale to it. Draw a horizontal oval near the upper left area of the page. Keep the ellipse smooth and symmetrical. This simple shape represents the mouth of the instrument where sound exits.
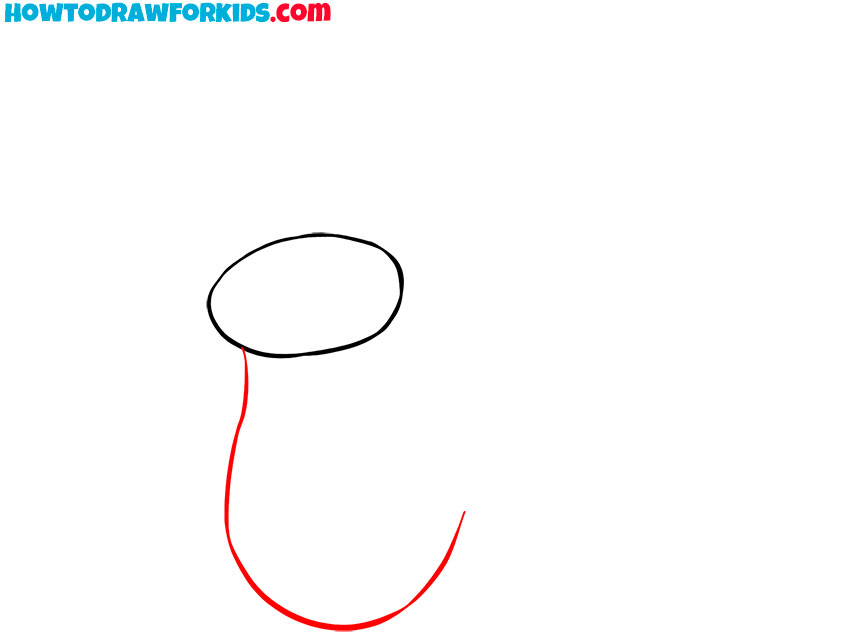
- Add the curved lower edge.
From the right edge of the oval, drop a short vertical line to form the bell flare, then continue with a long curve that sweeps downward and finishing with a smooth upward stroke, turning into a rounded U-shape at the bottom.
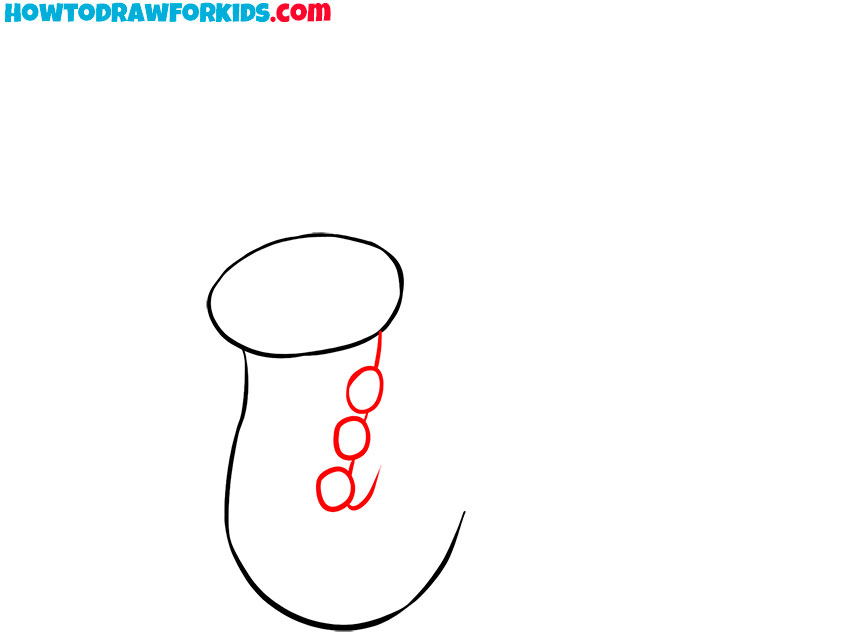
- Draw the first tone holes of the saxophone.
Along the right side of the body, draw three small circles stacked vertically following the tube’s curve. Space these ovals evenly with short lines between them to represent the body of the tube. These are simple outlines of tone holes and pads.
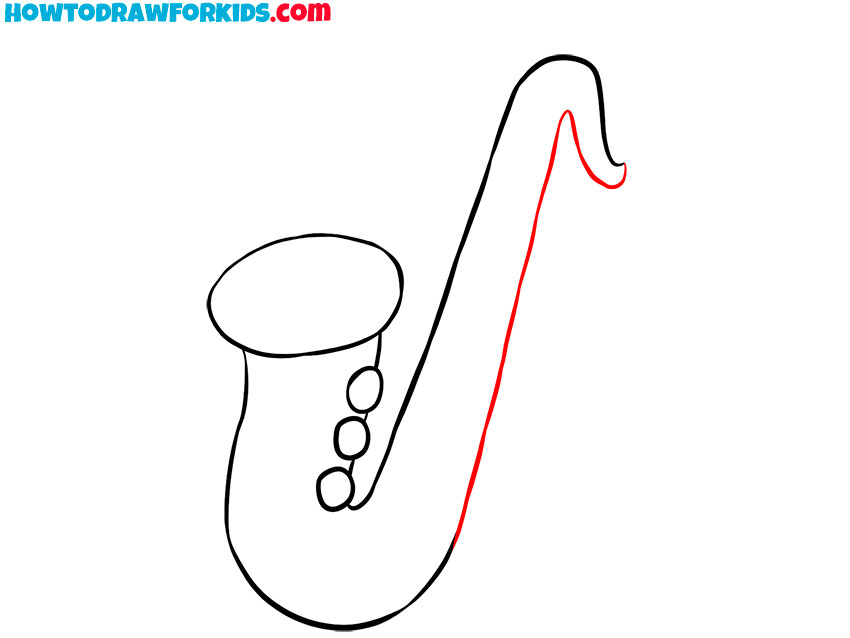
- Lay out the first neck line.
From the bottom of the line from the previous step, draw a long diagonal line that rises to the right with a subtle S-curve and ends in a short downward hook.

- Form the second neck edge.
Parallel to the neck edge from the previous step, draw another line that begins at the bottom and follows the same diagonal path to the hook, tapering slightly as it rises. Connect this edge to the second edge to create the neck part. The neck should be narrower than the bell.
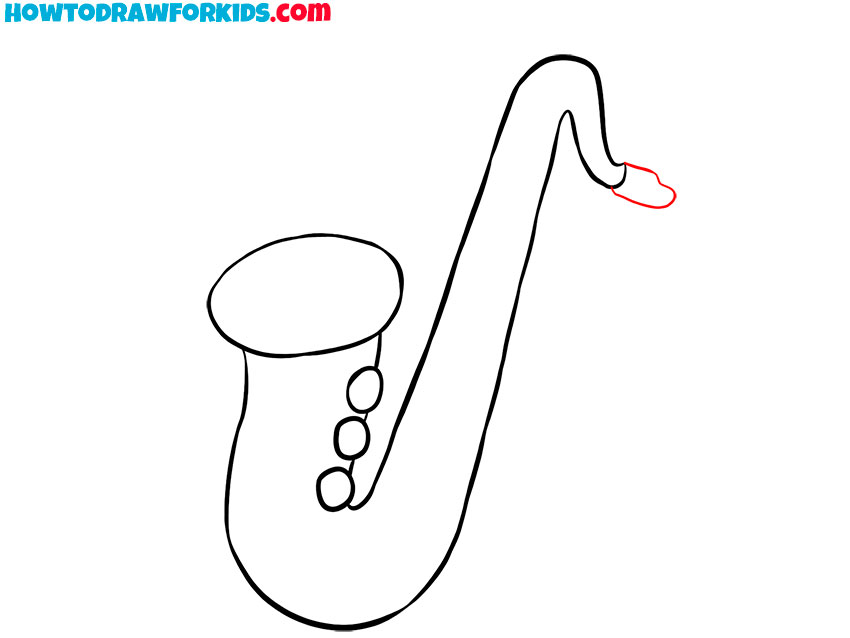
- Draw the saxophone mouthpiece.
At the tip of the neck’s hook, add a short, flattened oval to form the mouthpiece bite area. You can attach a small wedge-like extension to its right to represent the beak. Keep the shapes simple and slightly thicker than the neck.
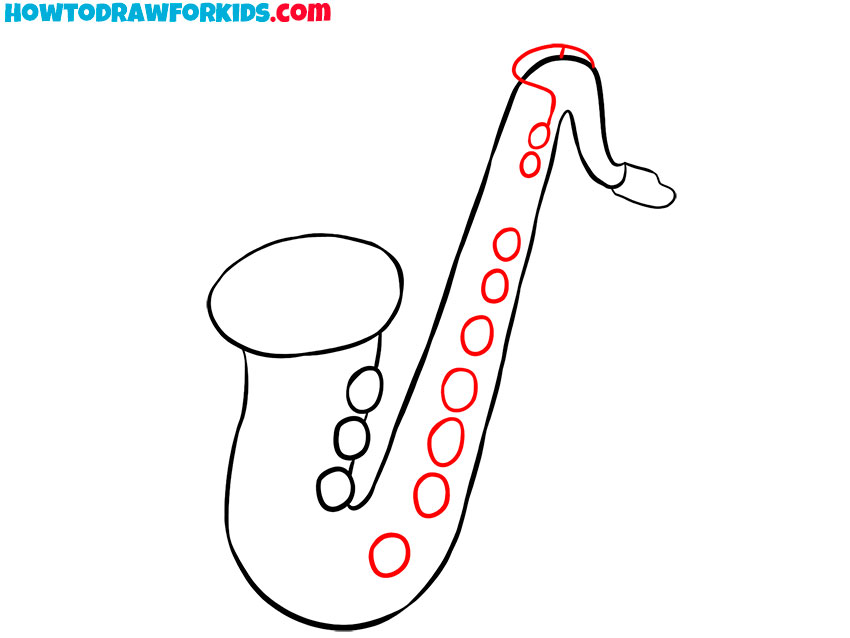
- Add the row of pearls along the neck.
Key pearls make the drawing read as a sax quickly. Down the front of the neck, add a column of small circles that follow the diagonal. Continue the sequence onto the upper body, inserting two medium circles. Keep spacing even but let sizes vary slightly for interest.
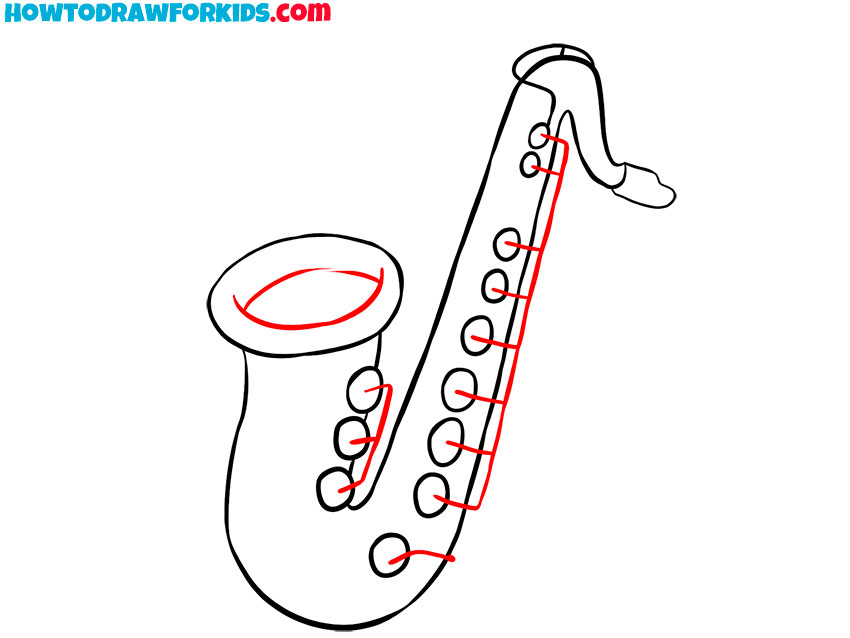
- Connect the keys with straight rods.
Draw a thin straight rod running along the neck beside the pearls, with short perpendicular links reaching each circle. Repeat with a short rod on the bottom section, connecting the lower keys. Inside the bell oval, sketch a smaller curve to indicate wall thickness.
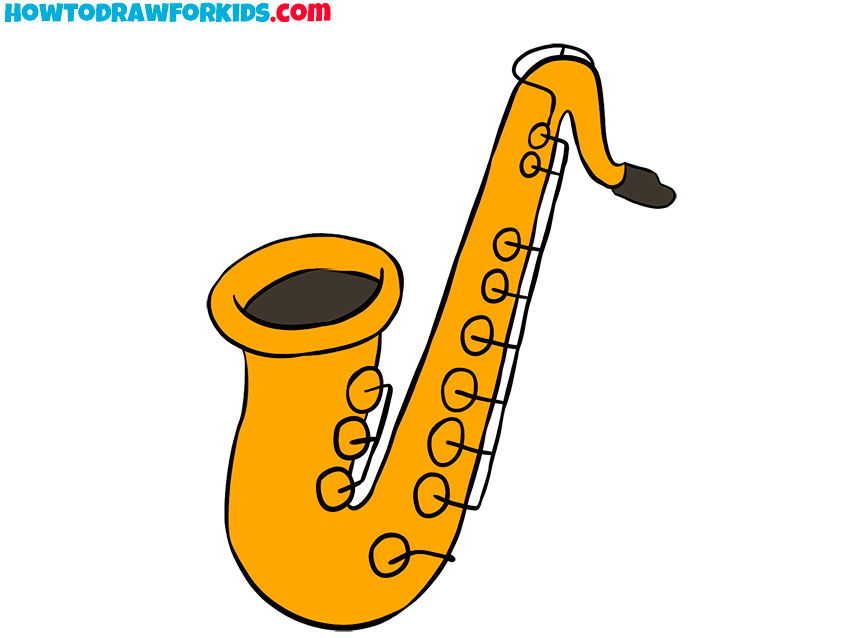
- Apply warm gold and brass tones.
Fill the body of the musical instrument with a warm golden ocher to represent lacquered brass. Darken the inside of the bell with a deep brown or dark gray. Color the mouthpiece a dark gray or black. Keep key pearls the same color as the body or a light cream or pale gray.
Traditionally, I have prepared a PDF file in which you can find a short version of this lesson, as well as additional materials that you may need when drawing a saxophone.