How to Draw a Book
Learn how to draw a book in both a closed and an open position using two simple instructions made up of straight lines and basic shapes.


How to Draw a Book: Introduction
Some objects consist of the most basic shapes imaginable. This drawing lesson on how to draw a book will focus on one of those objects. However, as with any simple object, the process is not as simple as it may seem.
In this lesson, I aim to show you how to draw a book using basic artistic techniques that will help create a drawing with a realistic appearance. These techniques are simple yet crucial for achieving a professional result. By incorporating symmetry and perspective, even a simple subject like a book can appear more lifelike and interesting.
Of course, when we mention a book, it could refer to one in different positions, such as closed or open. Each position presents its own unique features and challenges. To address these differences, I will guide you through the steps for drawing both a closed and an open book.
We will begin by focusing on how to draw a closed book, as it is the simpler of the two positions. Then, toward the end of the lesson, I will demonstrate the steps for drawing an open book, completing the tutorial with both perspectives covered.
Book Drawing Tutorial
Materials:
- Pencil
- Paper
- Eraser
- Coloring supplies
Time needed: 20 minutes
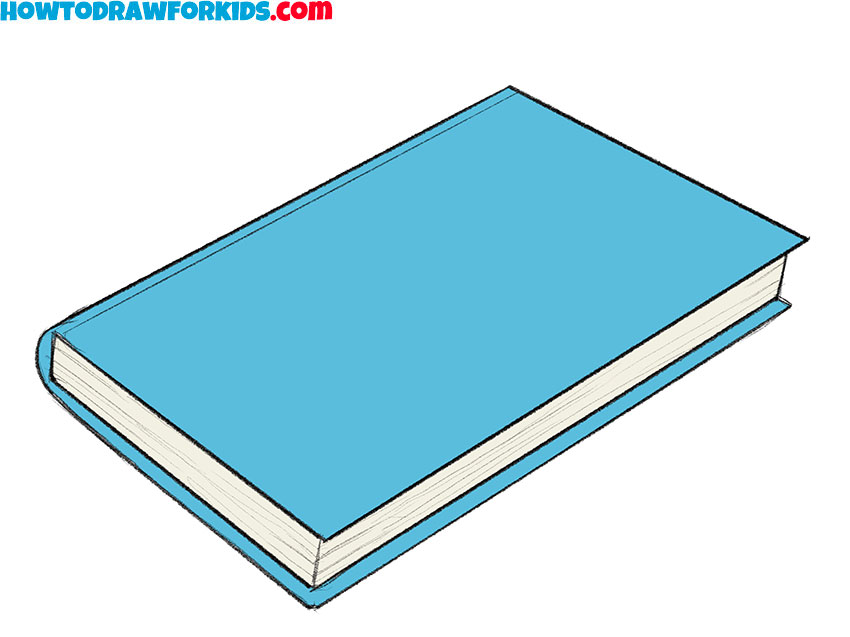
How to Draw a Book
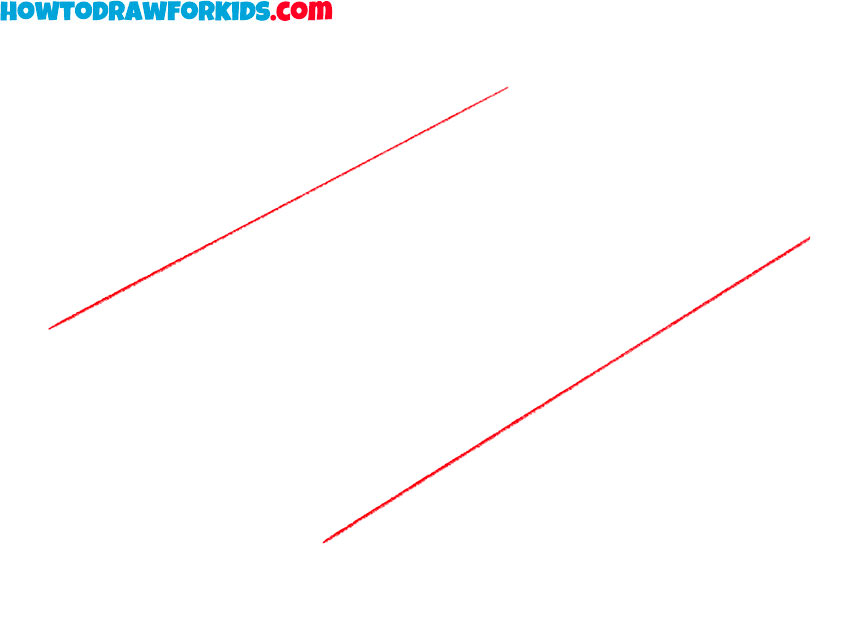
- Draw the sides of the book.
Start by drawing two slightly angled, parallel lines. These lines form the side edges of your book, creating a perspective that gives the drawing a three-dimensional appearance. Ensure these lines are clean and straight to establish a solid foundation for the following steps.
- Sketch the top and bottom edges.
Connect the top and bottom ends of the parallel lines with straight lines to close the shape of the book’s cover. This step shapes the outline of the book, completing the rectangular form. Ensure that the lines are straight, maintaining the perspective initiated in the first step.

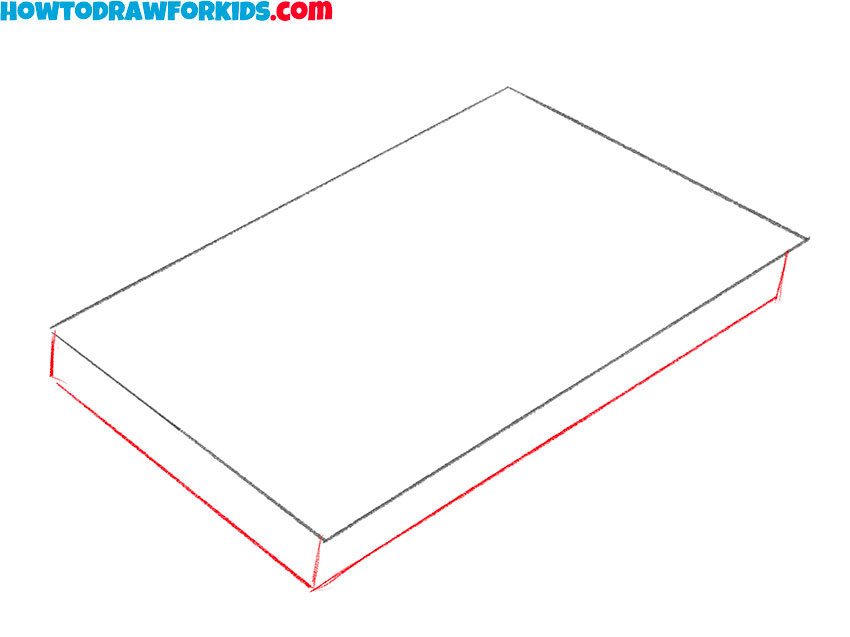
- Add depth to the sketch.
The length and width of the book are shown, now let’s add thickness to make the drawing truly three-dimensional. To do this, draw a line running parallel to the right side line. Then draw another line that will run parallel to the bottom edge of the book.
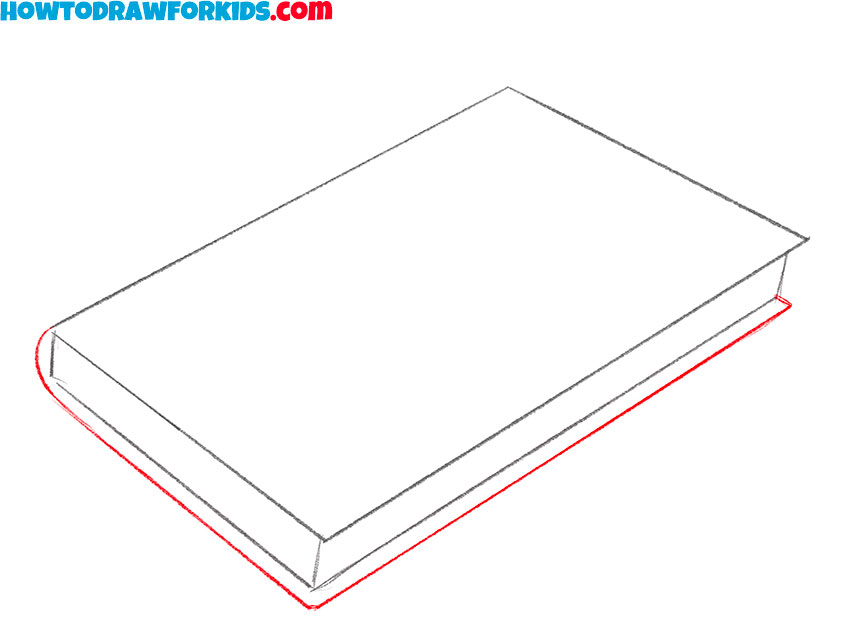
- Illustrate the cover.
Now draw another long line that will run parallel to the right side edge of the book. Next, draw another line running along the bottom edge of the book. Complete the cover drawing with a short, curved line on the left side of the figure.
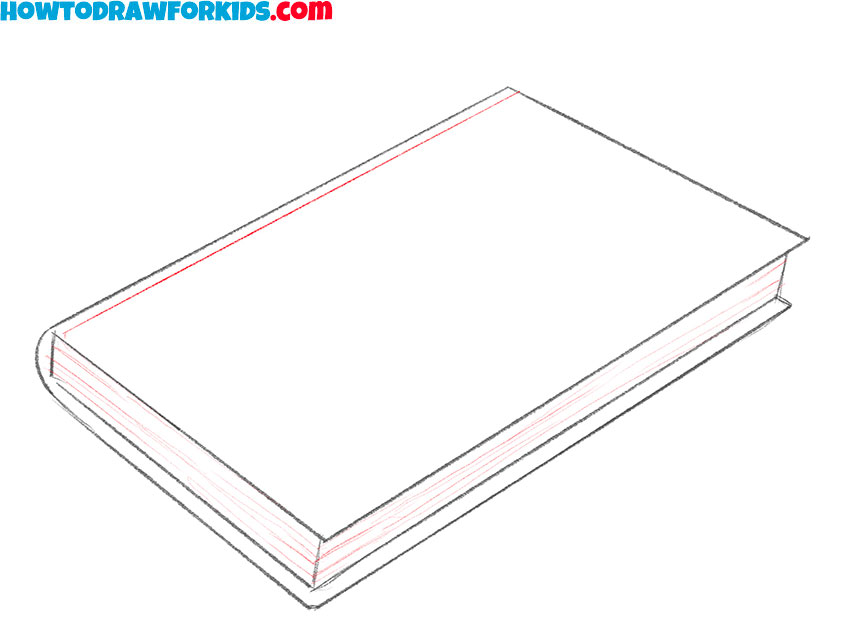
- Detail the cover and sketch the sheets.
Draw a line that separates the cover of the book from the spine. Next, draw the lines of the pages to give your book drawing a more lifelike look. In addition, you can add details that will make your artwork more interesting and different from the one I drew, for example the drawing on the cover.
- Color the book drawing.
Complete your drawing by applying color to the book cover and sheets. Choose a shade you like and fills the main shape of the cover uniformly. Color the sheets light gray or beige. Additionally, you may add shadows and highlights to enhance the 3D effect and give the drawing more realistic look.
Additional Content
This downloadable PDF complements the book drawing lesson by providing a concise version that you can use offline. It includes additional materials designed to refine your drawing skills beyond the basics, with exercises focused on improving technique, understanding coloring, and enhancing line work. This resource is intended to help you practice and develop your abilities at your own pace.
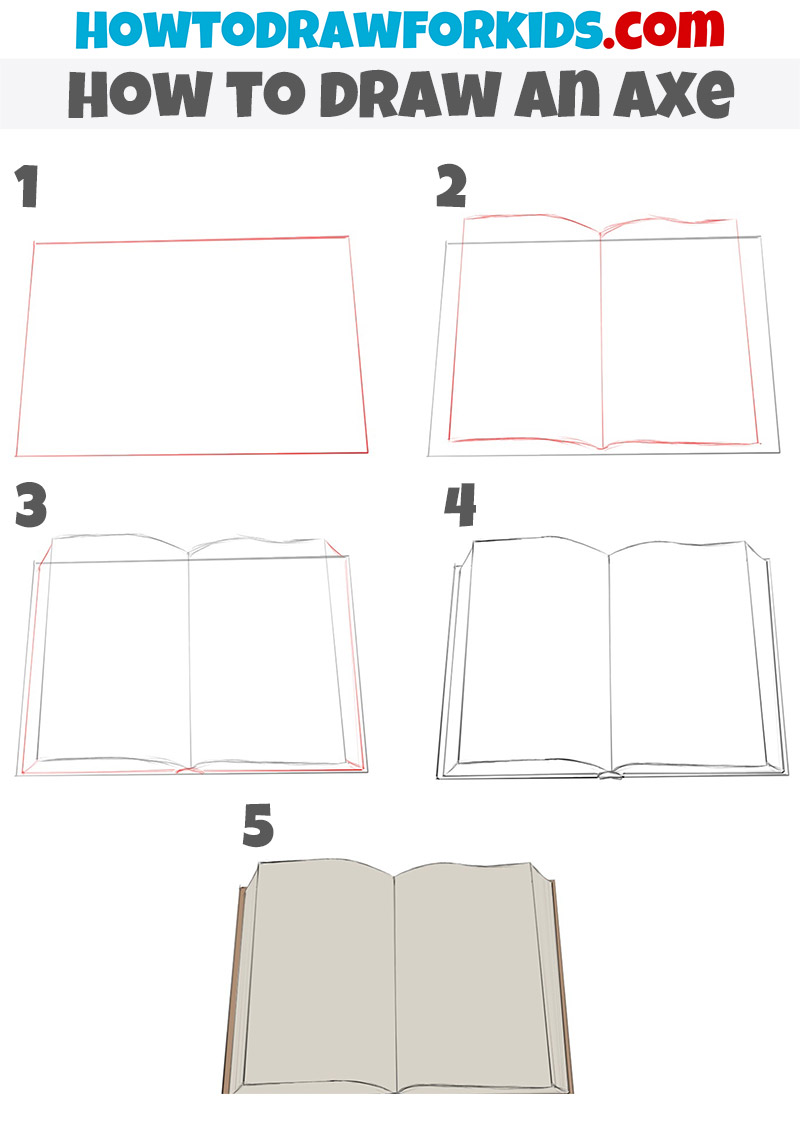
How to Draw an Open Book
As mentioned earlier, it is very important to know how to draw a book in both closed and open positions. Previously, we drew a closed book; now it is time to learn how to draw an open book using another simple method.
The first tutorial focuses on drawing a closed book, which primarily involves creating a simple rectangular shape to represent the cover, along with straight lines to define the book’s spine and thickness. In contrast, this tutorial on how to draw an open book introduces additional complexity. It requires creating curved lines to depict the edges of the opened pages.
To draw an open book, begin by sketching a rectangle tilted slightly to establish perspective. Divide it in half with a vertical line to separate the pages. Add curved lines at the top and bottom to represent the edges of the open pages, extending them outward. Draw a small curve at the center bottom to form the book’s spine, connecting the two sides.
Sketch parallel lines along the outer edges to give thickness to the pages. Add overlapping lines within the pages to indicate layers, enhancing realism. Outline the book’s cover, ensuring it aligns with the page curves. Refine the lines to smooth the shapes, erase unnecessary guidelines, and add shading or color to highlight the folds of the open book.
Conclusion
This lesson covered how to draw a book in two different states: open and closed. These basic techniques provide a solid foundation for drawing books in various contexts.
To further improve your skills, practice drawing books not only in open and closed positions but also from different angles. This will help you improve your understanding of perspective and refine your ability to sketch more detailed and realistic book drawings.
Be sure to follow me on social media to stay updated on new lessons, which are regularly posted on my website. Each tutorial is designed to help you gradually build your drawing skills with clear and simple steps. To expand your skills beyond drawing something as simple as a book, check out other sections of my site for more easy drawing lessons.
For example, improve your still life sketching skills by learning how to draw a rose, or become a true landscape artist by learning how to draw a tree.
Finally, feel free to share this lesson with your friends who might also enjoy learning how to draw a book. They may find it helpful and inspiring as they develop their own drawing abilities.