How to Draw a Braid
Do you want to learn how to draw a braid, but don’t know how? Follow my simple steps to create stunning results quickly and easily!

How to Draw a Braid: Introduction
This tutorial will show you how to draw a braid, a hairstyle feature commonly seen on people of all ages, from young girls to Viking warriors. Learning to draw a braid can be useful when creating drawings of people with interesting hairstyles. This guide is simple and suitable for beginners.
The tutorial will focus on an easy method to draw a braid using basic curved lines and simple details. By following the steps, you’ll create a braid with clear and neat sections that look realistic.
A braid is made up of strands of hair that are woven together. Pay attention to the separation of the strands to make the braid look detailed. Focus on the shape and direction of the braid to give it a natural appearance.
Remember, each braid can look different, so feel free to experiment. Use this tutorial as a guide to draw braids that fit your ideas, and also generally boost your hair drawing skills.
Braid Drawing Tutorial
Materials:
- Pencil
- Paper
- Eraser
- Coloring supplies
Time needed: 20 minutes
How to Draw a Braid
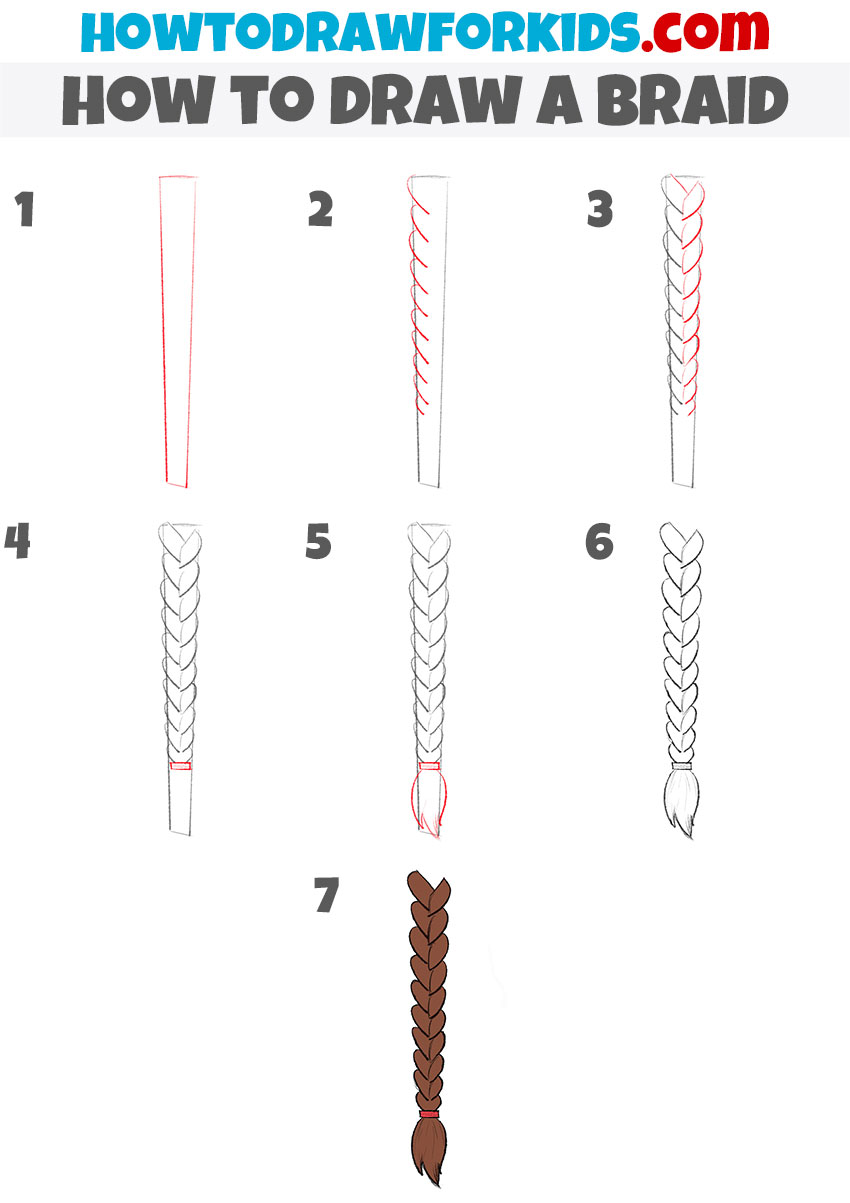
- Draw the base for the braid.
Start with a foundation for the braid by sketching a straight, vertical figure. This will serve as a guide, ensuring that the braid will have almost the same width along its entire length, tapering slightly at the bottom.

- Draw the strands of hair on the left side.
Inside the base rectangle, start drawing a series of left-leaning diagonal lines from the top left towards the bottom. These lines form the left segments of the braid, each representing a strand that will be woven across the braid.
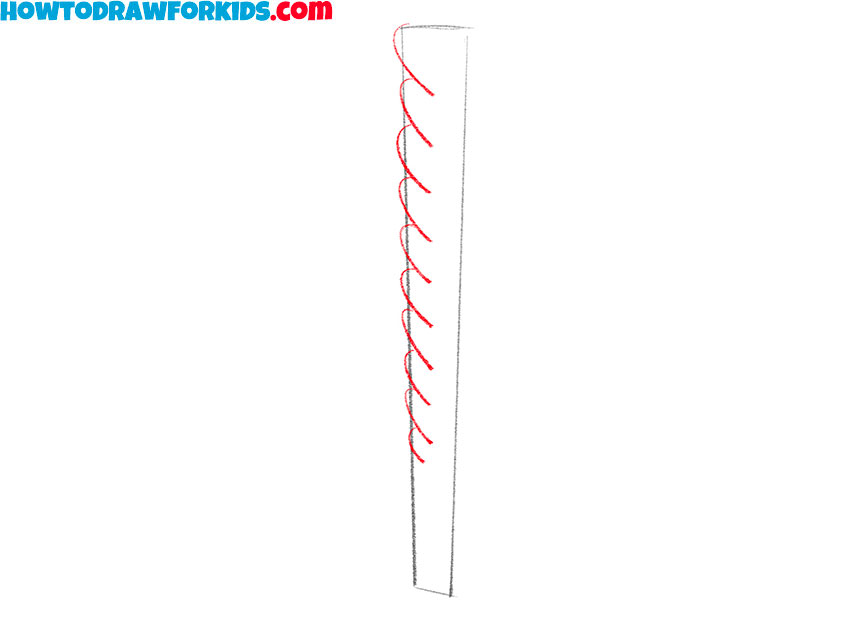
- Add the strands of hair on the right.
Mirror the Step 2 by adding right-leaning diagonal lines from the top right towards the bottom, intersecting with the lines from the Step 2. The intersection of these lines with those from the previous step starts to form the characteristic overlapping look of a braid, providing a clear path for subsequent detailing.
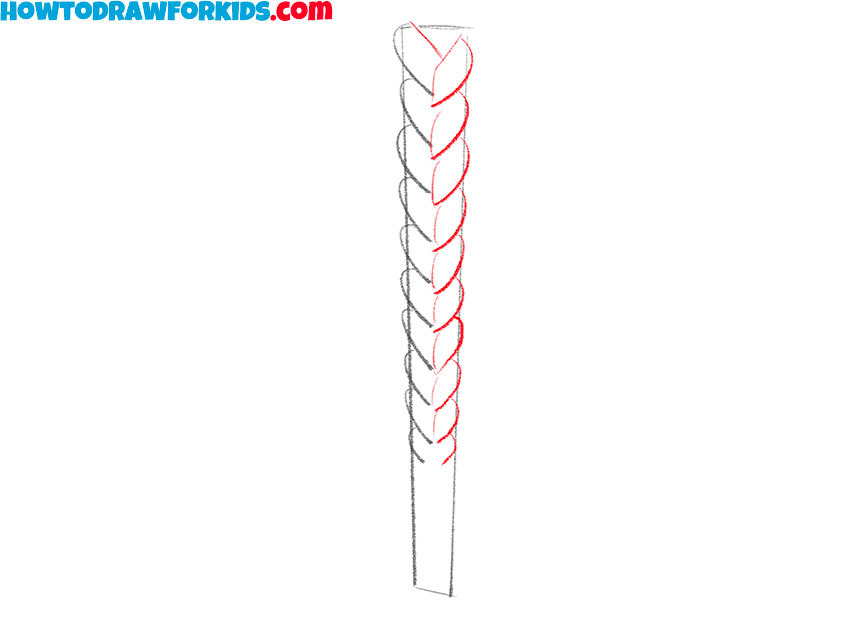
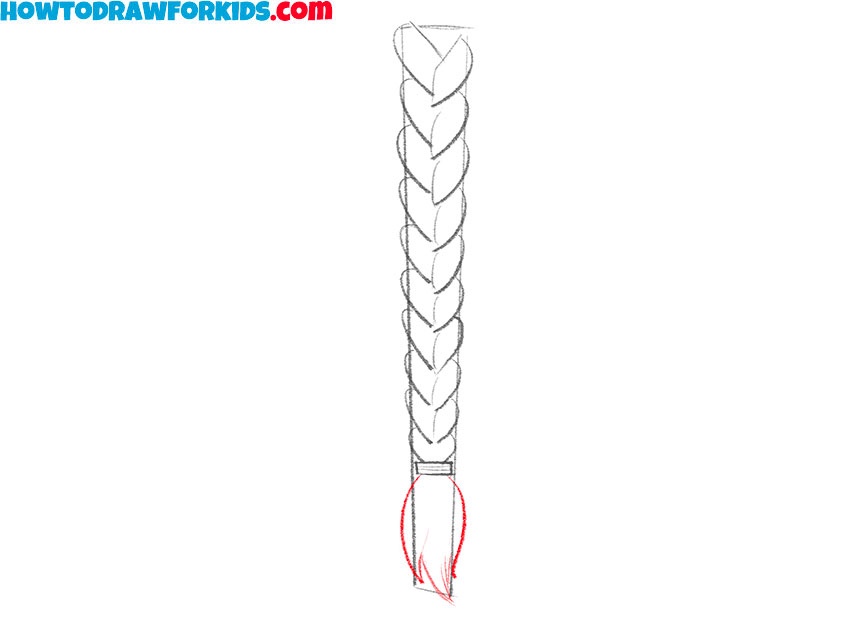
- Draw the hair tie.
At the bottom of the braid, where the strands come together, draw the hair tie. This secures the braid in your drawing and makes the sketch look more realistic. Inside the elastic’s outline, draw a series of horizontal lines to add texture to this detail.
- Illustrate the rest of the hair.
Beyond the hair tie, extend a small section of the braid to form the tip. This portion should taper slightly and include small, loose strands to represent the tail end of the braid. To make this part of the braid drawing even more realistic, add the texture of the hair based on the contours of this part of the artwork.
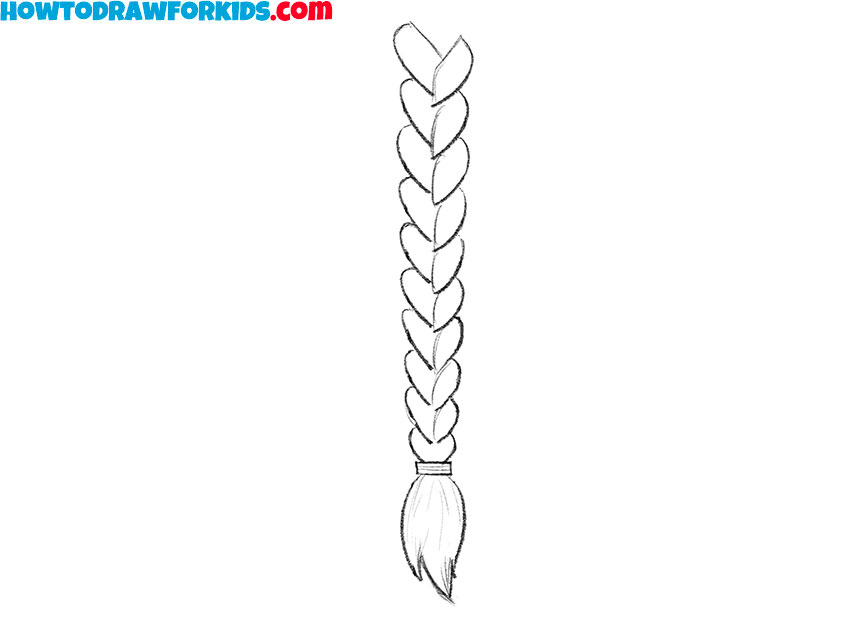
- Erase the auxiliary lines.
Carefully erase the initial guidelines – the central rectangle and any excess lines that no longer contribute to the final drawing. This step cleans up your artwork, making the braid look finished, without the distraction of preliminary sketches.
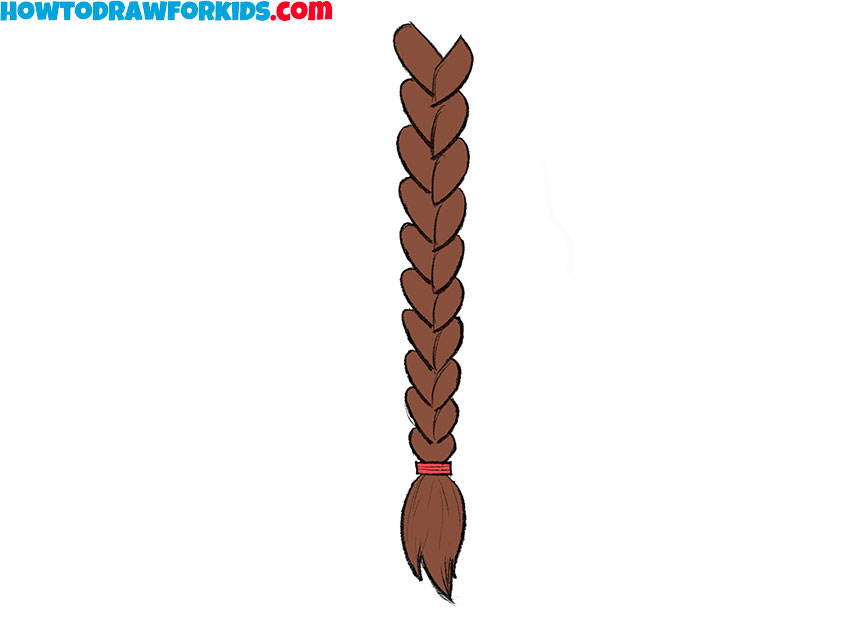
- Color the braid drawing.
Add color to your braid, choosing shades that reflect the hair color you want to depict. Use a base color for the entire braid. The hair tie should also be colored, possibly with a contrasting color to make it distinct. You can apply lighter and darker tones to create depth, highlighting the overlap and underlap of the strands.
Additional Content
Don’t forget to download the free PDF file. This is a short version of the braid drawing tutorial. PDF files of this braid drawing lesson provides the opportunity to learn and develop creatively in a convenient and accessible format.
Conclusion
If you’d like to improve your drawing skills further, check out other tutorials on my website. You can learn how to draw people, faces, and other features to develop your portrait drawing abilities.
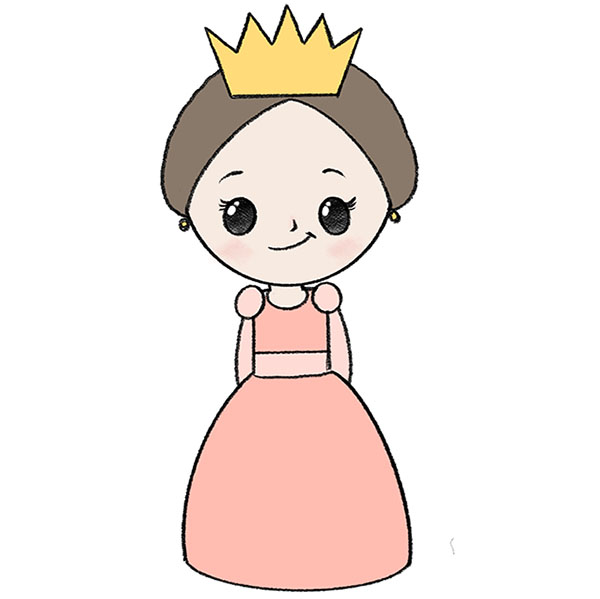
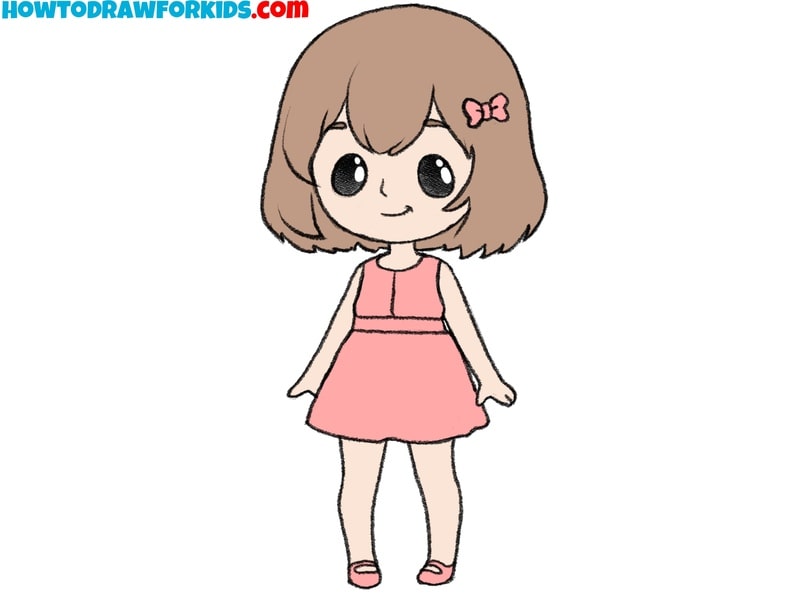
For example, you can use the knowledge you’ve gained to draw a girl with a beautiful braid flowing down her back. You could also create a Viking with braided hair and a beard, adding unique details to enhance your drawing.
I also recommend following me on social media for more updates and ideas. On Pinterest, you’ll find interesting illustrations, collages, and announcements about upcoming tutorials and coloring pages. You can also share your artwork and see what other visitors to my site have created.
Additionally, you can subscribe to my YouTube channel to watch videos on drawing different objects, characters, and people. The video format offers step-by-step guidance that makes learning even easier.
Thank you for following this tutorial. I hope it helps you continue to grow your skills and enjoy the process of creating something new.

This is significantly helpful.
This really shows you how to do it the right way.