How to Draw a Hot Air Balloon
In this drawing lesson, you will learn how to draw a hot air balloon. This tutorial is for kids and beginners.
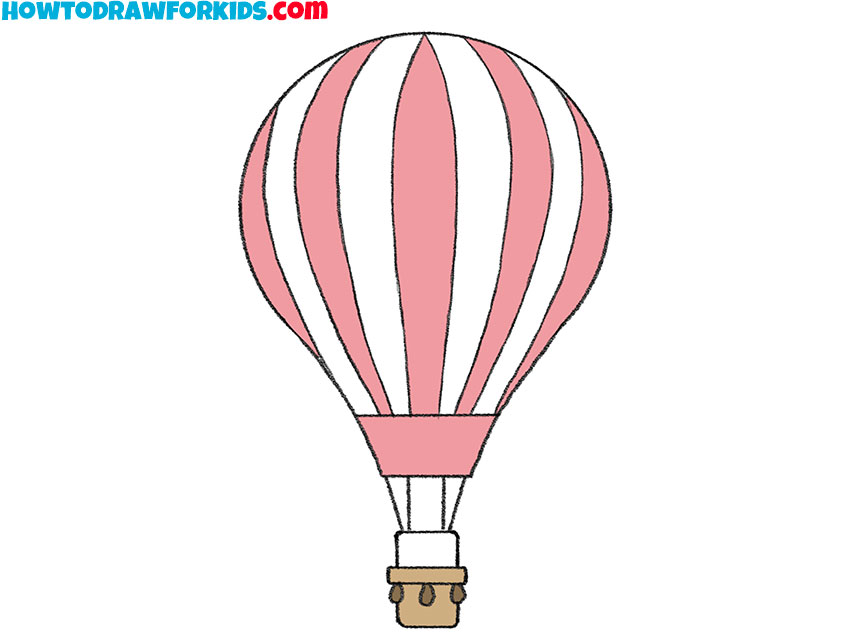
I am glad to offer you a very interesting and exciting drawing lesson in which you will learn how to draw a hot air balloon.
The hot air balloon is considered the lightest air vehicle. It consists of a large bag, called an envelope, which keeps the air inside, and a basket suspended under the bag, in which the passengers are carried. A heat source is used to heat the air inside the bag. Most often, a propane torch is used as a heat source.
Hot air balloons are used by tourists and outdoor enthusiasts to enjoy flying. Hot air balloons have a large carrying capacity and can travel long distances in a single flight.
The ability to draw a balloon will definitely come in handy if you want to draw this beautiful flying object against the background of the sky or a natural landscape.
Hot Air Balloon Drawing Tutorial
Materials
- Pencil
- Paper
- Eraser
- Coloring supplies
Time needed: 30 minutes
How to Draw a Hot Air Balloon
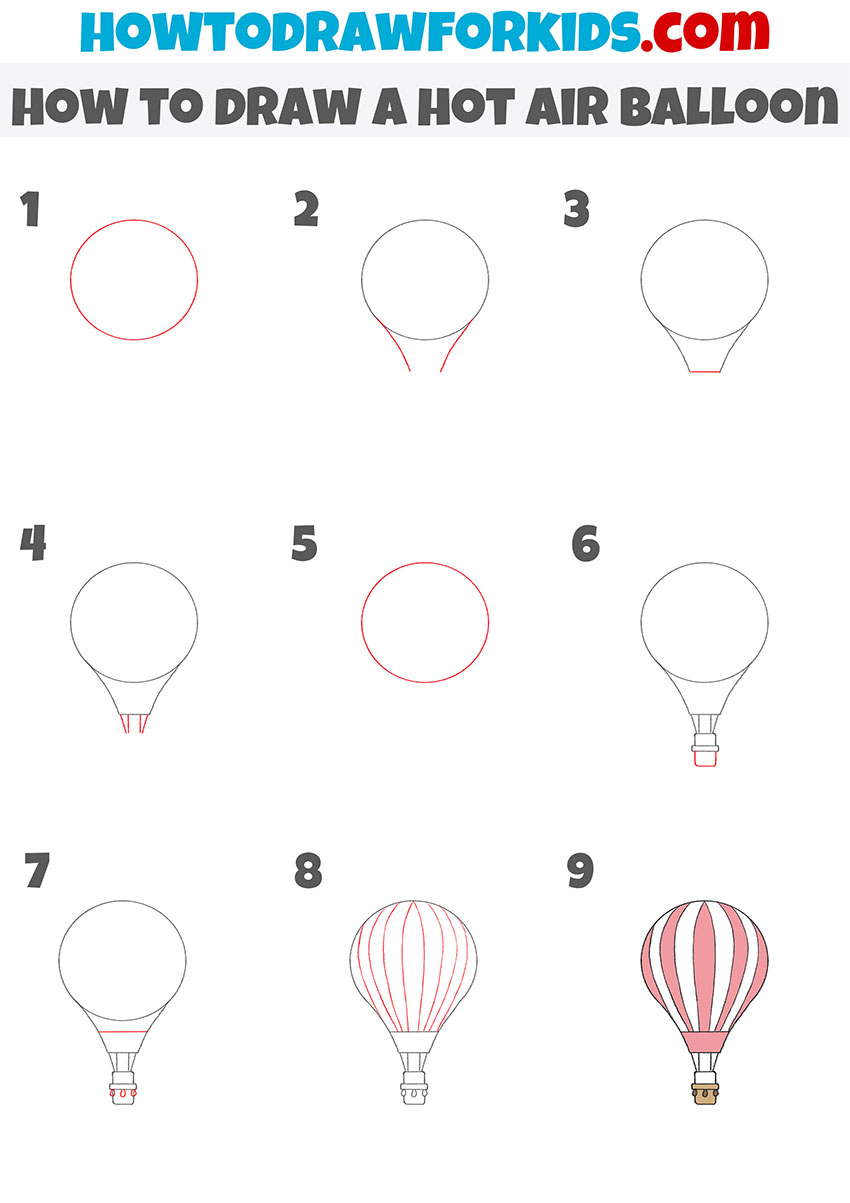
- Draw the main body of the balloon.
To complete this simple step, you need to draw one circle at the top of the drawing.

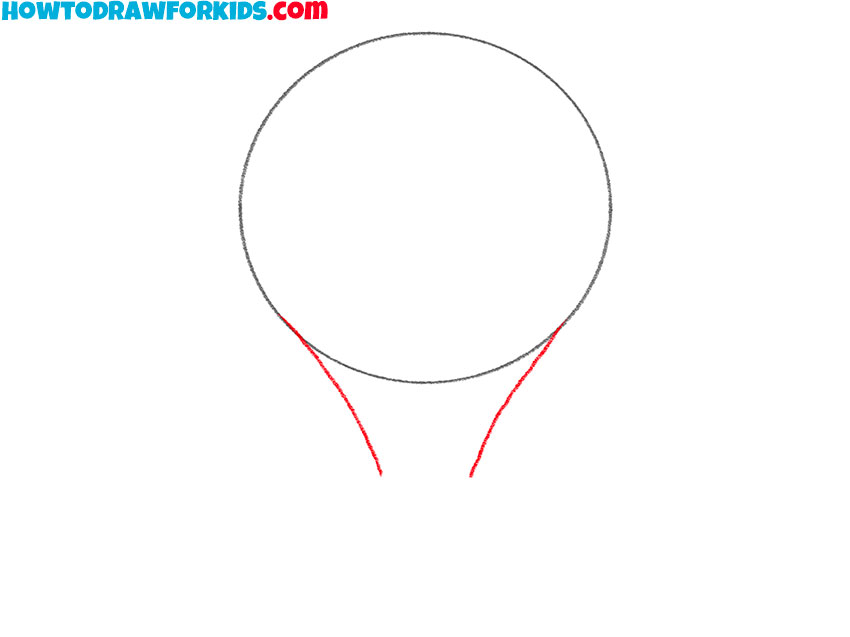
- Continue drawing the ball.
Now depict on the sides of the previously drawn circle two tangent lines pointing down.
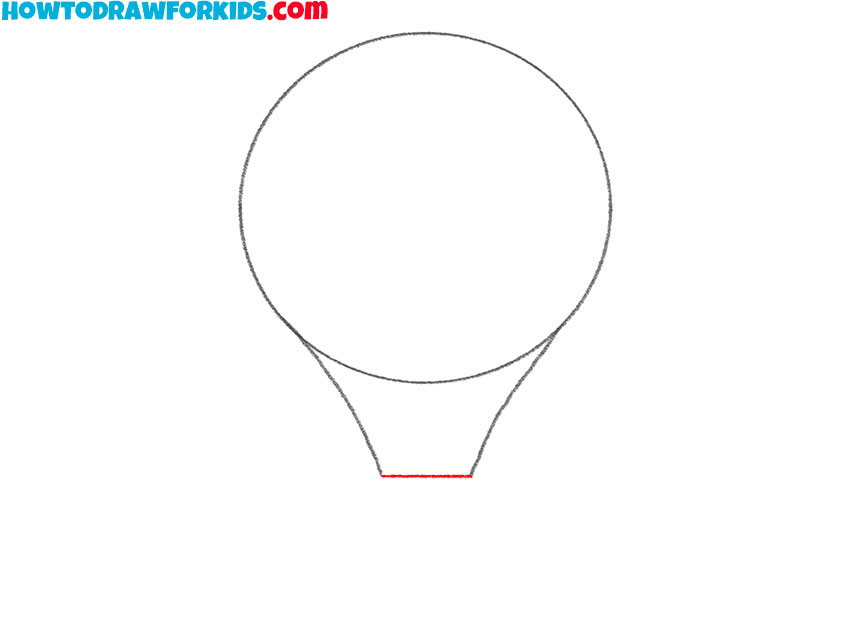
- Finish drawing the top of the ball.
Connect the bottom ends of the two previously drawn lines with one straight horizontal line.
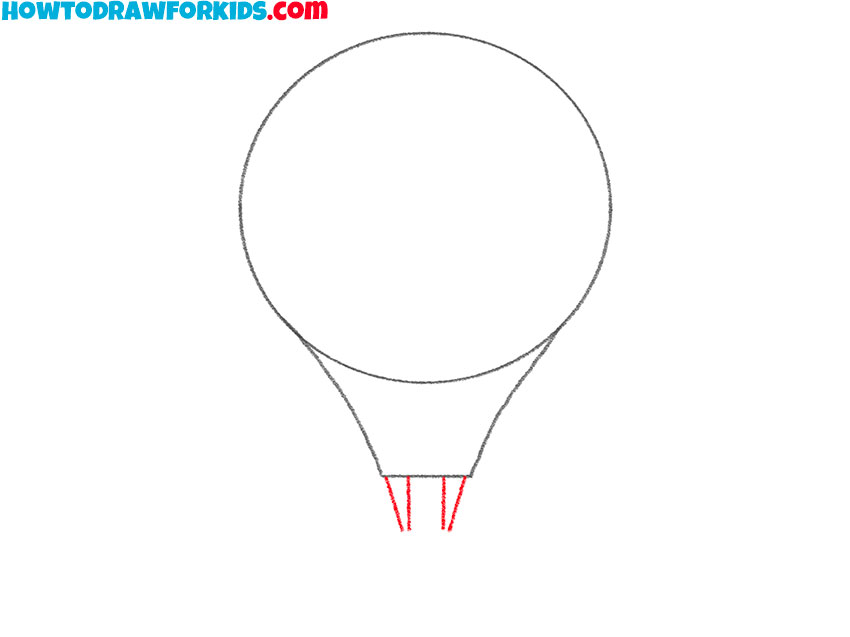
- Add the cables holding the basket.
Below the previously drawn line, draw four straight lines of the same length.
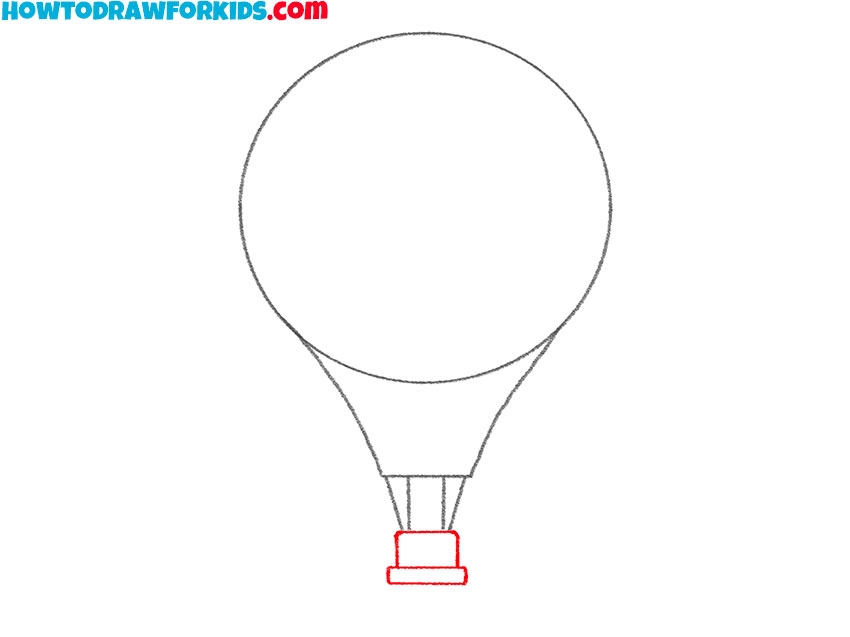
- Start drawing the basket.
Below, draw a rectangle and a shape that looks like a rectangle without one side.
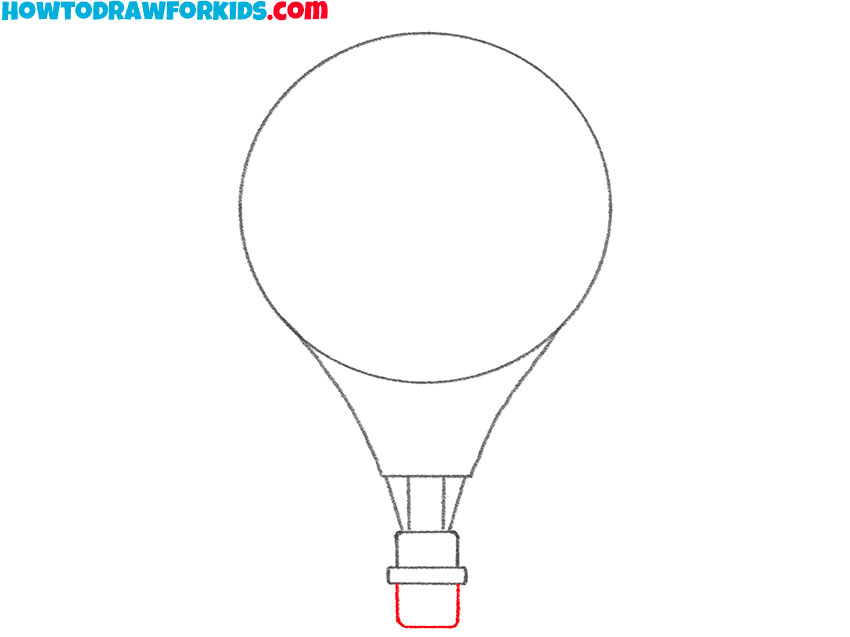
- Finish drawing the basket.
Add a rectangle-like shape with rounded corners and one side missing.
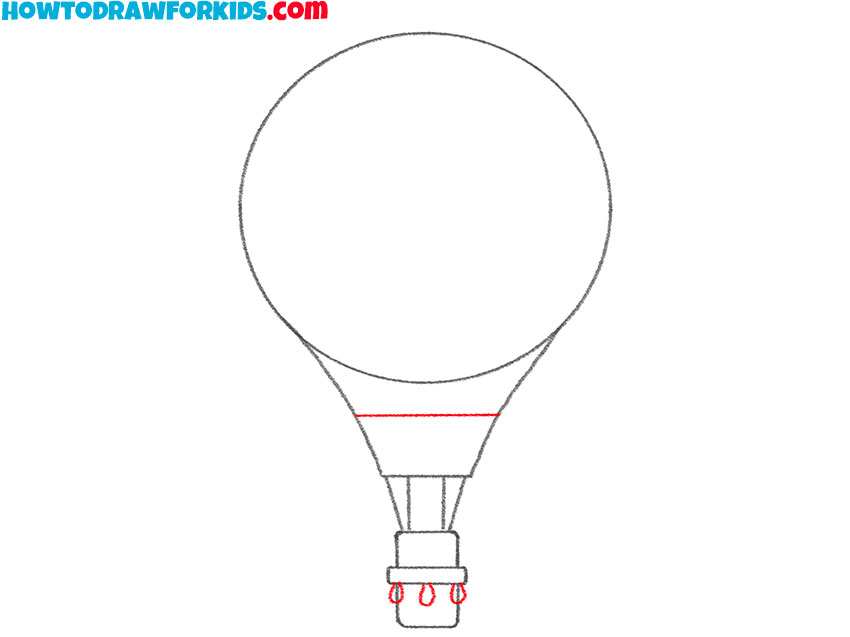
- Depict the bags and the balloon element.
Sketch out three bags on the basket using curved lines, and add a straight horizontal line.
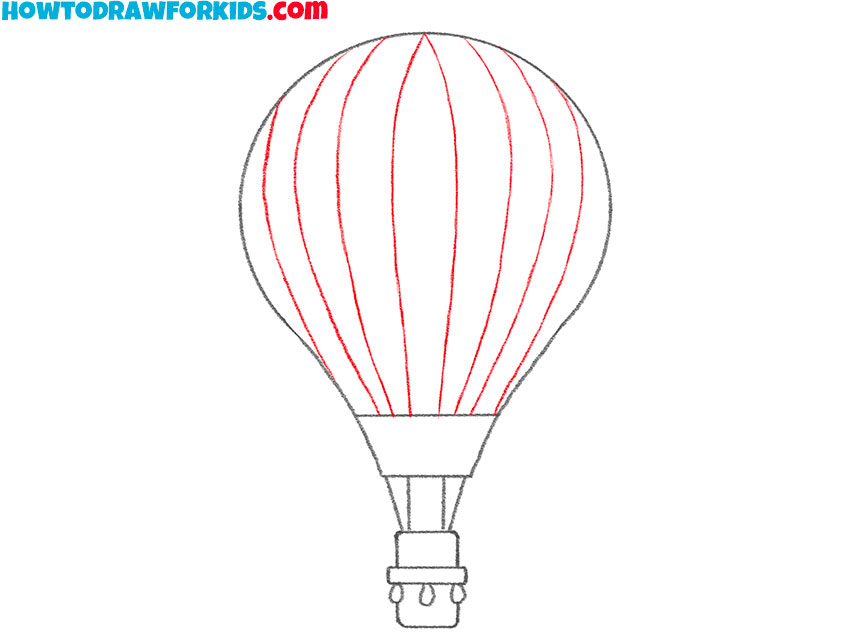
- Add details.
At the top of the balloon, draw many curved lines, as shown in the picture.
- Color the drawing.
To color the balloon, use red and shades of brown.
For your convenience, I have prepared a PDF file that contains a short version of this drawing lesson, as well as useful practice materials for completing this lesson. You can download this file for free right now, so you can return to this tutorial whenever you want.