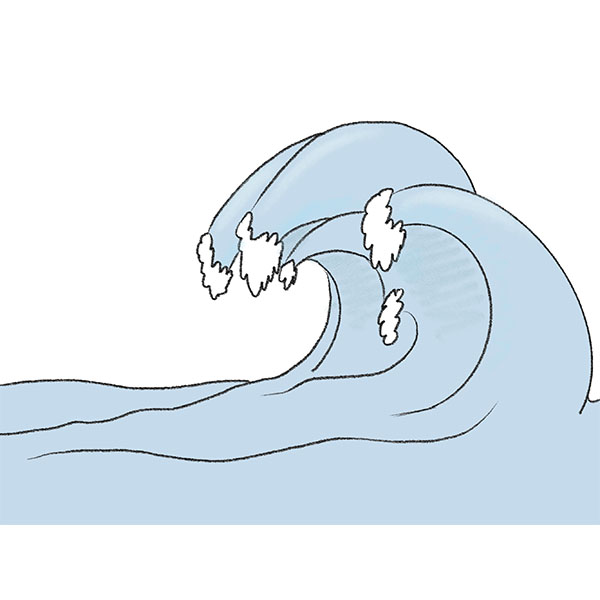
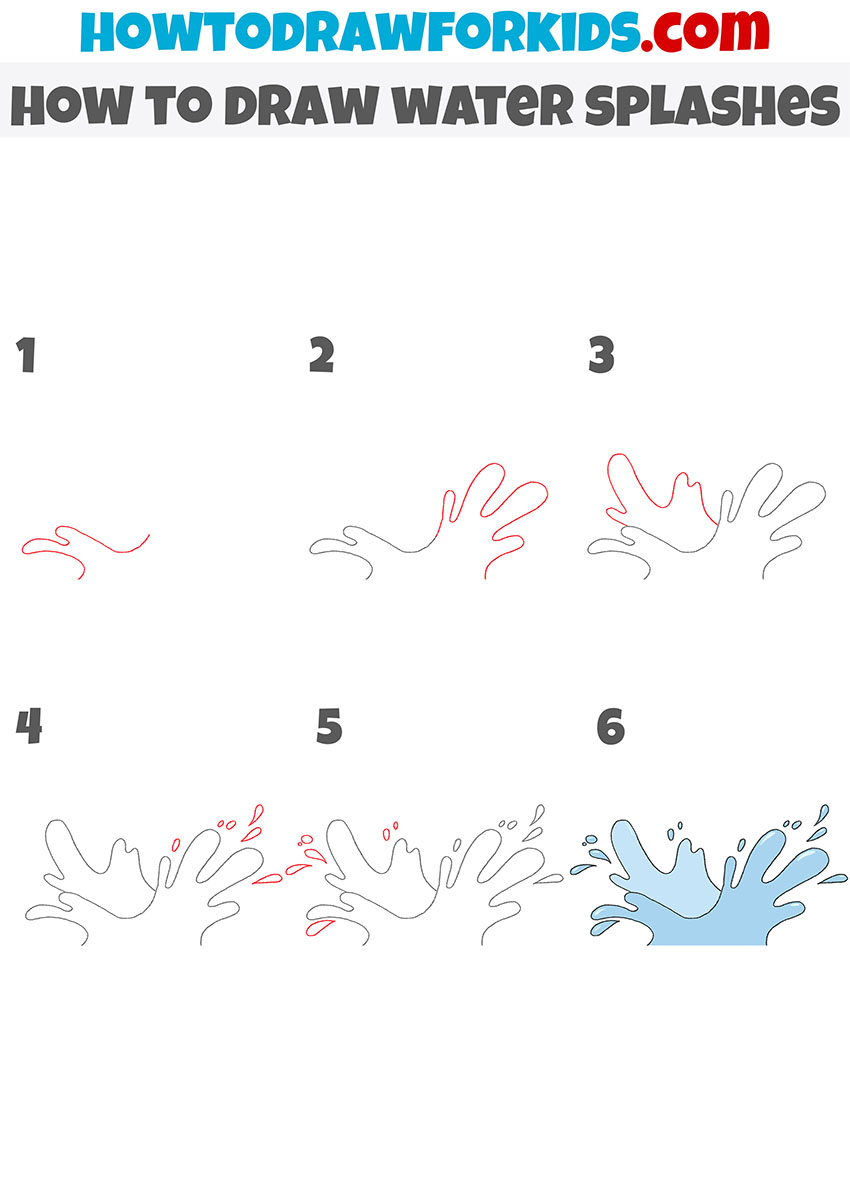
How to Draw Water Splashes
Learn how to draw water splashes step by step with easy-to-follow instructions, from initial shapes to adding color, for dynamic and realistic results.

How to Draw Water Splashes: Basic Information
Water splashes embody fluidity and motion. Capturing these elements in a drawing involves understanding the principles of movement and how to represent them on paper. This practice will enable you to create more dynamic and lively compositions in your other works.
The irregular and ever-changing shapes of water splashes offer a perfect opportunity to practice drawing complex forms. This skill is fundamental in art, as it enhances your ability to depict a wide range of subjects accurately, from organic forms to intricate designs.
One of the challenges of drawing water is portraying its smooth and reflective texture. Learning techniques to represent these characteristics effectively will broaden your skill set, allowing you to tackle other surfaces and materials with confidence and accuracy.
Adding smaller splashes and droplets around the main splash requires a meticulous attention to detail. Practicing this will improve your ability to incorporate intricate details into your artwork, making your pieces more compelling and realistic.
Water Splashes Drawing Tutorial
Materials
- Pencil
- Paper
- Eraser
- Coloring supplies
Time needed: 20 minutes
How to Draw Water Splashes
- Draw the splashes on one side.
In this first step, start by sketching two curved lines on either side of your drawing area. These lines should look like gentle, flowing curves, resembling the initial shape of a splash. Keep the strokes light and smooth to ensure the splash looks natural.

- Add the splashes from the other side.
Next, extend the initial lines to the right with more curved strokes to form the right part of the splash. These curves should be slightly more pronounced. Focus on creating fluid and natural-looking curves that diverge from the initial lines, forming the rising peaks of the splash.

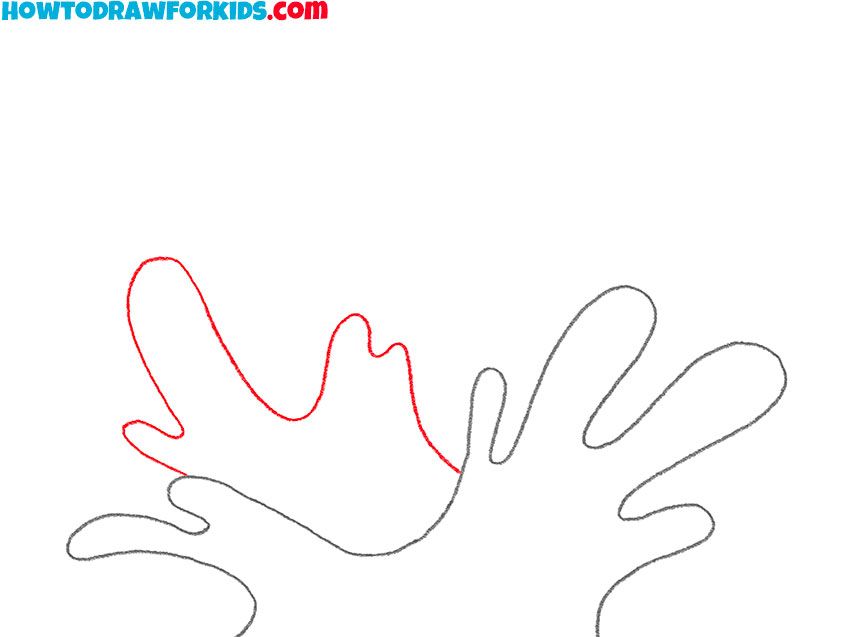
- Add the splashes of the water in the background.
Continue by connecting the upper curves with additional lines to complete the outline of the splash. Add curves between the peaks created in the previous steps, filling in gaps and ensuring a more complex shape. The outline should now look like a continuous, wavy form.
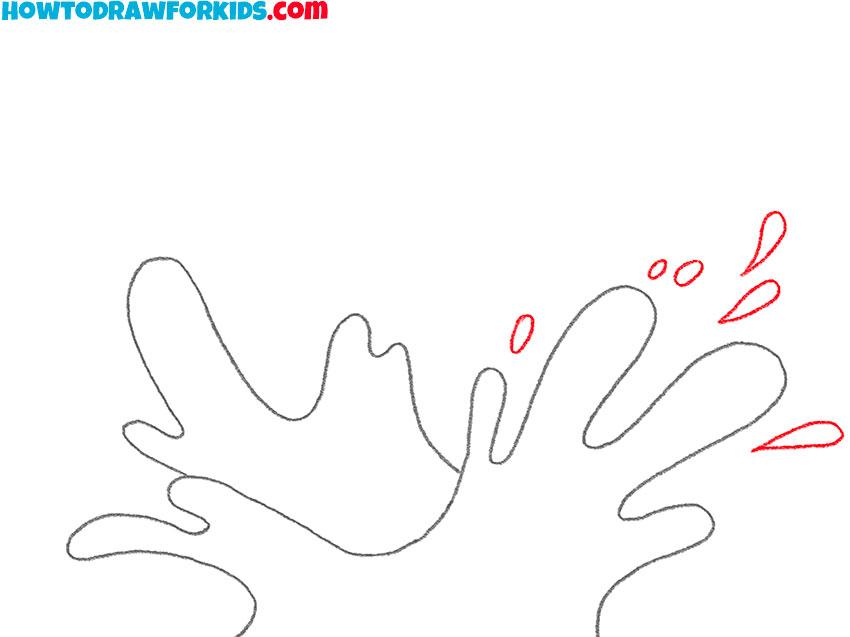
- Add the drops at the right.
Now, add smaller splashes around the main splash to improve the dynamic feel. Sketch small, curved lines around the central shape, indicating droplets flying away from the main splash. These smaller splashes should vary in size and direction, mimicking the natural dispersion of water.
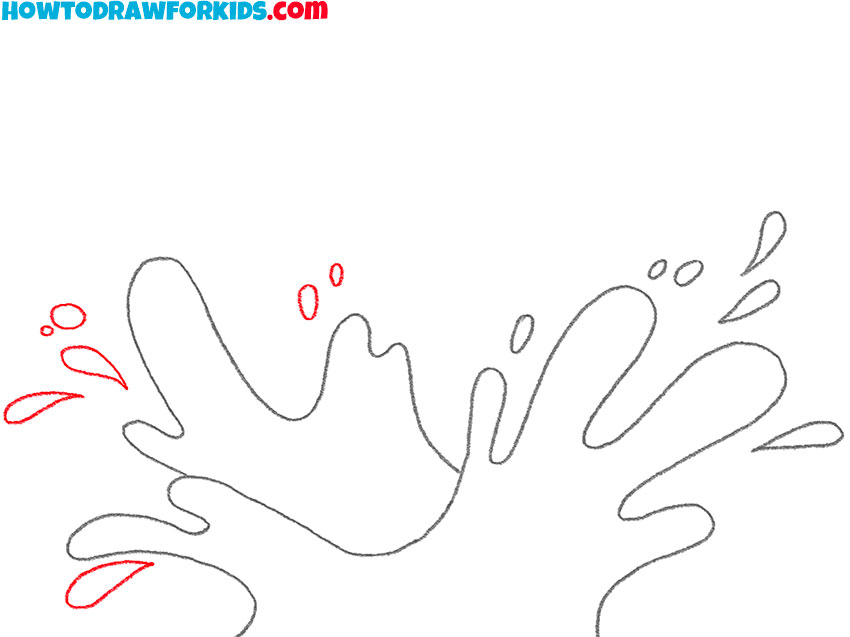
- Add the drops at the left.
Refine your drawing by adding more small droplets and tracing the shapes of other splashes. Focus on making the lines clean and precise, improving the definition of each droplet and splash. Pay attention to the flow and direction of each line to maintain the natural look of the splash.
- Color the water splashes drawing.
Use shades of blue to color the main splash and the smaller droplets. Start with a base color and then add lighter and darker shades to create a sense of volume. You can highlight the peaks and edges of the splash with lighter blue to mimic the reflection of light on water.

Additional Content
So a very simple and interesting lesson came to an end, in which you learned how to draw water splashes. Especially for your convenience, I have created a PDF file that contains a brief instruction and additional training materials necessary for the quality implementation of this lesson.
This resource is designed for your convenience to practice and reinforce the skills learned in drawing water splashes. The coloring page allows you to experiment with shades and highlights, while the tracing worksheet helps improve line accuracy. The grid drawing worksheet aids in training your proportions and spatial awareness.
How to Draw Water Splashes: FAQ
No prior experience in drawing water is necessary. This tutorial is designed to guide you through the process step-by-step, making it accessible for beginners while still being beneficial for more advanced artists.
While the primary focus of this tutorial is on fundamental drawing techniques, it also introduces concepts such as light and shadow and texture representation. These concepts can be beneficial for more advanced artists looking to refine their skills.
Absolutely! Feel free to add your personal touches to the drawing. Experiment with different colors, shapes, and styles, or incorporate additional elements to make the drawing uniquely yours.
Yes, the skills you learn in this tutorial, such as capturing fluidity and motion, can be applied to other water-related drawings. This includes drawing waves, rain, flowing streams, or any other scenario where water is a key element.
To complement this tutorial, you can practice drawing different water forms, such as droplets, puddles, or waves. Observing real-life water splashes and experimenting with various drawing techniques can also enhance your understanding and skills.
Yes, I regularly update my website with new tutorials covering a wide range of subjects and techniques. Stay tuned for more lessons to continue improving your drawing skills and expanding your artistic repertoire.
How to Draw Water Splashes: Tips and Tricks
Try drawing water splashes from various angles to understand how perspective affects the appearance of water. Drawing from different viewpoints can add interest to your composition, making it more unique. Whether it’s a top-down view or a side perspective, each angle can offer a new learning opportunity.
To make your water splash more realistic, add subtle reflections and highlights where light hits the water. Use a white pencil, gel pen, or even a bit of paint to add these details. Reflections can show light bouncing off the water surface, while highlights can indicate the brightest spots where the light is most intense.
Incorporate a variety of droplet sizes around the main splash. This adds complexity and realism to your drawing, mimicking the natural dispersion of water. Larger droplets can suggest the main impact, while smaller ones can indicate splatter and fine spray.
Make you splashes drawing more complex by adding background elements like a pool, a shoreline, or a fountain. A detailed background can also help anchor your splash in a believable environment, whether it’s a serene lake or a bustling city fountain.
Conclusion
In this tutorial, you learned how to draw water splashes step-by-step, focusing on key aspects such as fluidity, motion, shape, and color application. You also explored various techniques to enhance your drawing.
If you enjoyed this tutorial, please share it with your friends! Don’t forget to subscribe to my social media for more tutorials and updates. Leave your comments with wishes, questions, and suggestions. Your feedback helps me improve and create drawing tutorials that meet your needs.