How to Draw Skis
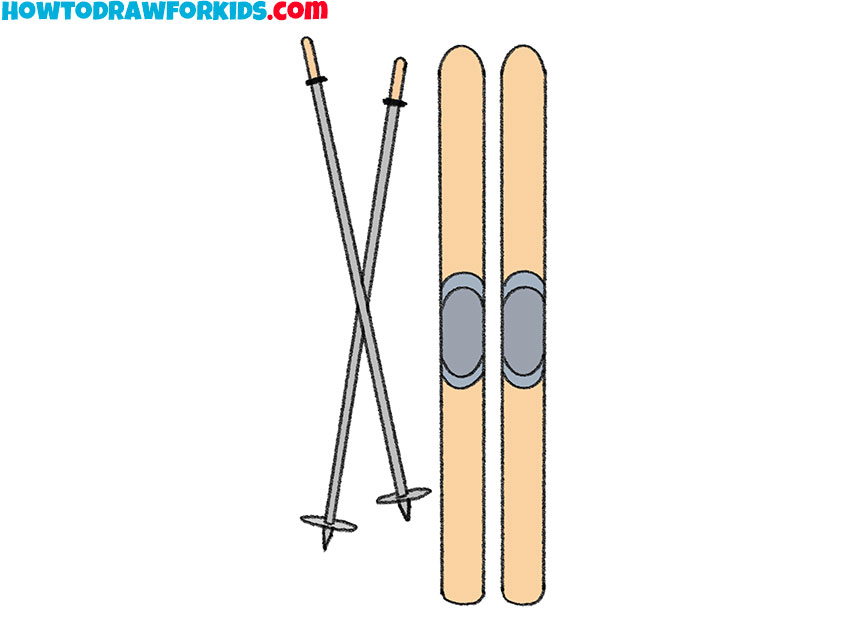
Skis are long, narrow, and almost identical, so this tutorial on how to draw skis is good practice for straight lines and symmetry. You will also add bindings and crossed ski poles.
Prepare to Draw Skis
The main difficulty is making the two skis similar in width and length. A small difference will not spoil the drawing, but large changes can make one ski look much heavier than the other.
The long sides should stay straight and run in the same direction. This is useful practice for drawing parallel lines without letting the space between them become wider or narrower.
The curved tips need less precision than the long sides. Their shape may vary slightly, as long as each tip joins the sides smoothly.
The bindings sit near the middle of the skis, so their placement affects the whole drawing. Check this area before adding the poles because the crossed lines will make later corrections harder to see.
Skis Drawing Tutorial
Materials
- Pencil
- Paper
- Eraser
- Ruler
- Coloring supplies (yellow, blue, and gray)
Time needed: 30 minutes
How to draw skis step by step
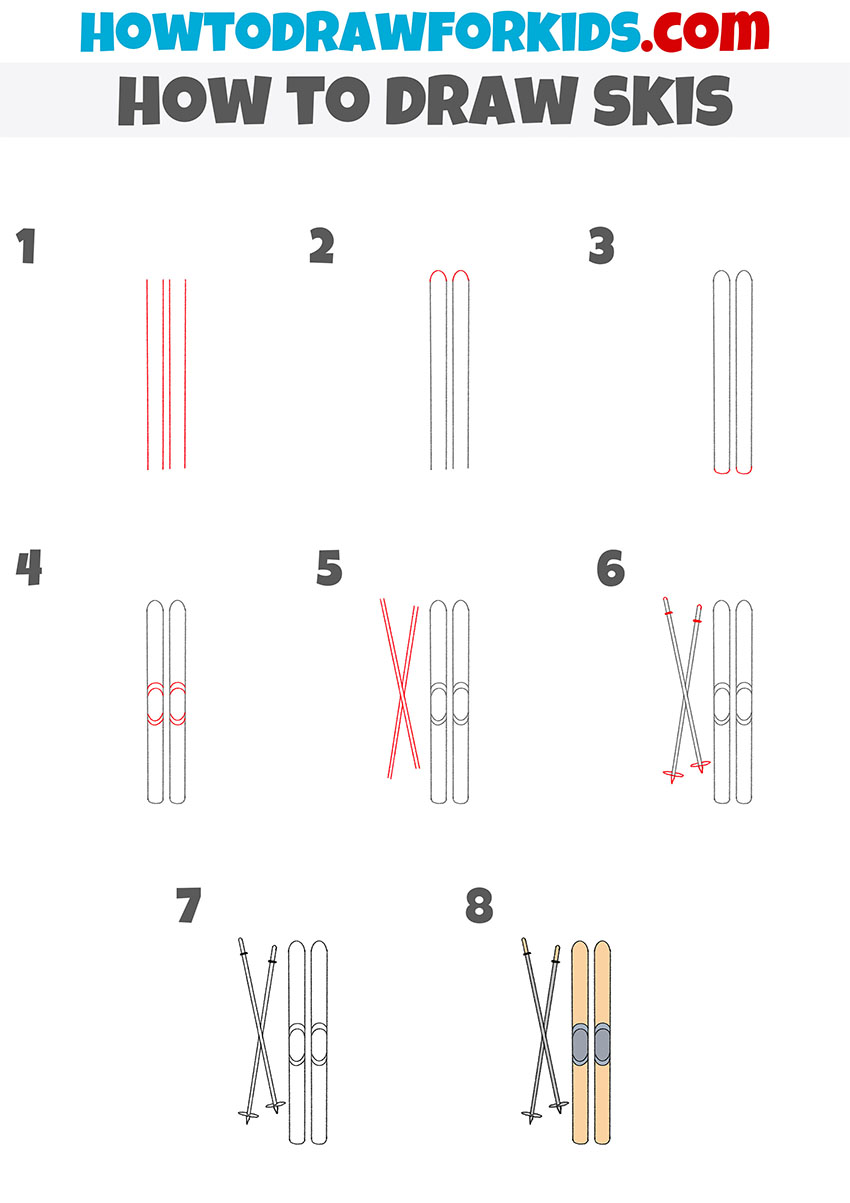
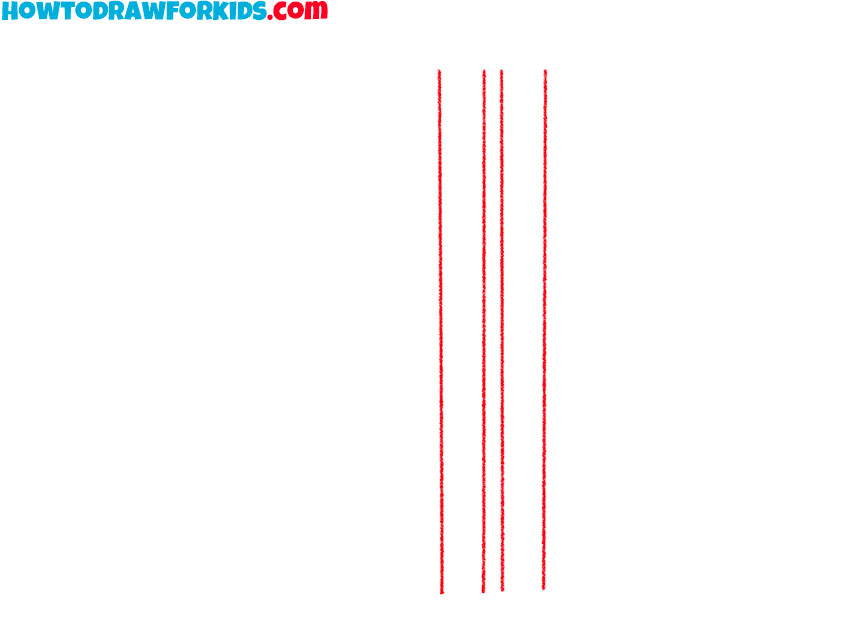
- Sketch the sides of the skis.
Mark four long vertical lines to form the sides of the skis. Place the first pair on the left and the second pair on the right. Leave an even space inside each ski and a wider gap between them.
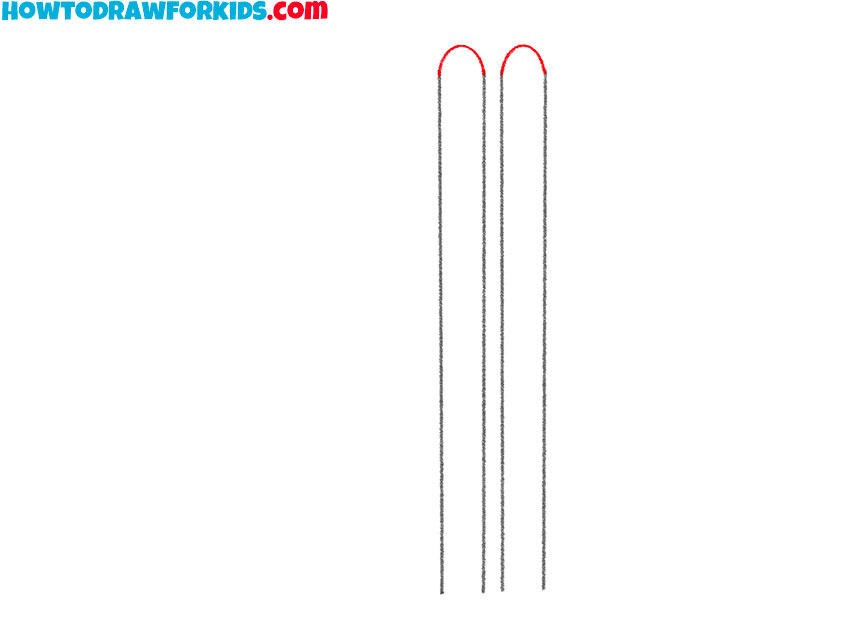
- Draw the curved ski tips.
Connect the upper ends of each pair with a smooth arch. Make the two tips similar in height and width. Let each curved line meet the long sides without forming sharp corners.
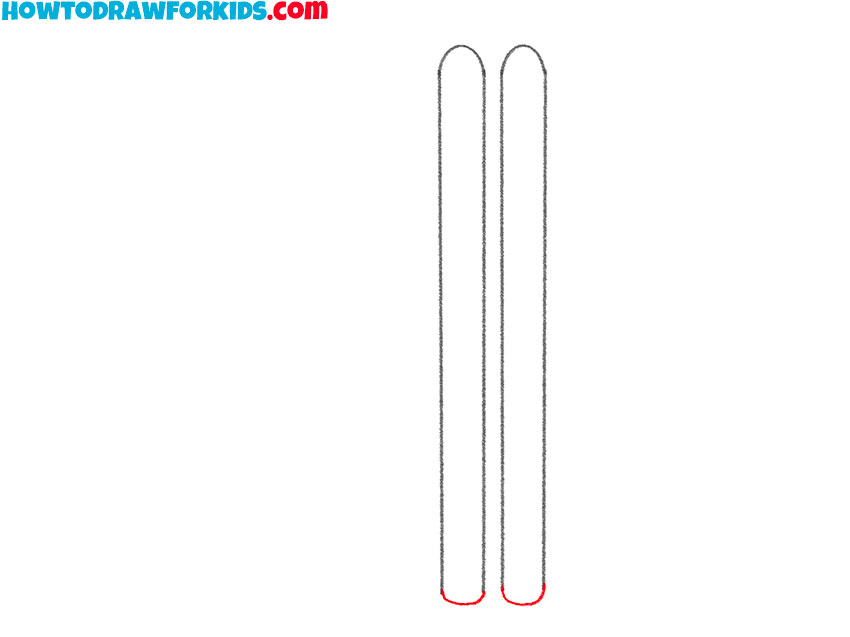
- Close the lower ends of the skis.
Join the two lower lines of each ski with a short horizontal stroke. These lines should sit at the same level so the skis appear equal in length. Erase and adjust either end if one extends too far.
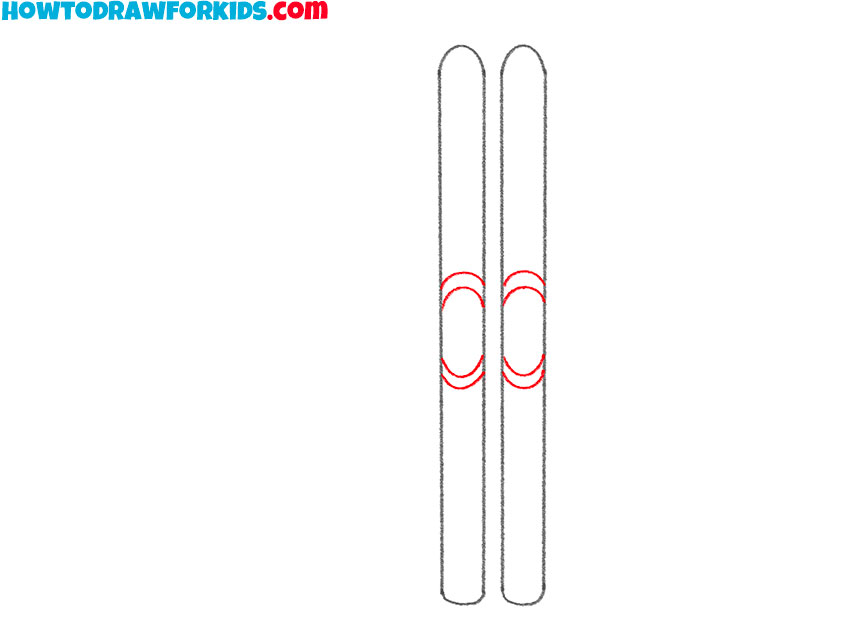
- Add the ski bindings.
Place a small curved binding near the middle of each ski. Draw the two shapes at the same height and leave equal space around them. These parts hold the skier’s boots in place.
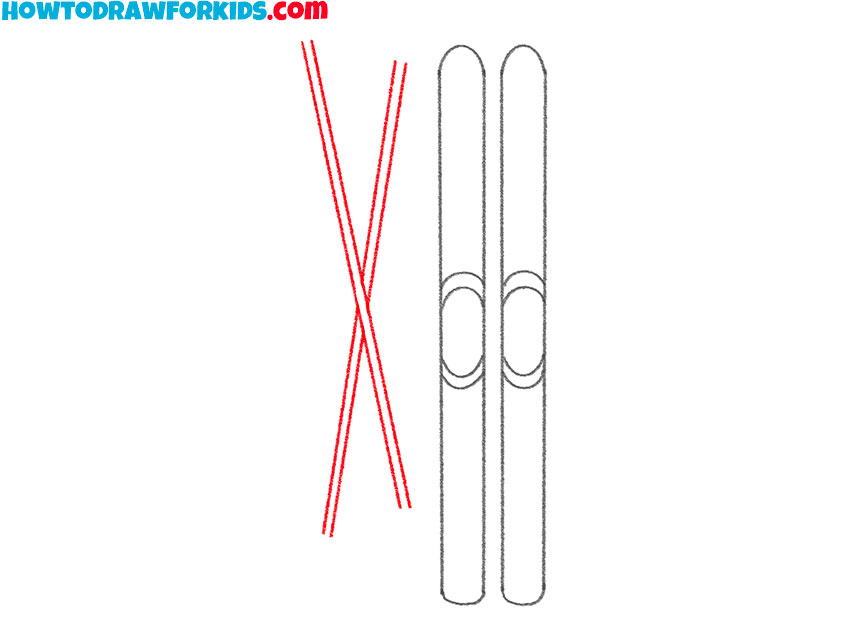
- Outline the crossed ski poles.
Add two long ski poles across the skis. Use two narrow parallel lines for each pole and cross them near the center. Maintain the same distance between the sides along the full length of each pole.
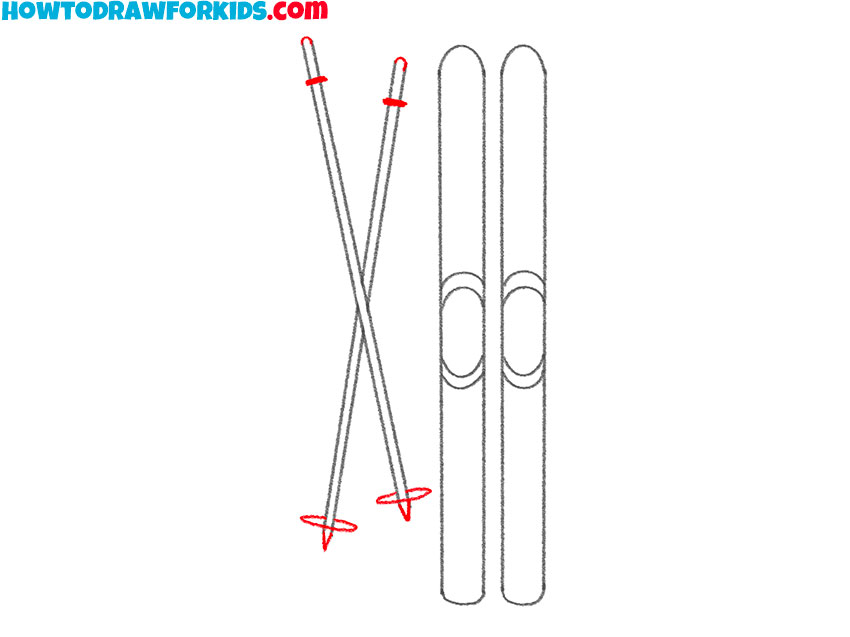
- Detail the ski poles.
Finish the poles with short handles at their upper ends. Add small pointed tips and narrow baskets near the lower ends. Place the same details on the second pole at corresponding points.
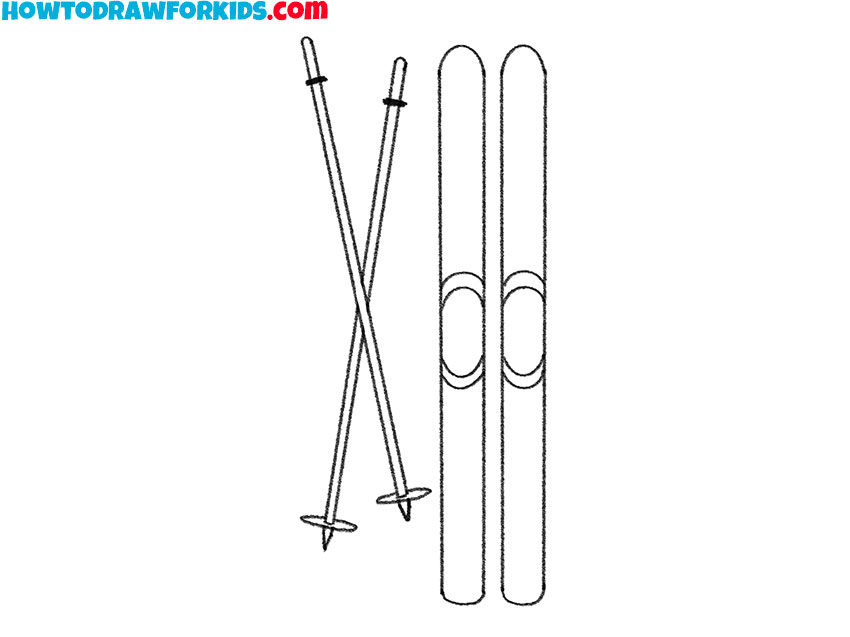
- Refine the skis drawing.
Erase the ski lines hidden behind the crossed poles. Darken the visible outlines and smooth the curved tips. Remove any extra marks around the bindings, handles, baskets, and lower ends.
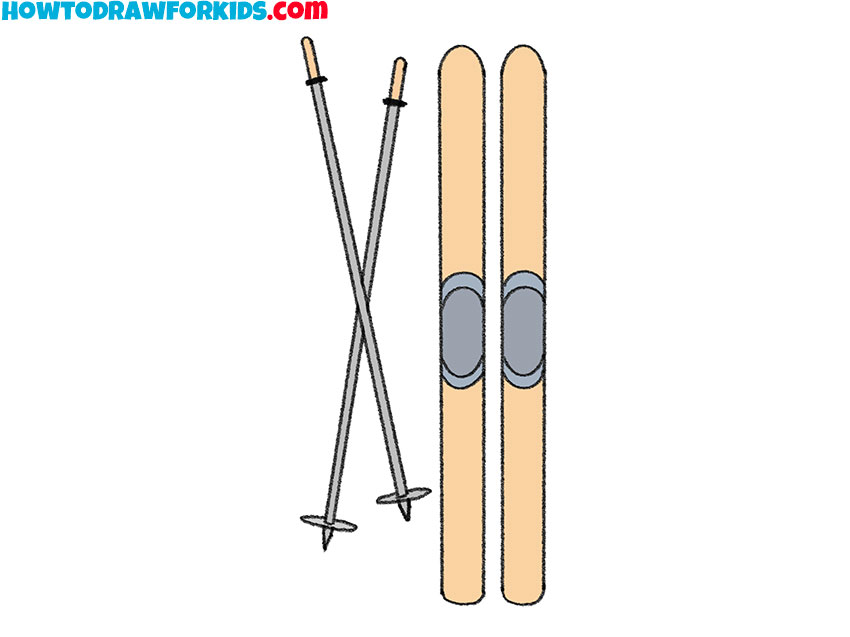
- Color the skis and poles.
Fill the skis with yellow and use a darker shade for the bindings. Color the poles gray, then add yellow to the handles. You may replace these colors with another simple combination.
Skis Drawing Printables
Download the free PDF to use this skis tutorial away from the screen. The printables include the drawing steps, a coloring page, a tracing worksheet, and a grid worksheet.
Create Winter Art Projects
Your skis drawing can become part of a larger winter scene. Here are several ways to use it in another art project:
- Create a collection of winter sports equipment. Place the skis beside a pair of boots, a snowboard, or a hockey stick, and label each item.
- Use the skis in an illustrated story about a skier. You can draw a skier carrying them or place the equipment beside a ski lodge.
- Make a winter sports collage with the skis in the center. Add ski lifts, tracks in the snow, and drawn snowflakes around the main image.
- Turn the drawing into an educational poster. Label the tips, bindings, poles, handles, and baskets, then place a snowy mountain scene behind the equipment.
FAQ
These answers cover a few common problems that may appear when you draw skis and suggest simple ways to add more detail.
Add a narrow highlight along one side of each ski and a light shadow on the other side. You can also draw a simple pattern on the surface. For a complete winter scene, add ski tracks and draw a winter tree in the background.
The skis do not need to be perfectly identical. Small differences in the tips or bindings are normal.
The same straight-line practice works well for sports equipment and other long objects. You can try drawing a hockey stick, a sled, or a simple pair of poles after finishing the skis.
Conclusion
In this skis drawing tutorial, you practiced sketching long parallel lines and repeated the same basic shape twice. The crossed poles added another useful exercise.
You can continue the winter sports theme by drawing a hockey stick. Its long shaft uses the same kind of straight-line construction.
For a complete snowy scene, try drawing a snowman near the skis. You can also use the free PDF above when you want to repeat the drawing without opening the page.