How to Draw an Arctic Fox
The world contains many interesting and beautiful creatures, and in this lesson on how to draw an arctic fox, I will present one of them.

How to Draw a Arctic Fox: Introduction
Most mammals are drawn in a similar way. For example, the process of drawing a fox is comparable to drawing a dog or other similar animals. This lesson on how to draw an arctic fox follows the same general approach.
However, the process is not that simple. While the overall method is similar, the key differences lie in the details. These details are what make the drawing of an animal recognizable, and they are the focus of this lesson.
For instance, the arctic fox is characterized by its large ears, sharp muzzle, fluffy tail, and distinctive coloration. By accurately depicting these features, you can create a clear and recognizable arctic fox drawing.
To further expand your understanding, this tutorial includes a second, alternative method to draw an arctic fox in a different style. You are encouraged to try both approaches and choose the one that works best for you.
Arctic Fox Drawing Tutorial
Materials
- Pencil
- Paper
- Eraser
- Coloring supplies
Time needed: 40 minutes
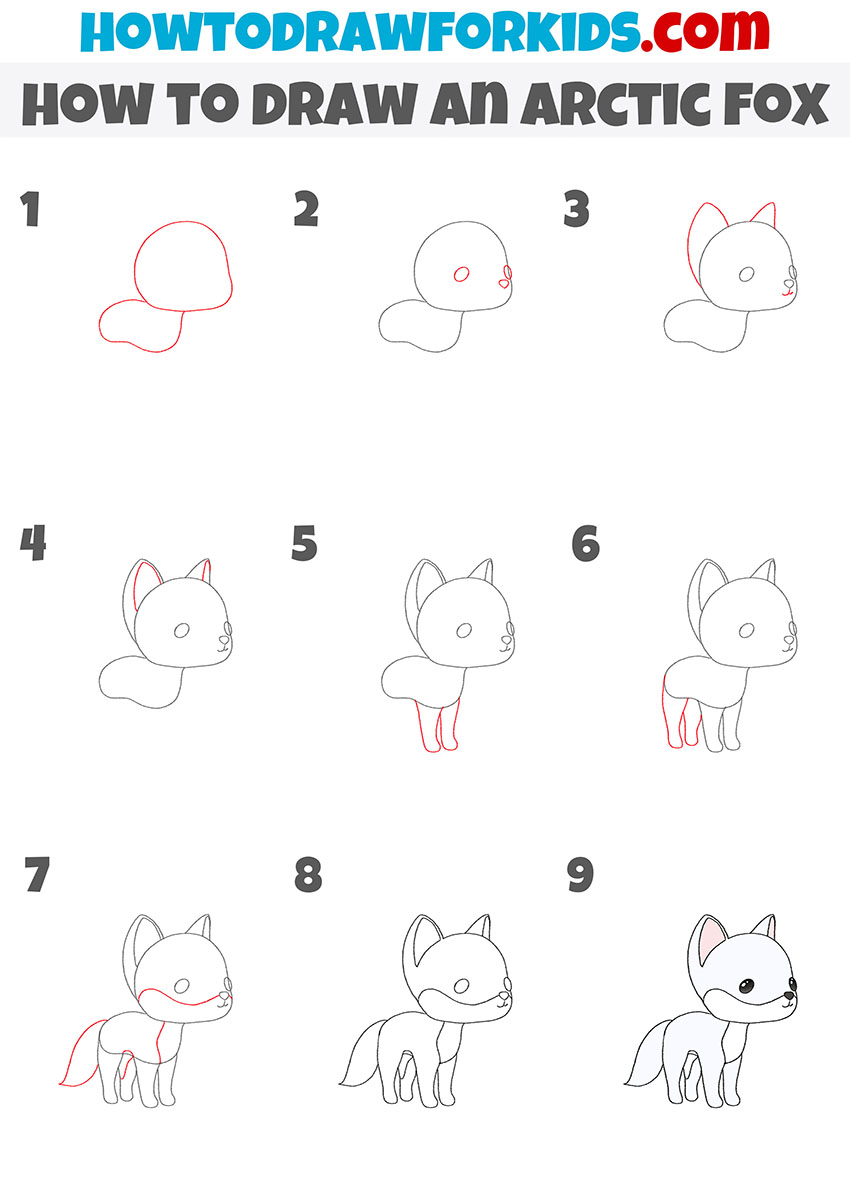
How to Draw an Arctic Fox
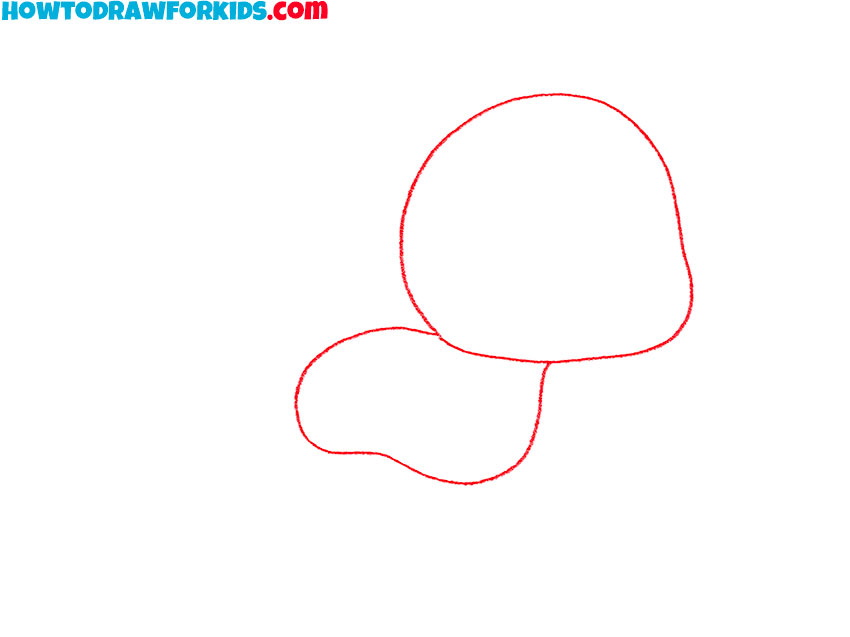
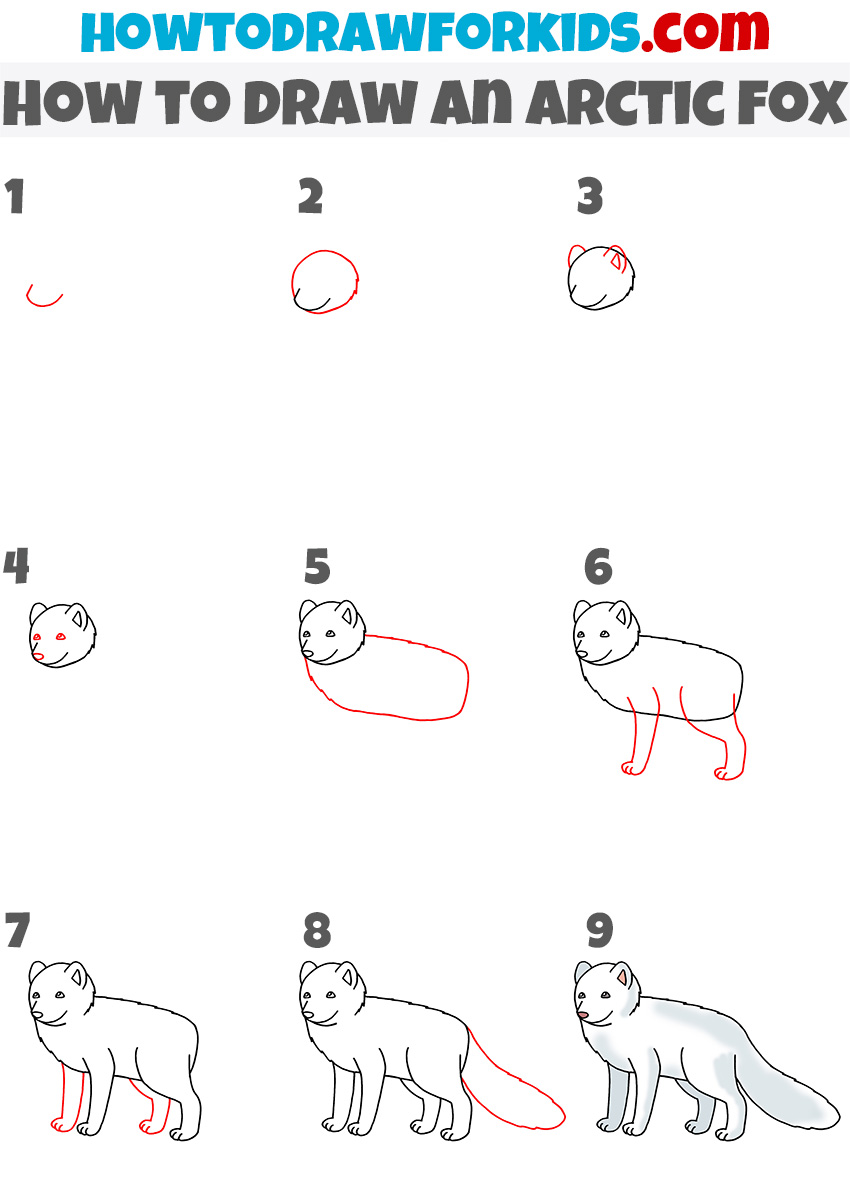
- Sketch the head and torso of the animal.
Start the drawing of an arctic fox by sketching its basic shapes. Begin with a large circle for the head and a smaller rounded shape connected below it for the body. Keep the shapes simple. These shapes will serve as guides to help you maintain the correct anatomy of the animal.
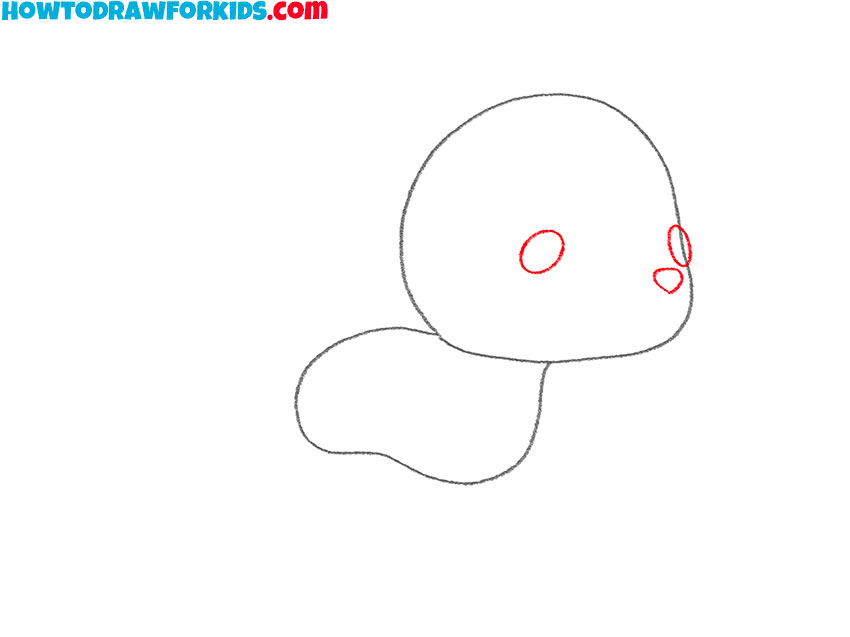
- Draw the arctic fox eyes and nose.
To continue with your arctic fox drawing, add the facial details. Draw two small circles for the eyes, placing them at the middle the head. Add a small oval in the center for the nose. Avoid pressing too hard with your pencil, as these features may need slight adjustments later.
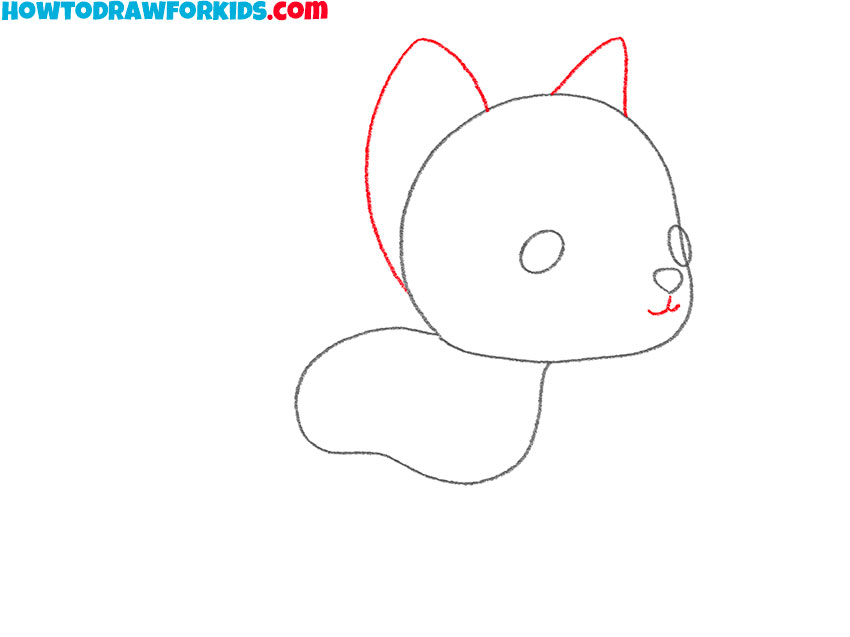
- Sketch the ears and mouth.
Sketch two large triangular shapes, representing the pointed ears of an arctic fox. Keep the shapes simple and clean to prepare for additional details in later steps. Next, draw the animal’s mouth using two short lines located directly below the nose.
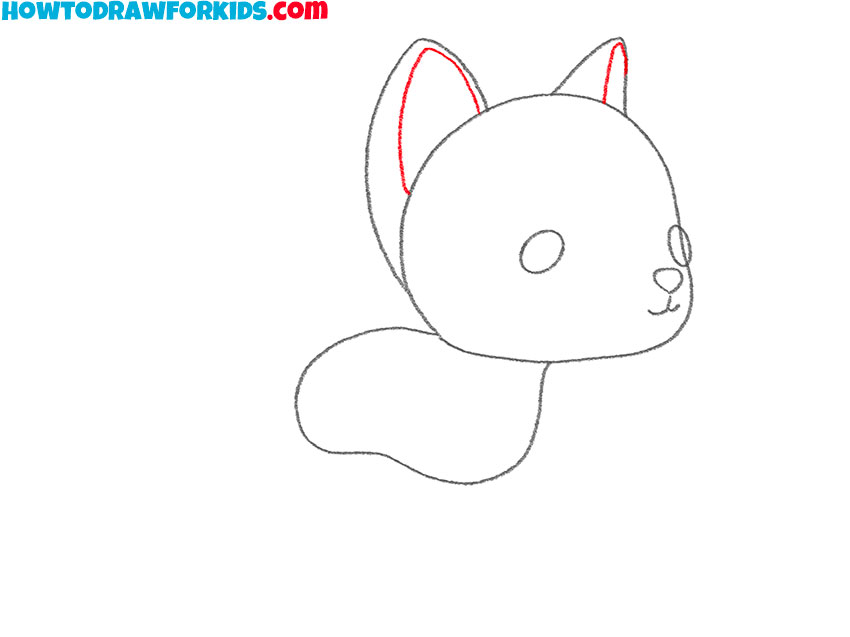
- Detail the ears of the animal.
Refine the shape of the ears by adding an inner ear line to each. This small detail makes the arctic fox look a bit more natural. At this point, you can also smooth the head outline or add some extra details. Additionally, you can draw any overlapping lines from earlier steps.
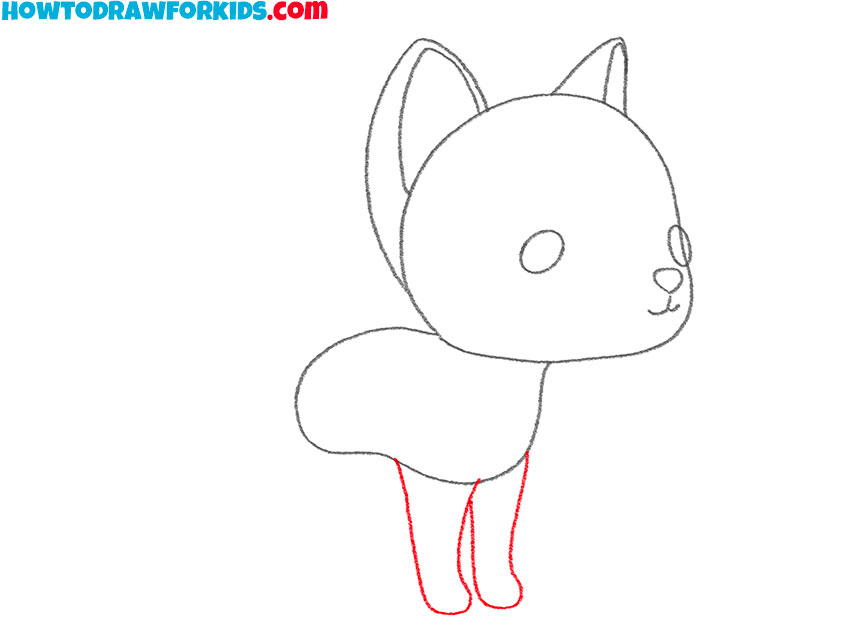
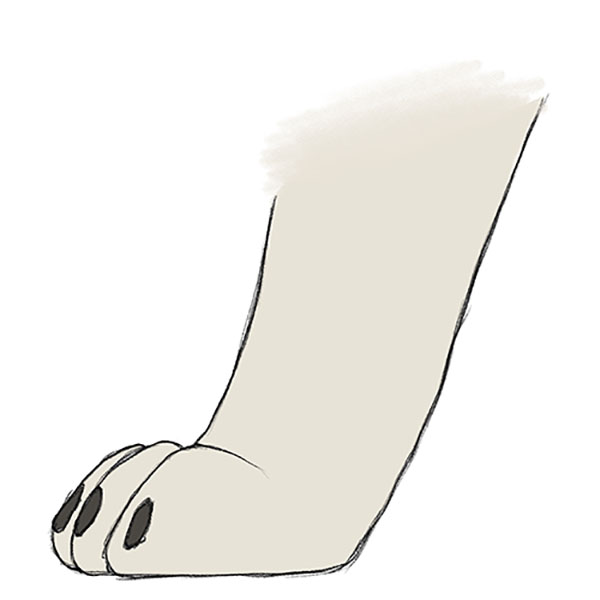
- Illustrate the front legs and paws.
Draw the front legs of the arctic fox by adding two elongated oval shapes extending downward from the body. The legs should taper slightly at the bottom to represent the fox’s paws. You can add a little more realism to your arctic fox drawing by sketching the toes with a few short lines.
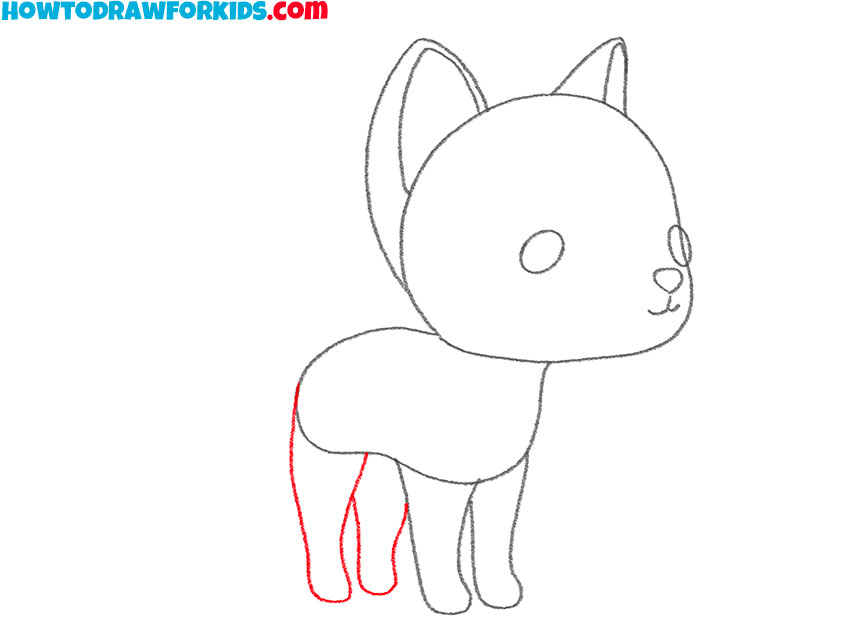
- Draw the hind legs of the arctic fox.
These legs should be slightly thicker and positioned behind the front legs to give the arctic fox drawing a realistic look. Add a small curve at the bottom of each leg for the paws. As with the front paws, you can make them more realistic by drawing the toes.
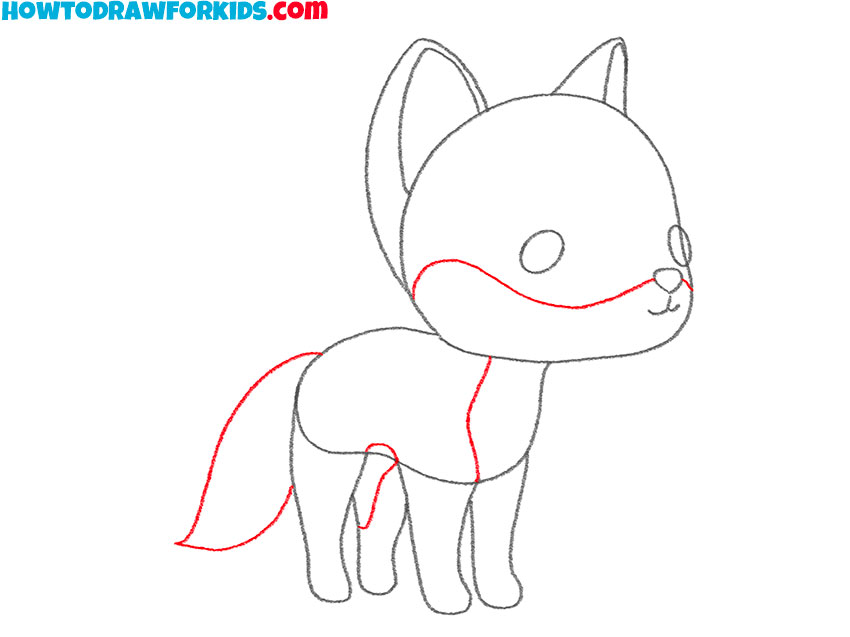
- Draw the tail and detail the fur.
Draw the tail of the arctic fox extending from the back of the body, using curved lines to give it a fluffy appearance. To give your arctic fox drawing more detail, add short, curved lines along the tail, neck, and body to represent fur.
- Finalize the arctic fox sketch.
At this stage, finalize the outline of your arctic fox drawing. Erase any unnecessary guidelines from earlier steps and smoothen the lines across the head, body, legs, and tail of the animal. You can also add finer details to the facial features or the body.

- Add colors to the arctic fox.
Arctic foxes typically have a white coat, which helps them blend into their snowy environment. Use white, light blue or light gray for the majority of the fur. The nose and eyes should be filled in with dark gray or black, while the inside of the ears can be a pale pink or light gray.
Additional Content
To make drawing lessons more accessible, I have created a free PDF file that simplifies this tutorial on how to draw an arctic fox into an easy-to-follow format. You can download this resource at no cost and use it as a guide for practicing how to draw an arctic fox, even when you are not using a computer or tablet.
This portable version of the lesson offers a concise approach to drawing, focusing on the basic steps and techniques in a format suitable for quick study sessions. Also, this file includes a coloring page, a tracing worksheet, and a grid drawing worksheet.
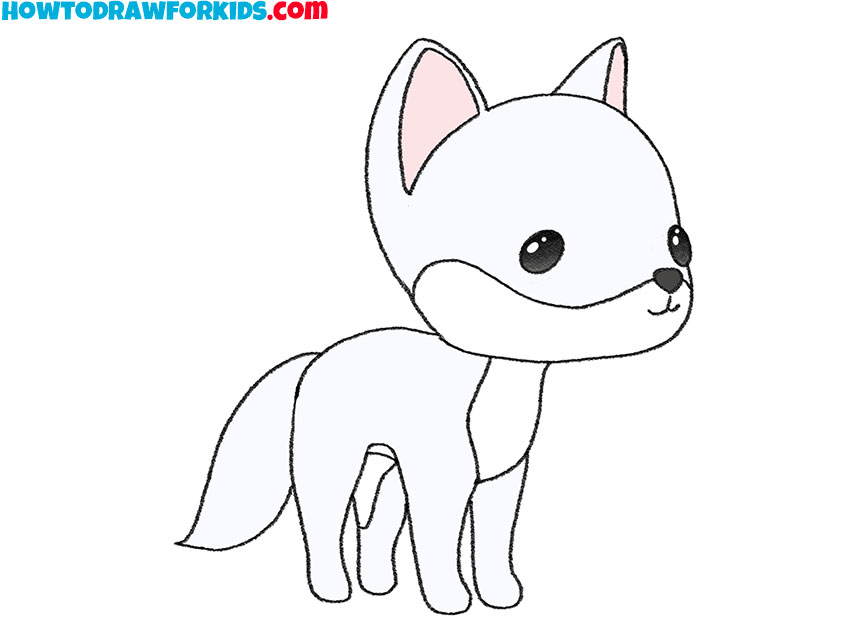
Alternative Drawing Technique
Let’s draw an arctic fox using another method. The main differences between this tutorial and the first one lie in the style and complexity of the shapes. The second tutorial uses more rounded lines and creates a bit more realistic arctic fox drawing by building the body gradually from its head and neck to the full body and tail. It also includes fur shading as a final touch, while the first tutorial simplifies the overall design.
To draw an arctic fox using this alternative style, begin by sketching a curve for the upper muzzle. Next, draw a full circle connected to the muzzle to form the complete head shape. Add the ears on top of the head using triangular shapes, and then outline the inner lines for the ears. Refine the face by drawing small eyes, a nose, and a slight smile line. Connect the head to a large oval for the body of the arctic fox. Add the front legs by drawing two straight lines for each, followed by rounded paws. Repeat this for the hind legs, ensuring they are positioned behind the front legs. Extend the tail from the back, drawing a bushy, curved shape. Finally, add light gray shading to parts of the fur for dimension and complete your arctic fox drawing.
Conclusion
This tutorial demonstrated how to draw an arctic fox using two different but simple methods. For more drawing lessons, visit other categories and sections of my website, which offers a variety of tutorials suitable for different interests, whether you want to draw a wolf or other animals and subjects.
Follow my social media channels for updates on new tutorials. If you have suggestions for what you would like to learn to draw next, leave your ideas in the comments. Your suggestion may be included in future lessons.


this was helpful becase im not a good drawer