Skip to content
Search
Drawing Tutorials
Coloring Pages
Drawing Ideas
Articles
Drawing Worksheets
Toggle Menu
Misc
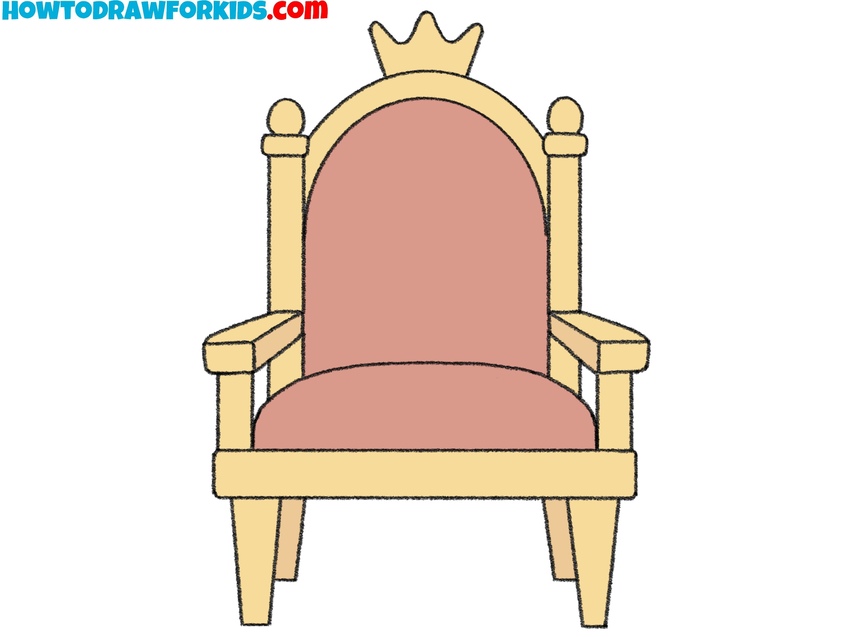
How to Draw a Throne
How to Draw a Black Hole
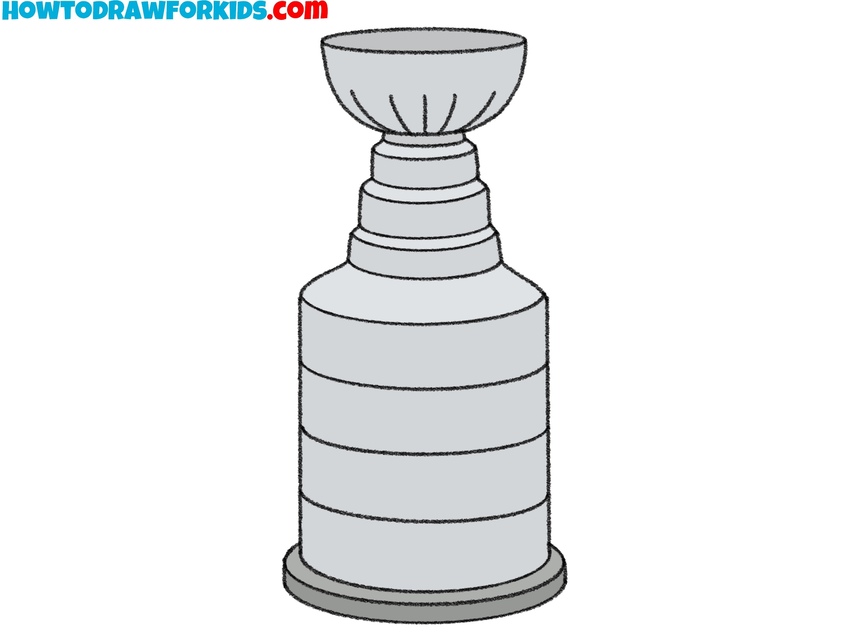
How to Draw the Stanley Cup
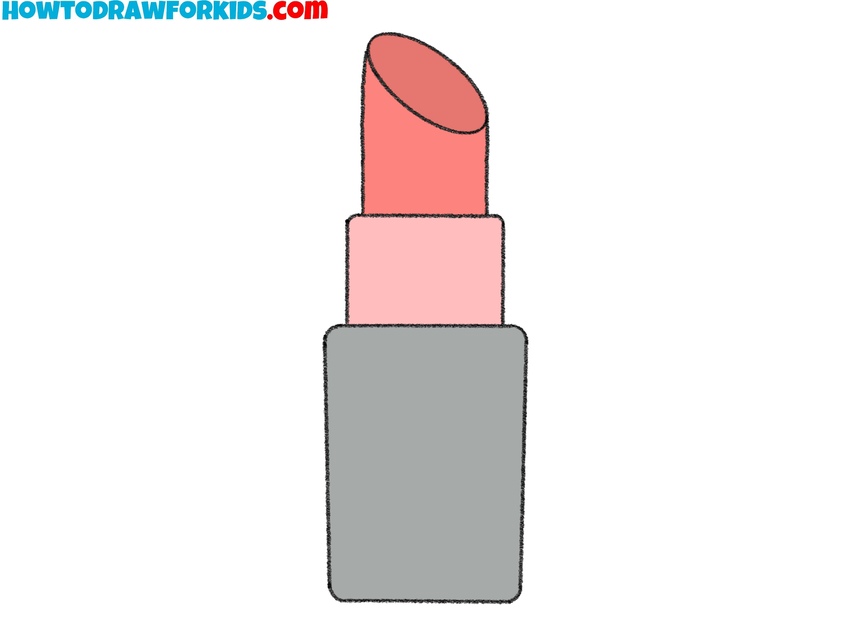
How to Draw a Lipstick
How to Draw a Money Bag
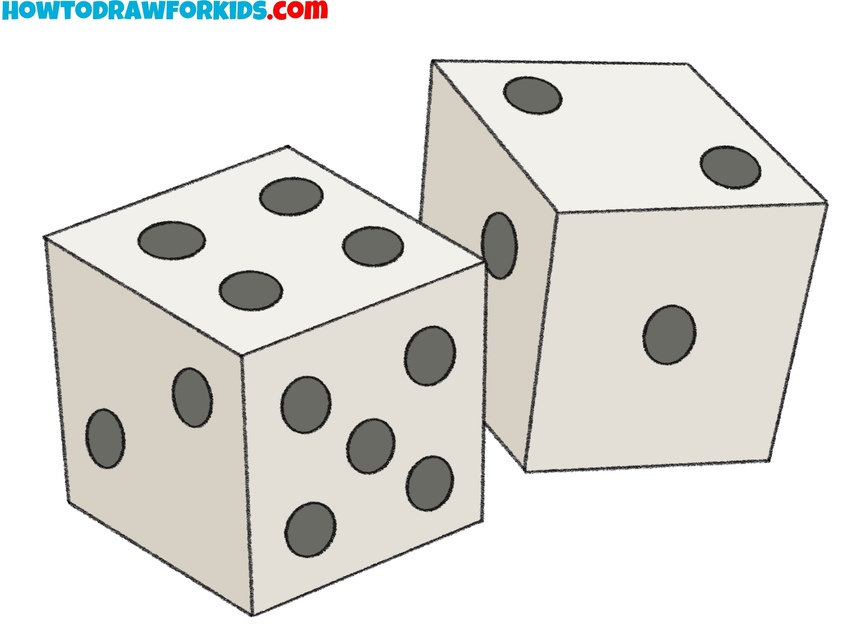
How to Draw Dice
How to Draw Smoke
How to Draw a Balloon
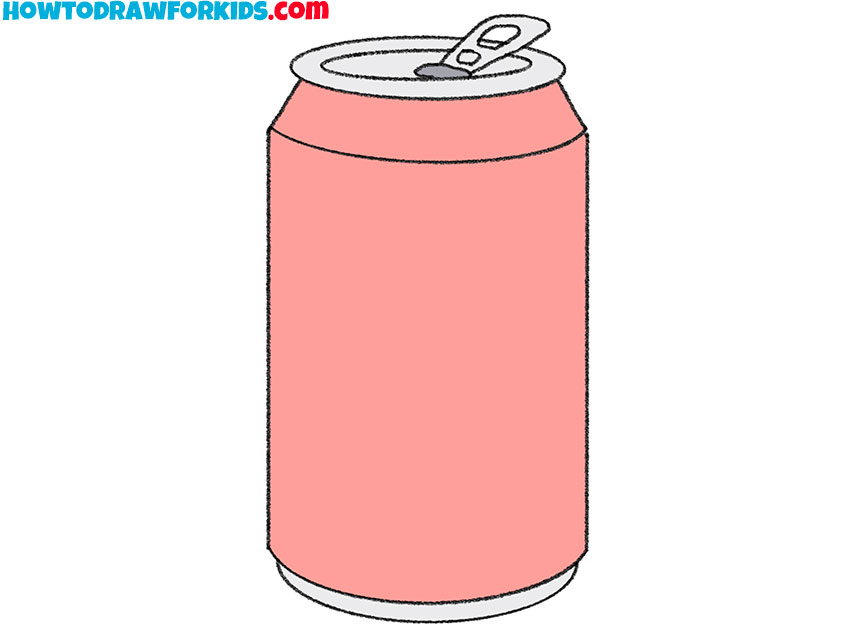
How to Draw a Can
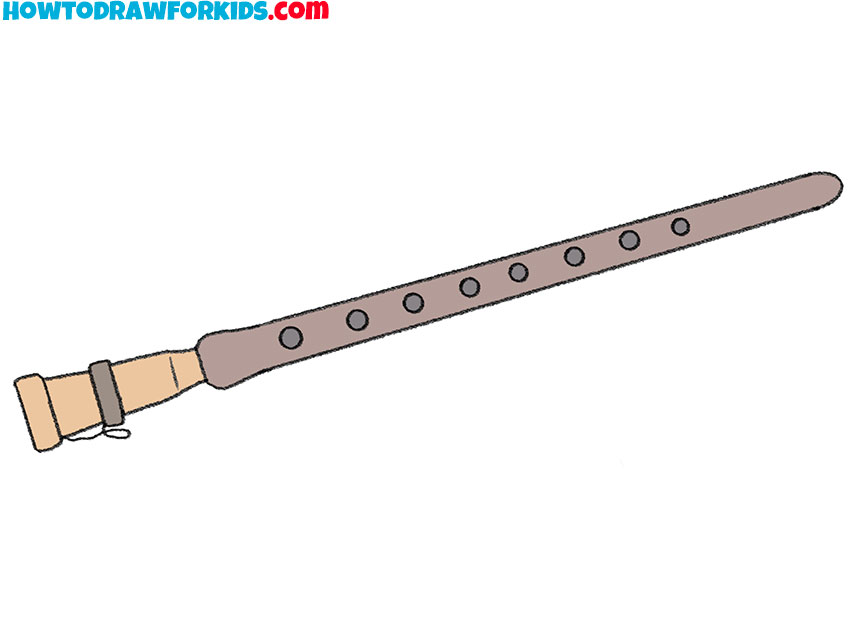
How to Draw a Duduk
Page navigation
1
2
3
…
29
Next Page
Next
Search
Drawing Tutorials
Coloring Pages
Drawing Ideas
Articles
Drawing Worksheets
Toggle Menu Close
Search for:
Search