How to Draw a Chipmunk
Today, I will show you how to draw a chipmunk. We will begin by discussing the unusial body structure of this funny creature, and then I will present nine straightforward steps to create your drawing.
How to Draw a Chipmunk: Basic Information
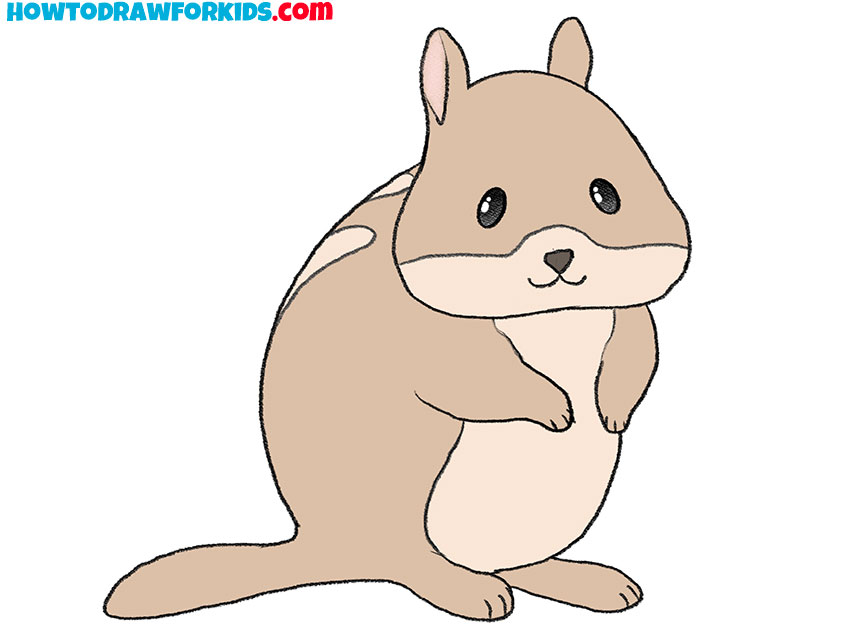
Welcome to today’s drawing lesson on how to draw a chipmunk in a cartoon-simplistic style. Chipmunks are small, agile rodents known for their distinctive physical features. They have a small, compact body with large hind legs that help them move quickly. Their large face is adapted for storing food behind their cheeks, giving them a characteristic full-cheeked appearance.
Before you start drawing, it’s important to consider the structural features of the chipmunk’s body. Understanding the basic shapes and proportions will help you capture the essence of the chipmunk more accurately. In this lesson, we will focus on a simplified cartoonish style that omits intricate details like individual hairs or complex textures, making the drawing process more approachable for beginners.
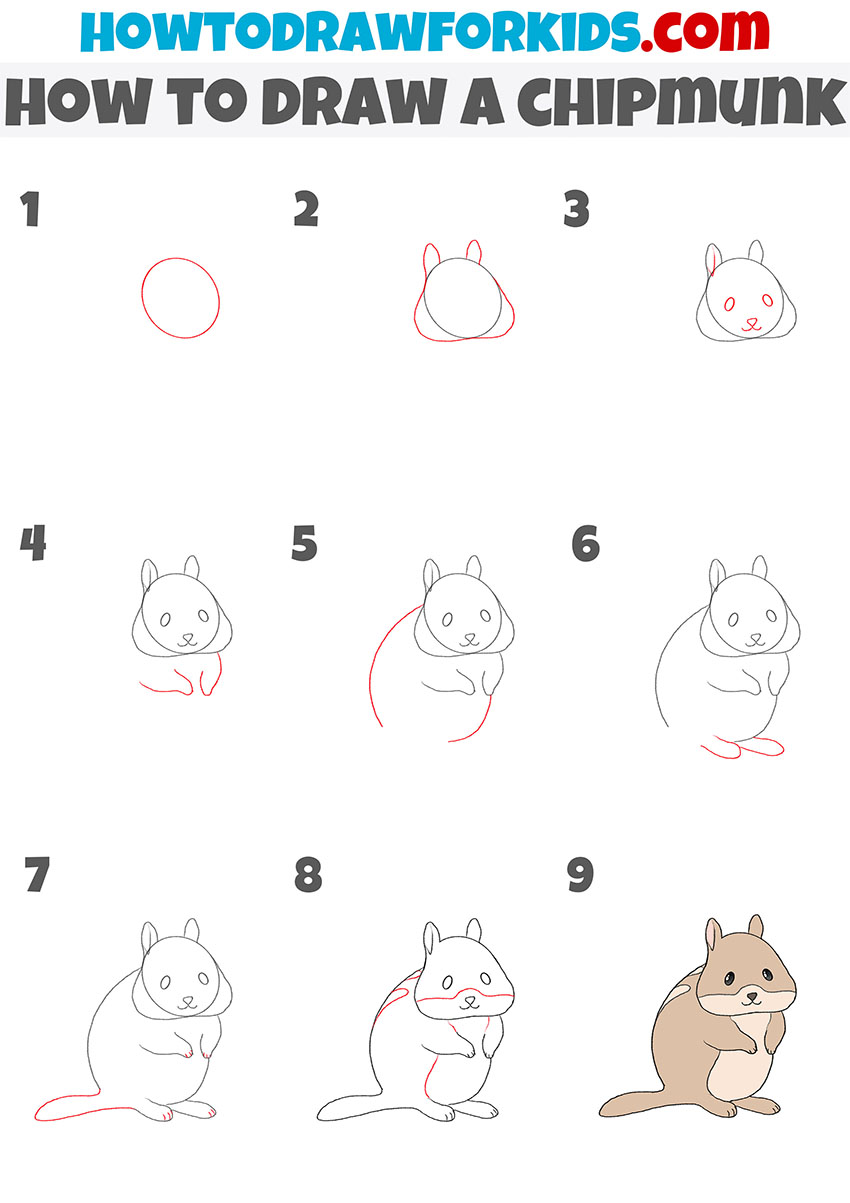
The provided sample illustrates a step-by-step approach to drawing a chipmunk in this cartoonish style. Each step builds upon the previous one, gradually adding more details to the basic shapes. Notice how the overall form and significant features of the chipmunk are emphasized, while the more intricate details are left out to maintain simplicity.
By the end of this lesson, you will have a complete drawing of a chipmunk that retains all the important characteristics of its appearance. Despite the simplicity of the style, the final version will clearly represent a chipmunk, highlighting its unique features like the large cheeks and hind legs.
Materials
- Pencil
- Paper
- Eraser
- Coloring supplies
Chipmunk Drawing Tutorial
Time needed: 30 minutes
How to Draw a Chipmunk
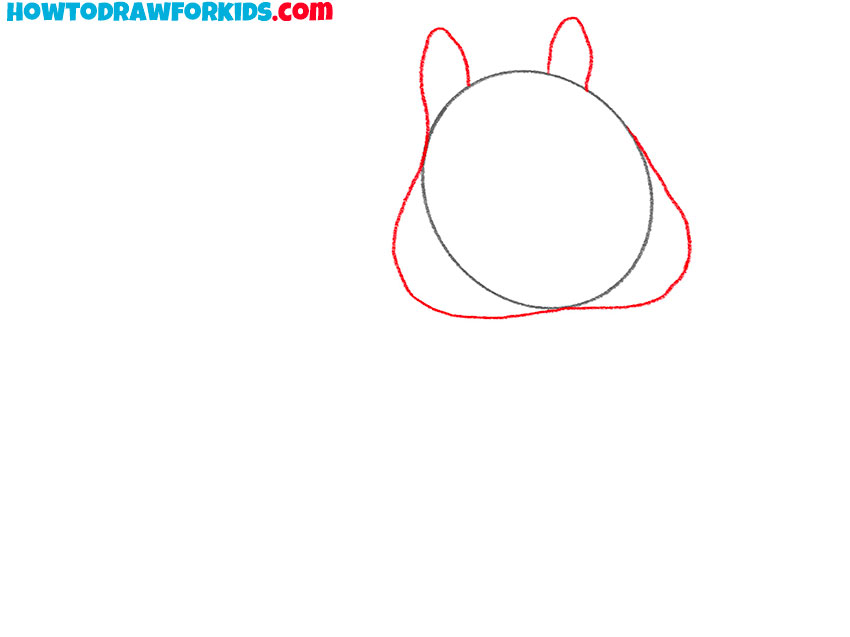
- Draw the head.
Begin by drawing a simple circle for the chipmunk’s head. This will serve as the foundation for the entire drawing. When drawing the circle, use light, smooth strokes to make adjustments easy. The circle doesn’t need to be perfect; it’s just a guideline for placing other features.

- Depict the ears and cheeks.
Next, add two small, rounded ears at the top of the circle. Then, draw two curved lines extending from the sides of the circle to form the cheeks. These cheeks should be slightly exaggerated to give the chipmunk a cute, cartoonish appearance.
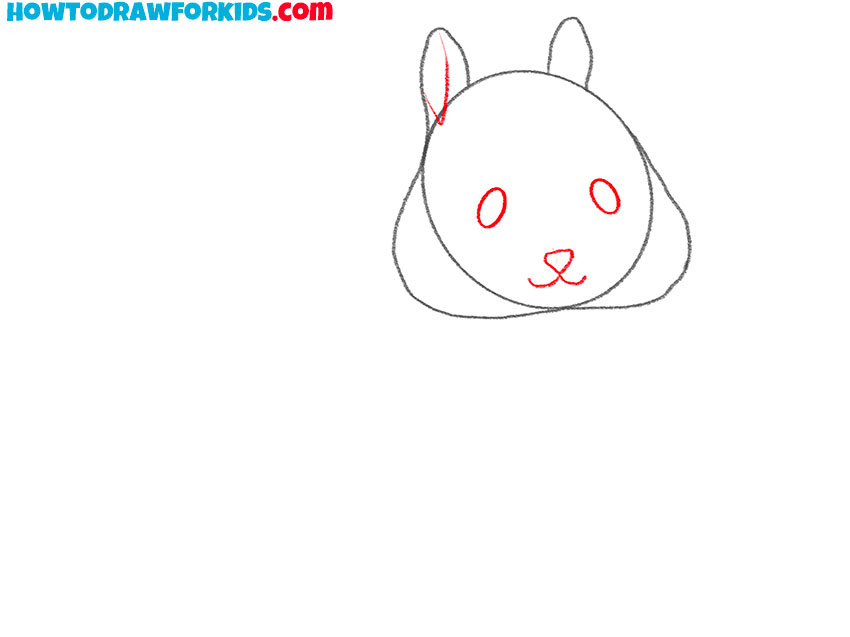
- Add the elements of the muzzle and the inside of the ear.
Now, add the facial features. Draw two small oval shapes for the eyes, positioned near the top center of the circle. Below the eyes, add a small, rounded triangle for the nose and a tiny curved line underneath for the mouth. This creates a friendly and approachable expression.
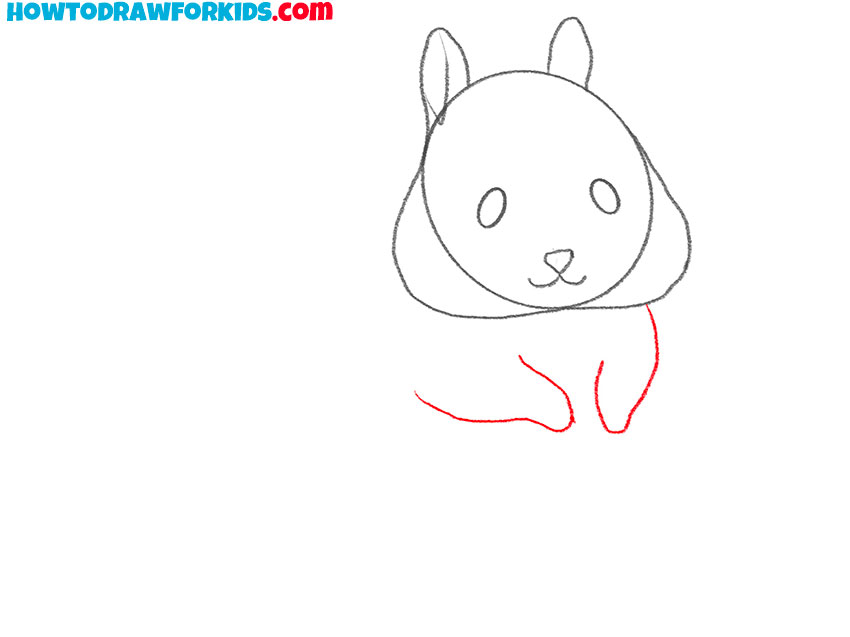
- Sketch out the front paws.
Draw the front legs by sketching two curved lines from the bottom of the head circle. These lines should be short and positioned close to each other. Add small ovals at the end of these lines for the chipmunk’s paws.
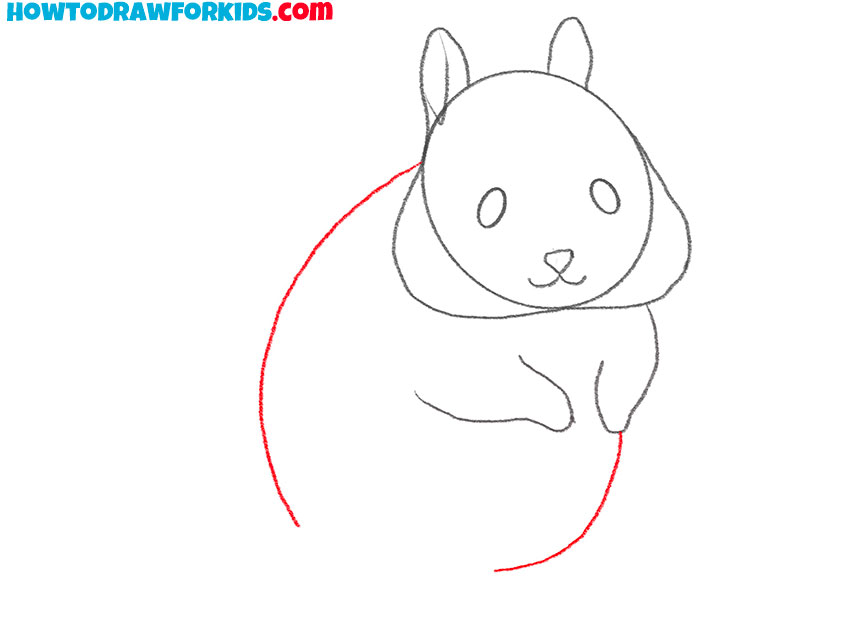
- Draw the torso.
To draw the body, start by extending a curved line from the side of the head circle, looping it around to form a plump, rounded body shape. The body should be slightly larger than the head, giving the chipmunk a well-fed appearance.
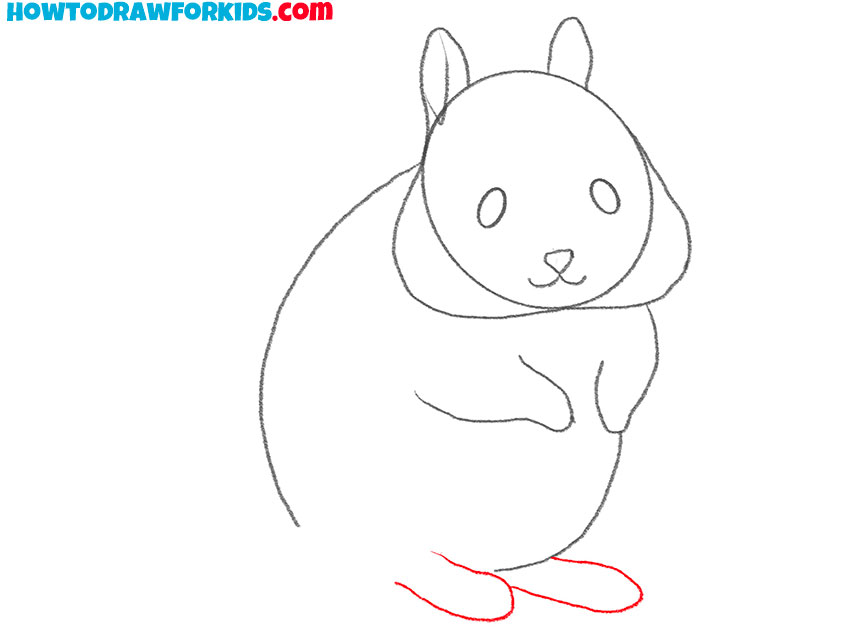
- Sketch out the hind legs.
Draw the hind legs by sketching two ovals at the bottom of the body, positioned horizontally. These ovals represent the chipmunk’s feet and should be elongated to suggest the large hind legs typical of chipmunks. The hind legs should complement the overall plump shape of the body, enhancing the cartoonish look.
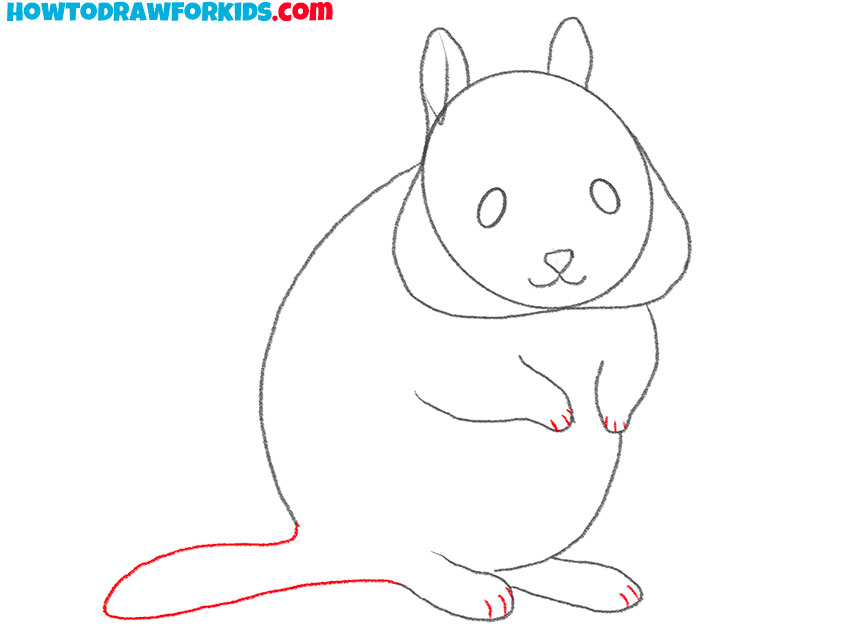
- Depict the tail and fingers.
Add the tail by extending a long, curved line from the back of the body. The tail should be thick and bushy, curving gently to the side. This feature is characteristic of chipmunks and should be drawn to emphasize its fluffiness.
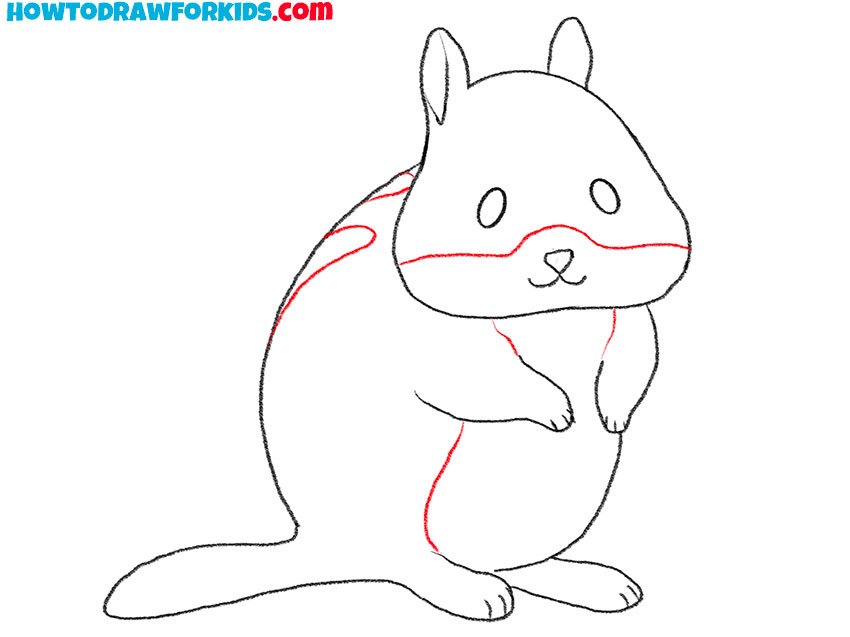
- Correct inaccuracies and detail the color.
Next, add some simple lines to indicate the chipmunk’s stripes. Draw a few curved lines along the back and sides, extending from the head to the tail. These stripes should be light and not too detailed, just enough to suggest the pattern.
- Color the chipmunk.
Erase any unnecessary guidelines and make sure the overall shape and features are clean and distinct. Once the outlines are complete, you can add color. Use a light brown for the body, a darker brown for the stripes and tail, and a light pink for the cheeks and inside the ears.
Additional Content
This drawing lesson is accompanied by a PDF that you can download. The PDF includes a shortened version of this lesson, providing a quick reference for each step. Additionally, it features two extra methods for drawing a chipmunk, offering alternative approaches to capture this adorable creature. Whether you prefer a more detailed or a different simplified style, the PDF has you covered with comprehensive guidance and illustrations.
Common Mistakes on Drawing a Chipmunk
Here are some common mistakes when drawing a chipmunk and how to correct them:
- Proportions Off: If the head or body is too large or small, adjust the size of the shapes to ensure the head is slightly smaller than the body, keeping the overall proportions balanced;
- Asymmetrical Features: If the eyes, ears, or cheeks are uneven, use light guidelines to ensure symmetry before finalizing the lines;
- Flat Tail: If the tail lacks volume, redraw it with more curves and thickness to give it a fluffy, bushy appearance;
- Stiff Poses: If the chipmunk looks rigid, add slight curves to the body and limbs to create a more natural, relaxed pose.
Conclusion
Congratulations on completing your chipmunk drawing! By following the simple steps and focusing on the basic shapes, you’ve created cartoon representation of this cute animal. Remember, practice makes perfect, so don’t hesitate to try drawing it again to refine your skills.
If you enjoyed this lesson, consider subscribing to our social media channels for more fun and easy drawing tutorials. Stay updated with our latest content, share your creations, and join a community of fellow artists. Happy drawing!