How to Draw a Bandana
In this tutorial, you will learn how to draw a bandana in just nine very easy steps. I’m sure you’ll really enjoy this guide.
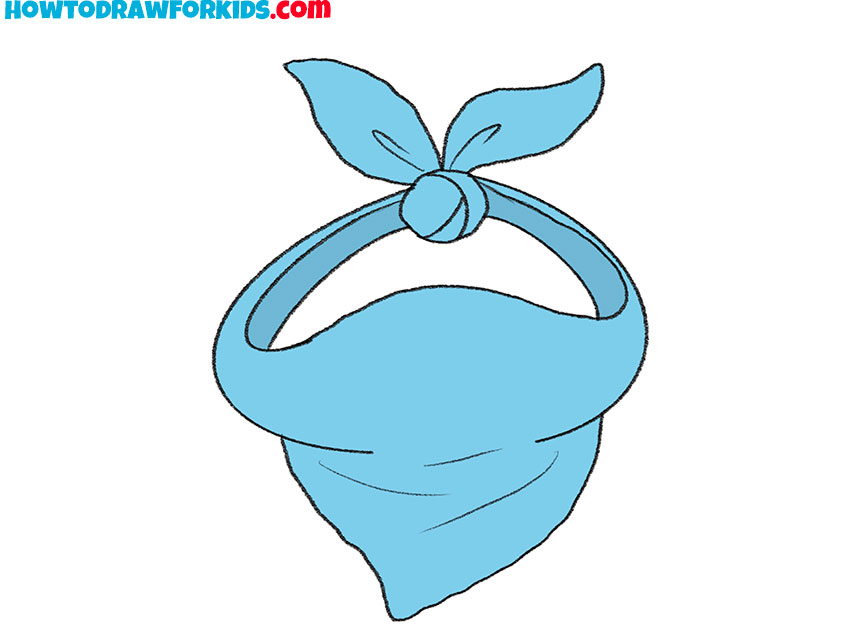
I invite you to a new exciting lesson in which you will learn how to draw a bandana. This step-by-step guide will help you exercise your creativity.
Now I will show in detail how to draw a bandana. This is a small scarf or a square piece of fabric folded diagonally. The bandana is worn over the head and tied at the back. Bandanas are worn by men, women, and teenagers.
Initially, the bandana had practical use and protected the head from the sun and the face from dust. Nowadays, the bandana is worn as a beautiful accessory and used as a means of self-expression.
In the picture, you see a bandana that is tied in a knot. This tutorial will require your attention and the ability to make smooth curved lines. If you consistently follow all the drawing steps and use my advice, then you will get a beautiful drawing.
Materials
- Pencil
- Paper
- Eraser
- Coloring supplies
Time needed: 30 minutes
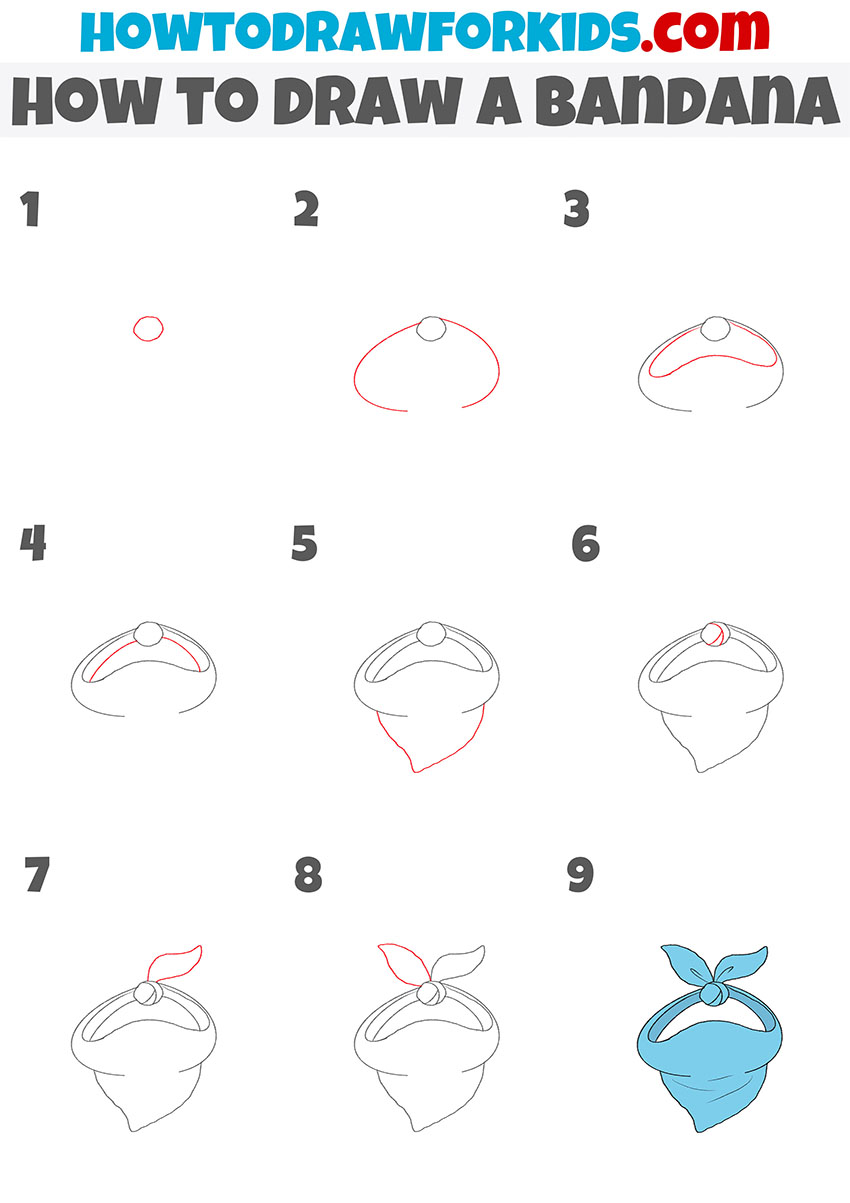
How to Draw a Bandana
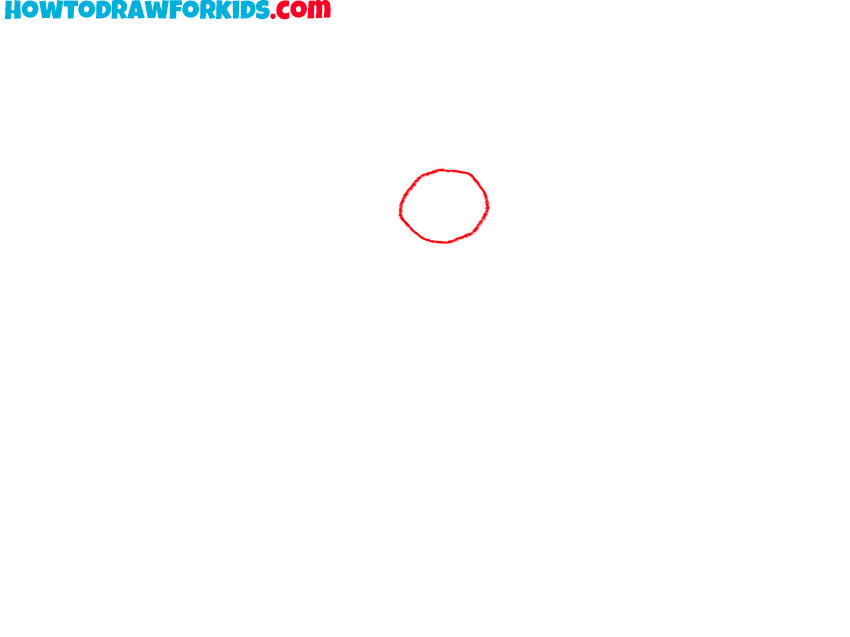
- Draw the knot.
Depict a small circle, and it is not necessary to make it perfectly even.
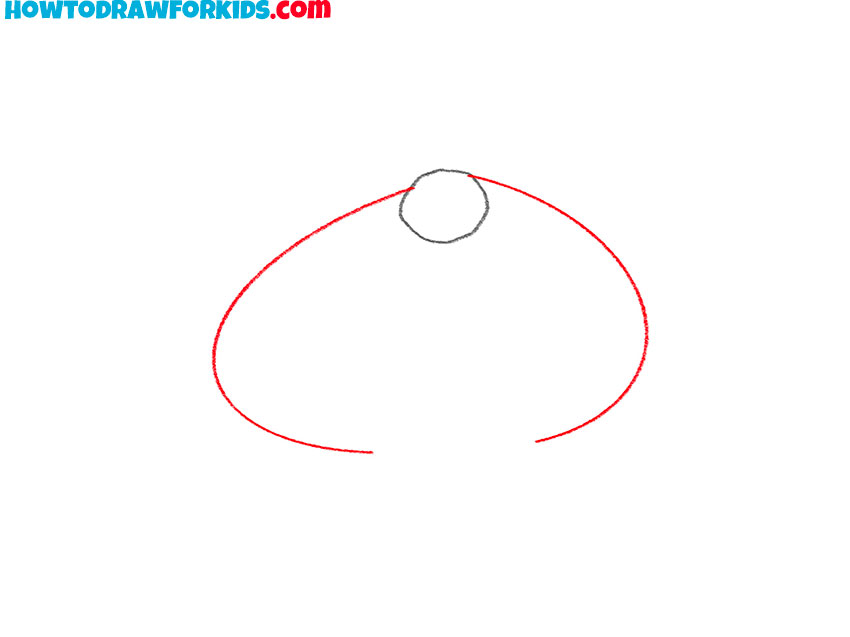
- Add the outer contour.
From the knot, draw smooth curved lines to the sides, as shown in the example.
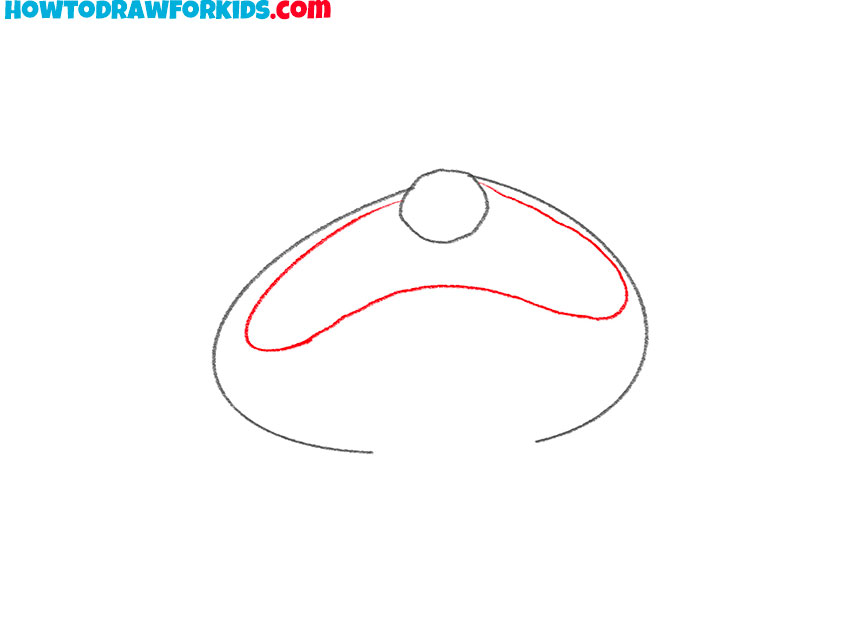
- Depict the inner outline.
Sketch out a smooth, curved line from one side of the knot to the other.
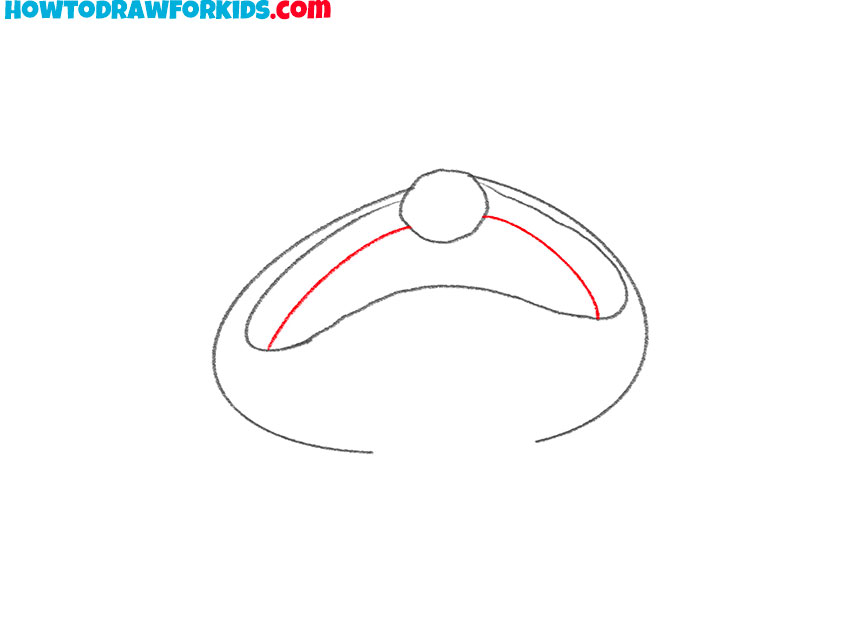
- Draw the bottom inner outline.
Depict two smooth rounded lines from the knot.
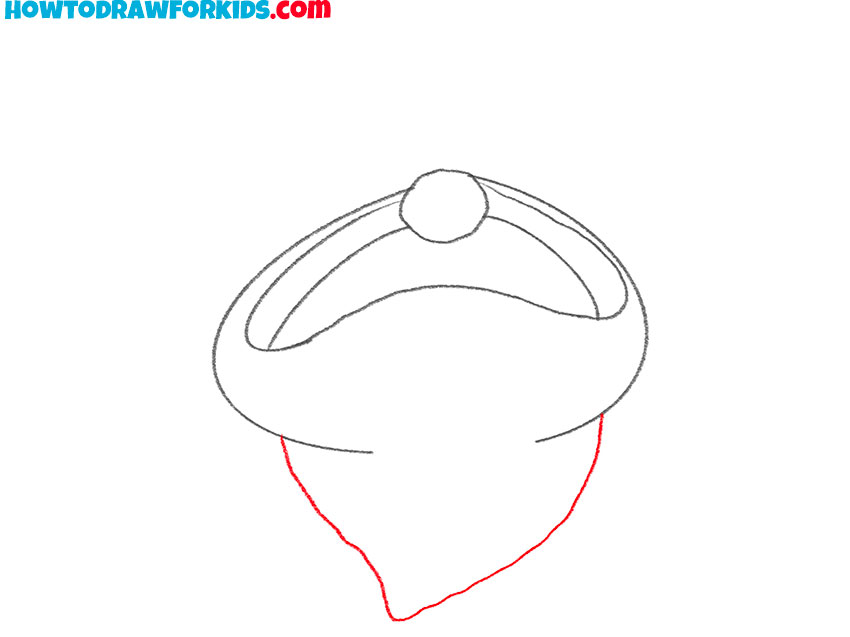
- Add the middle-end of the bandana.
Draw a line at the bottom to make a pointed edge.
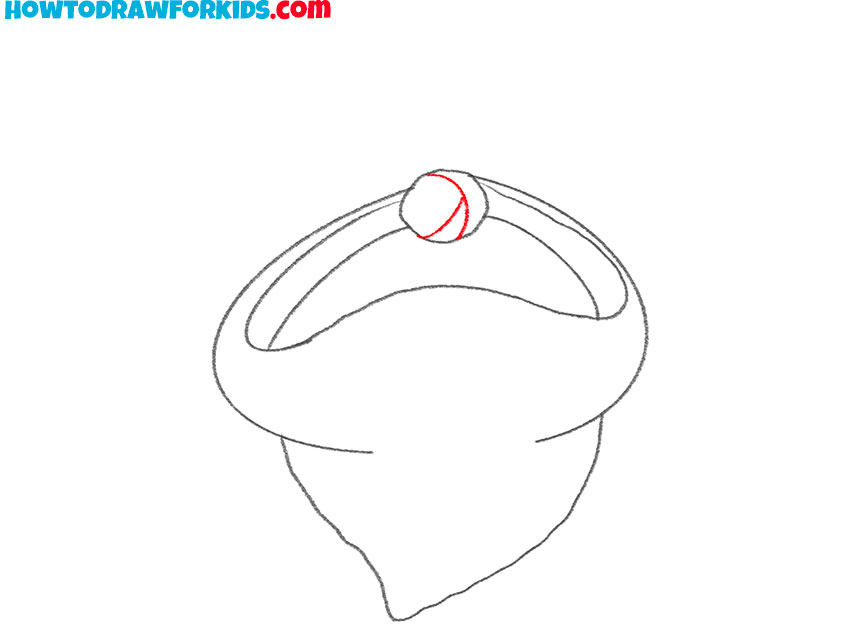
- Draw the knot elements.
Sketch out two rounded lines on the knot.
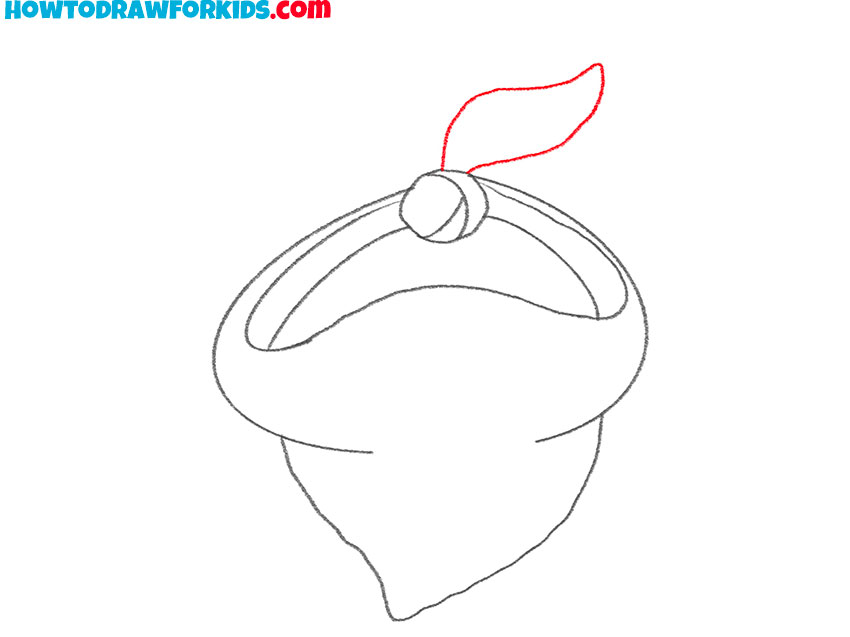
- Depict one end of the bandana.
To the right of the knot, draw one end of the bandana using a curved line.
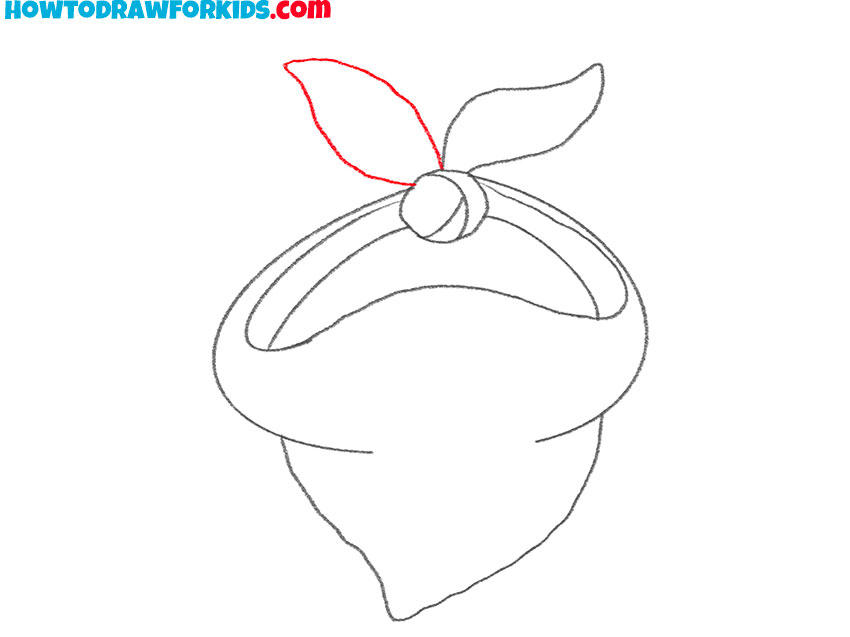
- Add the second end of the bandana.
Repeat the previous step and draw the second end of the bandana on the left.
- Add details and color the bandana.
Draw thin lines to depict the folds and use bright blue or any color of your choice.

Bandana is ready! You can leave the drawing as it is, or you can be creative and add any ornament. Make your drawing bright and saturated.
Especially for your convenience, I have prepared a PDF file with a short version of the lesson. Use this file if you want to repeat this tutorial again.

