How to Draw a Chibi Hand
In this tutorial I want to show you how to draw a chibi hand. If you complete this lesson, you will acquire useful skills.
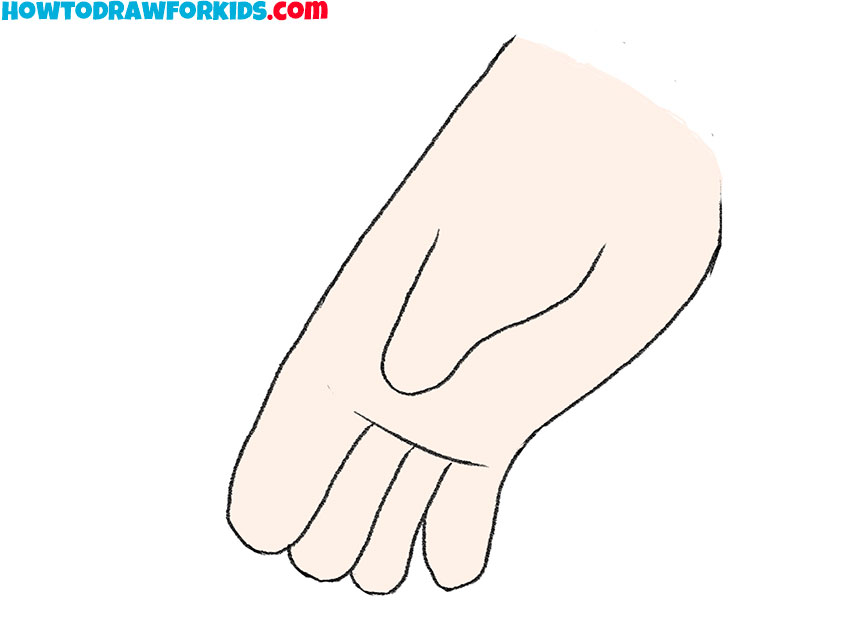
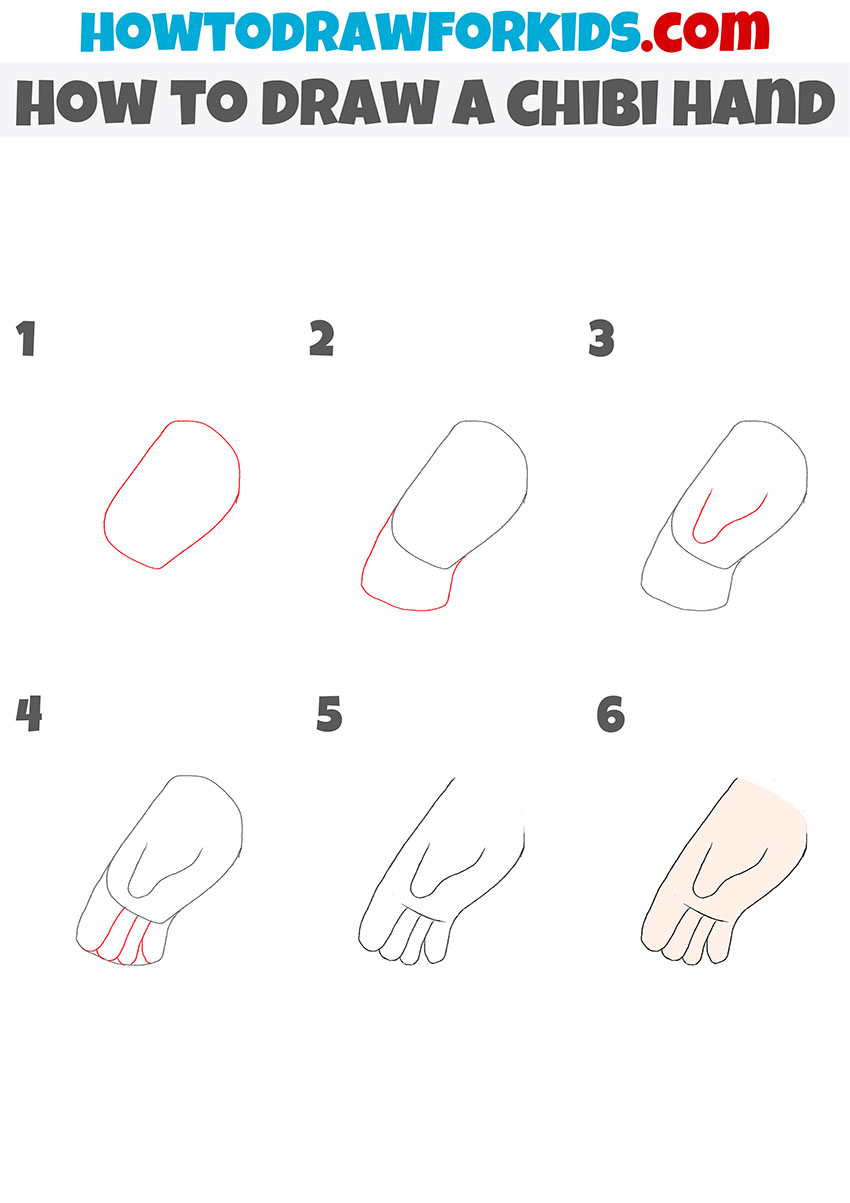
So, before you a new useful lesson on how to draw a chibi hand. The instruction is very simple and includes only six steps that any novice artist can easily follow. You only need to be attentive and accurate at every stage of drawing.
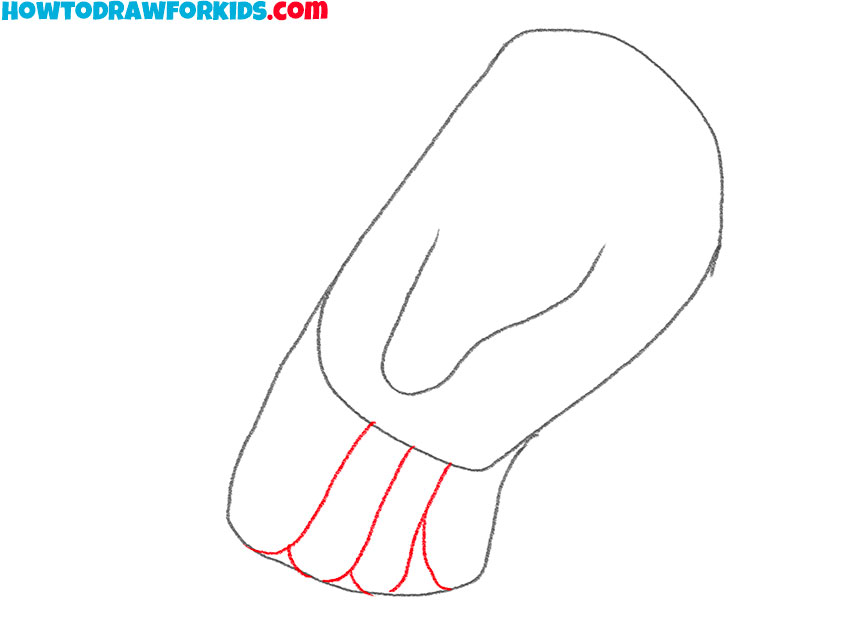
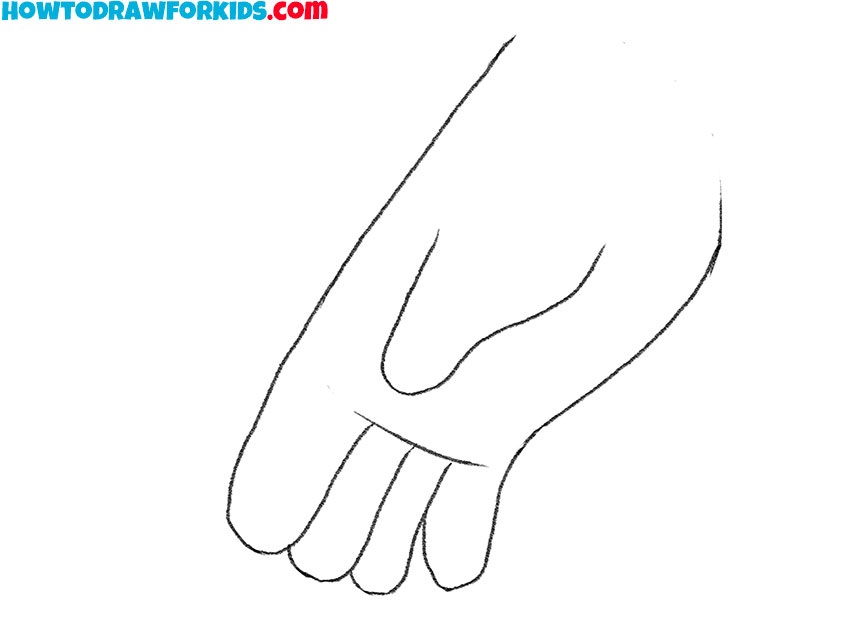
Chibi is a drawing style of anime characters and in this tutorial you will draw a chibi character’s hand. In the figure, you can see that the hand is down, the fingers are together, and the thumb is adjacent to the palm. In the process of work, try to correctly depict the position of the fingers.
You can use the acquired skills in the future when you want to draw any anime character in its entirety. Now take all the necessary art supplies and start sequentially following all the steps in this instruction.
Materials
- Pencil
- Paper
- Eraser
- Coloring supplies
Time needed: 30 minutes
How to Draw a Chibi Hand
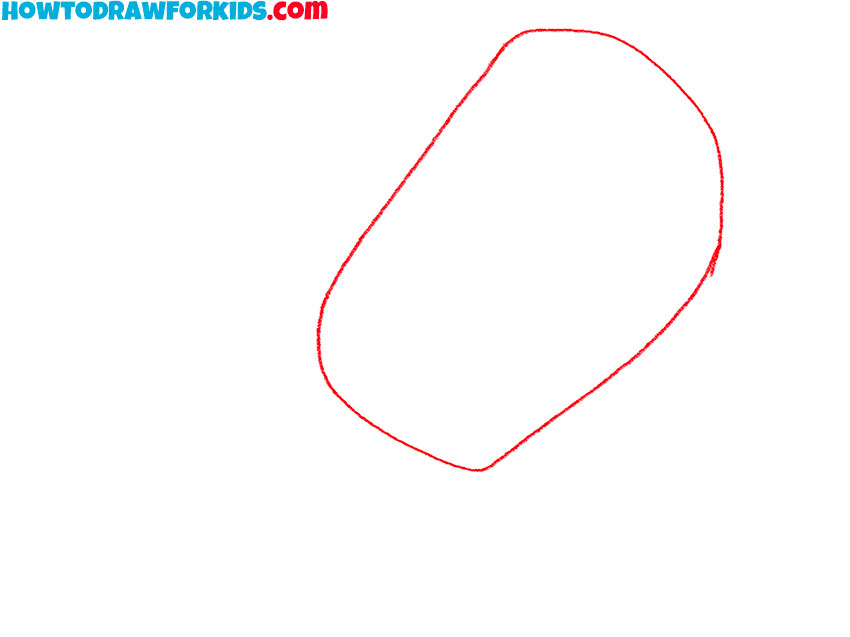
- Draw the outline of the palm.
Using smooth lines, depict the palm of the same shape as shown in the example.
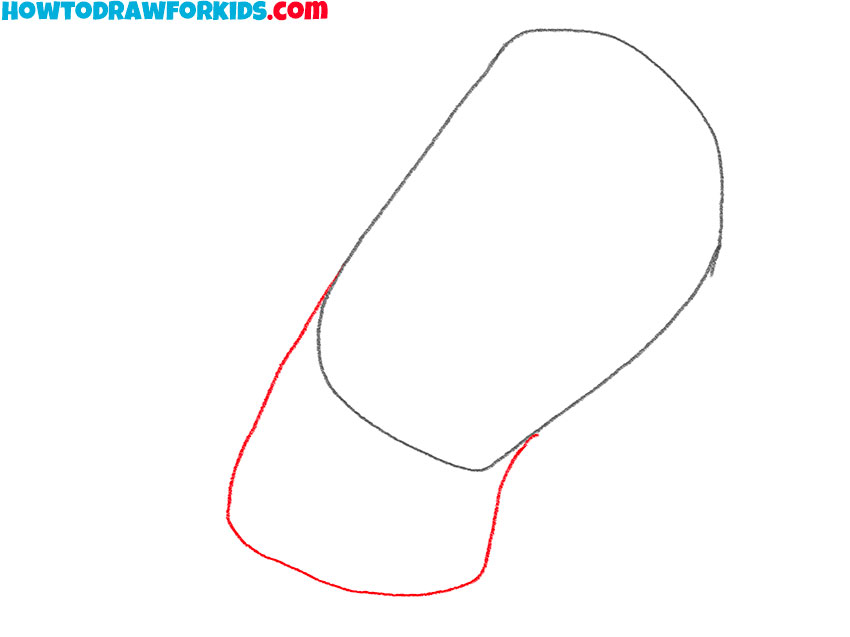
- Determine the position of the fingers.
Below the palm, draw smooth curved lines and mark the location of the fingers.
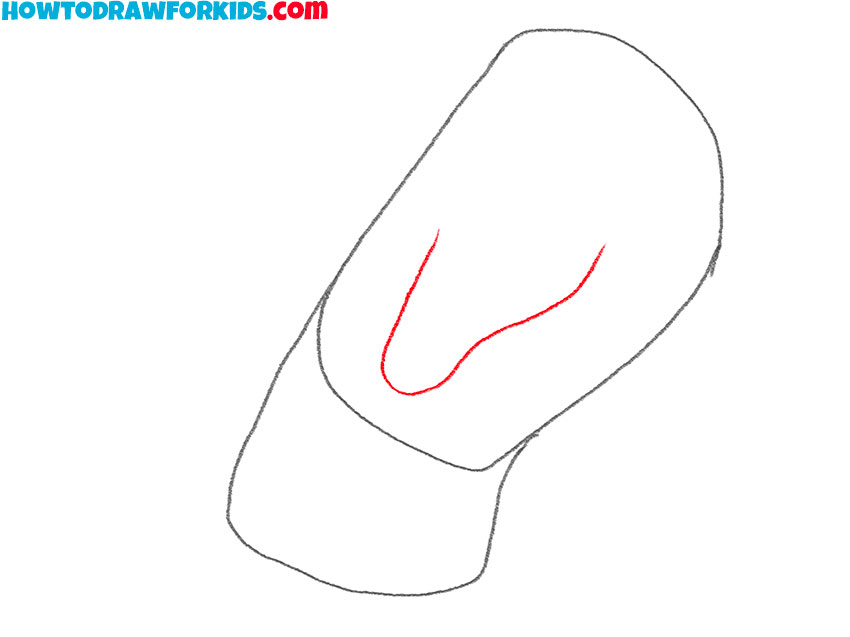
- Depict the thumb.
In the middle of the palm, draw the thumb, which has a wide base and a narrow end.
- Add the contours of the fingers.
Now you need to consistently draw the outlines of the four fingers that are located together.
- Correct inaccuracies.
Take the eraser and remove all extra lines on your drawing.
- Color the drawing.
To color the hand, use any natural shade.

I hope that you tried your best at each stage of drawing and your drawing looks exactly the way you wanted. If you want to always have access to this lesson, then right now download the PDF file which contains a brief instruction and additional training materials.


