How to Draw a Chimney
Learn how to draw a chimney covered with snow in this basic tutorial and practice simple techniques for sketching buildings in winter.
In this lesson, you will learn how to sketch a very simple chimney step by step. I am sure that you have seen the chimney many times because this element is in most houses.
A chimney is a tube or passage that takes a smoke from a fire up through a building and out through the roof. We are also used to calling the chimney the part of the chimney, often made of bricks, that we can see on a roof.
By knowing how to draw a chimney, you will be able to add this detail when drawing houses, to make your drawings more beautiful and realistic.
In this lesson you will first draw the outline of the chimney, then add decorative elements and color the drawing.
Now I suggest you prepare the materials you need to draw and start sketching a brick chimney covered with white snow.
Materials
- Pencil
- Paper
- Eraser
- Coloring supplies
Time needed: 20 minutes
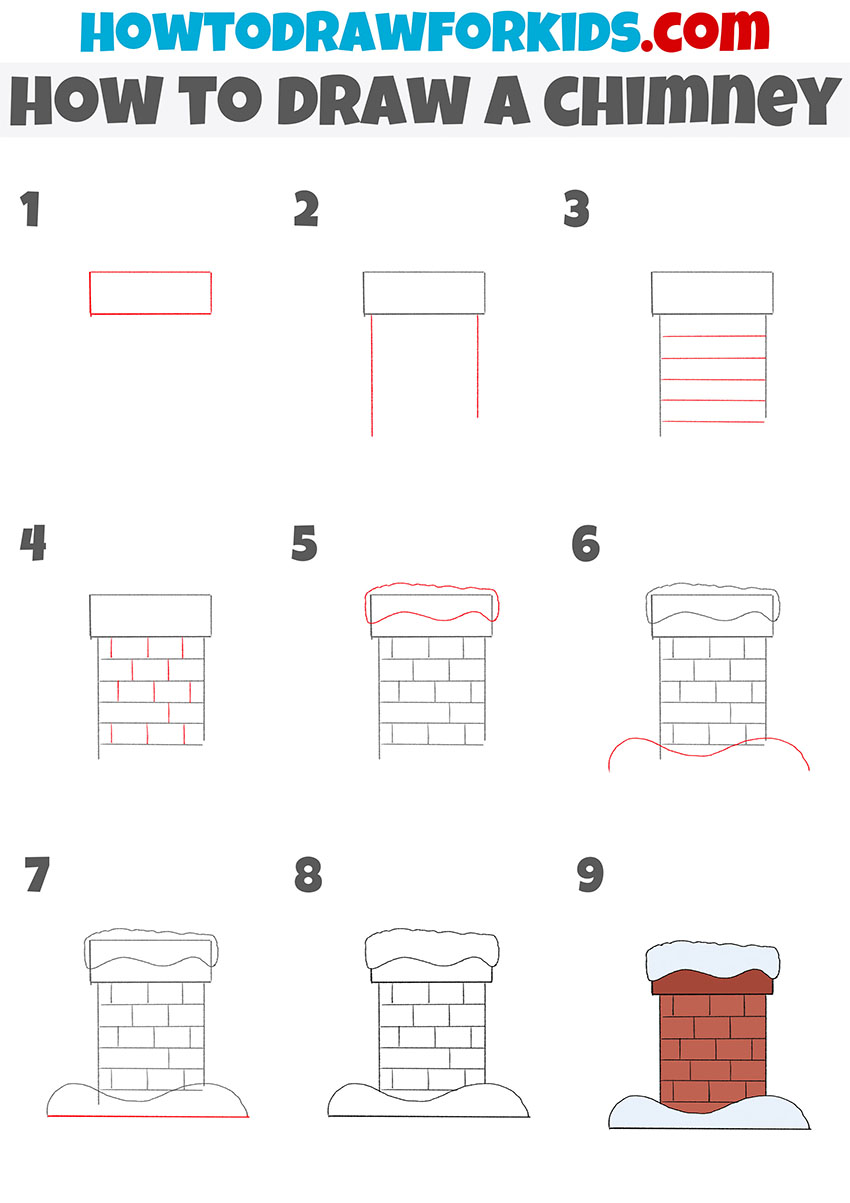
How to draw a chimney step by step
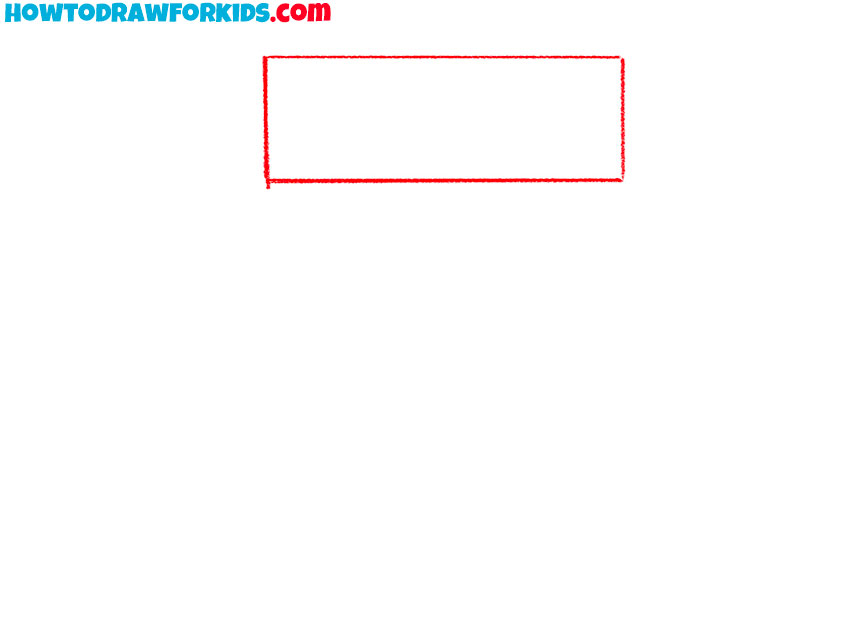
- Sketch the chimney cap.
First, sketch a simple horizontal rectangle – this will be the upper ledge or cap of the chimney. Keep the lines straight and parallel. Think of this part as the flat stone or metal slab that prevents snow or rain from falling directly inside the chimney.
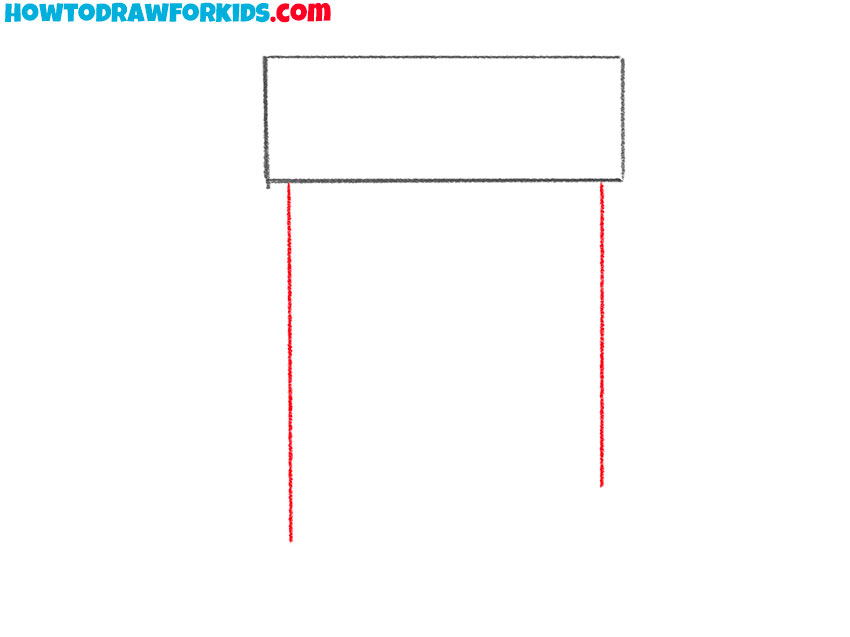
- Add the vertical side walls.
From the bottom corners of the rectangle, draw two straight vertical lines extending downward. These lines form the main sides of the chimney. Make sure they are perfectly vertical – use the paper’s edge as a visual guide if needed. The distance between them will determine how wide the chimney looks. Try to keep the height roughly twice the width of the top rectangle.
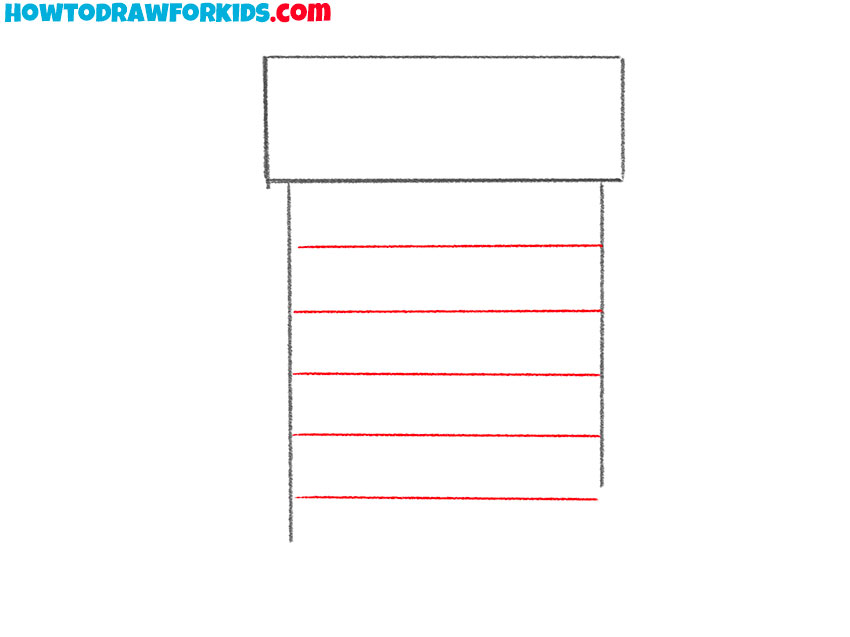
- Draw the chimney brick rows.
Now, to draw bricks, add evenly spaced horizontal lines across the chimney’s body. These simple lines are the horizontal edges of the bricks, the place where the mortar connects them. Keep the lines parallel and perfectly straight. The spacing between each line should be consistent.
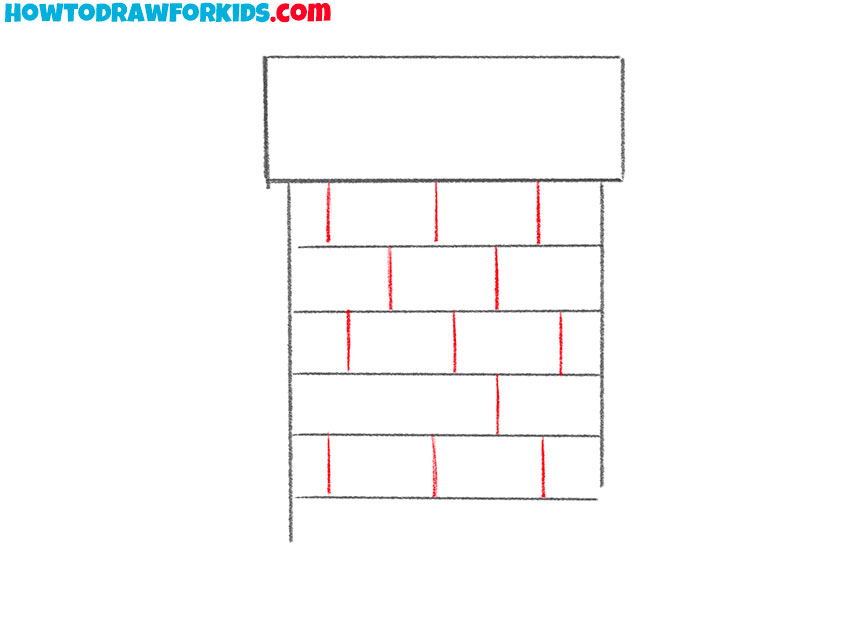
- Add vertical divisions between bricks.
Inside each row, draw short vertical lines alternating from row to row to imitate the offset pattern of real bricks. These small details give the drawing texture and realism. Remember that bricks are usually staggered – meaning the vertical joints should not line up directly above one another.
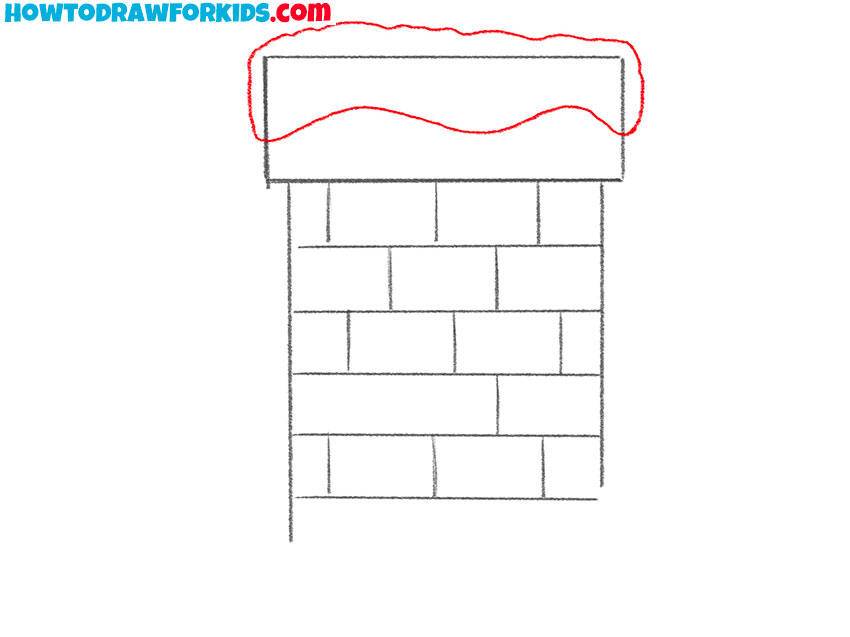
- Draw snow on the top of the chimney.
On the upper rectangle, draw a wavy, uneven line to represent snow resting on the chimney cap. Snow rarely forms a perfectly straight edge, so make sure the line has gentle curves and irregular sections. You can add small overhangs or rounded shapes to show how snow drapes over the sides.
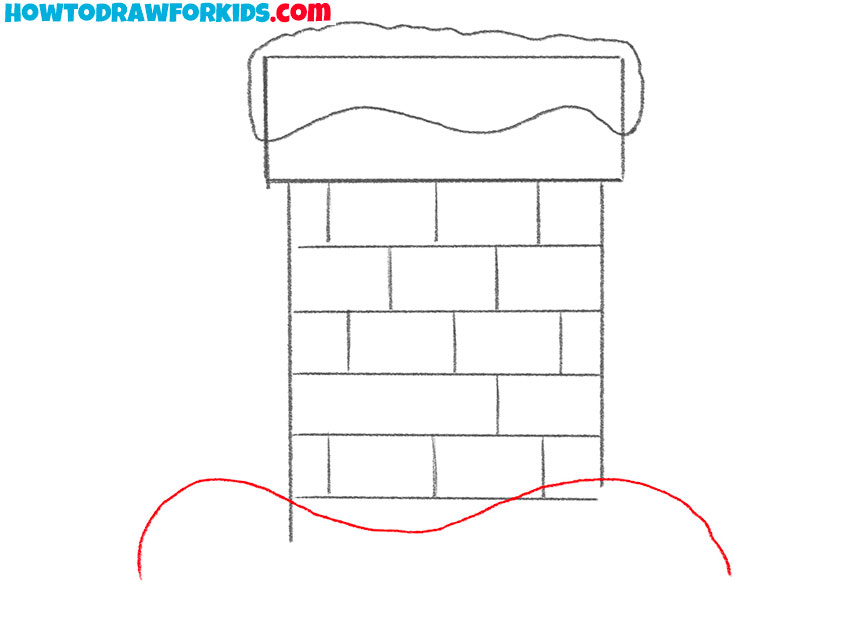
- Sketch snow at the base.
Add a curved, flowing line along the bottom of the chimney to show a pile of snow on the roof or ground. Make the curves smooth and natural – this gives a realistic look of snow accumulation. Sketch it uneven, with gentle rises and dips.
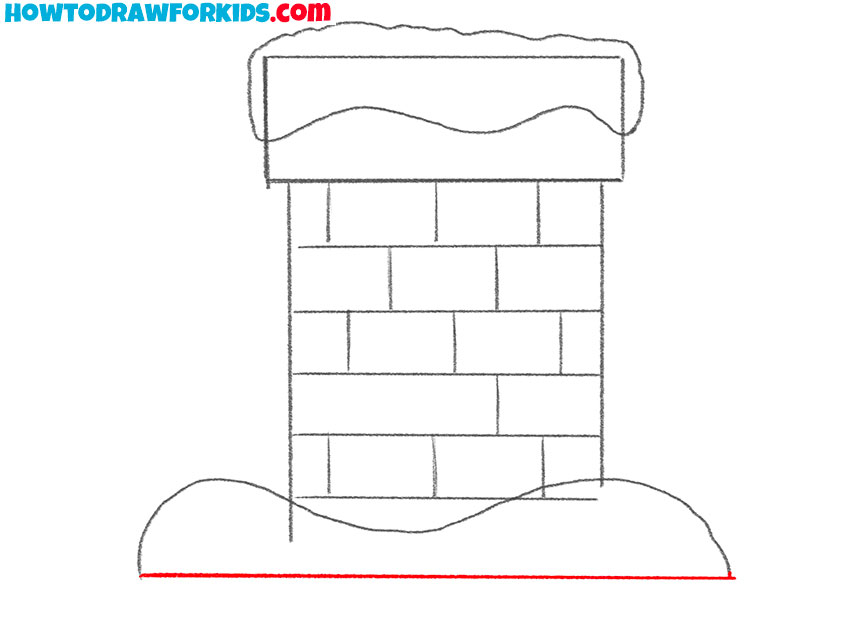
- Define the lower edge of the snow.
Draw another slightly curved or straight line beneath the snow to define the base. You can use a ruler to sketch this part of the chimney drawing. You can also add small bumps where snow might pile higher on one side.
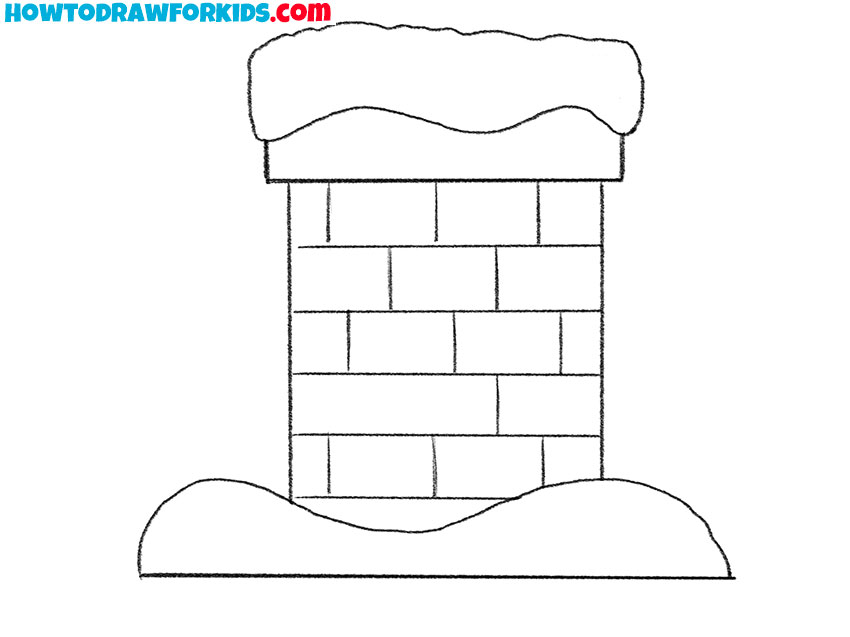
- Clean up the chimney sketch.
Now use a soft eraser to remove all extra guidelines and overlapping pencil marks. Clean up the brick lines that extend beyond the chimney’s edges, and make sure the snow contours remain smooth. Be gentle – you don’t want to damage the paper or blur your outlines.
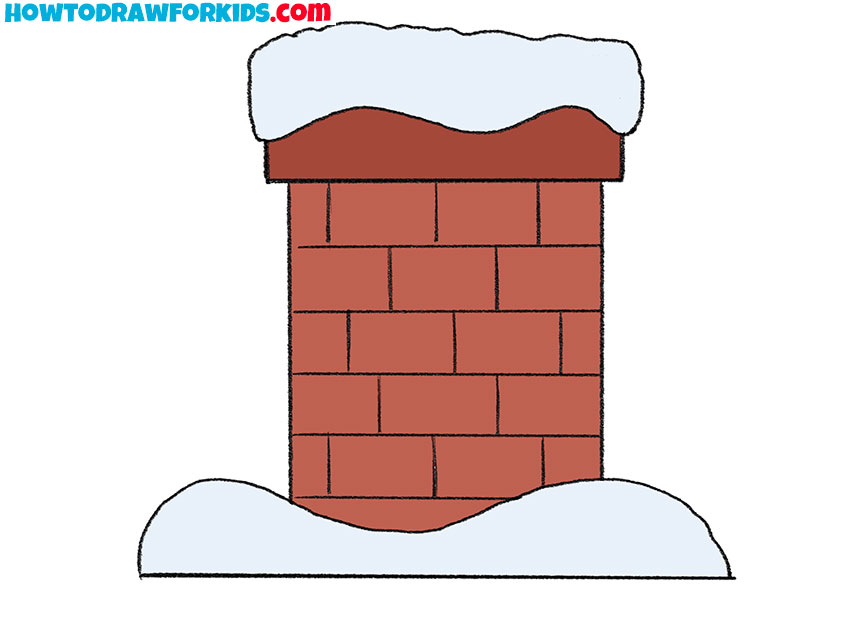
- Color the bricks and snow.
Paint the chimney with a rich red or reddish-brown tone to imitate bricks. Use a darker shade for the upper part of the structure. Color the snow in light blue or pale gray to show its cool texture while keeping it distinct from the white paper.

This concludes our step-by-step drawing guide. If you liked this lesson you can share it with your friends. Traditionally, I have prepared for you a PDF file with a short version of this drawing lesson. Download this file to return to this lesson whenever it is convenient for you.