How to Draw a Fire Truck
Today with the help of this simple instruction you will learn how to draw a fire truck step by step quickly and easily.
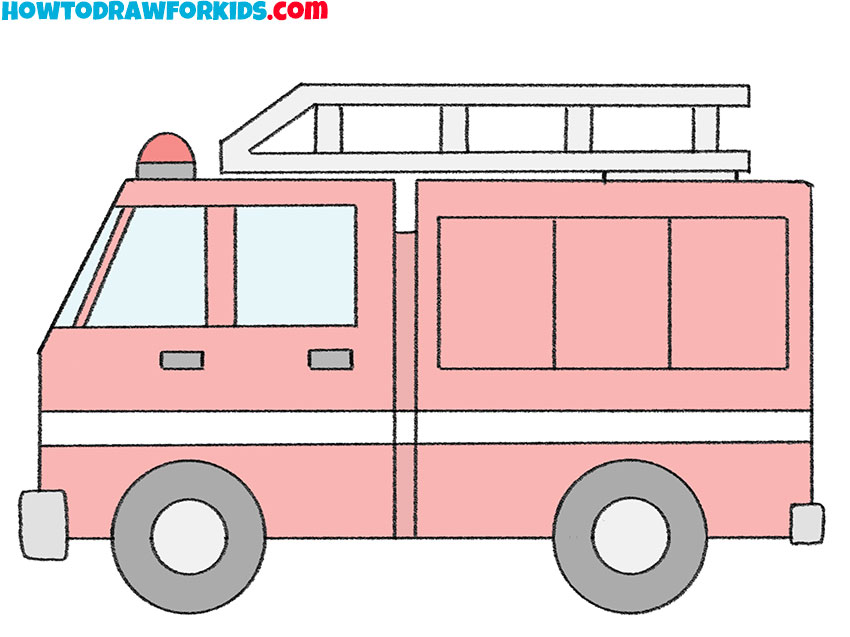
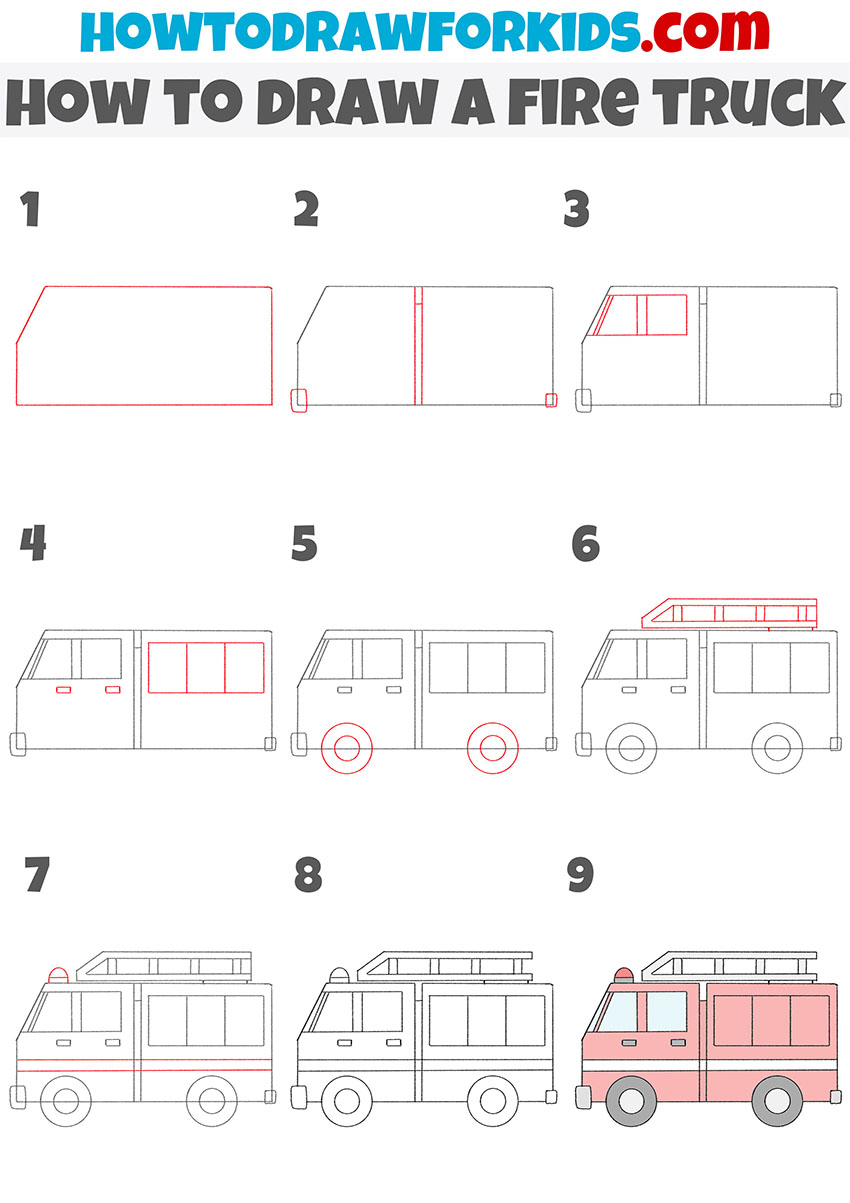
Especially for children and novice artists, I have prepared a fascinating lesson in which I will tell and demonstrate how to draw a fire truck.
This type of transport belongs to special equipment and is designed to extinguish a fire. The fire truck is large and equipped with all the necessary equipment to extinguish the fire.
In this lesson, you will need your ability to draw rounded and even straight lines. This is not an exact copy of the fire engine, but only a simplified version.
This drawing method is great for beginners because it uses simple lines and a minimal number of elements. You will start drawing with the largest elements and gradually add smaller details.
Materials
- Pencil
- Paper
- Eraser
- Coloring supplies
Time needed: 30 minutes
How to Draw a Fire Truck
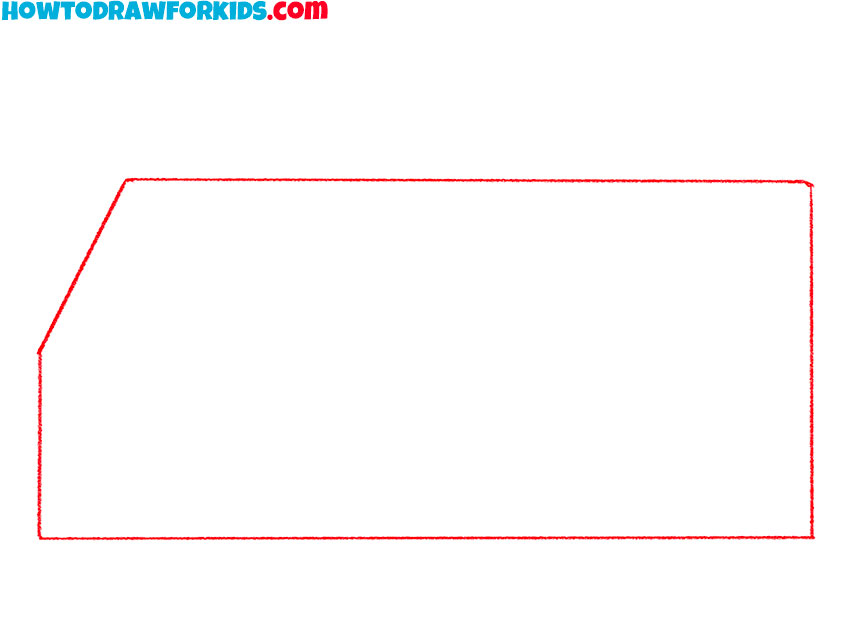
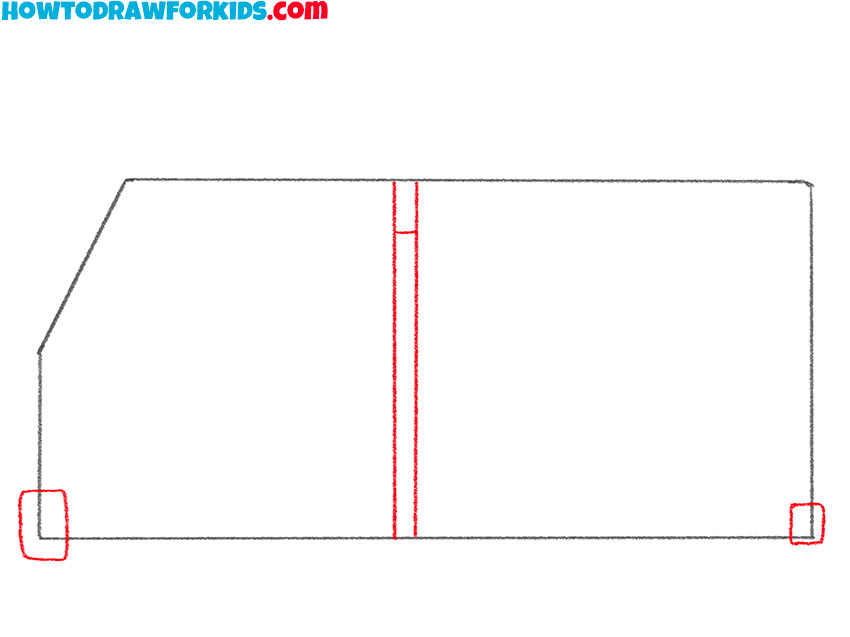
- Draw the body of the truck.
Depict a rectangular shape with one corner beveled.
- Add details.
Draw vertical lines to depict the driver’s cab and add the bumpers.
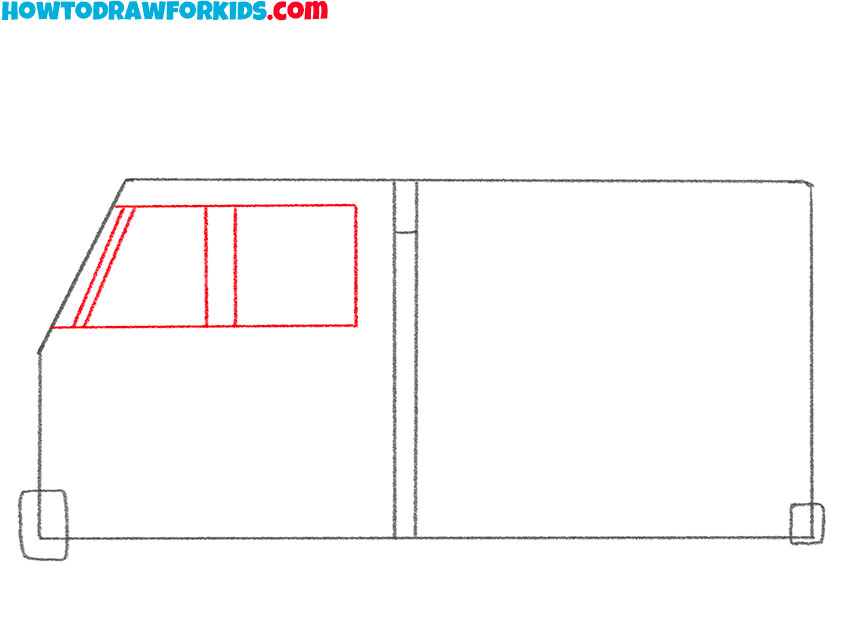
- Depict the side window.
Sketch out a few straight lines on the driver’s cab to draw the window.
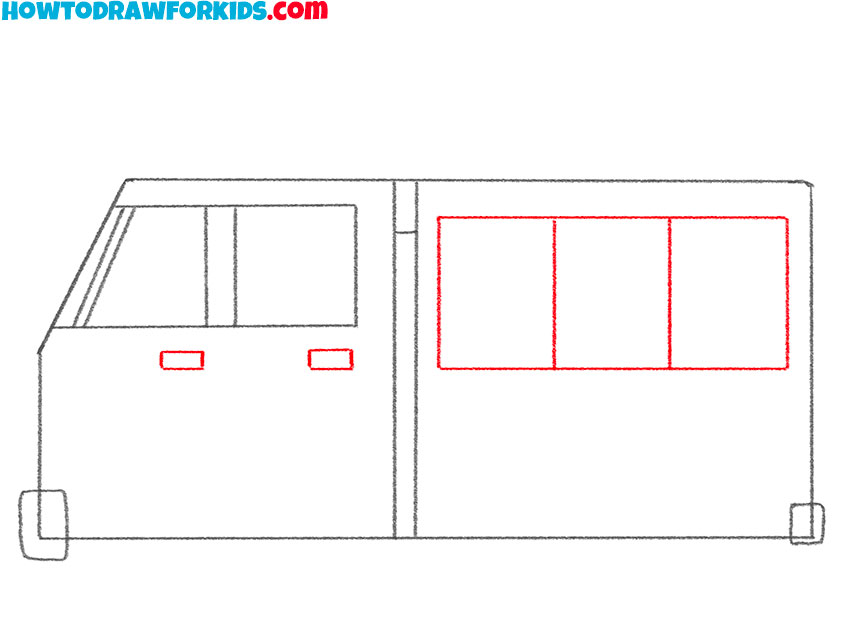
- Add more details.
On the driver’s cab, draw rectangles and depict the rectangular shaped window.
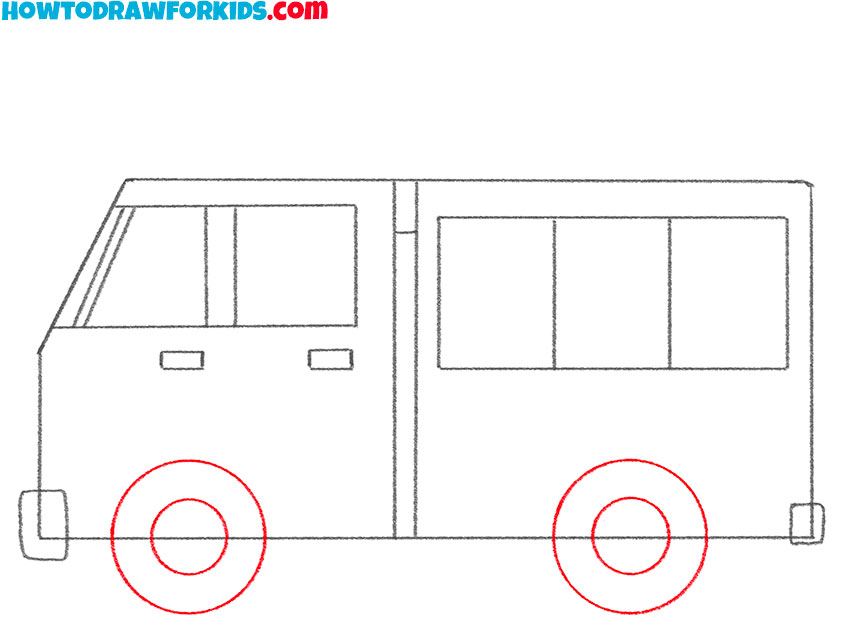
- Sketch out the wheels.
On each side, draw two circles of different sizes.
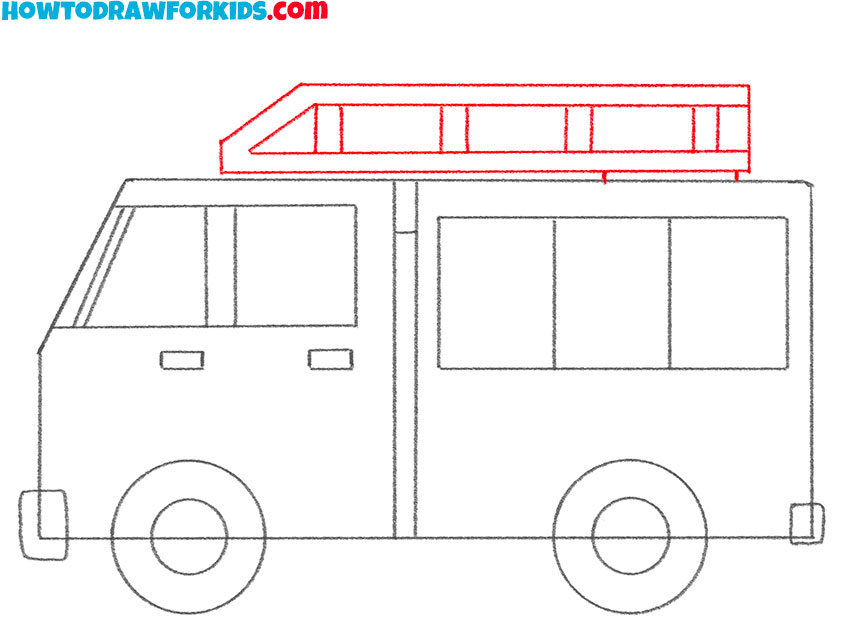
- Draw the ladder.
Use straight lines to depict the ladder on top of the truck.
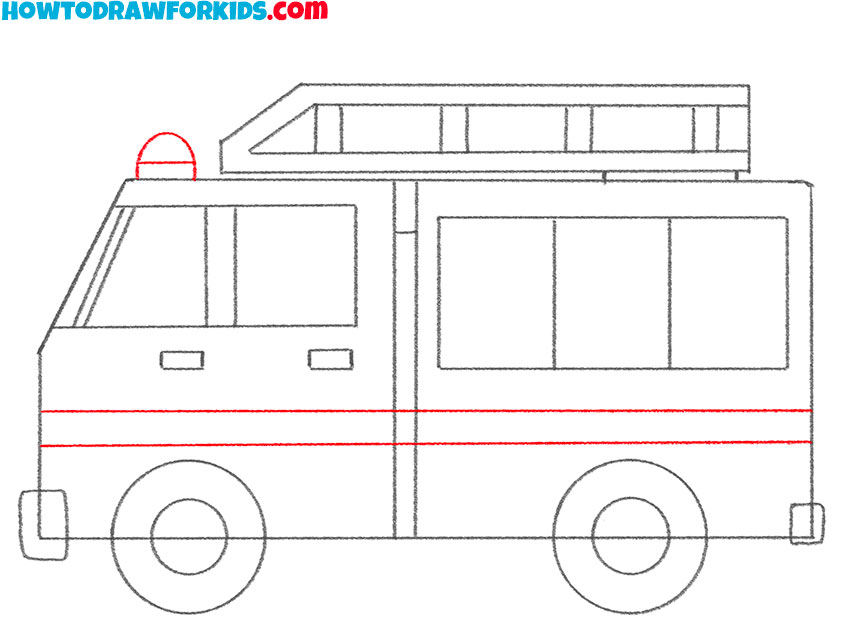
- Depict additional elements.
Draw parallel horizontal lines and add the flashing beacon.
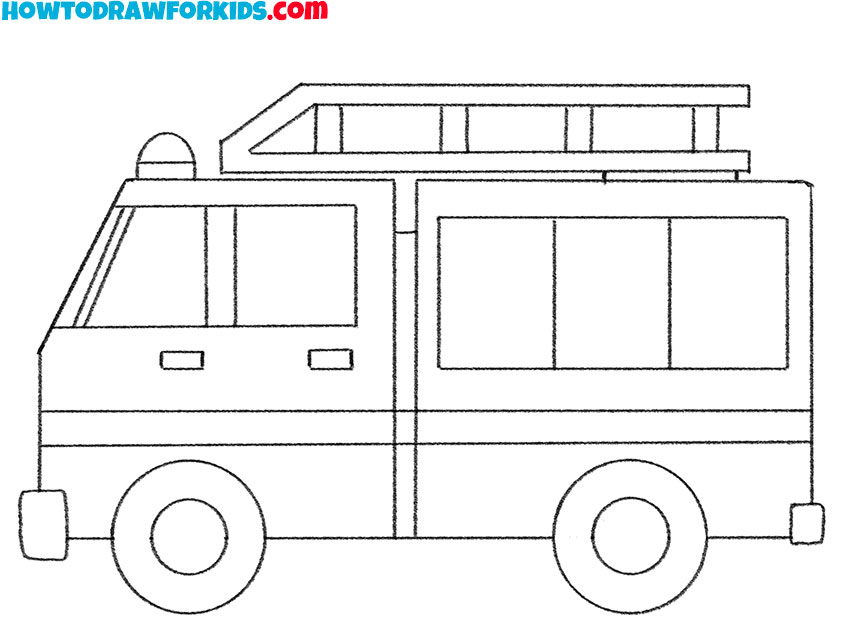
- Correct inaccuracies.
Use the eraser to remove any unnecessary guidelines.
- Color the fire truck.
Use any shades of red and gray.

At the end of the lesson, I suggest you download the PDF file, which contains a brief instruction and other useful materials. This will help you return to the lesson at any time, even if there is no Internet access.

