How to Draw a Gate
In this lesson, I want to show you how to draw a gate. I am sure that this guide will be an excellent exercise for your creative abilities.
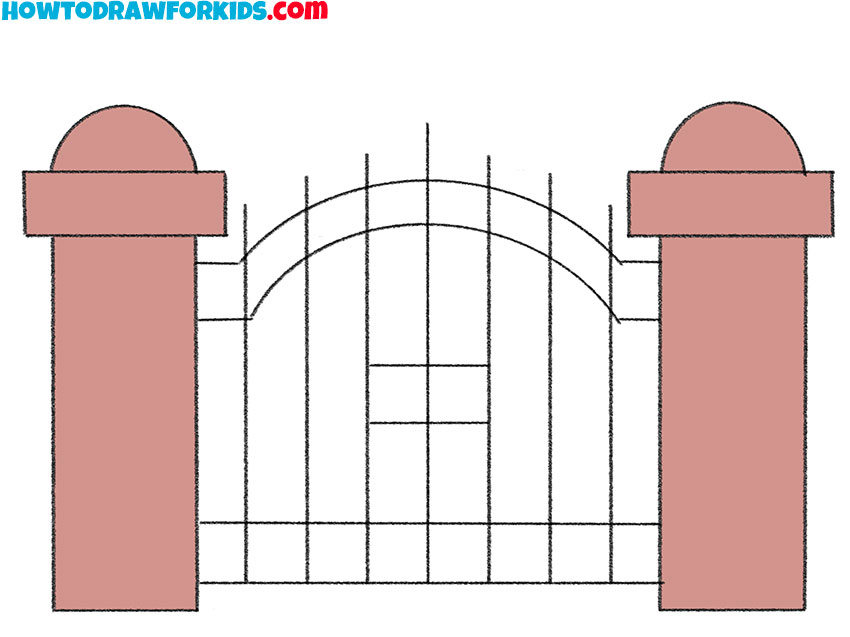
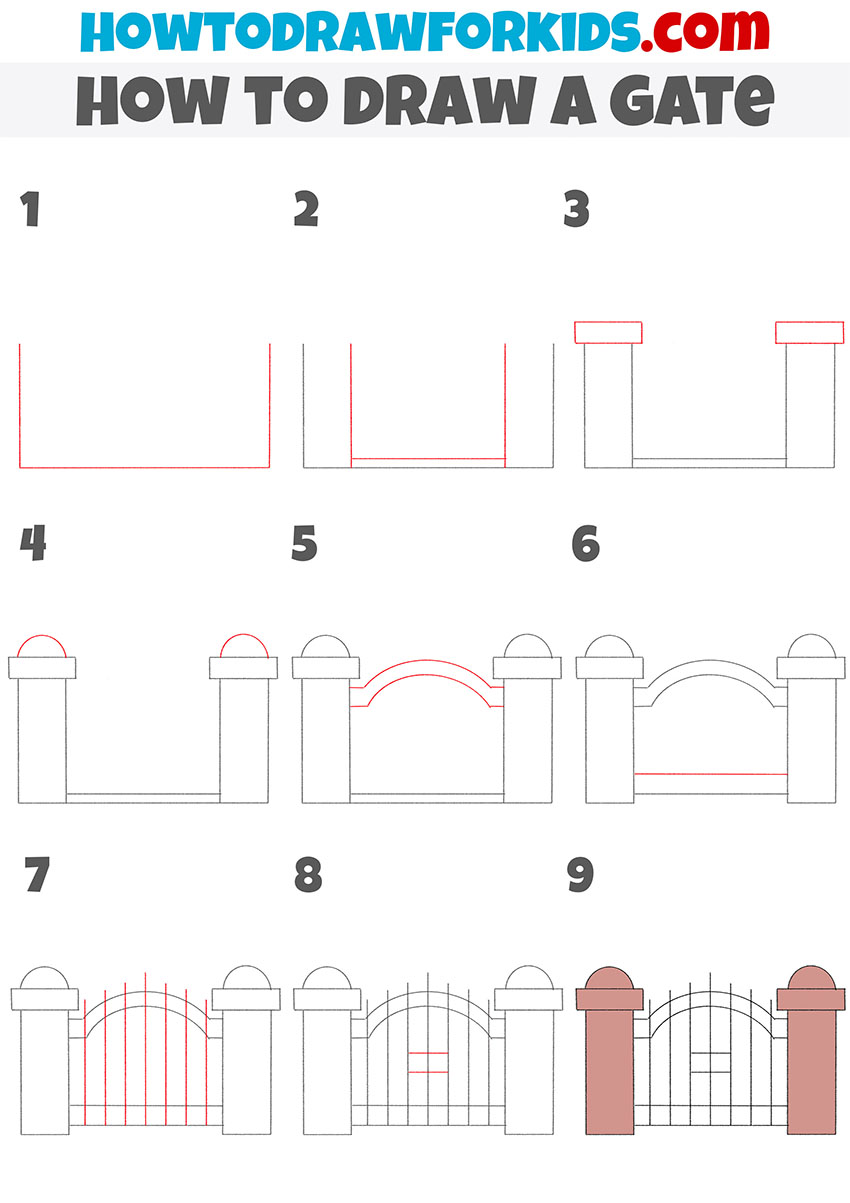
So, before you is a new interesting drawing lesson in which you will learn how to draw a gate step by step. This lesson will help train your ability to draw straight lines and observe symmetry. You can use the acquired skills in the future when you want to draw any city landscape where there is a gate.
Gates can have a different design, material of manufacture and method of opening. In this lesson, two wide pillars are depicted, on which gates made of strong metal rods are attached.
When completing the lesson, you can use any materials at hand, but it is advisable to draw all the lines yourself, as this will be a great workout for you. To paint the pillars, you can choose any color that you like best.
Materials
- Pencil
- Paper
- Eraser
- Coloring supplies
Time needed: 30 minutes
How to Draw a Gate
- Draw the bottom and side outline.
Depict one horizontal line and two vertical lines on the sides.

- Add the sides of the pillars and the bottom of the gate.
Draw two vertical lines and one connecting horizontal line between them.

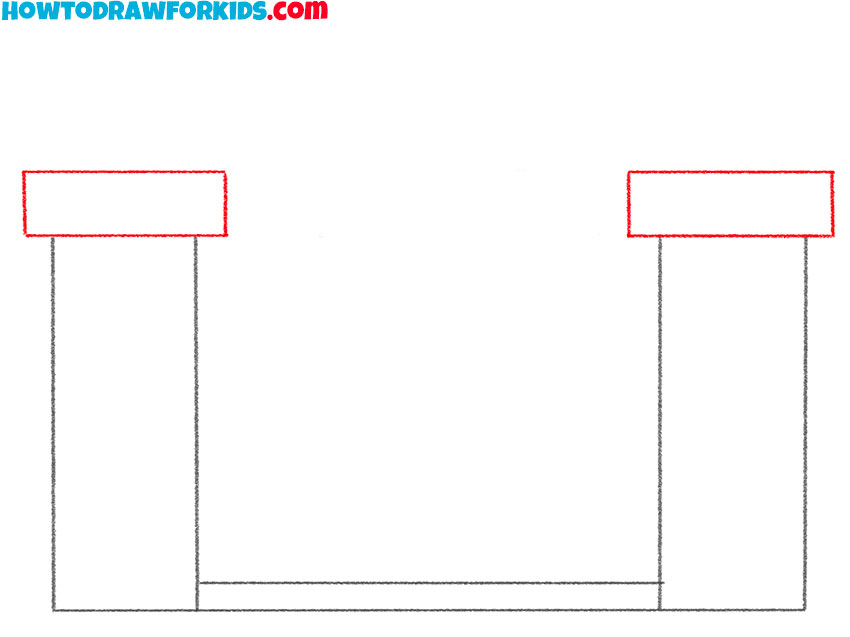
- Depict the top of the pillars.
Draw straight rectangles on each pillar.
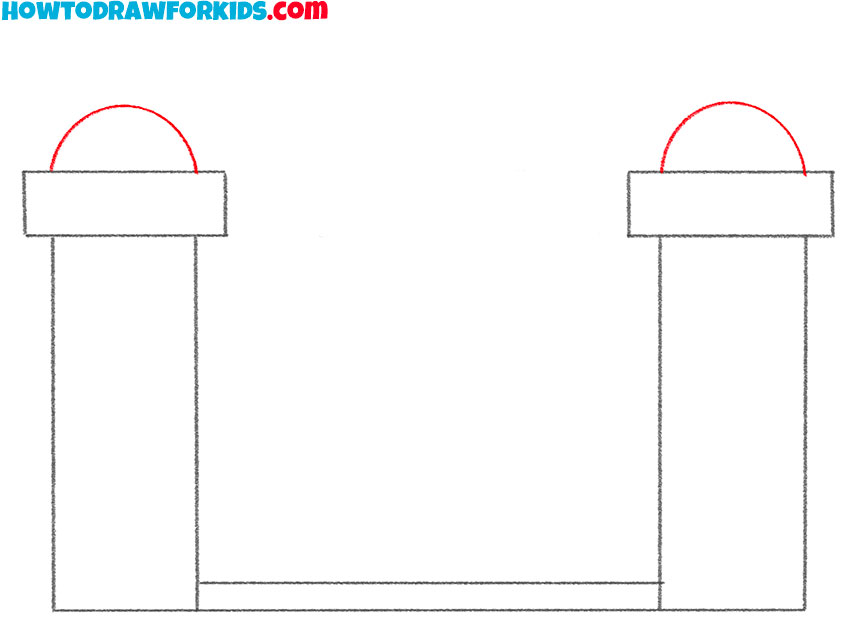
- Draw semicircular domes on the pillars.
Sketch out a smooth, rounded line at the top of each pillar.
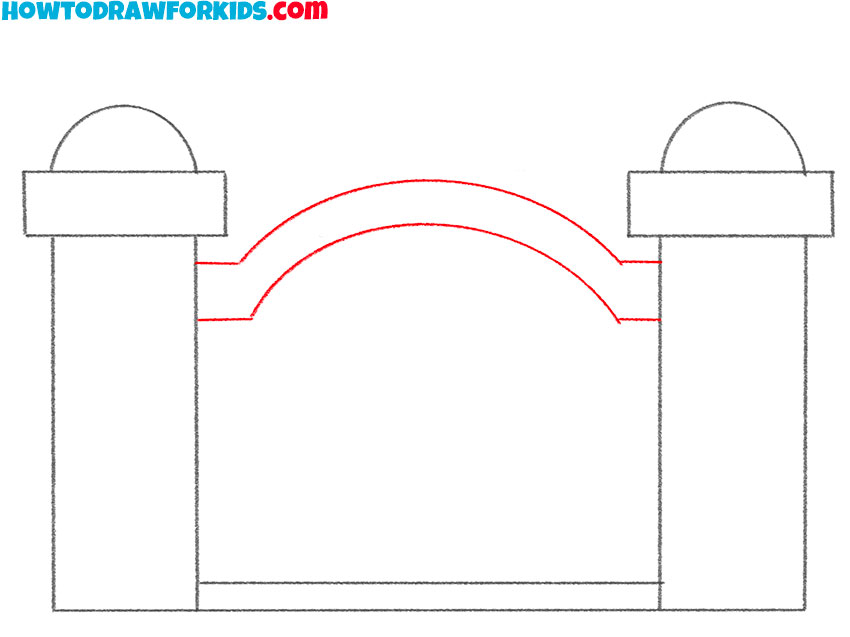
- Draw the top of the gate.
Depict two curly connecting lines between the posts.
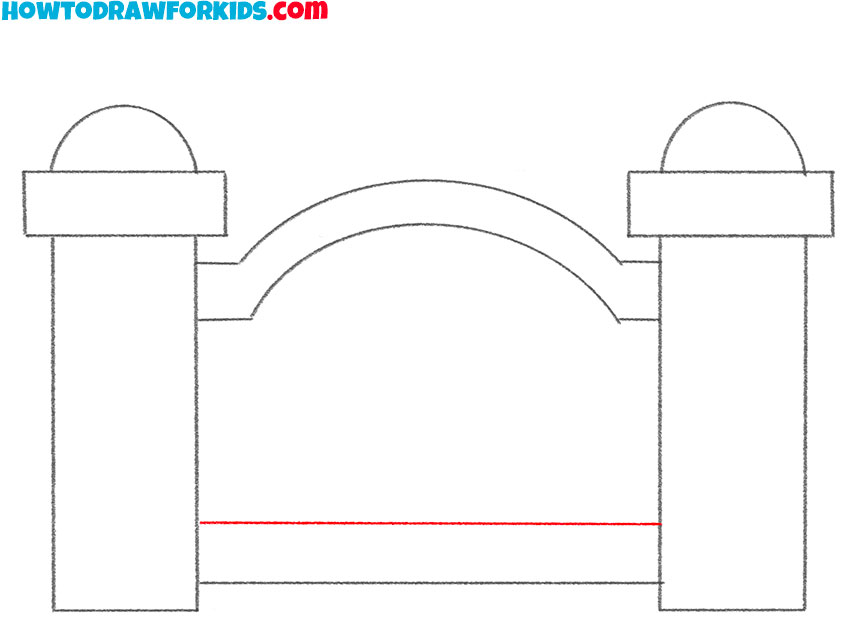
- Sketch out the bottom grid.
Add a straight horizontal line at the bottom.
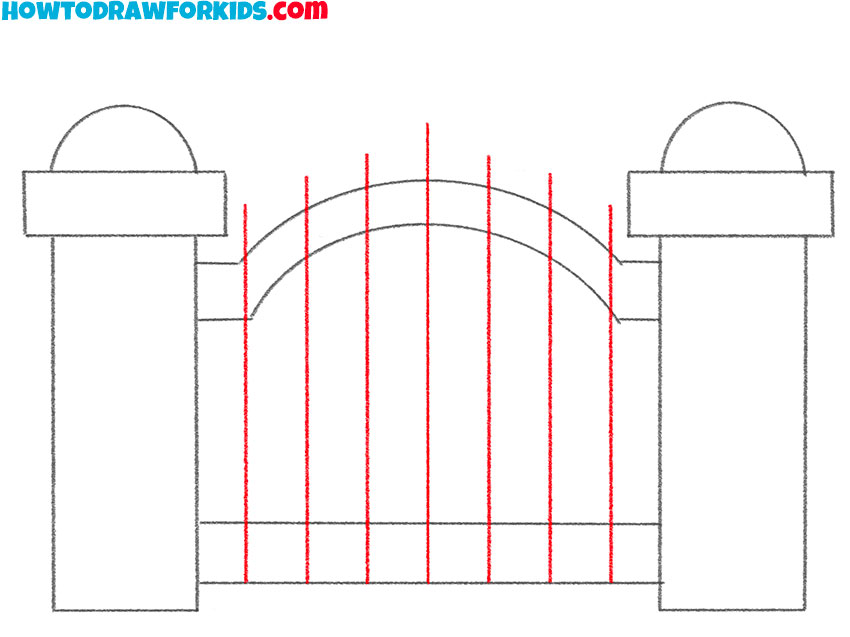
- Add the metal bars.
Sequentially draw vertical lines of different sizes.
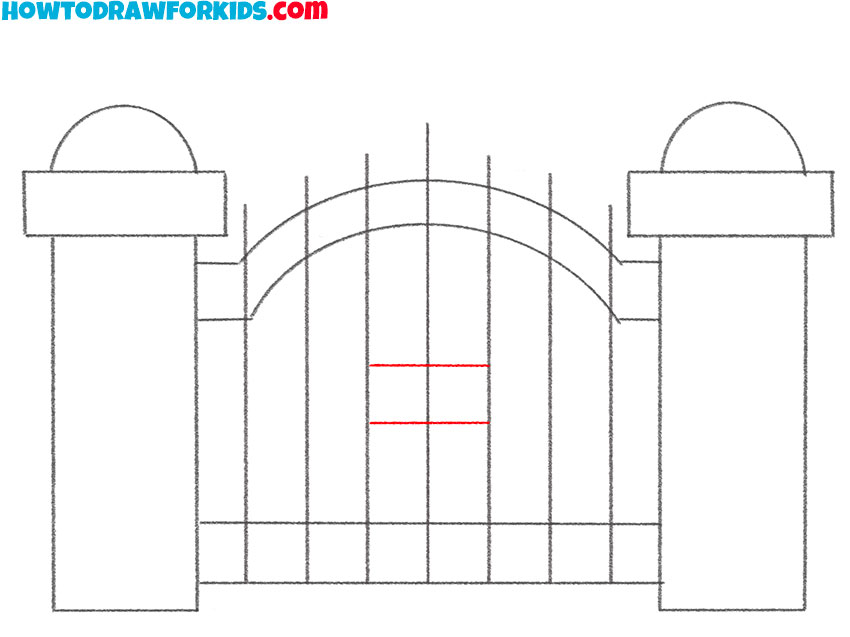
- Draw the middle part of the gate.
Depict two small horizontal lines in the middle.
- Color the drawing.
Use brown or any other color to paint the posts.

Finally, I suggest you download a short version of the lesson as a PDF file for free. This file contains a brief instruction and additional training materials, with which you can always complete the lesson even without access to the Internet.

