How to Draw a Goose
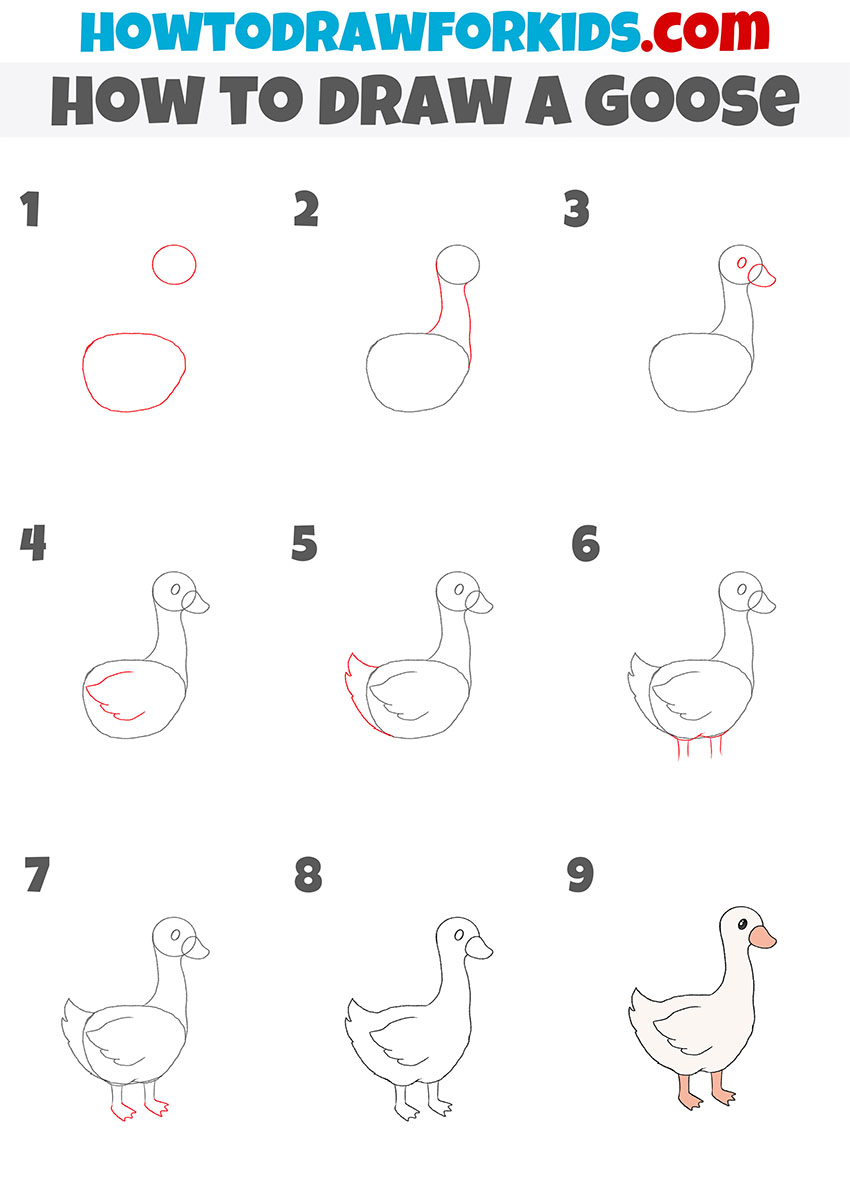
With this lesson you will learn how to draw a goose in nine easy steps. I am sure you will really like this guide.
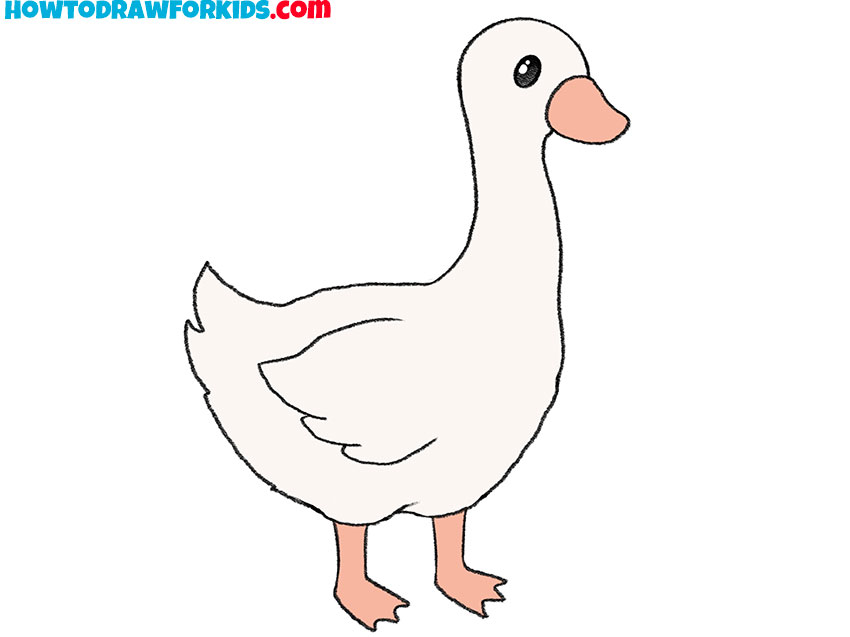
In this tutorial, I will show you how to draw a goose. I hope that the topic of wild and domestic waterfowl is of interest to you, and you will be happy to complete this lesson.
This step-by-step guide is designed specifically for beginner artists and will help you improve your creativity. Here you will see in detail how to draw a goose step by step. It will be easy. At each stage, use a small hint to achieve the best results.
In the picture, you see a domestic goose. The goose has a large beak, a long neck, and webbed paws. All elements are very simple and you can easily repeat them. Geese are white and gray. In your drawing, you can draw the goose white, or you can add small gray spots on the wings.
Materials
- Pencil
- Paper
- Eraser
- Coloring supplies
Time needed: 30 minutes
How to Draw a Goose
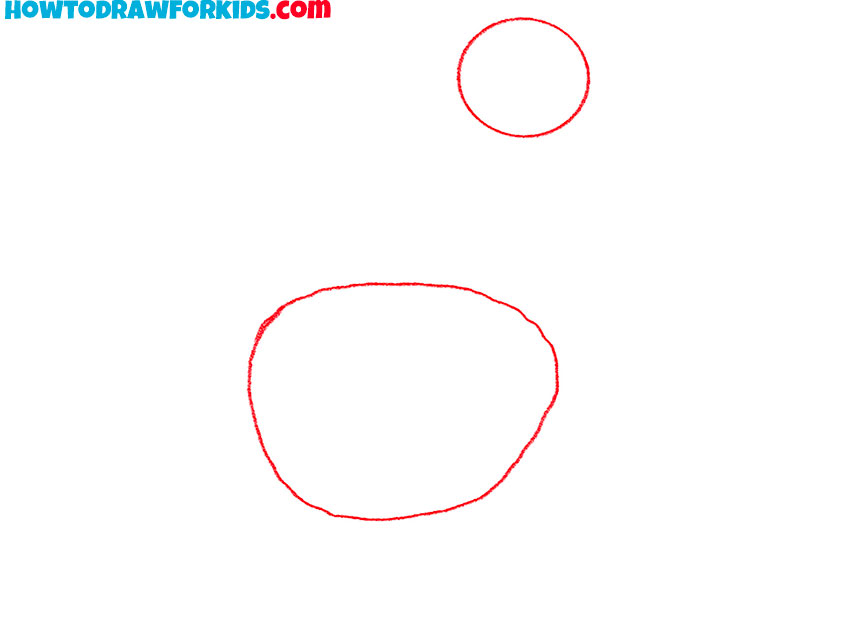
- Draw the head and torso.
Depict an even circle, then draw the torso at the bottom of the same shape as in the example.
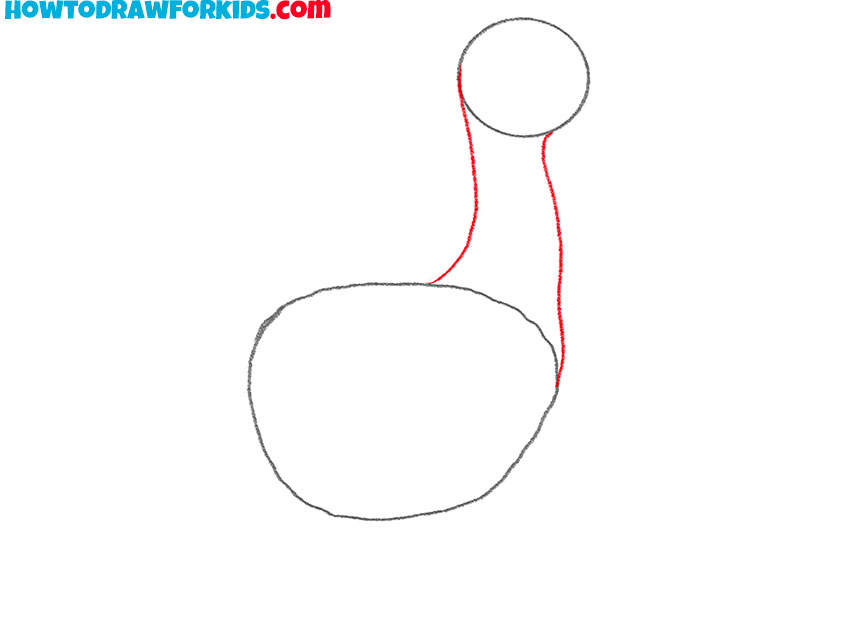
- Sketch out the neck.
Draw two smooth lines that connect the head and torso.
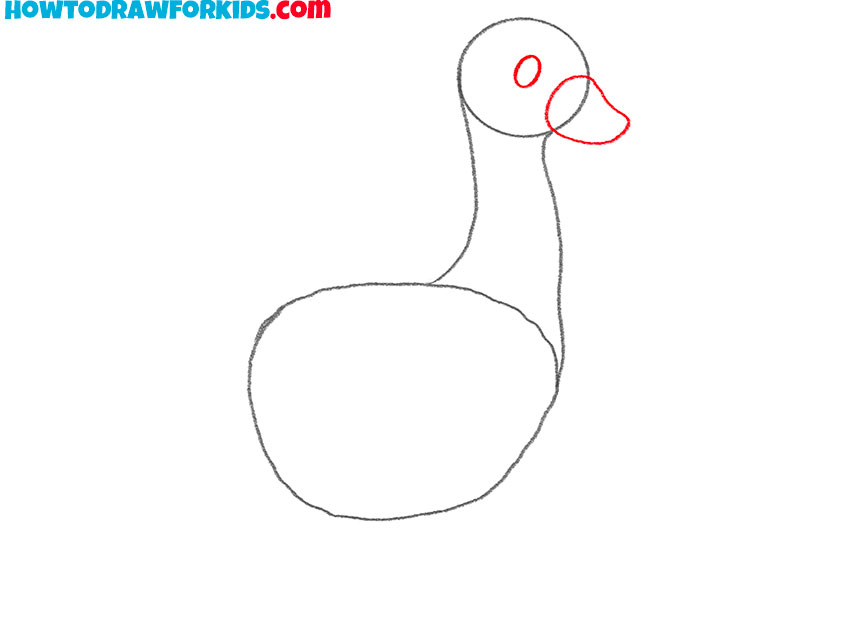
- Depict the beak and eye.
On the side of the head, draw the large beak and add the oval-shaped eye.
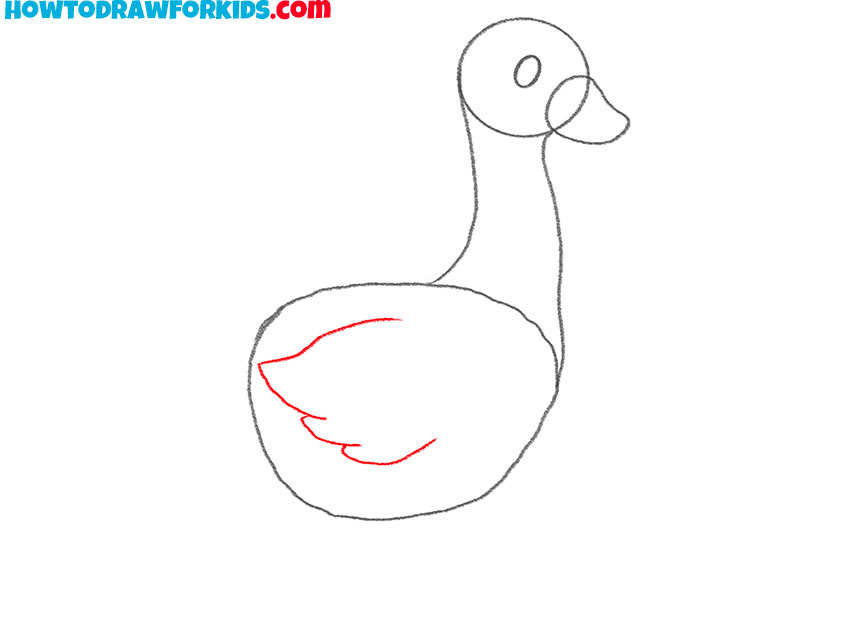
- Add the wing.
On the side of the torso, depict the wing using a few smooth lines.
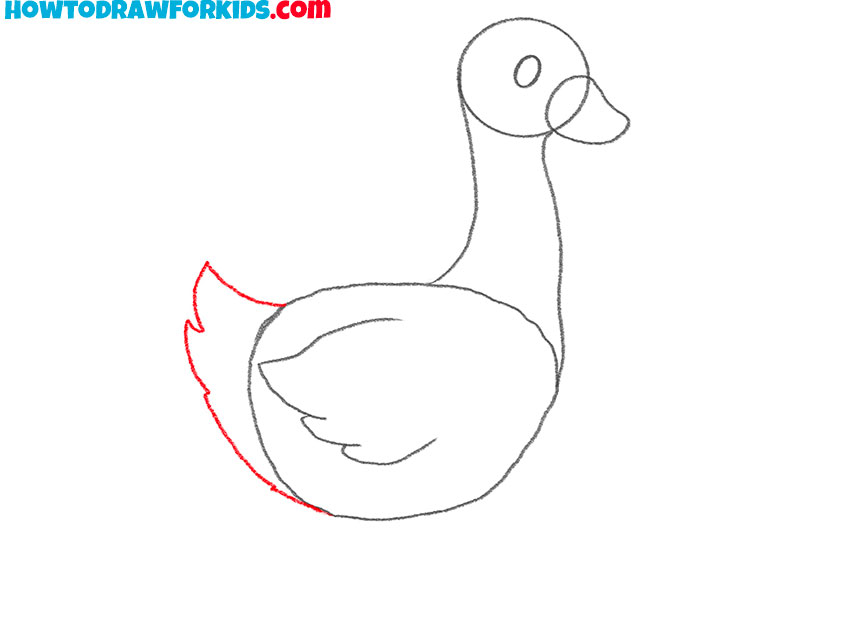
- Draw the tail.
With smooth lines, draw the tail, which has a pointed shape and is slightly raised up.
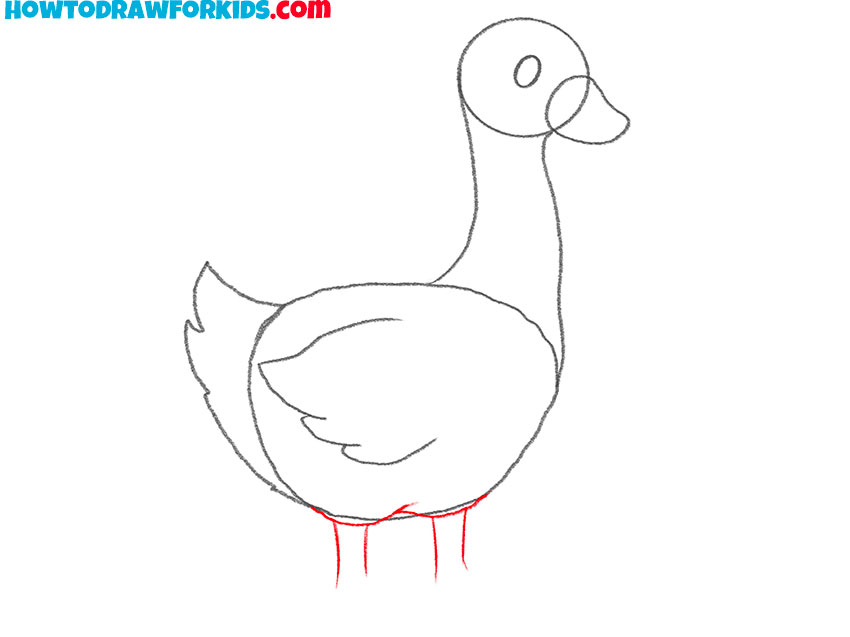
- Depict the paws.
At the bottom of the torso, draw two rounded lines and add four lines to depict the paws.
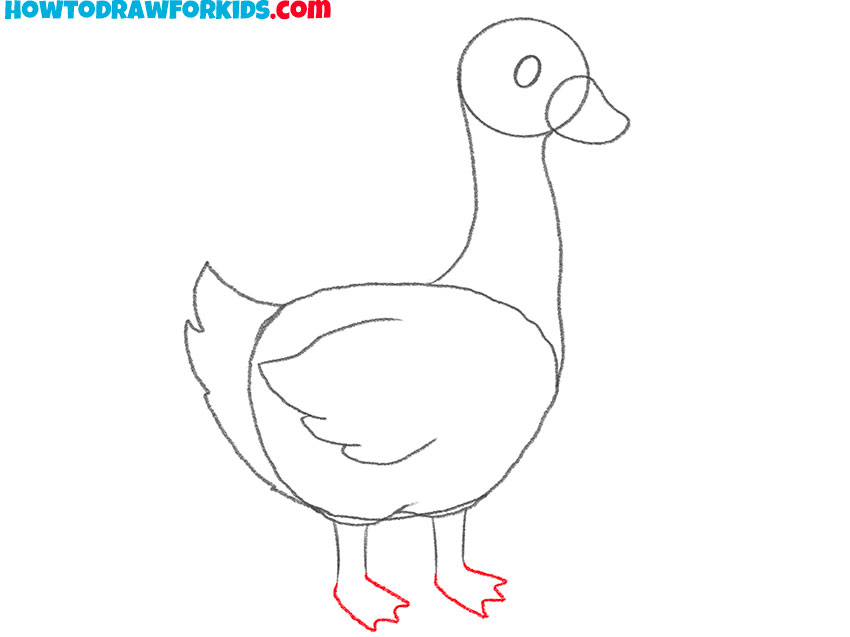
- Add the bottom of the paws.
Draw the bottom parts of the paws with webbed toes.
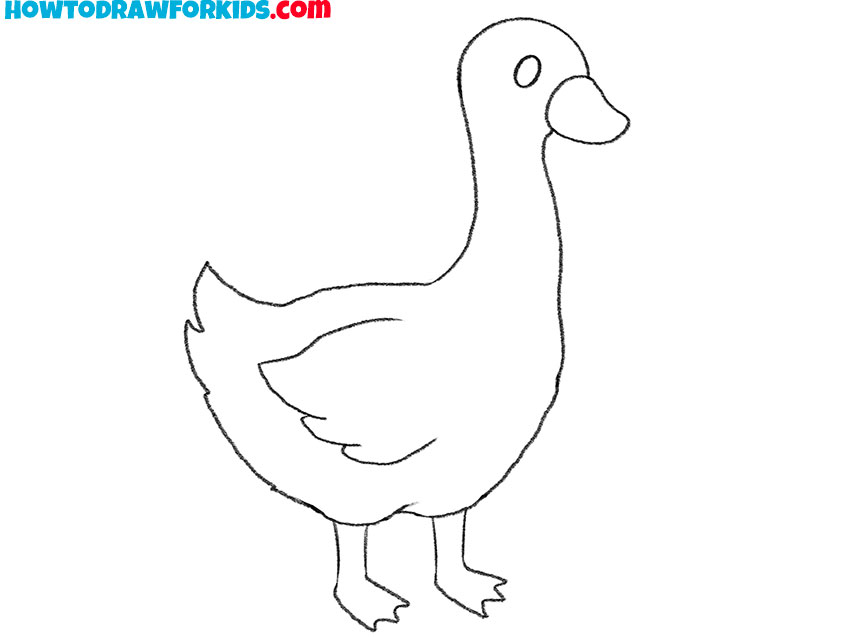
- Correct inaccuracies.
At this stage, delete all unnecessary lines and correct inaccuracies if necessary.
- Color the goose.
You will need pink, black, white or grey. Add highlights to the eyes.

There is a link at the end of the tutorial where you can download a PDF of the short version of the tutorial. This will help you return to the lesson at any convenient time.

