How to Draw a Honeycomb
In this lesson, you’ll use straight lines and hexagonal shapes to learn how to draw honeycombs in a simple and clear step-by-step way.

How to Draw a Honeycomb: Introduction
In this drawing lesson, you’ll learn how to draw a honeycomb using simple straight lines and repeating hexagonal shapes. This is a basic structure built from symmetrical elements. It is a useful exercise for improving your accuracy when drawing geometric forms. While the subject may seem simple at first glance, it gives you an excellent foundation for working with symmetry in other types of drawings.
Honeycomb cella are made up of repeating six-sided shapes – hexagons – that fit together without gaps. You can draw as many of them as you want, arranging them into neat rows and columns. The process involves repeating the same pattern.
The key thing to remember is that each cell has six equal sides and six equal angles. Every edge should be symmetrical to the one opposite it. This kind of drawing helps train your eye to spot uneven lines and fix them.
If you’re learning to draw things like crystals, patterns, or even architecture, this is a useful exercise. Start simple, keep your lines sharp, and pay attention to the angles.
Honeycomb Drawing Tutorial
Materials
- Pencil
- Paper
- Eraser
- Coloring supplies
Time needed: 30 minutes
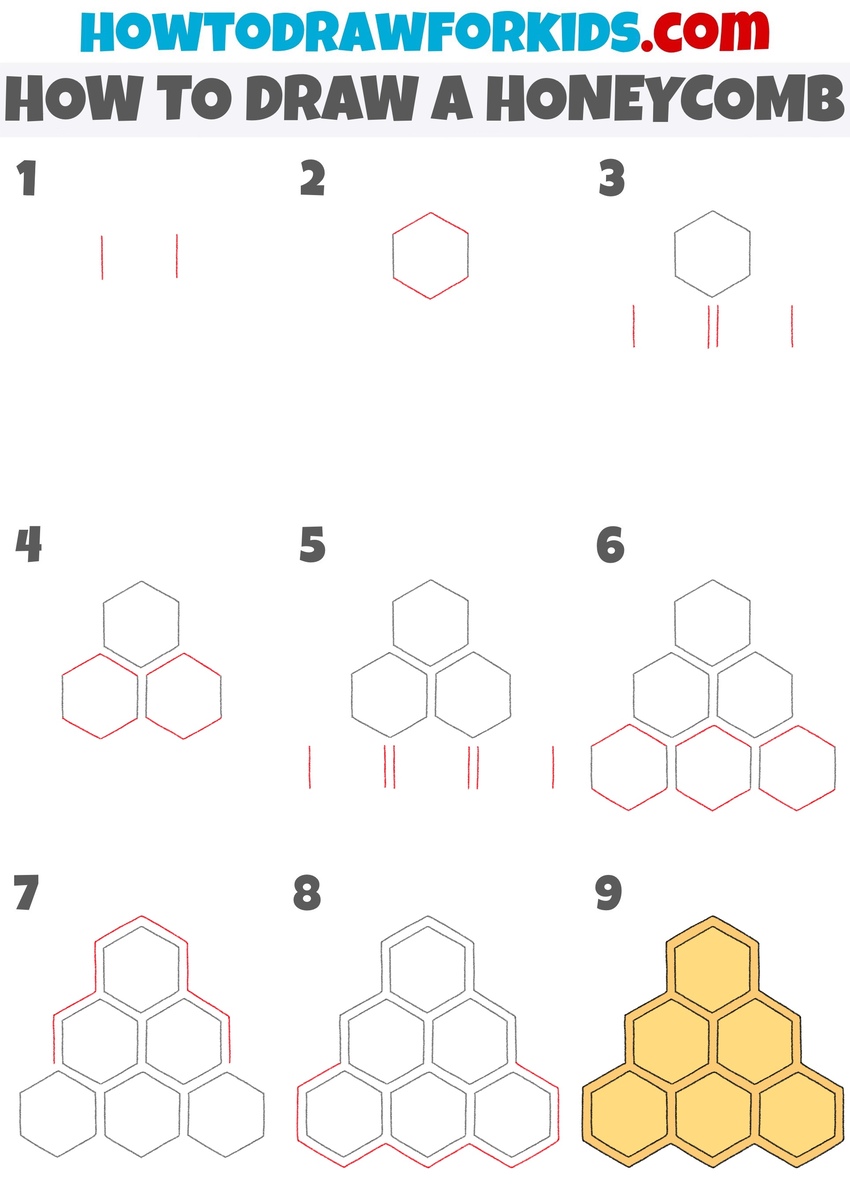
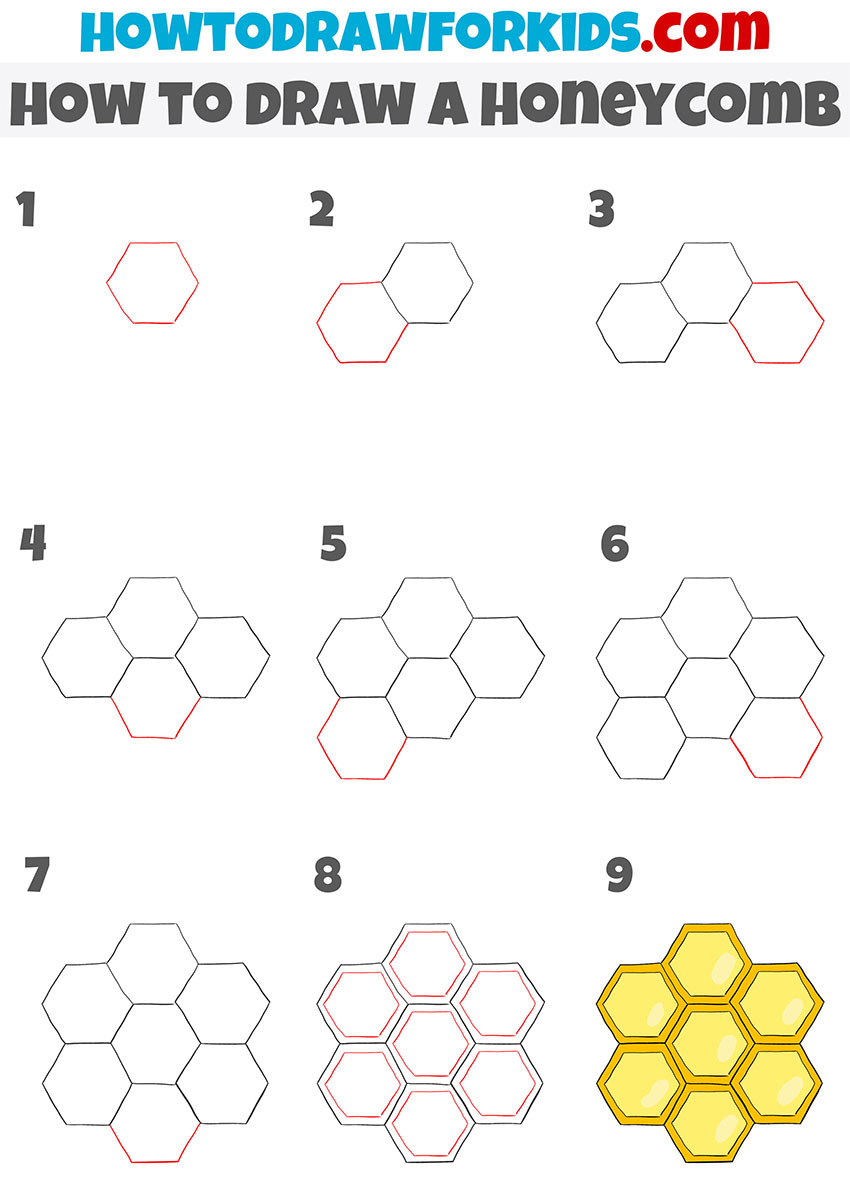
How to Draw a Honeycomb
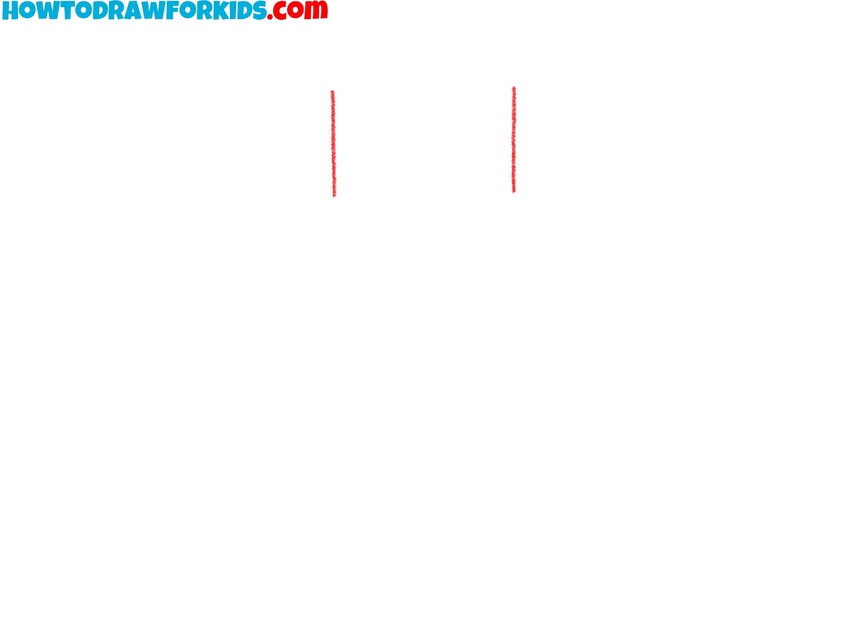
- Draw vertical guide lines.
Begin drawing a honeycomb by creating two vertical straight lines spaced a short distance apart. These lines will act as guides for the width and positioning of your first hexagon. Use light pressure since you may erase them later. Keep the lines as straight as possible, using a ruler if necessary.
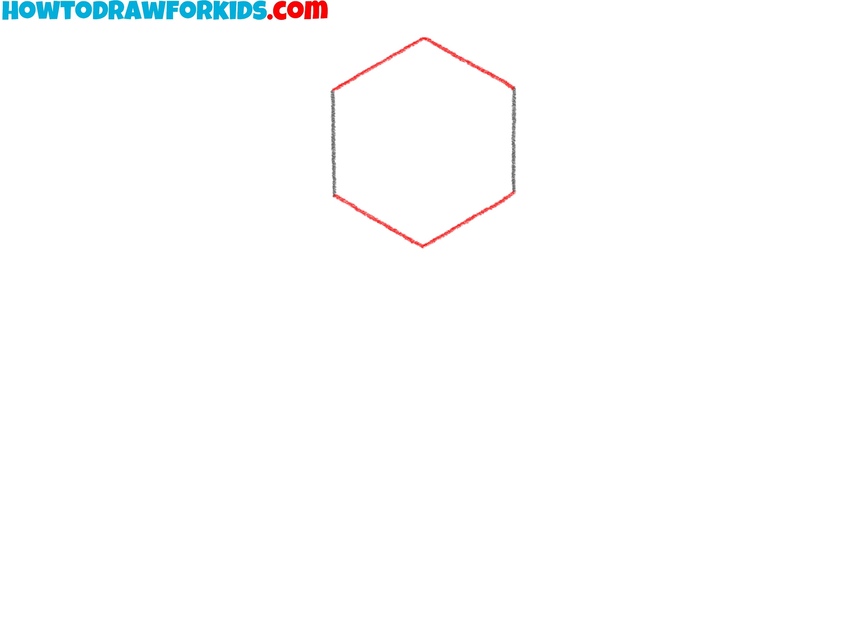
- Complete the first hexagon.
Using the two vertical lines as reference, draw a hexagon. A hexagon has six sides of equal length and six equal angles. To do this, draw even and symmetrical angles at the top and bottom. The hexagon should be centered between the guide lines and symmetrical on both sides.
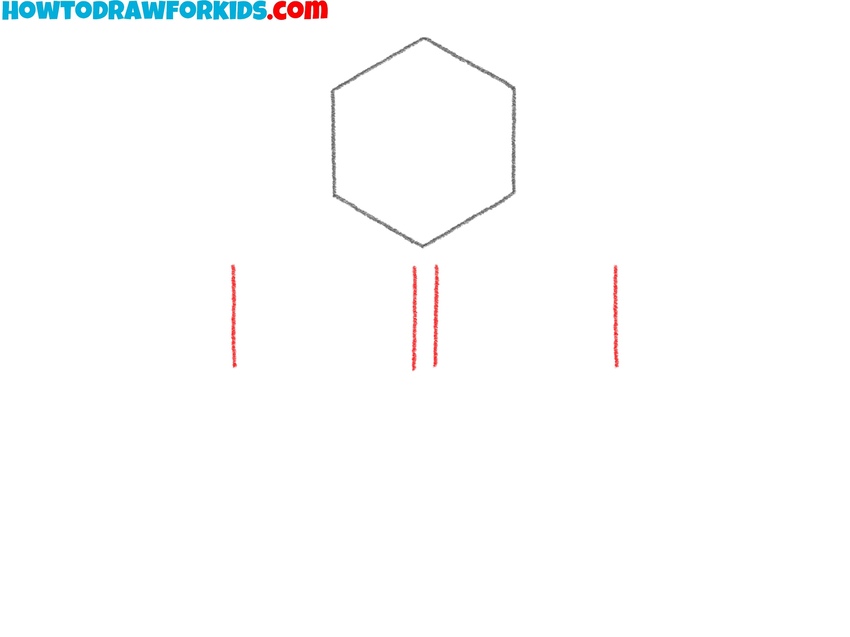
- Set guides for the next row.
Underneath the first hexagon, draw more vertical guide lines. These lines will help align the second row of hexagons with the one above. Place them directly below the vertical edges of the hexagon. If your previous hexagon was symmetrical, you should have no problem continuing the alignment down.
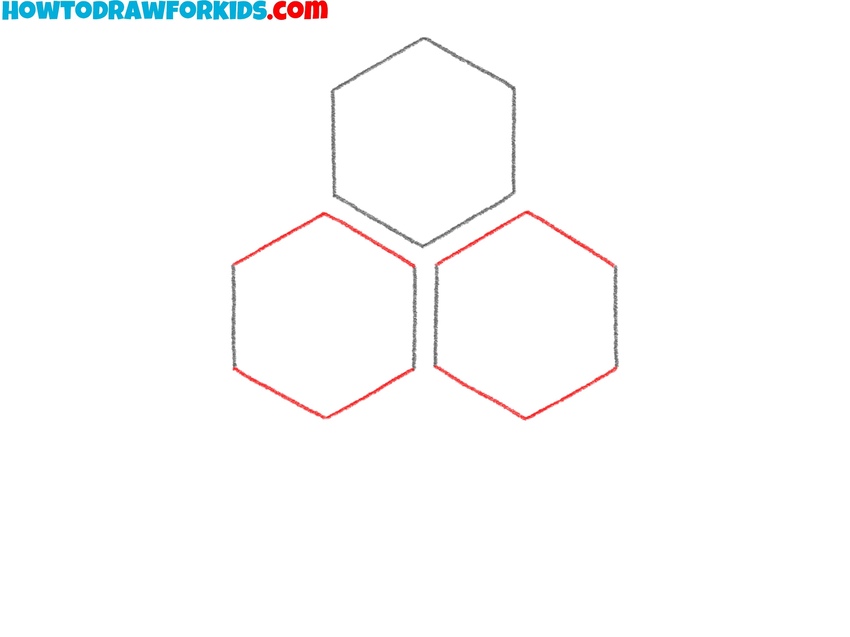
- Finish the second row.
Now finish drawing the hexagons underneath the first one, using the new guide lines to position them accurately. Make sure they match the top hexagon in size and shape. Align the edges carefully. At this point, you should have a triangle-like arrangement of three hexagons: one on top, and two below it.
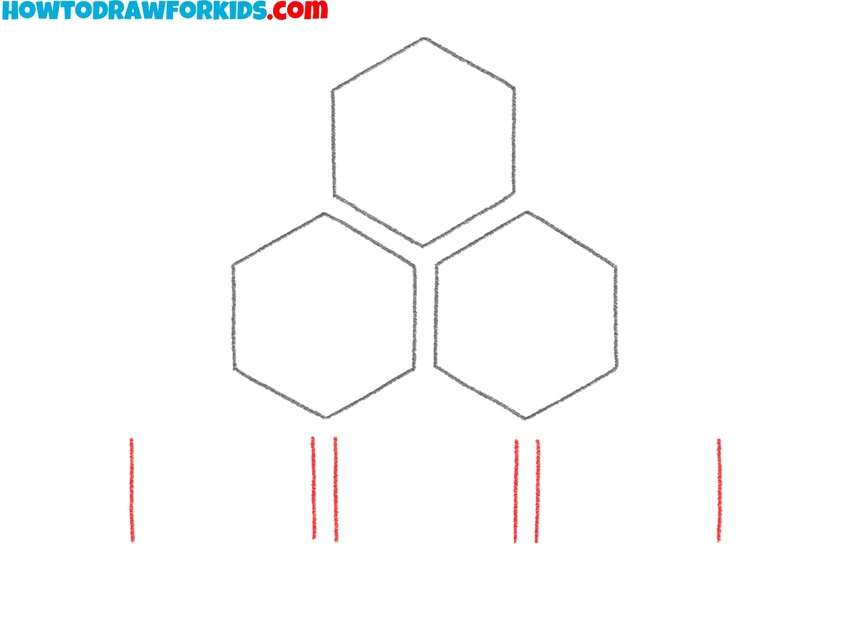
- Prepare guides for bottom row.
Draw a set of vertical lines beneath the bottom edges of your current hexagons to prepare for the next row. These lines mark the positions where the lower hexagons will be placed. It’s a repeat of the earlier technique, so use the same approach for measuring and spacing.
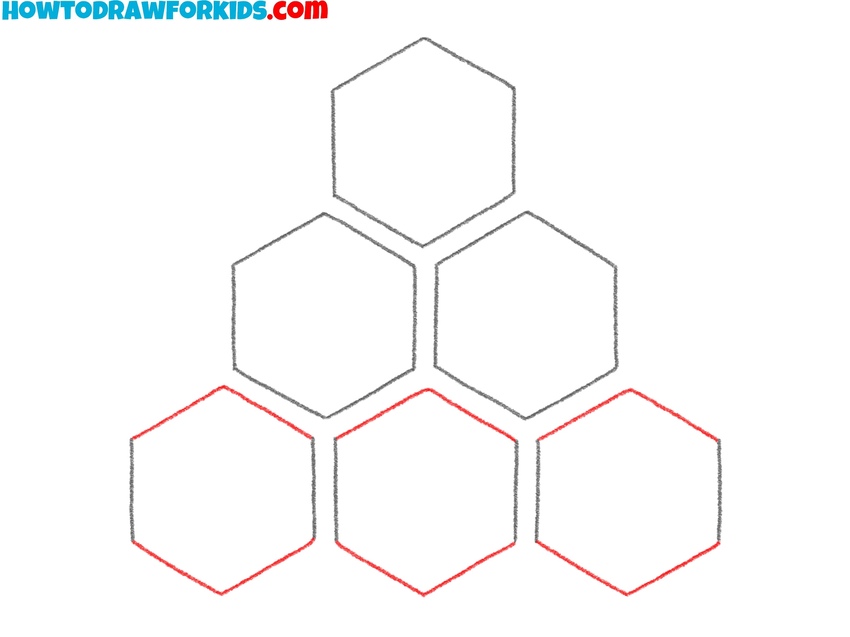
- Complete third row.
Using the new guides, finish these hexagons beneath the current row. They should nest perfectly under the existing shapes. These hexagons complete the base of your honeycomb triangle. Be careful with angles and spacing to maintain symmetry throughout.
- Frame the top hexagons.
Next, begin outlining the honeycomb’s outer border by drawing new angular edges. These won’t be full hexagons, just partial ones to illustrate the continuation of the pattern. Align the outer edges with the existing shapes. These lines help frame the structure and make the honeycomb appear more complete.

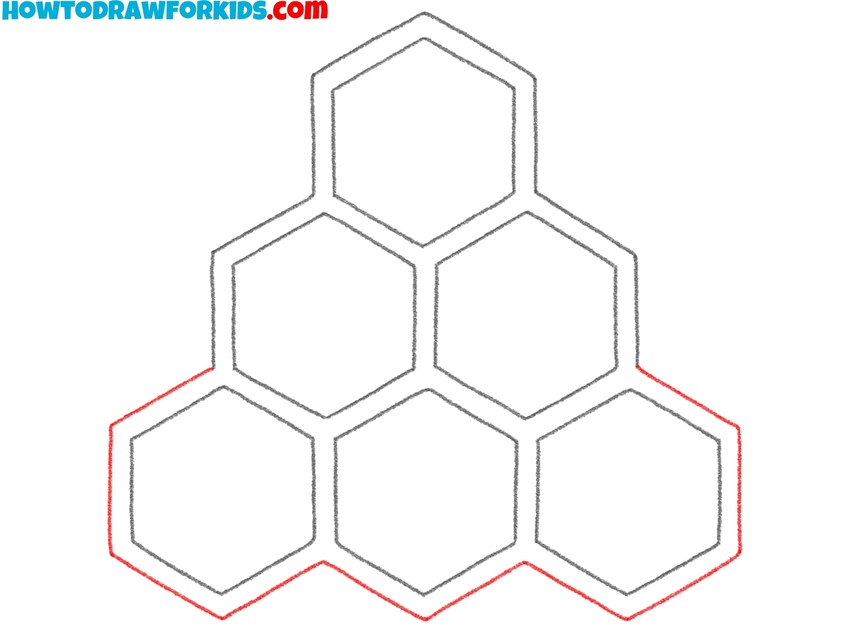
- Close the honeycomb frame.
Now complete the rest of the border by drawing the missing parts of the partial hexagons around the sides and bottom. These edge shapes should match the others in angle and spacing. You should now have a full, triangular layout of complete and partial hexagons.
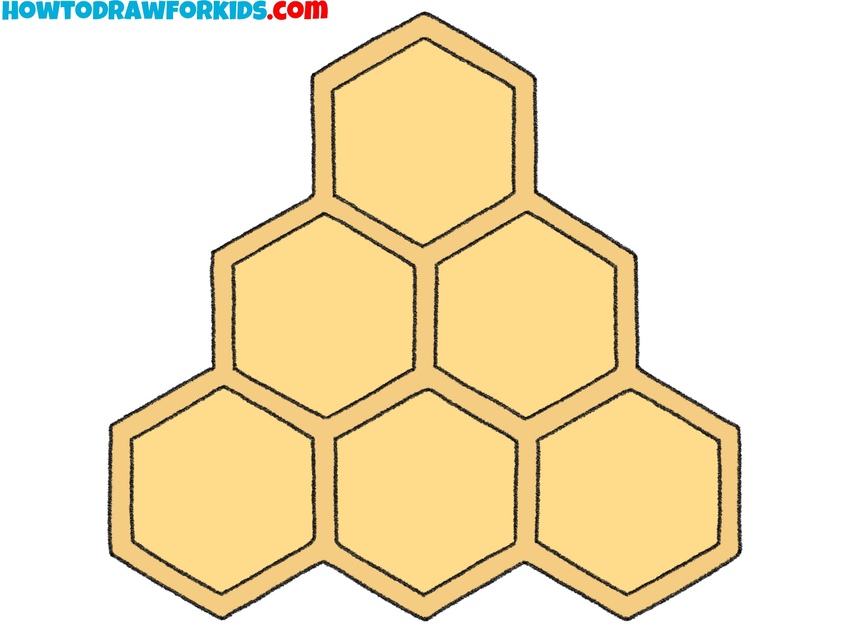
- Color the honeycomb drawing.
In the final step, fill the hexagons with a golden-yellow color to complete the honeycomb drawing. Use a consistent tone for each cell to maintain the uniformity of the pattern. You can also outline the hexagons in a darker color like brown to give them a realistic look.
Simple Honeycomb Drawing Tutorial
This honeycomb drawing method focuses on a center-out structure instead of a triangle formation. It builds the honeycomb evenly in all directions. Unlike the previous tutorial, this one doesn’t use any initial guidelines.
To follow this tutorial on how to draw a honeycomb, begin by sketching a single hexagon in the center of your sheet. Then add a second hexagon beside it, sharing one edge. Continue adding more hexagons, each time connecting them by one full side to maintain the pattern. Build out the row to three hexagons, then start the second layer by attaching cells above and below the gaps.
Repeat the process, connecting six full hexagons in a circular cluster around the center one. When the full structure is complete, outline each cell with a second inner border to add thickness and dimension. Color the shapes using light and dark yellow to create a finished honeycomb look.
Conclusion
Now that you’ve learned how to draw a honeycomb using both methods, you can choose the layout that works best for your drawing. The first method builds a triangle-shaped structure, while the second one forms a full cluster – both help develop your skills in drawing symmetrical shapes. Use these techniques not only for honeycombs but also whenever you need to draw patterns, tiles, or any geometric figures.
If you want to keep practicing, I recommend trying my bee drawing tutorial. It’s a perfect addition to your honeycomb drawing and helps connect everything into one complete scene. Also don’t forget to visit other drawing lessons on my site, share your results, and follow along on social media so you don’t miss any updates.