How to Draw a Jeepney
I have prepared a lesson for you in which you will learn how to draw a jeepney. This lesson will be very helpful for you.
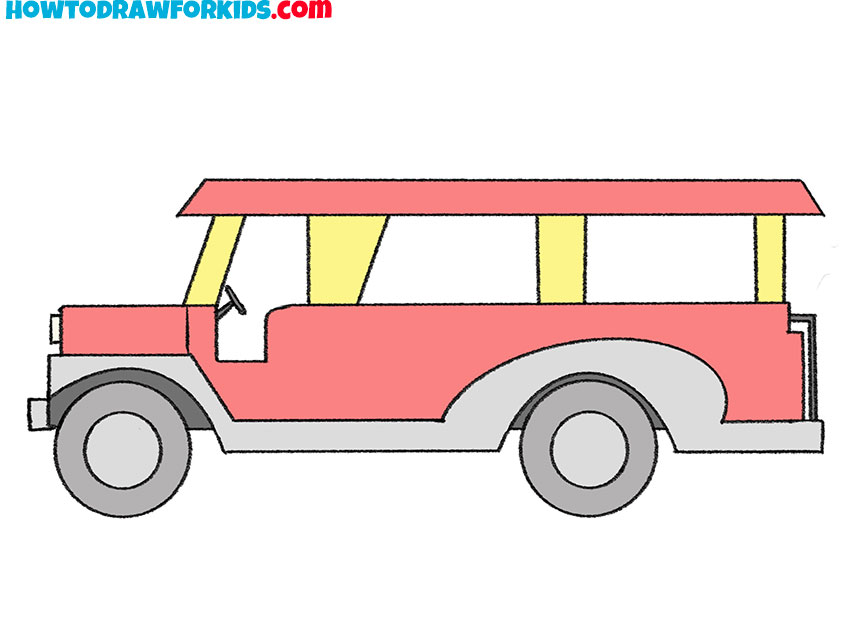
If you are interested in learning how to draw a jeepney step by step, then this lesson will definitely help you! Jeepneys are a type of public transport and fixed-route taxi in the Philippines. These cars always have a different design and look very unusual.
The jeepney is more of an original tourist attraction than a truly comfortable vehicle. By following this step-by-step jeepney drawing lesson, you will have a great practice in drawing straight lines.
If you want to start doing this work right now, then prepare all the necessary art materials and carefully follow my instructions.
Materials
- Pencil
- Paper
- Eraser
- Coloring supplies
Time needed: 30 minutes
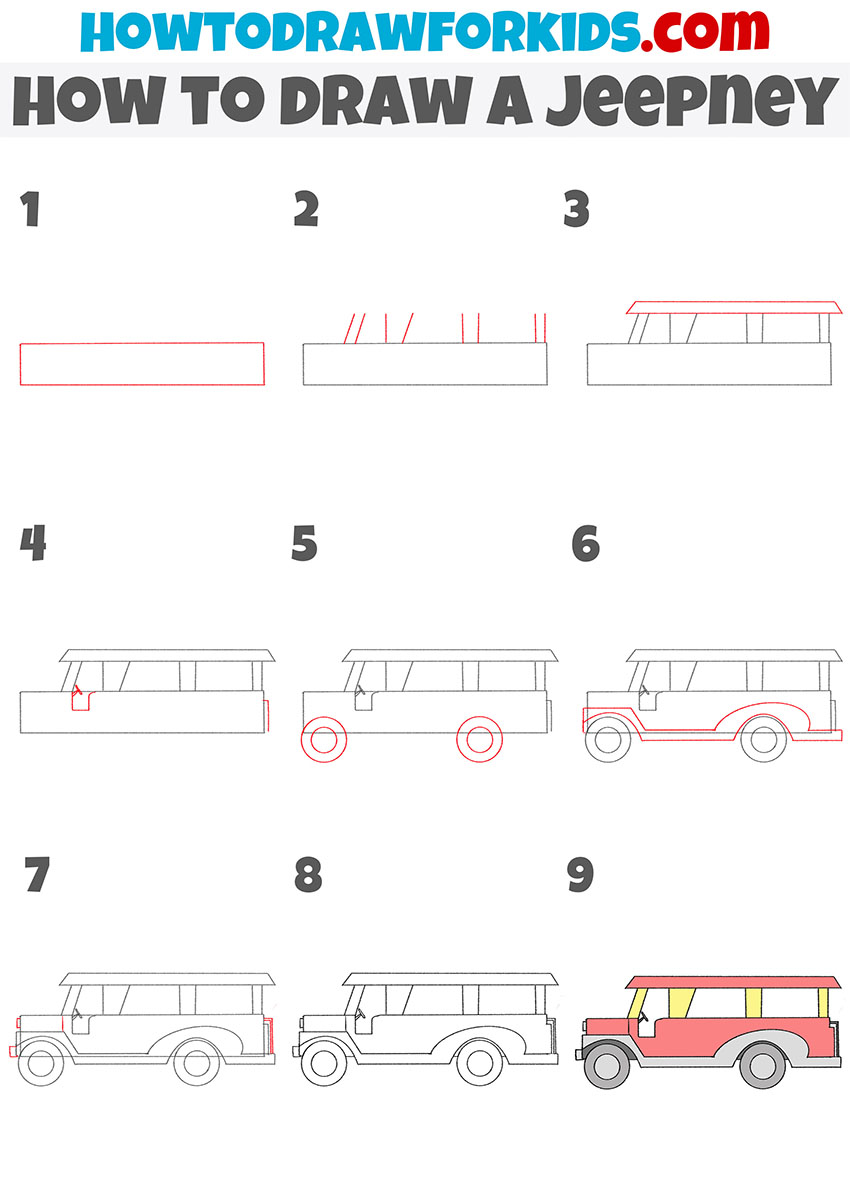
How to Draw a Jeepney
- Draw the main part of the jeepney.
To complete this simple step, you need to depict one large rectangle.

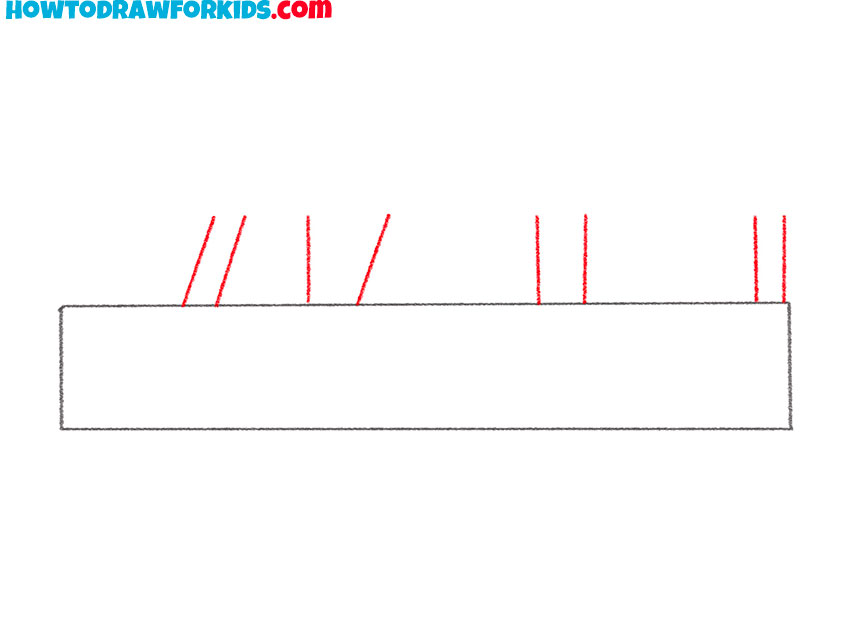
- Start drawing the top of the jeepney.
Above the previously drawn rectangle, add some straight lines.
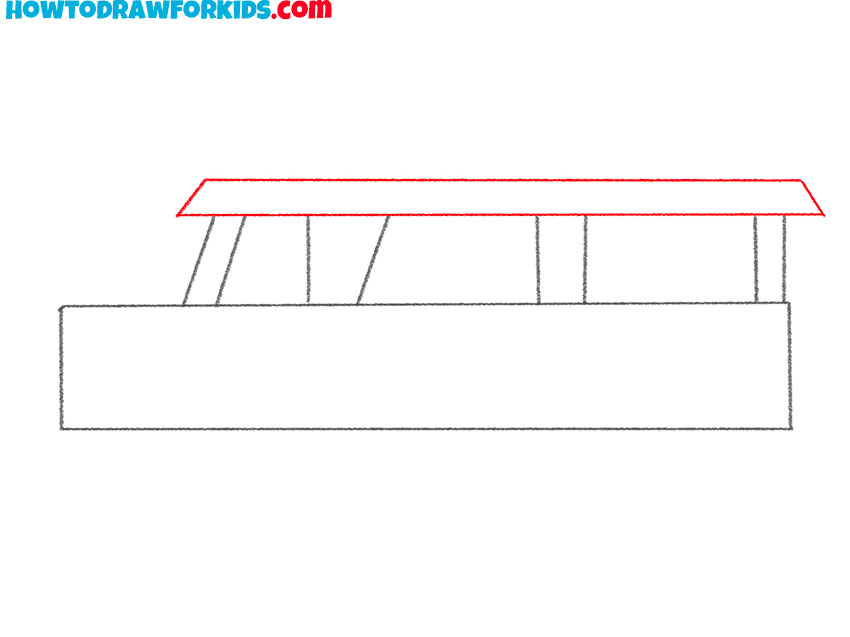
- Depict the roof of the jeepney.
Above the previously drawn lines, draw a trapezoid with long bases.
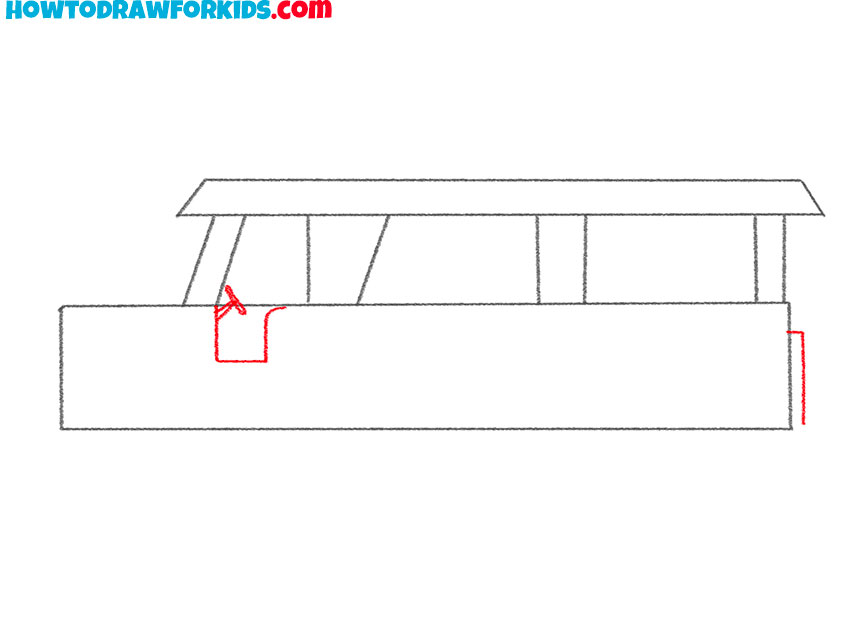
- Add the driver’s cab and the back element.
Depict the steering wheel and sat inside the jeepney. Add two straight lines on the back.
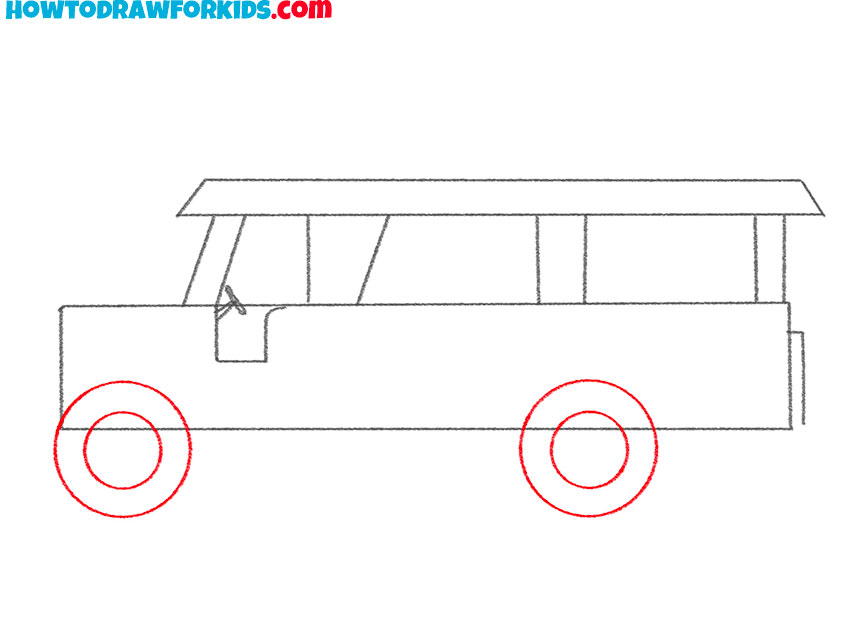
- Sketch out the wheels.
Draw two identical large circles and two small circles inside them.
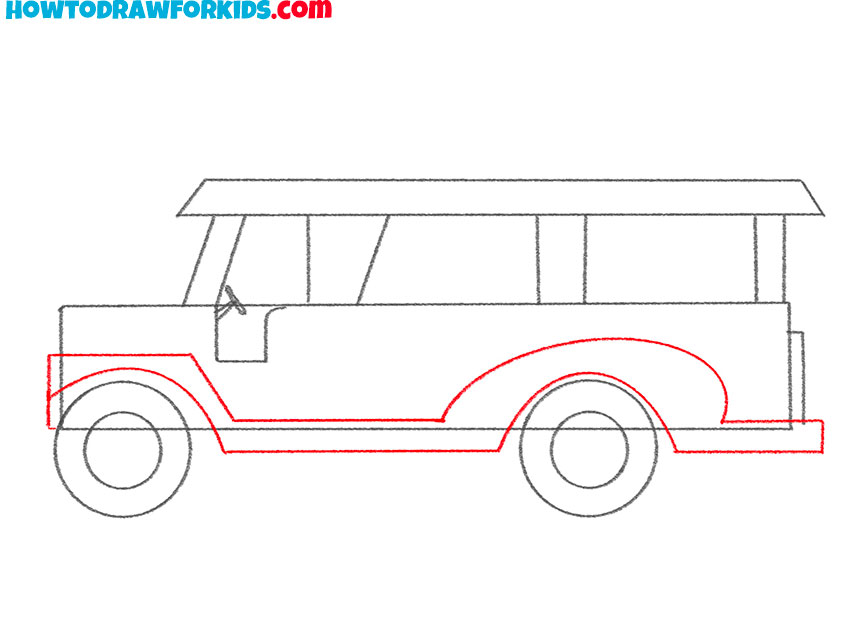
- Add the frame at the bottom of the jeepney.
Depict arcs, straight lines and curved lines to the bottom of the jeepney.
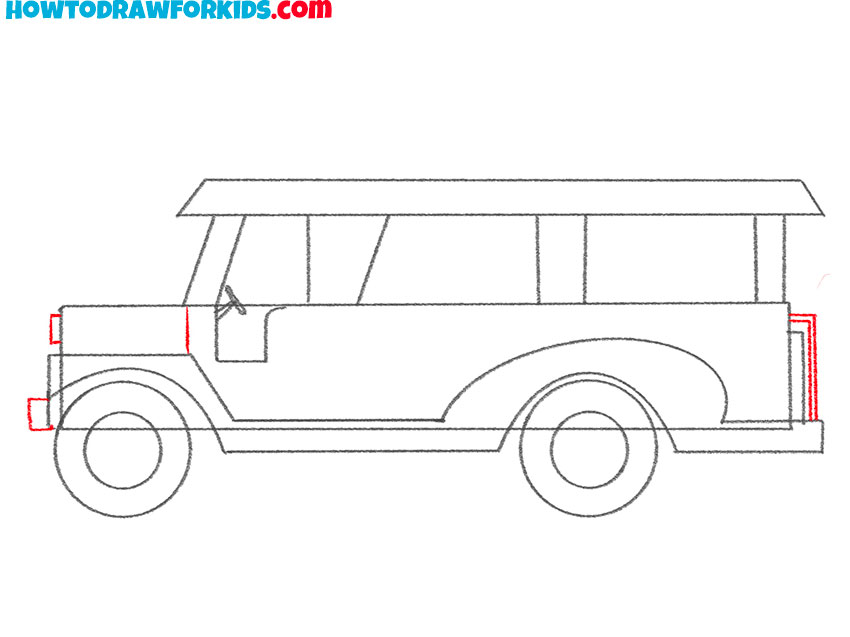
- Add details.
At the front and back of the jeepney, add some straight lines of varying lengths.
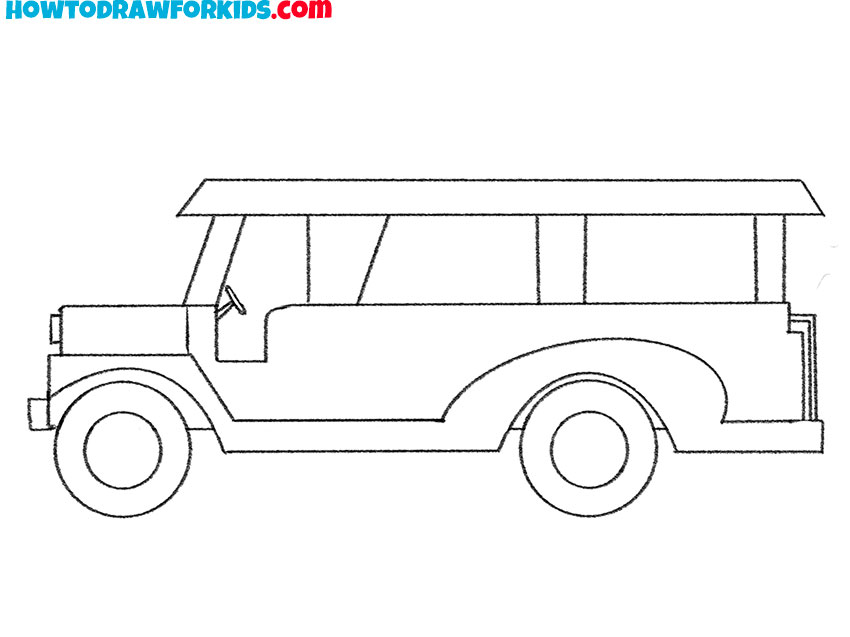
- Correct inaccuracies.
Use the eraser to remove all unnecessary guidelines.
- Color the Jeepney.
To color this jeepney, use red, yellow and different shades of gray.

I have prepared specifically for your convenience, so that you can return to this lesson at any time convenient for you. Download this file and enjoy drawing!

