

How to Draw a Wheelchair
This step by step tutorial shows in detail how to draw a wheelchair. With simple instructions, get useful skills.
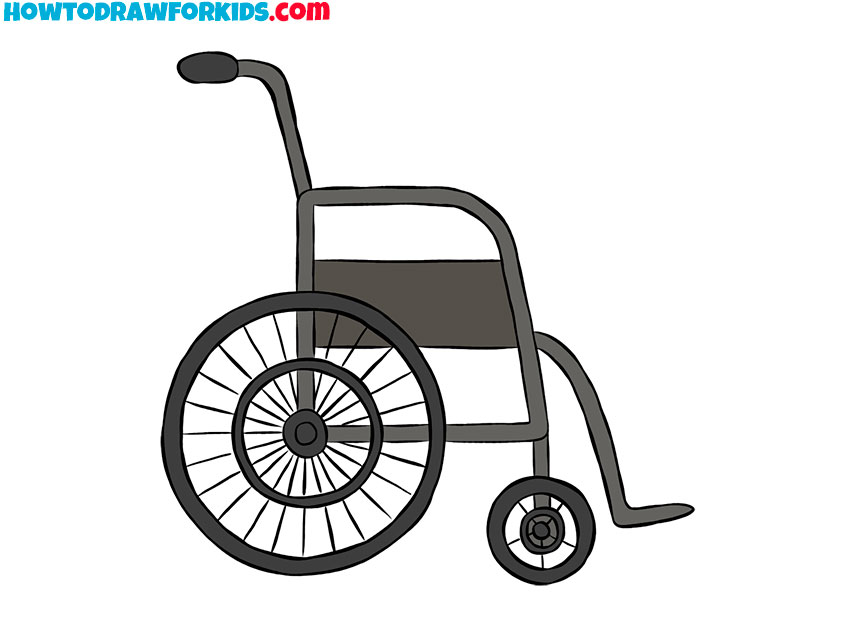
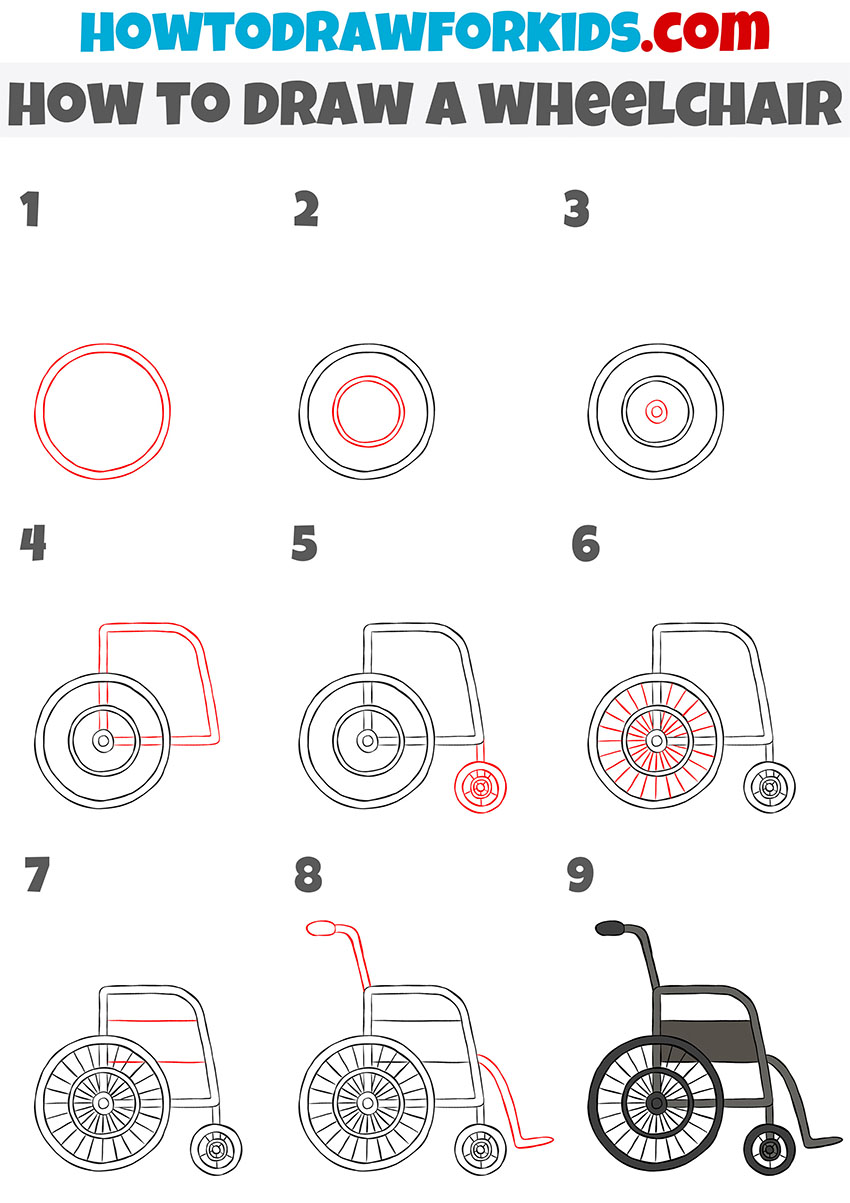
In this tutorial, I will show you how to draw a wheelchair. This lesson will help you develop your drawing skills, and once again train your ability to draw even straight lines and circles.
A wheelchair is a means of transportation for people with limited physical abilities. This chair has a seat, backrest, footrest, large wheels on the sides, and handles for transporting the chair.
Some people use such a chair almost all their lives or for some time when they are recovering from an illness. Very often, a wheelchair is used by older people who have serious diseases of the musculoskeletal system.
Wheelchair Drawing Tutorial
Materials
- Pencil
- Paper
- Eraser
- Coloring supplies
Time needed: 25 minutes
How to Draw a Wheelchair
- Draw the outer outline of the wheel.
Depict two even circles of different diameters.

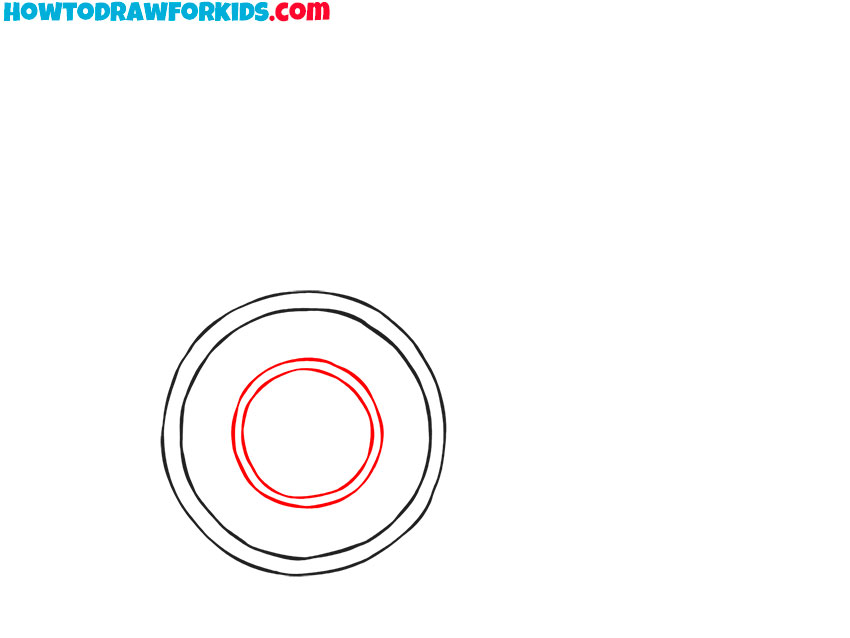
- Add the inner outline of the wheel.
Draw two more small circles around the center of the wheel.
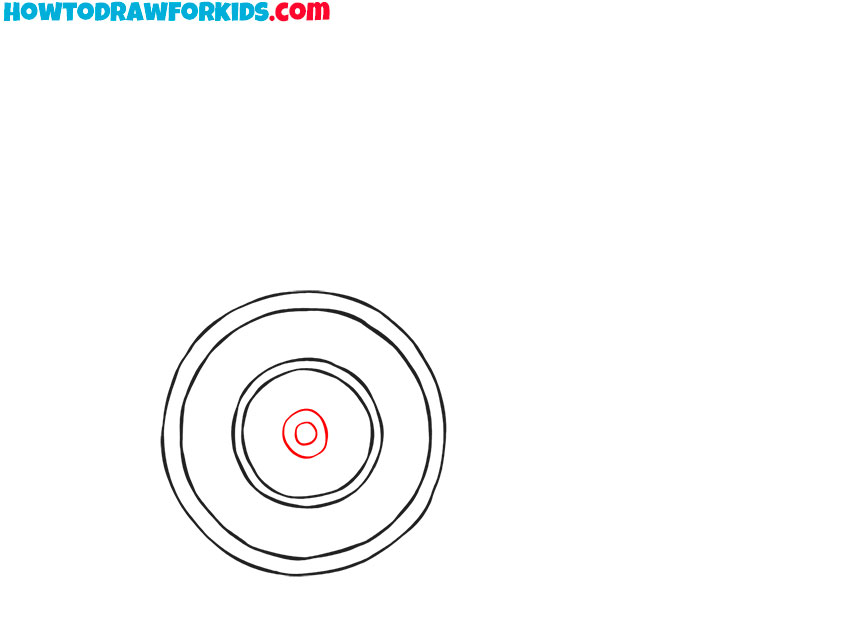
- Sketch out the center of the wheel.
Draw two even circles of small diameter.
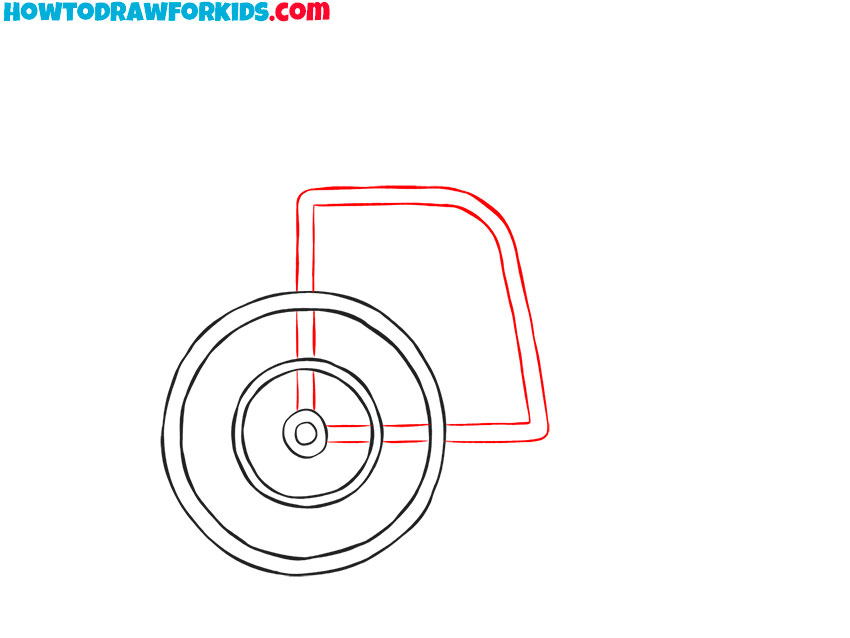
- Depict the frame of the chair.
Draw the top and bottom frame of the chair and the handle.
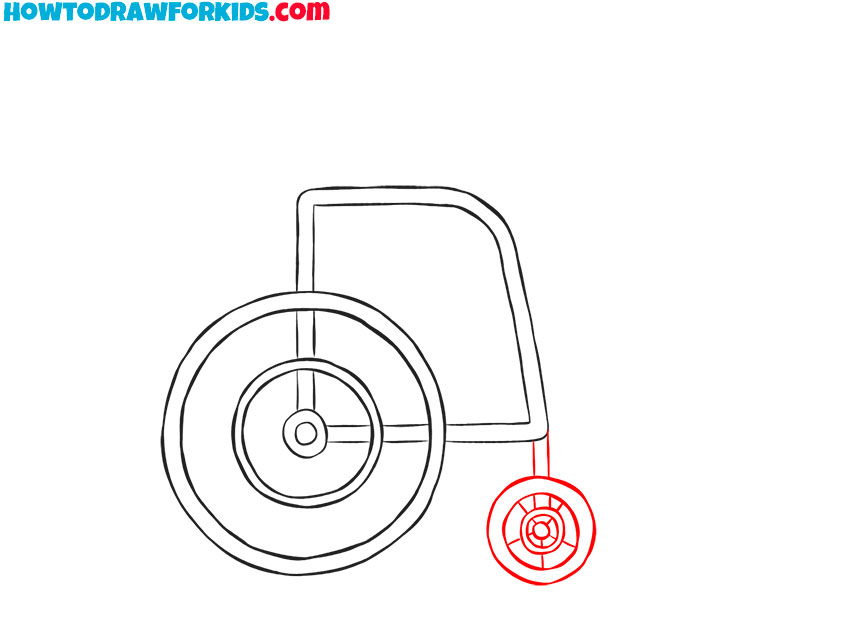
- Add an additional wheel.
Sketch out two straight lines down from the chair frame and add the small wheel.
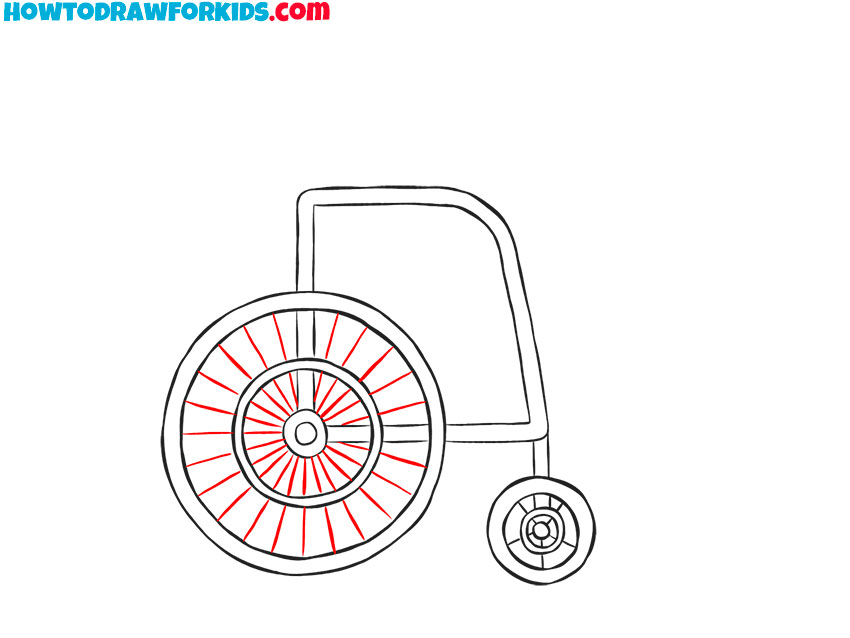
- Draw the spokes on the wheel.
Consistently draw straight lines that pass through the center of the large wheel.
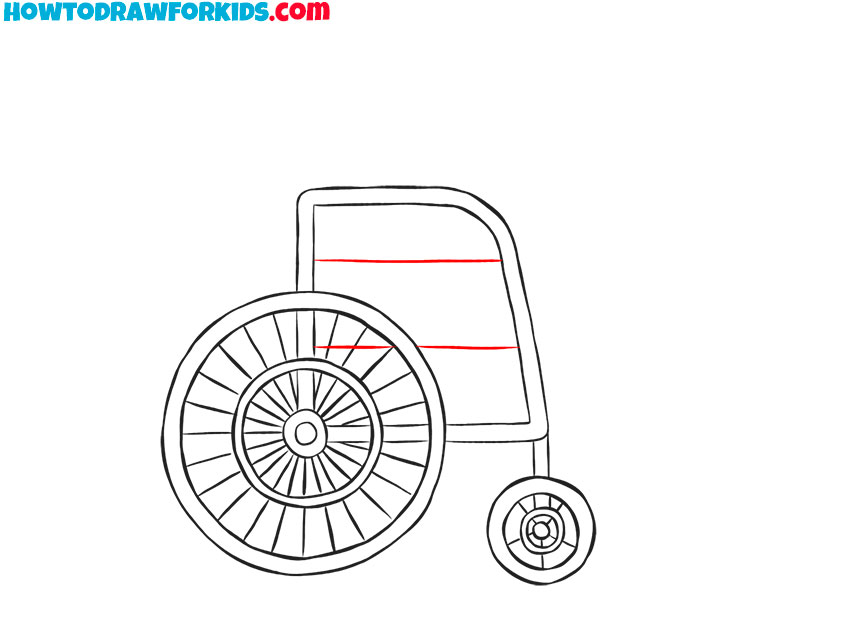
- Sketch out the cross bars.
Draw two horizontal lines on the side of the chair.
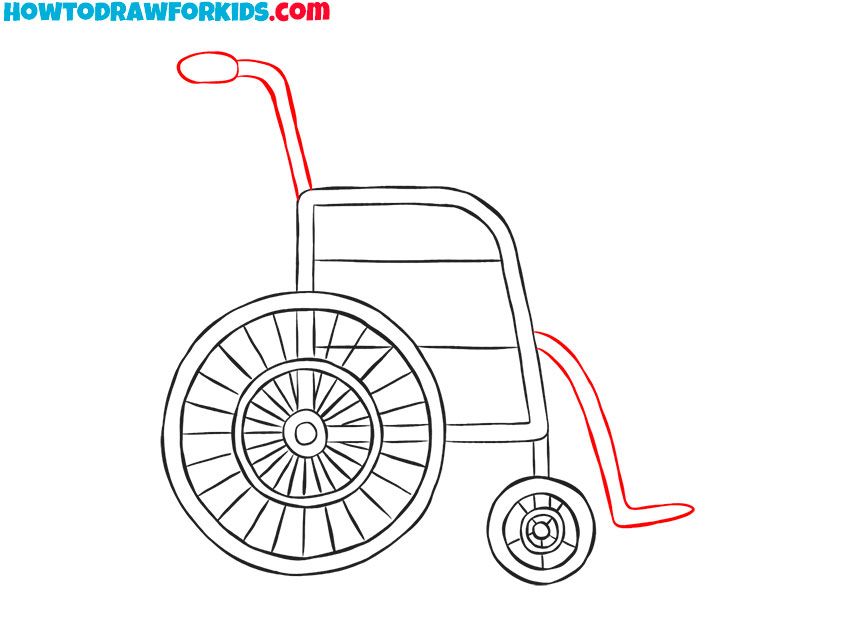
- Add the handle and footrest.
At the top of the chair, add the handle using curved lines. Add the footrest at the bottom.
- Color the wheelchair.
You will need different shades of gray.
The lesson is over and now you know how to draw an important and necessary vehicle for people who cannot move on their own. I hope that you were careful and correctly depicted all the elements of the wheelchair. If this lesson was interesting and useful for you, then leave your feedback in the comments.
Finally, I suggest you download a PDF file with a short version of the lesson.


Nice👏👏👏👏
Thank you