How to Draw a Knife
Now I will show you how to draw a knife in 9 simple steps and shade some really interesting tips and tricks on how to make your artwork even more realistic.


How to Draw a Knife: Basic Information
This lesson on how to draw a knife will sharpen your skills in creating objects that we see in everyday life. A knife, with its sleek and shiny blade and sturdy handle, may seem simple, but it’s a great subject to practice symmetry and shading.
The key to a successful knife drawing is to illustrate the sharp edge and reflective surface of the blade while giving the handle texture to make it look like you can reach out and grasp it.
The cutting edge of the knife requires precise lines to convey sharpness. This part of the tutorial teaches you to control your pencil pressure and line weight, skills that are crucial for defining edges and creating contrast in your artwork.
Understanding how light interacts with the knife’s surfaces is crucial for creating a realistic drawing. The blade, being metallic, will have sharp highlights and distinct shadows. Practicing this will improve your ability to render reflective surfaces and understand light behavior.
Knife Drawing Tutorial
Materials
- Pencil
- Paper
- Eraser
- Coloring supplies
Time needed: 30 minutes
How to Draw a Knife
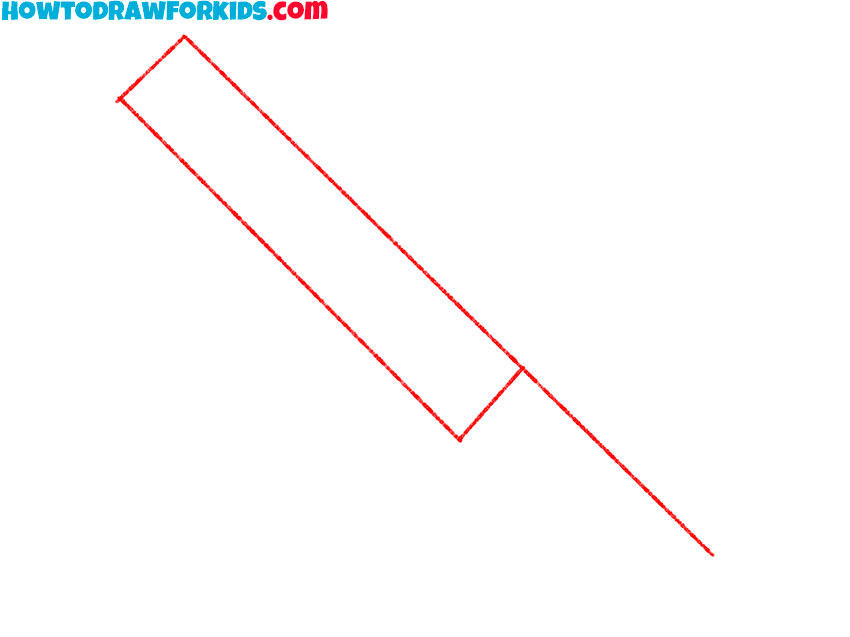
- Draw the base of the knife.
Draw a long, slightly angled rectangle to represent the blade. At the end of the rectangle, add a small diagonal line to indicate the handle of the knife. This step establishes the foundational shapes of the knife, ensuring that the proportions between the blade and the handle are accurate.
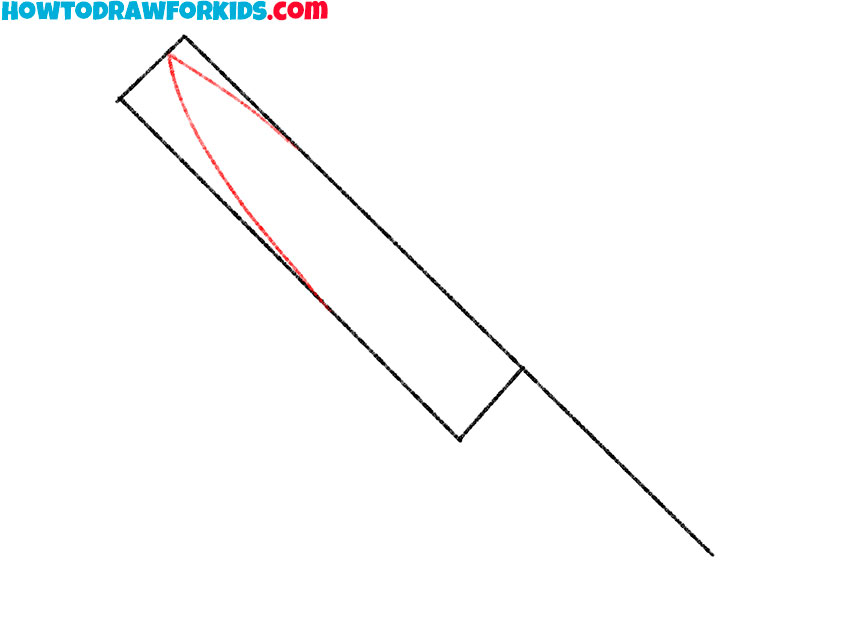
- Shape the blade.
Next, refine the shape of the blade. On the left side of the rectangle, draw two lines diverging and connecting to the long edges of the rectangle. The lines should be long and smooth, forming a correct and recognizable silhouette of the blade.
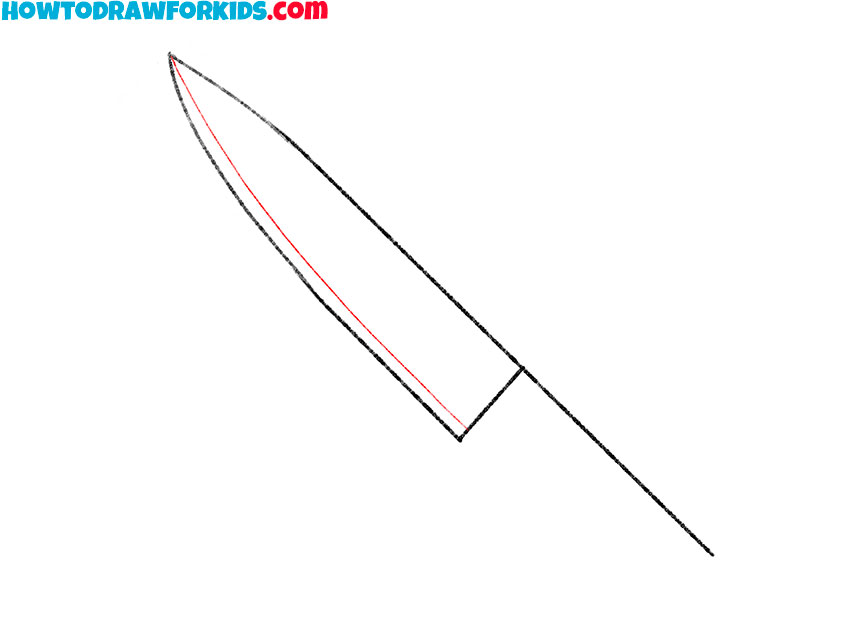
- Define the cutting edge of the blade.
To enhance the realism of the blade, illustrate the cutting edge by drawing a parallel line along the lower part of the blade. Start this line at the tip and extend it about two-thirds of the way back towards the handle. This line should follow the curve of the blade and represent the sharpened edge.
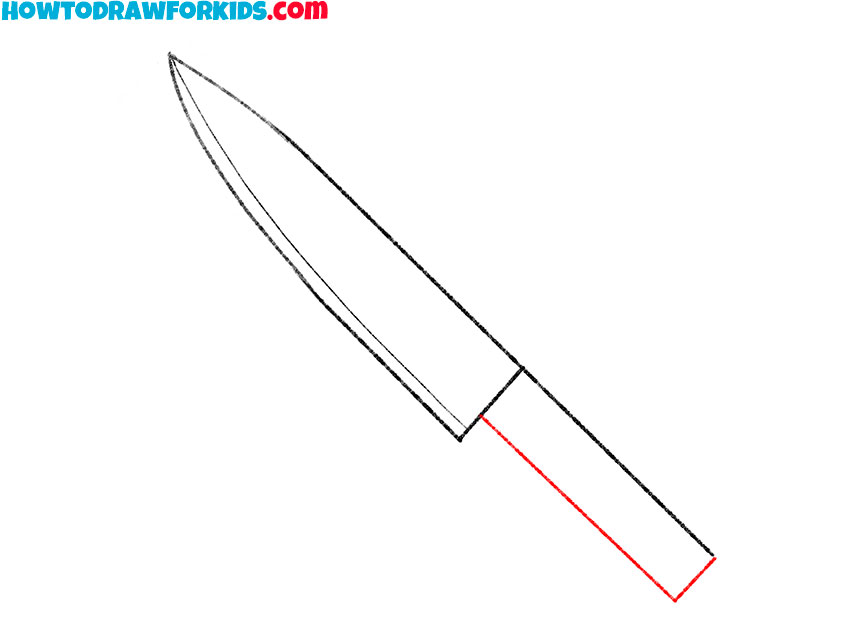
- Add the remaining contours of the handle.
Begin detailing the handle by extending the lower line of the blade to form the handle’s outline. Draw a rectangle that attaches to the blade, providing the basic shape of the handle. The outlines of the handle should be thinner and shorter than the blade.
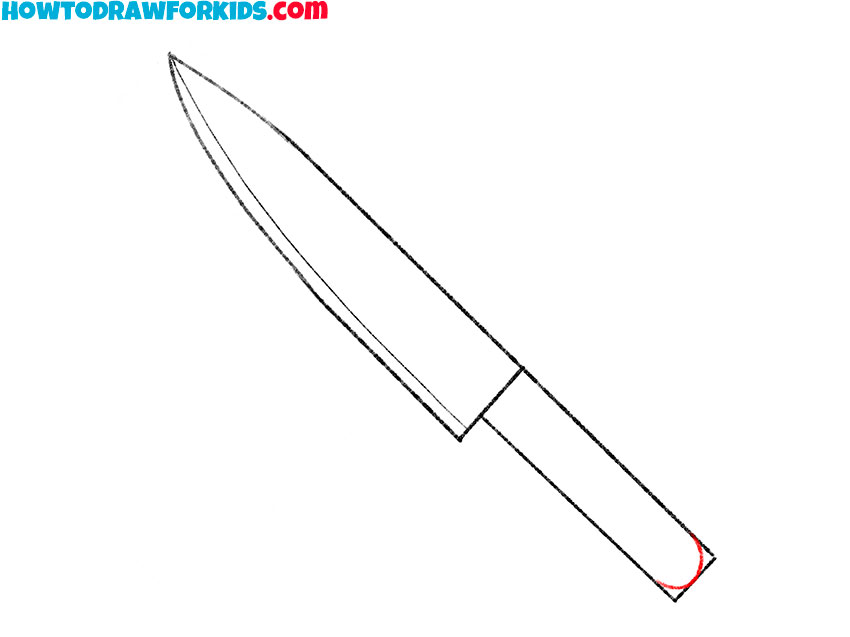
- Shape the end of the handle.
Refine the handle by drawing its back. Add a slightly curved line at the bottom of the rectangle, indicating the handle’s ergonomic shape. This line should curve upwards slightly towards the blade, giving the handle a more natural and recognisable appearance.
- Shape the handle of the knife.
Continue shaping the handle by smoothing out the lines and adding curves where necessary. This part essentially consists of two curved lines forming a wave. The handle in this place is bent in this way for maximum ergonomics. This part can have any other shape you wish.

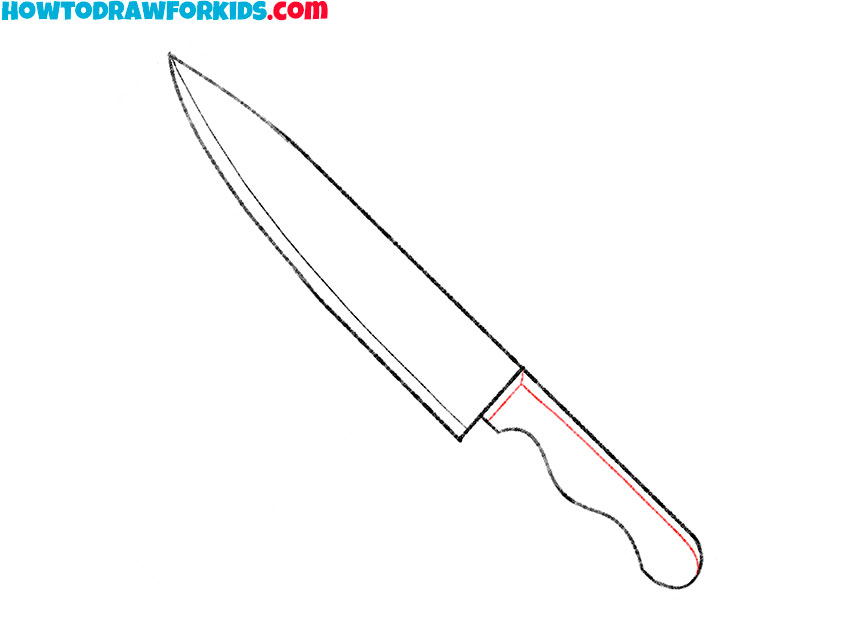
- Detail the handle.
This step is needed to give your knife drawing a more dimensional look. First, draw a line that will form the top edge of the knife handle. Next, draw a line that will form the front edge of the knife. These lines should follow the outer contours of the handle.
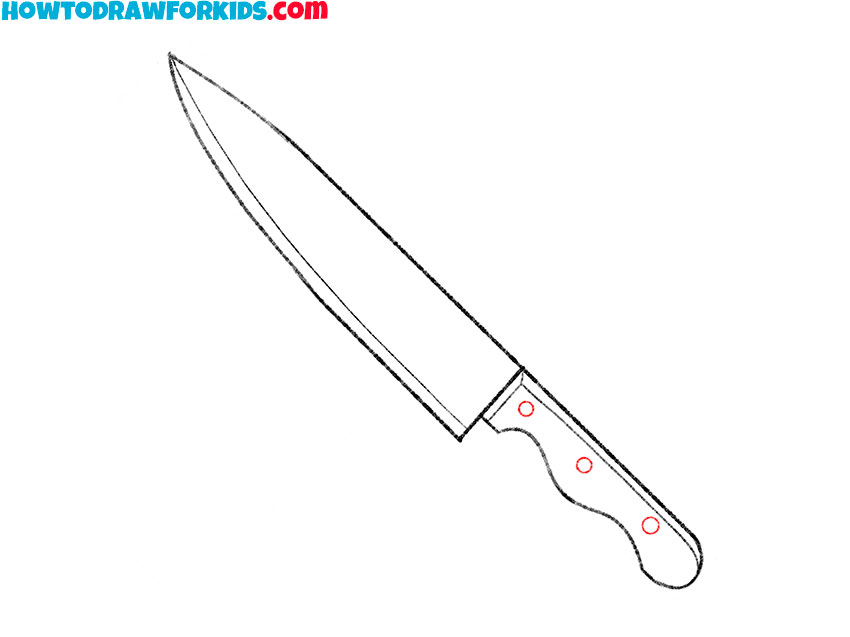
- Illustrate the rivets on the handle.
To complete the handle, add rivets that secure the handle scales to the tang. Draw small circles evenly spaced along the handle, typically three, to represent the rivets. These rivets not only serve a functional purpose but also add to the visual detail of the knife.
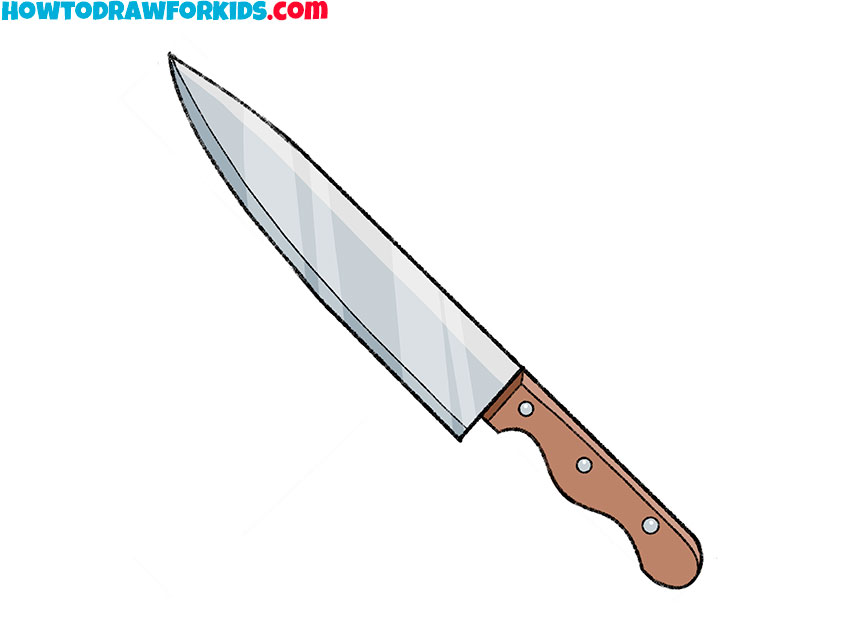
- Color your knife drawing.
Color the blade with shades of gray or metallic tones to simulate a shiny, reflective surface. Use a contrasting color for the handle, such as brown for wood or black for a synthetic material. Add shading and highlights to both the blade and handle to create a three-dimensional effect.
Additional Materials
I’ve created a PDF file with a simplified version of this drawing lesson, which you can access for free. After downloading the file, you’ll be able to practice drawing without needing an internet connection.
This means you can engage in this art activity whenever inspiration strikes. Additionally, this PDF file can be easily shared and used as a reference. As a result, this resource is a valuable tool for anyone looking to improve their drawing skills offline.
How to Draw a Knife: Final Touches
We’ve almost completed our knife drawing, and it’s time to add the final touches that will make your artwork look sharp and refined:
- Firstly, add a slight shadow beneath the knife to ground it. This shadow should be subtle and not too dark. You can do this easily if you read my article about light and shadows.
- Then, refine the blade’s edge to make it look sharp. Use a fine-tipped pencil to emphasize the thin, cutting edge of your knife drawing.
- Moreover, consider adding some highlights to the metal part of the blade to show reflection and shine. A white gel pen can be effective for this.
- Furthermore, re-examine your draw a knife work for any uneven lines or smudges. Clean up the edges so that each part is distinct and tidy.
- Lastly, step back and look at your drawing from a distance. Sometimes we miss small details when we’re too close, so this perspective can be very helpful.
To conclude, drawing a knife involves attention to detail and an understanding of light and shadow. With these final touches, your drawing should now have a realistic and professional appearance.
Conclusion
Reflecting on the steps we’ve taken together, I’m filled with pride at the progress we’ve made in our knife drawing. Moreover, it’s my hope that through this process, you’ve gained not only a sharper image on your paper but also a sharper set of skills in your artist’s toolbox.
Furthermore, I encourage you to visit other lessons on my website. There’s a lot of drawing tutorials waiting for you, each created to help you hone different aspects of your drawing talent.
Additionally, let’s stay connected! I’d love for you to follow me on social media. By subscribing, you’ll get updates on new lessons, tips, and you can share your own knife drawing progress with a community of fellow artists who are just as passionate as you are.
Finally, remember that each drawing enhances your skill, so keep practicing. Also, don’t hesitate to revisit this drawing lesson anytime you feel like you need a refresher. Thank you for joining me, and I look forward to seeing you in our next drawing tutorial.


I love your drawings
Thank you, Abdul!