How to Draw a Lightsaber
Prepare your art tools and supplies and start learning how to draw a lightsaber – one of the most popular movie props.
Prepare to Draw Lightsaber from Star Wars
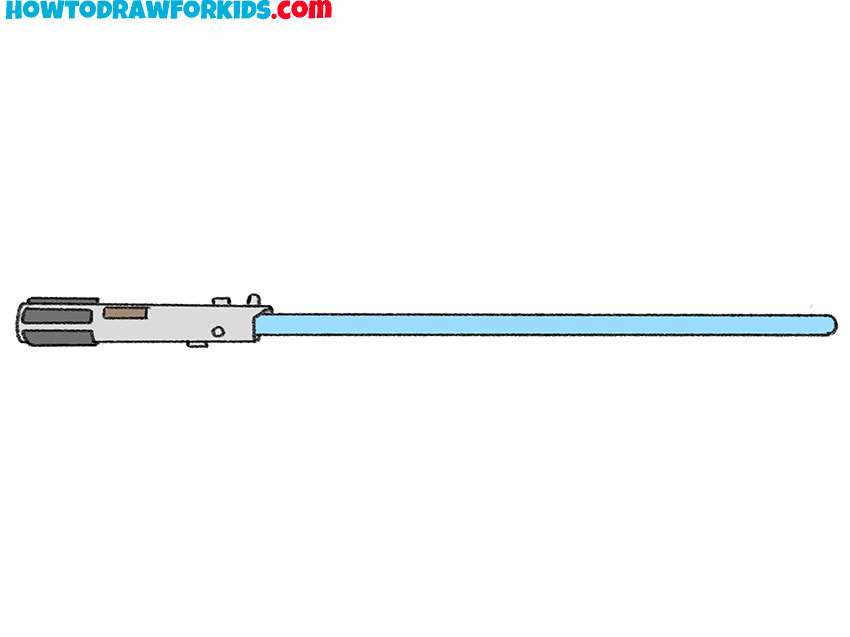
In this step-by-step tutorial, you will see how to draw a lightsaber. I am sure that you have seen a lightsaber many times in various films and cartoons.
The lightsaber is a fantastic weapon that we have all seen in a lot of science fiction movies and stories. One such famous film is Star Wars.
If you learn how to draw a lightsaber step by step, you can use these skills to create many very interesting and unusual drawings.
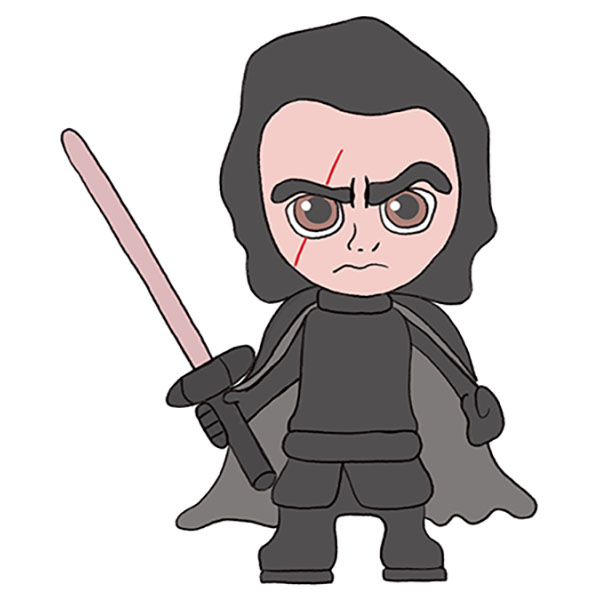
For example, you can draw Luke Skywalker or any other character from this legendary film and put this movie prop in his hands.
If you are already interested in this guide, then rather prepare the materials that you need for drawing and proceed with this tutorial.
Directions for Drawing a Lightsaber
Materials
- Pencil
- Paper
- Eraser
- Coloring supplies
Time needed: 25 minutes
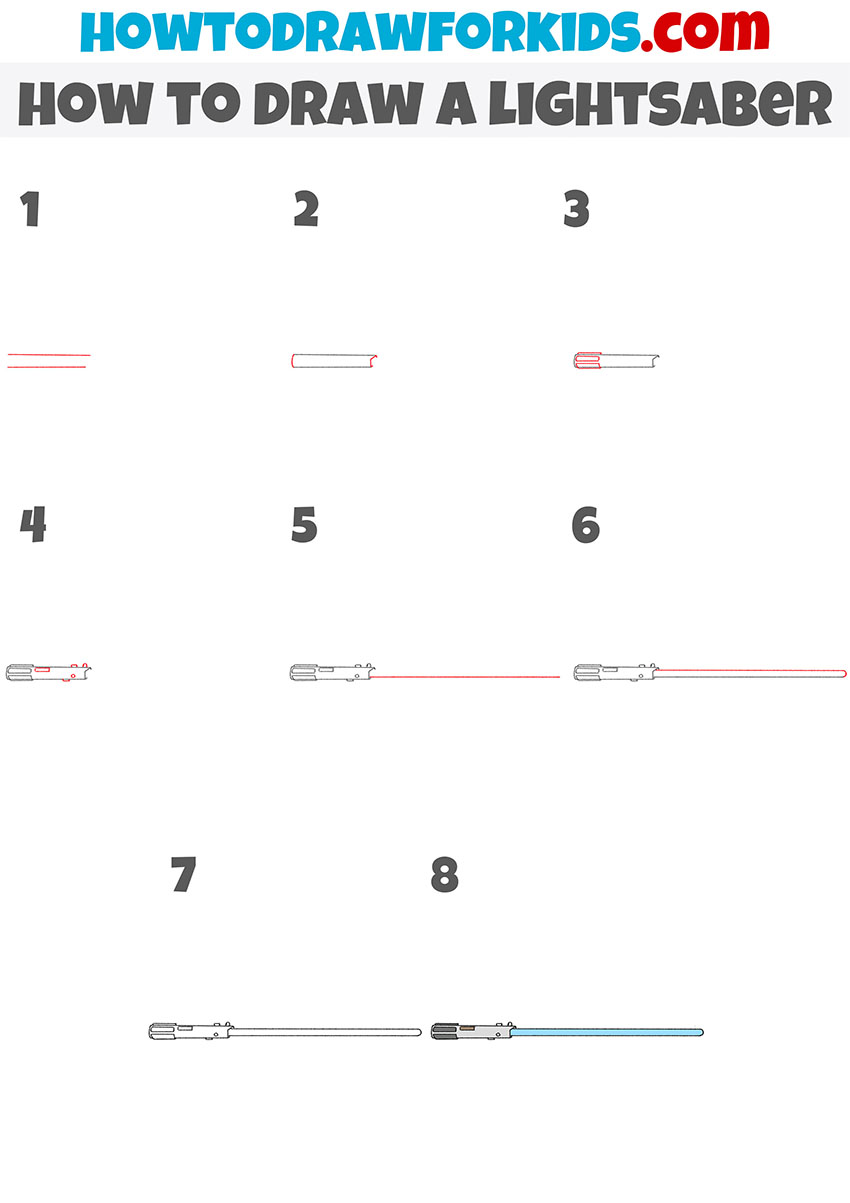
How to draw a lightsaber from Star Wars step by step
- Start drawing the hilt of the lightsaber.
For this step, I recommend that you draw two straight horizontal parallel lines.

- Continue drawing the hilt of the lightsaber.
Connect the ends of the two previously drawn lines with curved lines.
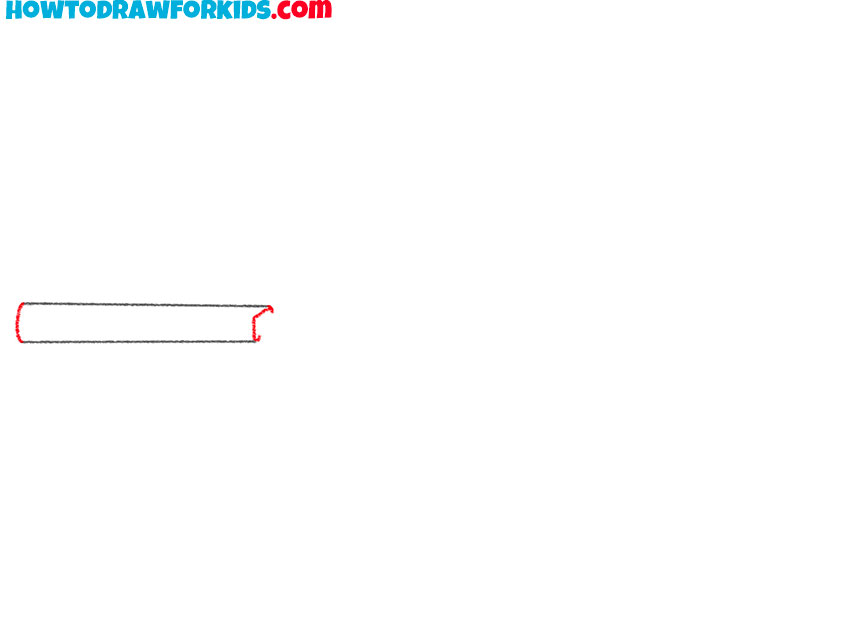
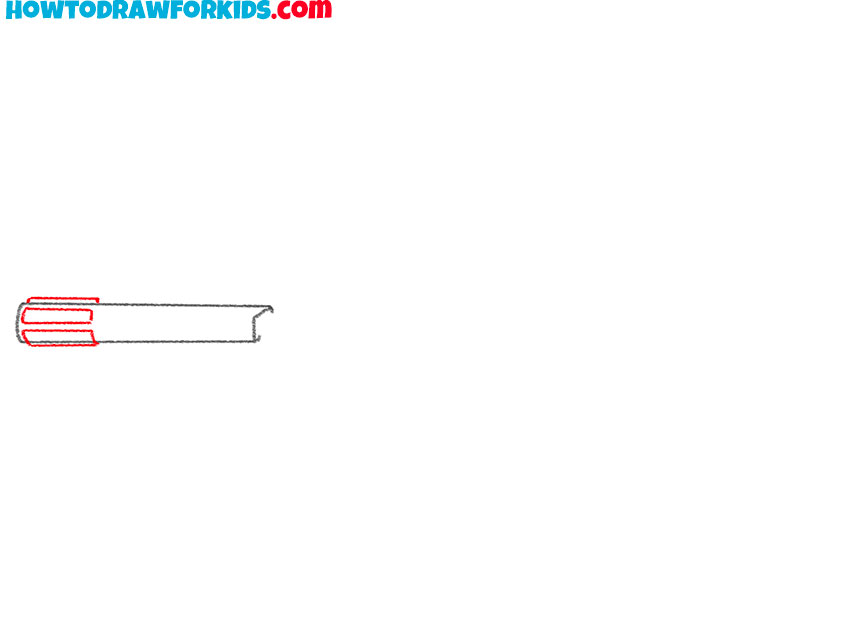
- Add the decorative elements.
On the left side of the handle you’ve drawn, add some shapes using straight lines.
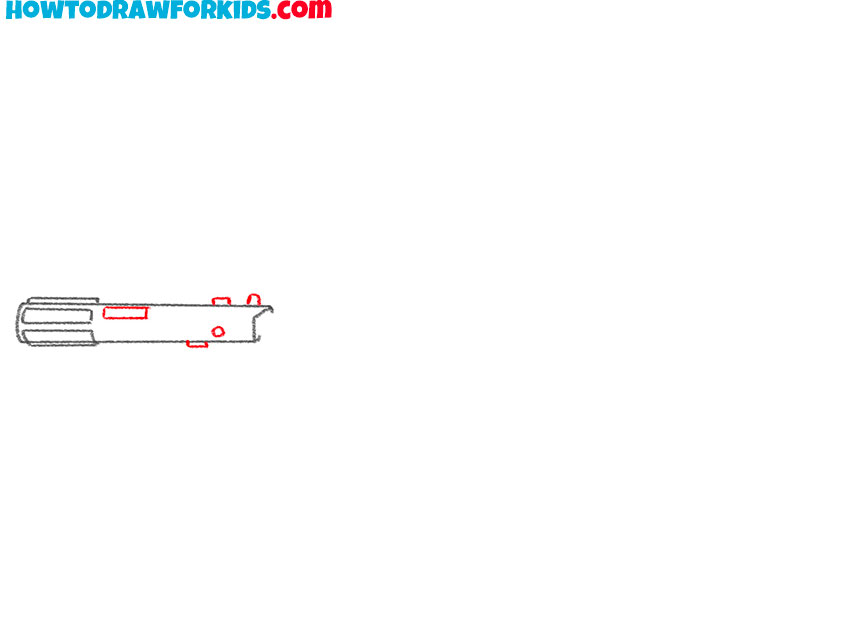
- Depict the buttons on the handles.
To complete this step, draw a circle, a rectangle, and a few shapes using straight, curved lines.
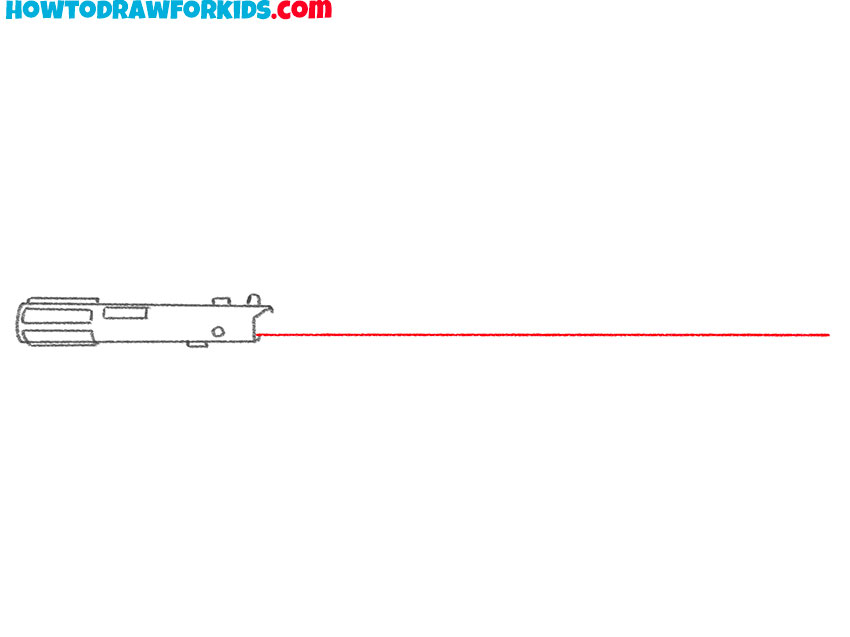
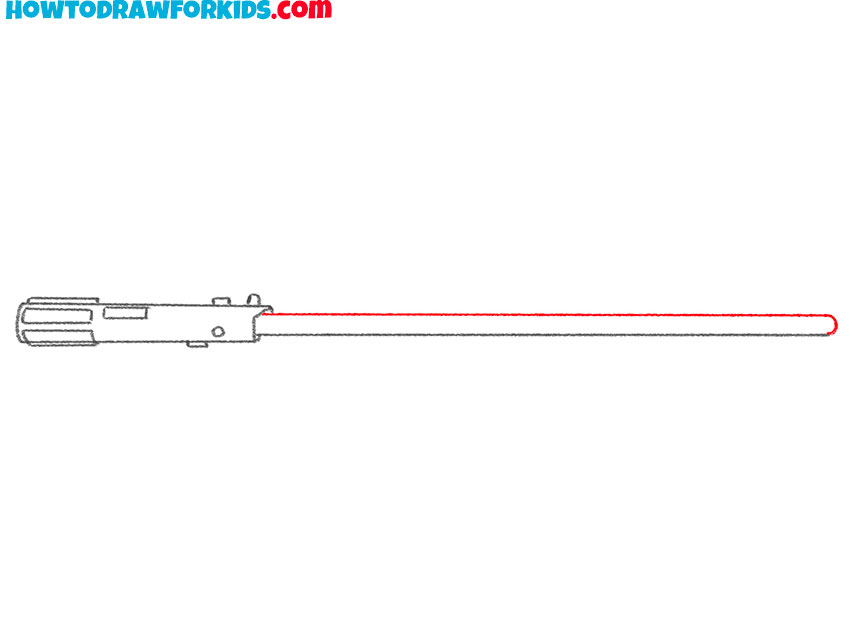
- Start drawing the main body of the lightsaber.
To complete this step, you need to draw one straight horizontal line.
- Finish drawing the main part of the lightsaber.
Draw another straight horizontal line, and then connect it to the drawn line with a rounded line.
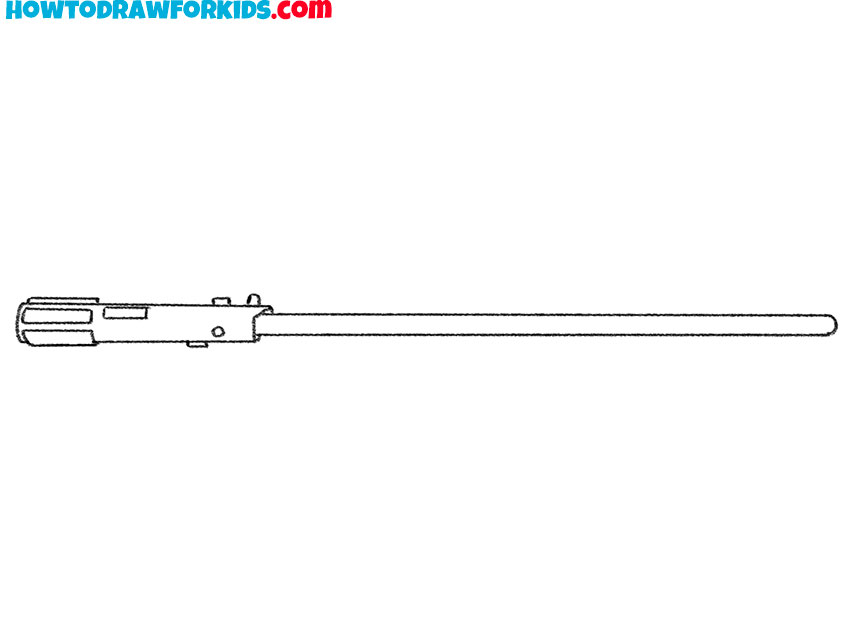
- Remove the guidelines.
Use the eraser to remove all unnecessary guidelines.
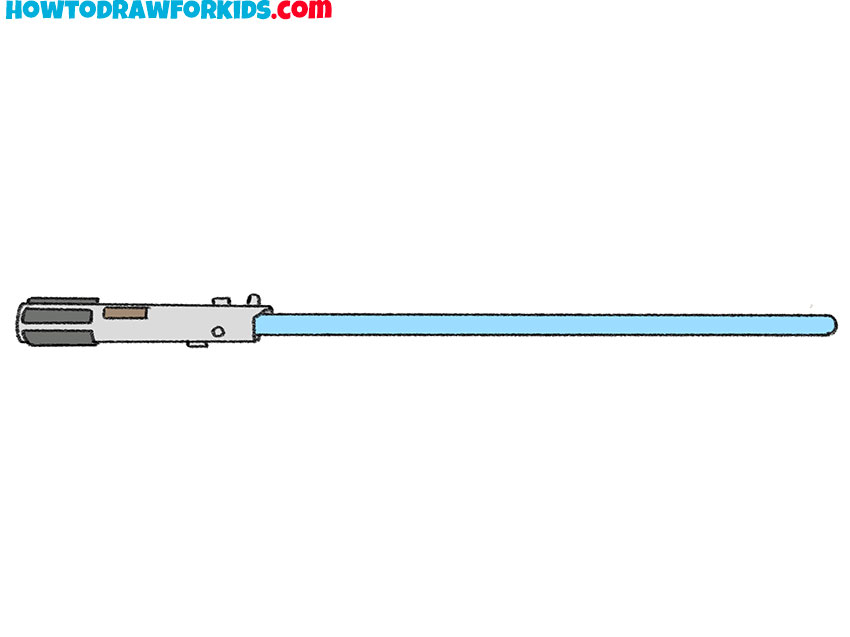
- Color the lightsaber.
To color this lightsaber, use blue, brown and two shades of gray.
As a reminder, you can download a PDF file that contains a short version of this tutorial and additional helpful resources. You can use this any time you want to go back to this tutorial.
Advanced Drawing Tips
A lightsaber looks best when the blade is drawn as straight as possible. If you’re drawing traditionally, don’t hesitate to use a ruler for the blade.
Before outlining the drawing, flip your paper upside down or look at it in a mirror. This simple trick makes it much easier to notice if the blade is tilted or if the shape isn’t symmetrical.
Once the outline is finished, think about the glow of the blade. Leave a thin lighter edge around the colored part or add a simple glow if you’re drawing digitally.
If you’re drawing with colored pencils or markers, try using a darker shade near the center of the blade and a lighter shade toward the edges.
You can also customize the design by changing the color of the blade or adding your own details to the hilt.
Try drawing several different lightsabers instead of repeating the same design. Change the shape of the hilt, add new details, or experiment with different blade colors.