How to Draw a Nut
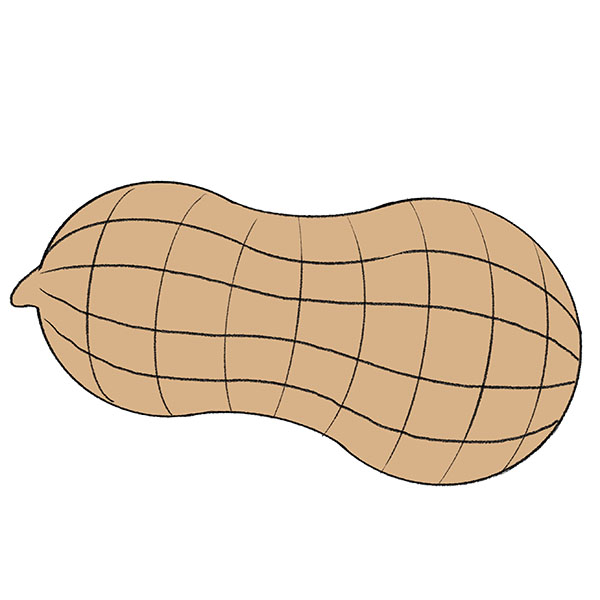
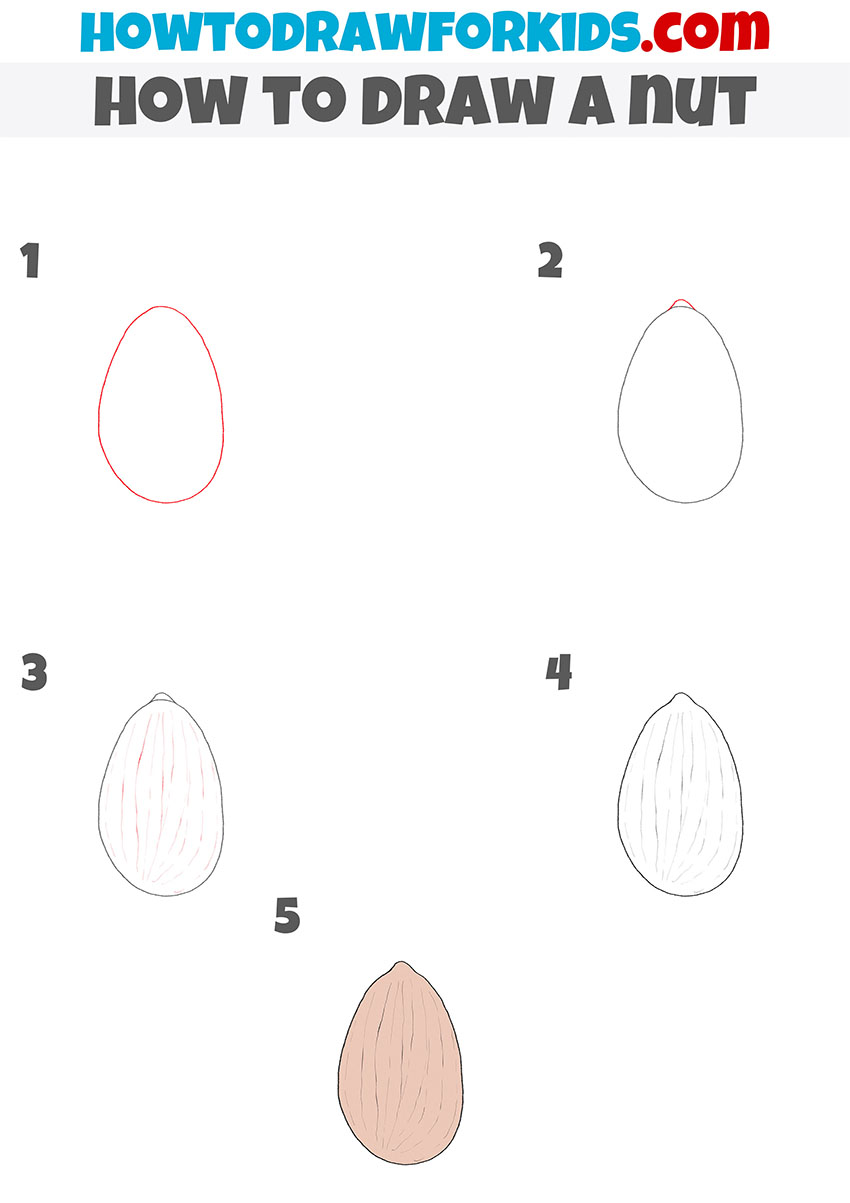
In this drawing lesson you will learn how to draw a nut step by step. This simple lesson consists of five steps with a detailed description.
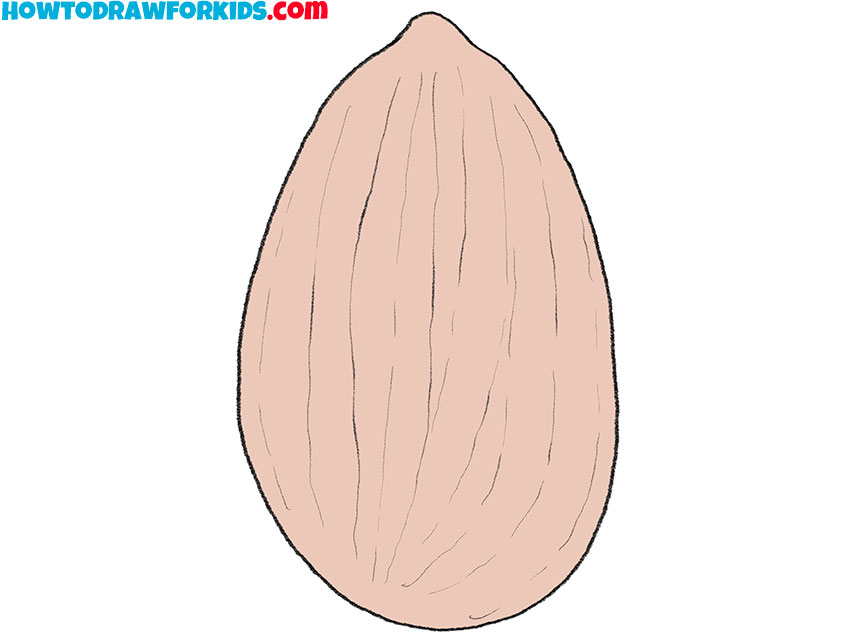
So, I am glad to offer you this simple drawing lesson in which I will tell and show you how to draw a nut step by step. Any novice artist or a child who does not have much experience in drawing can easily cope with the implementation of this lesson.
By learning how to draw a nut with the help of this instruction, you will be able to depict it as the main object of your drawing, as well as complement any still life or other picture you have drawn with this image.
If you are ready to start this drawing lesson, you can prepare art supplies right now, and then follow these instructions carefully. I am sure that you will easily cope with this work and get an excellent result!
Materials
- Pencil
- Paper
- Eraser
- Coloring supplies
Time needed: 15 minutes
How to Draw a Nut
- Draw the outline of the main part of the nut.
Depict the outline of the nut as shown in the picture using a curved line.

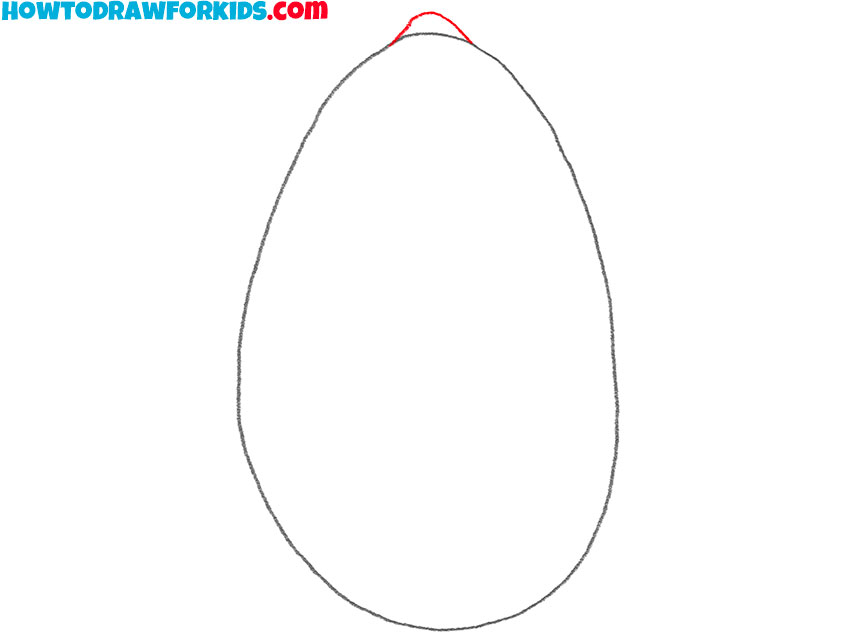
- Add the outline to the top of the nut.
At the top of the previously drawn shapes draw a small curved line as shown.
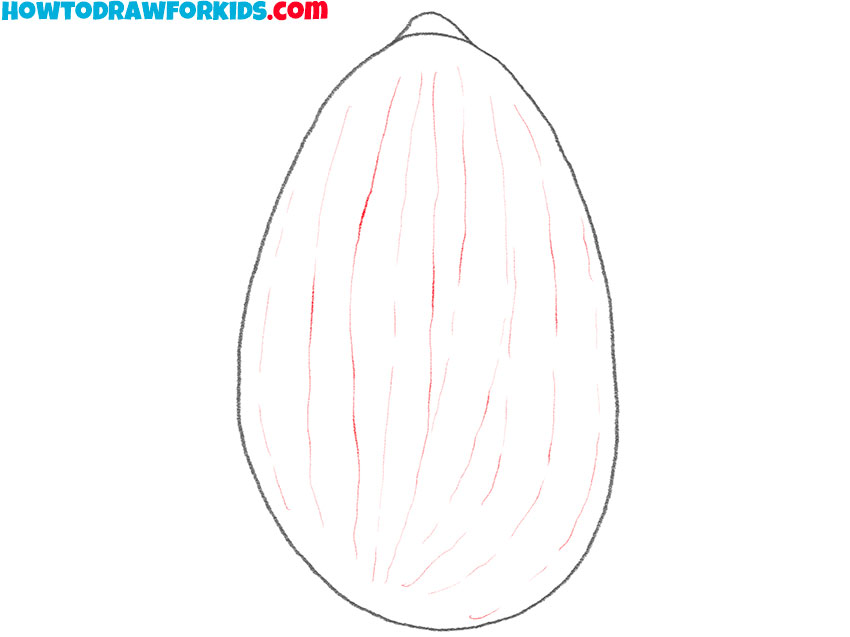
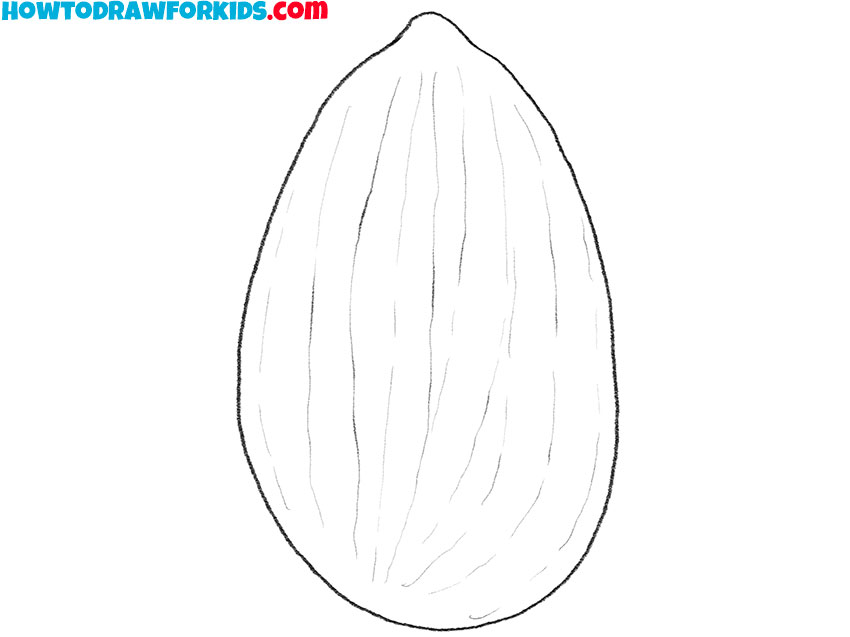
- Make the drawing more voluminous.
To make the nut look more voluminous and realistic, draw a few thin lines on its surface.
- Correct inaccuracies.
Now you can use the eraser and remove unwanted lines from the drawing.
- Color the drawing.
To color the nut, you can use brown.

I hope that you are satisfied with the result of your work and want to look at other drawing lessons on our website, which are dedicated to depicting various food and plants. Traditionally, for your convenience, I have prepared a PDF file that contains a short version of this lesson, as well as training materials that will help you complete this lesson.

