How to Draw a Princess Crown
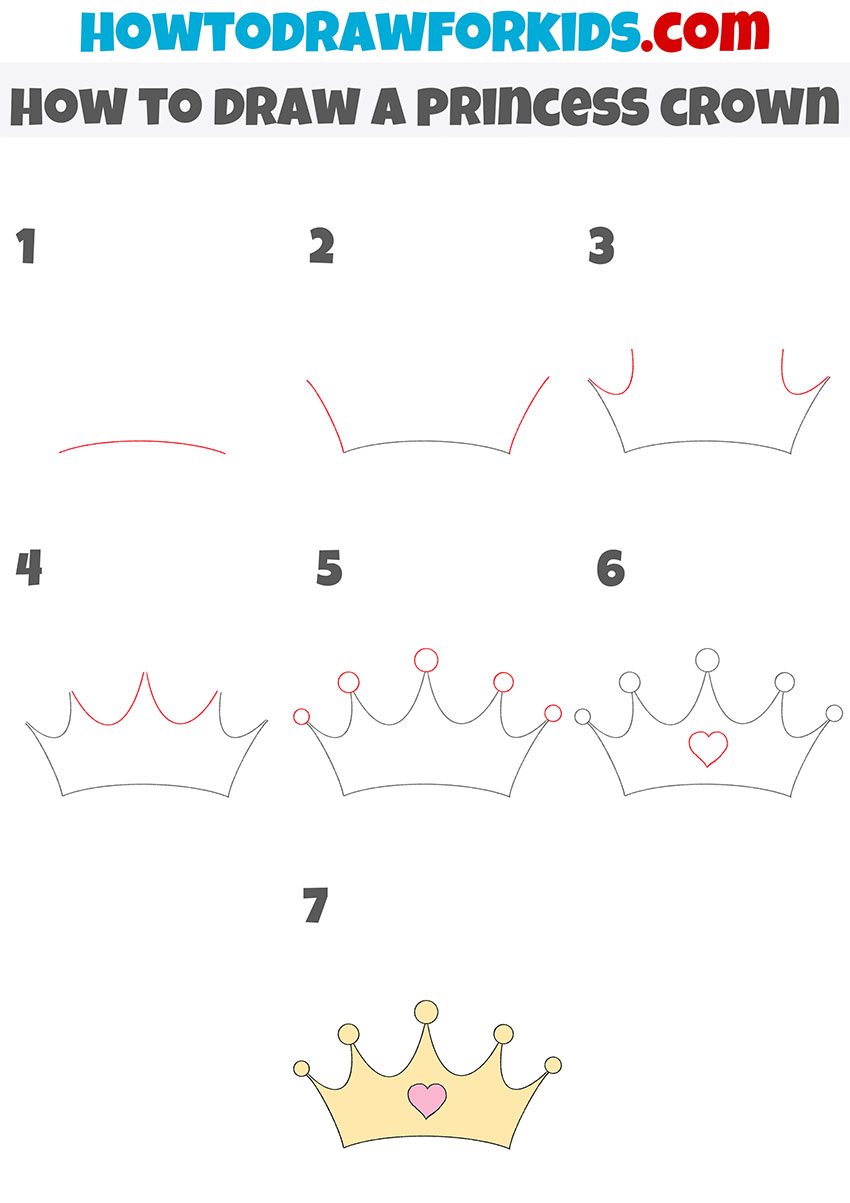
In this drawing lesson you will learn how to draw a princess crown step by step. This guide consists of nine simple steps.
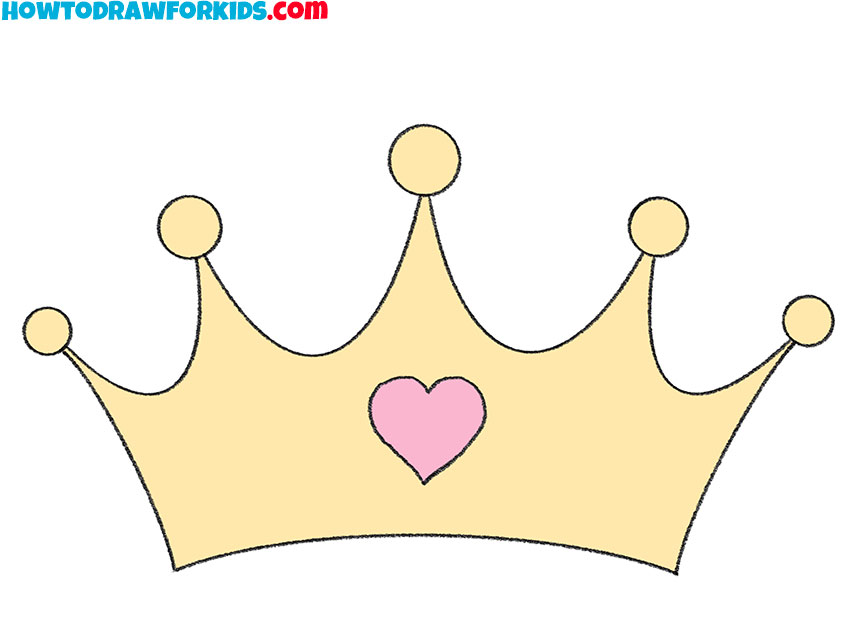
I bring to your attention a fascinating drawing lesson in which you will learn how to draw a princess crown step by step. The crown is a headdress that symbolizes the power of the monarch.
By learning how to draw a princess crown with this tutorial, you will easily be able to draw a princess or any other crown picture in the future.
If you are ready to start drawing, then you can prepare the necessary art supplies right now and start drawing the princess crown with the help of this lesson.
Materials
- Pencil
- Paper
- Eraser
- Coloring supplies
Time needed: 30 minutes
How to Draw a Princess Crown
- Draw the outline of the bottom of the crown.
First you need to draw one arc at the bottom of the drawing, as shown in the example.

- Add the sides of the princess crown.
Draw two identical symmetrical curved lines from both ends of the previously drawn arc.

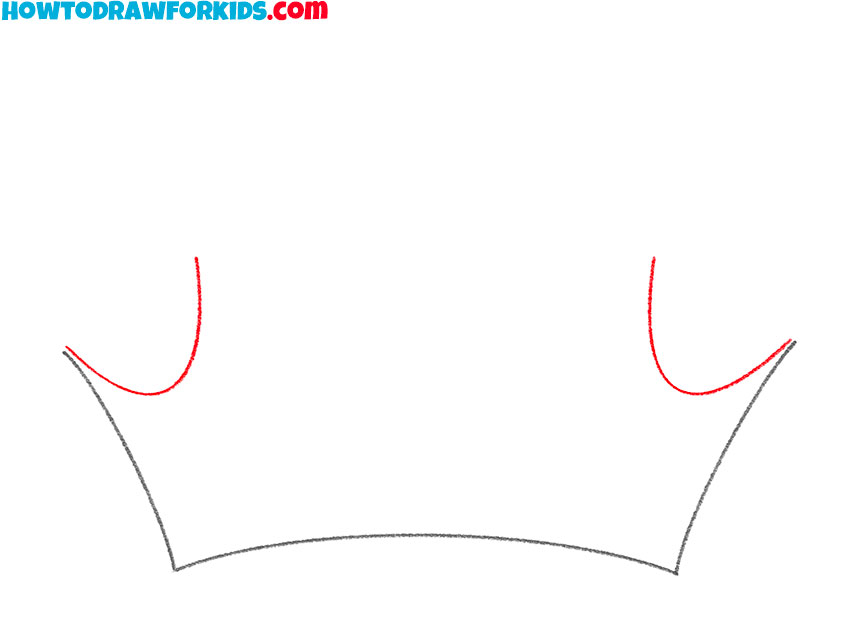
- Start drawing the top of the crown.
From the ends of the two drawn lines on the sides, add two symmetrical arcs of the same length.
- Continue drawing the top of the crown.
Add two more identical arcs, slightly larger than the drawn ones, placing them between them.
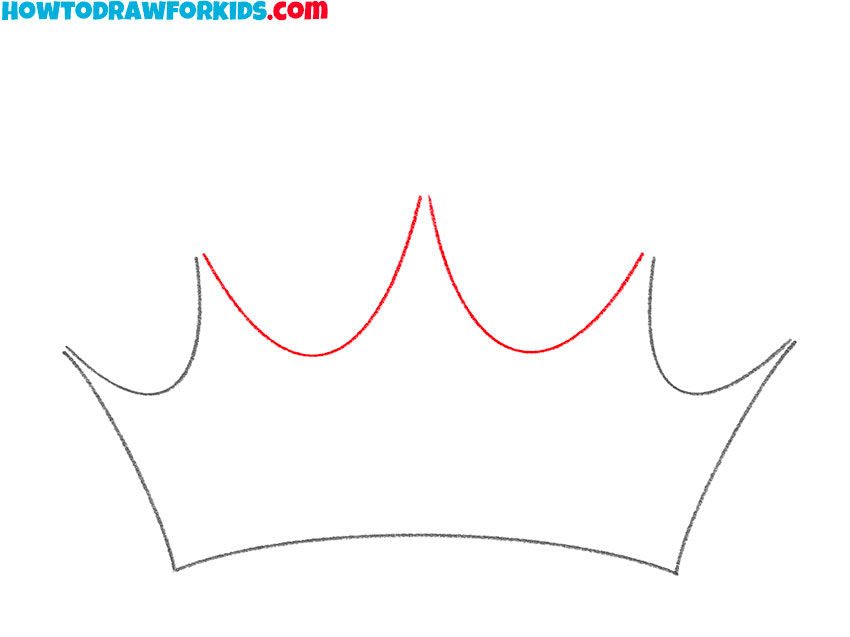
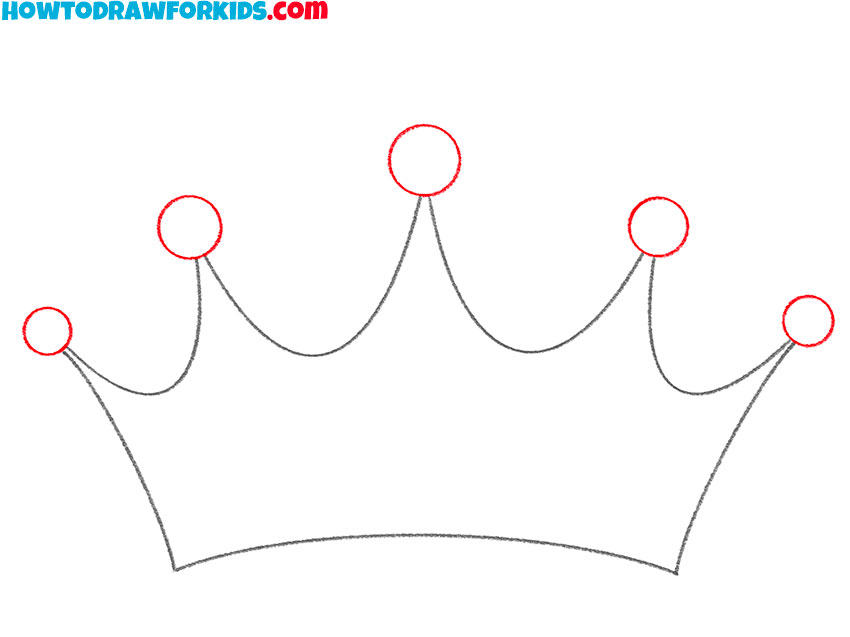
- Add elements to the top of the crown.
Draw a few circles at the ends of the previously drawn arcs at the top of the crown.
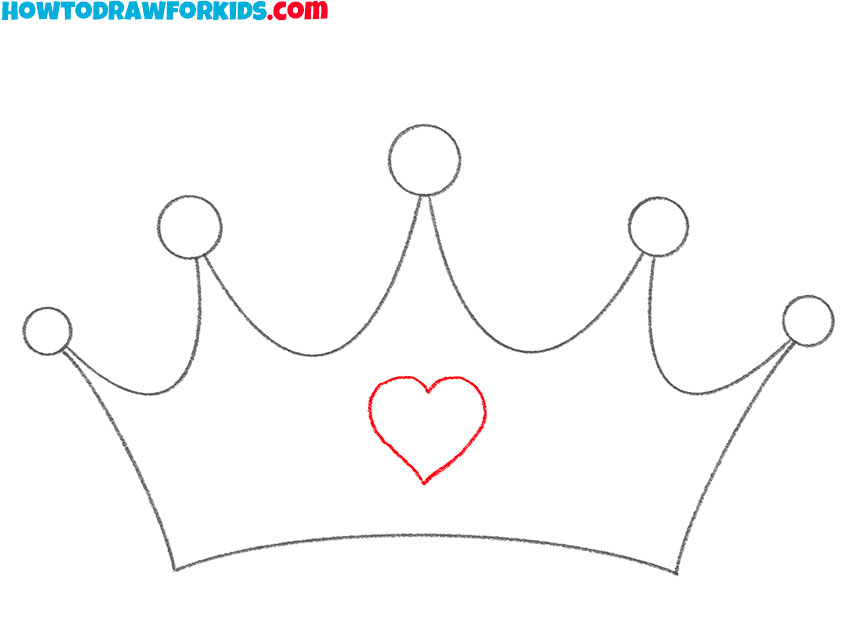
- Sketch out the decorative element.
Inside the outline of the crown you have drawn, draw a heart using two curved lines for this.
- Color the drawing.
To color the princess crown, you should use yellow and pink colors.

That’s the end of this simple and fun drawing lesson with which you learned how to draw a princess crown step by step. I suggest saving a PDF file with a short version of the lesson so that you always have access to this lesson.

