How to Draw a Ring
In this tutorial, I will show you how to draw a ring. This instruction is very simple and includes only eight steps.
I invite you to another creative lesson, and in this lesson you will learn how to draw a ring step by step. This lesson will be useful for you, as you will once again practice drawing circles.
It will be a pleasant pastime, because it is always a pleasure to draw beautiful objects. Rings have long been used as jewelry or as a symbol of marriage.
For the manufacture of the ring, precious metals are used that do not deteriorate over time and have a beautiful shine. Rings can have a variety of designs, most often there is a gemstone on the front side of the ring.
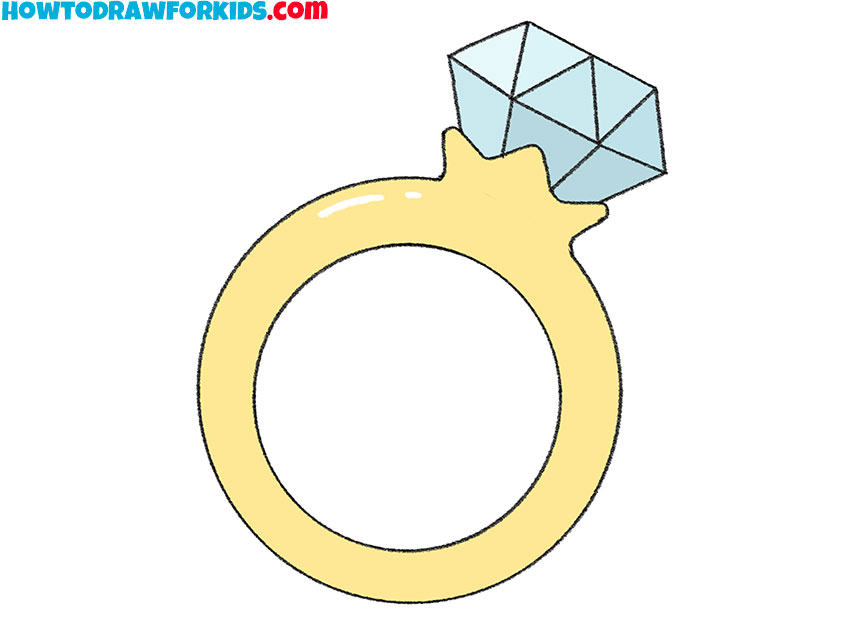
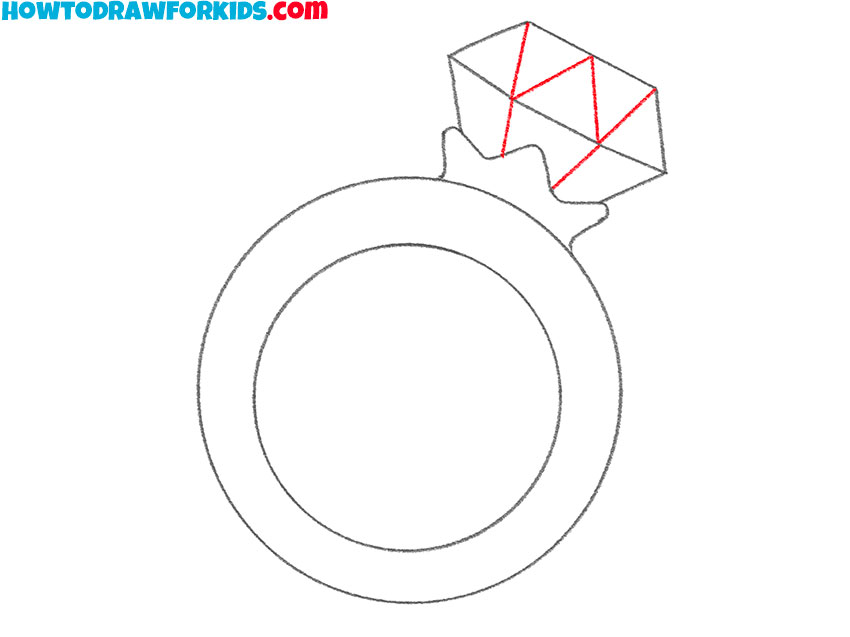
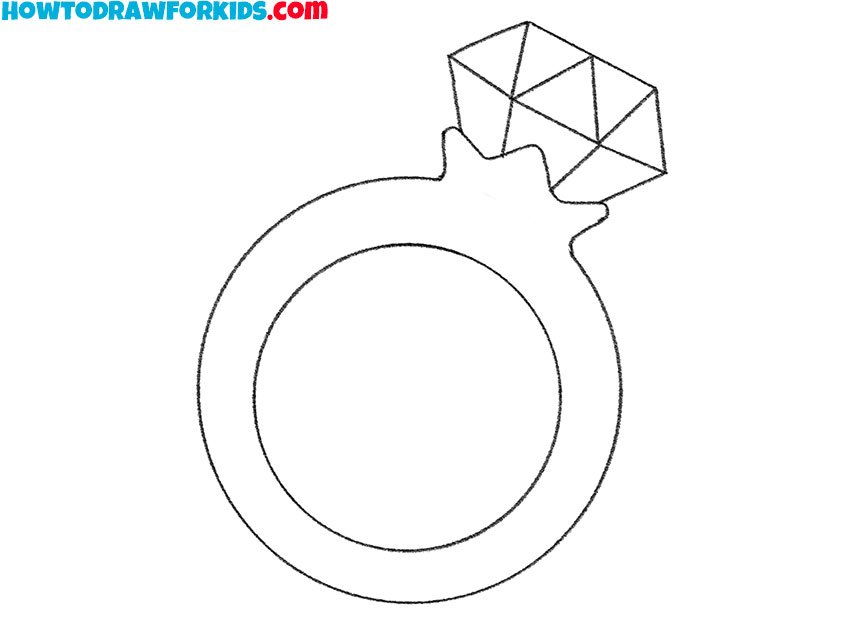
In this picture, you can see that the ring has an inner and outer contour, and on one side there is a gem placed in a setting. The stone has several facets in the form of triangles. Be careful at every stage of drawing and try to carefully draw all the elements of the ring.
Materials
- Pencil
- Paper
- Eraser
- Coloring supplies
Time needed: 25 minutes
How to Draw a Ring
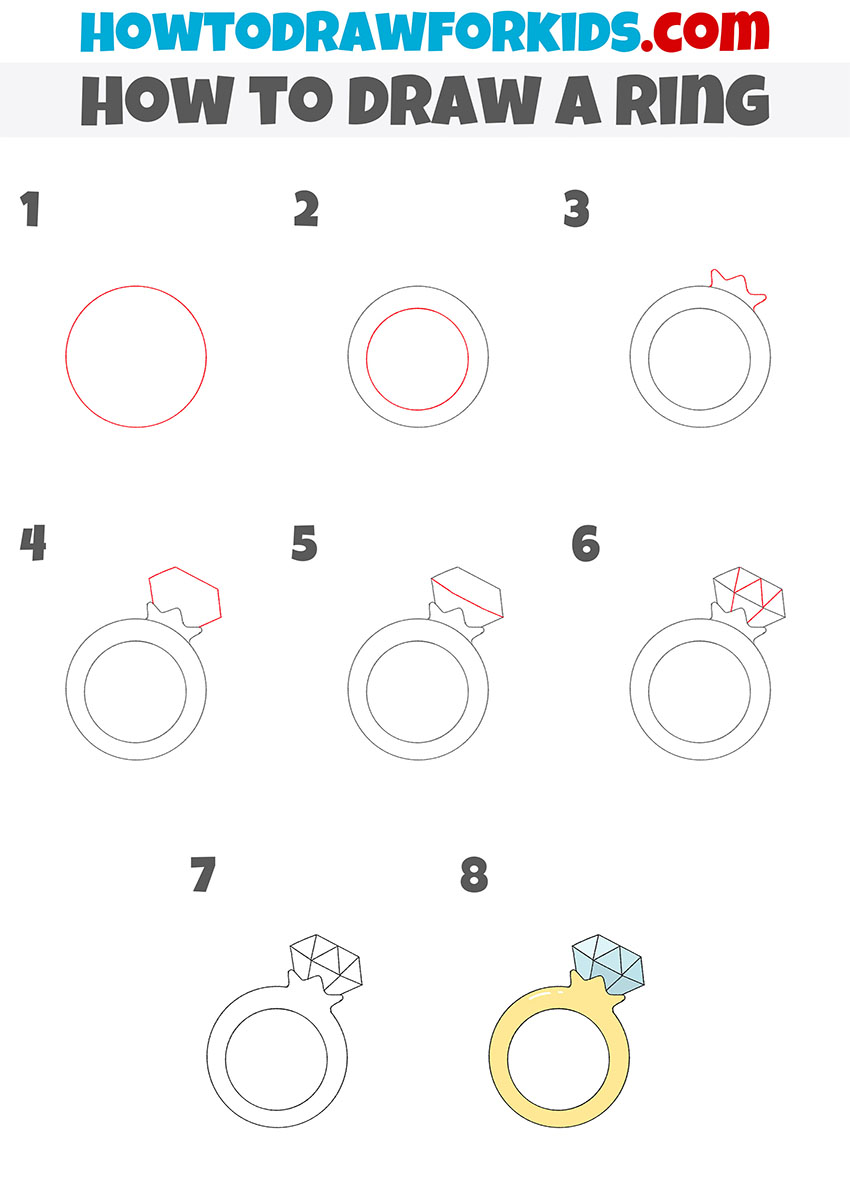
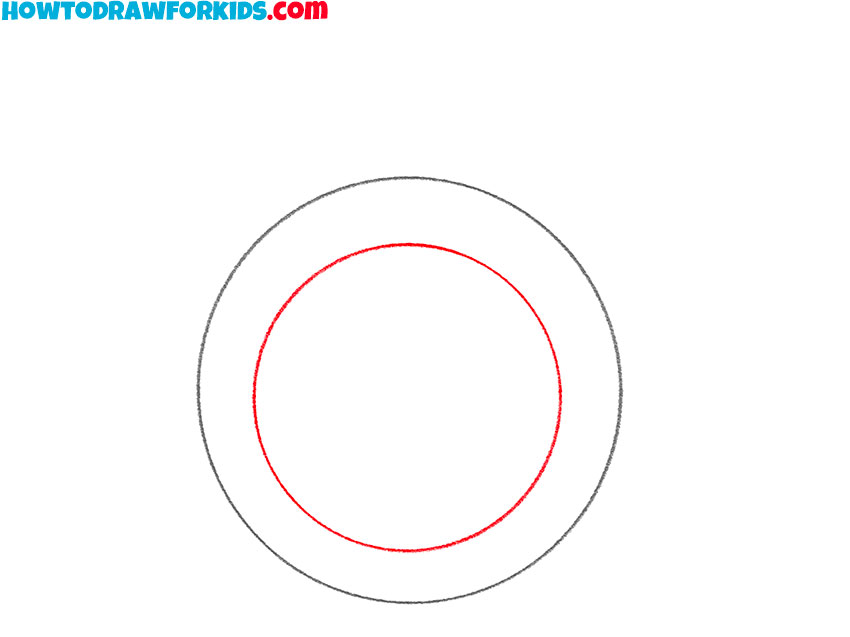
- Draw the outer outline.
Determine what the size of the picture will be and draw an even circle.

- Depict the inner outline.
Draw another even circle, but of a smaller diameter.
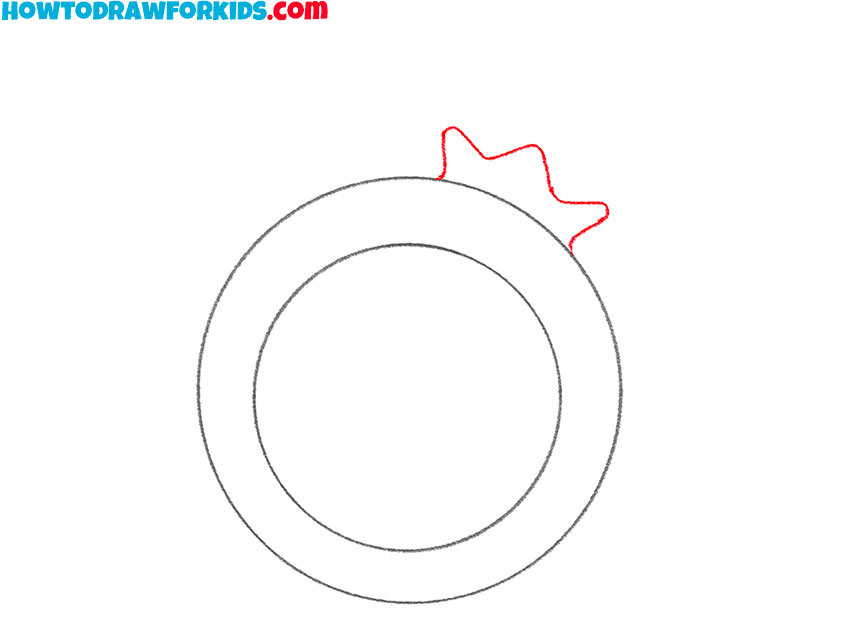
- Add the frame for the stone.
On one side of the ring, draw a small shape that has three pointed protrusions.
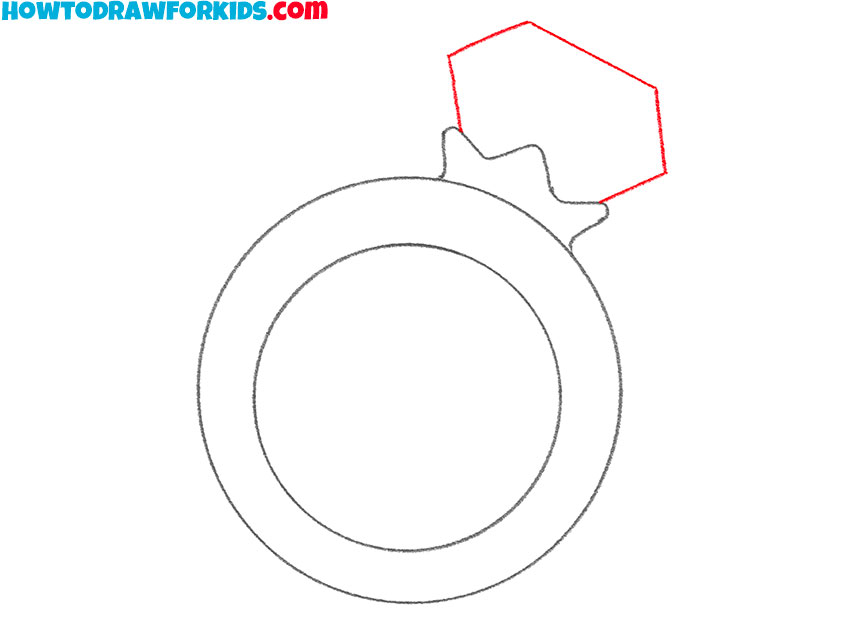
- Sketch out the gem.
Use some even, straight lines to add the stone.
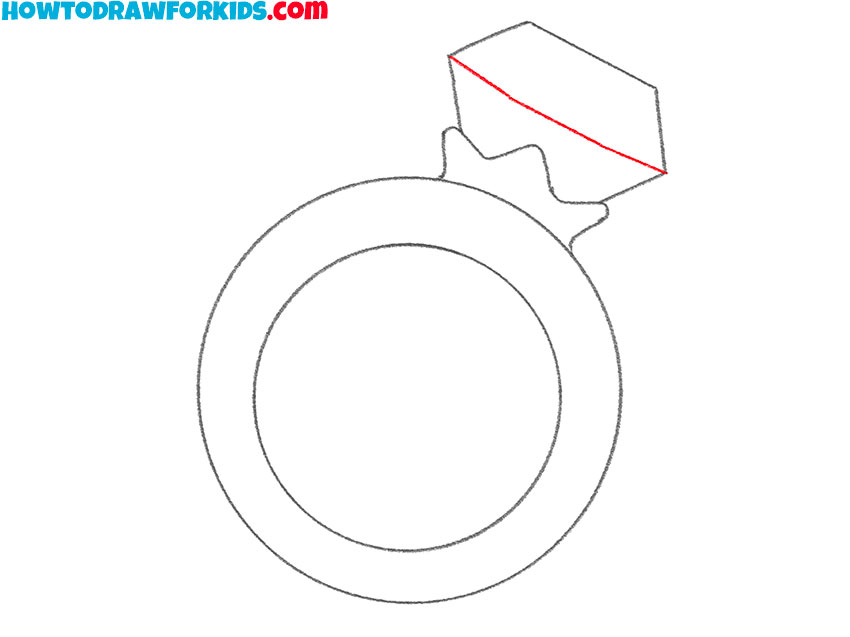
- Detail the stone.
Depict a straight cross line.
- Add edges to the stone.
Draw a few short, straight lines to represent the triangular edges.
- Correct inaccuracies.
At this stage, correct the mistakes and remove the extra lines.
- Color the ring.
Color the ring yellow, and use a few shades of blue to color the stone.

At the end of the lesson, I suggest you download a brief instruction in PDF format for free. Use the file at any convenient time when you want to be creative.

