How to Draw a Room
In this drawing lesson, you will learn how to draw a room step by step. This drawing lesson will be very unusual and exciting.
I have prepared for you a very useful drawing lesson in which I will tell you how to draw a room step by step. The drawing that you get after following this instruction will be very rich and will include many small details.
When performing this drawing lesson, you will be able to feel like a real interior designer. By learning how to draw a room according to this tutorial, you will be able to depict many other variations of rooms in your next drawings. Thus, you can draw a living room, bedroom, kitchen or other rooms and spaces.
In order to complete this drawing lesson well, you need to be able to draw straight lines. Therefore, in order to draw some elements more realistically, I recommend that you use a ruler.
And now you can prepare all the art supplies you need and start this lesson. I hope you have a great time and enjoy the creative process!
Materials
- Pencil
- Paper
- Eraser
- Coloring supplies
Time needed: 30 minutes
How to Draw a Room
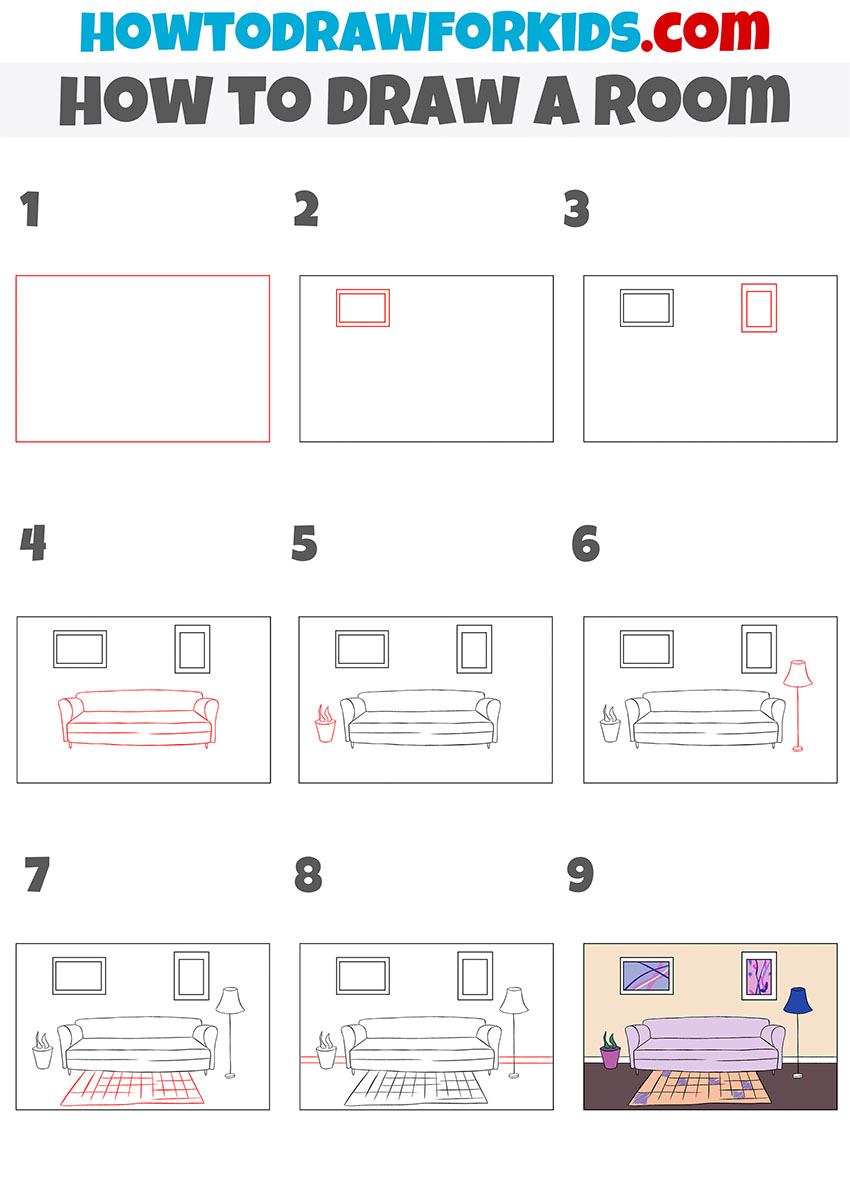
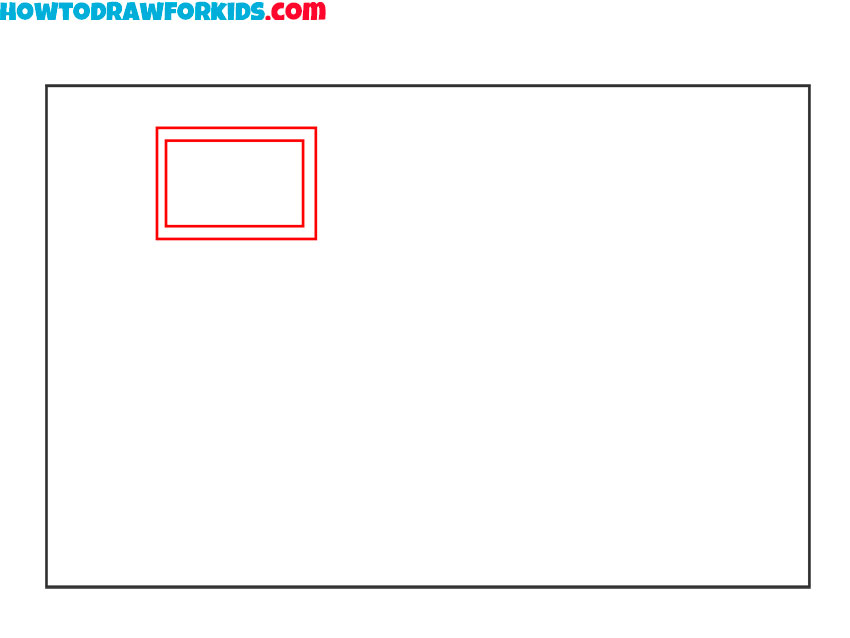
- Draw the frame.
First, you need to depict the frame inside which the drawing of the room will be located.

- Add the picture on the wall.
Inside the drawn frame, draw two rectangles of different sizes.
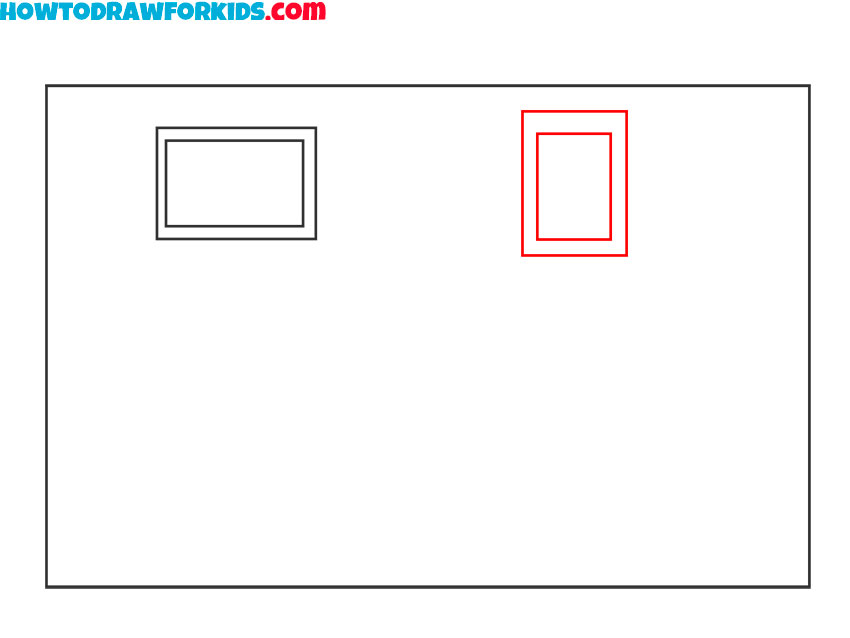
- Depict another painting on the wall.
Draw two more rectangles of different sizes, one of which is located inside the other.
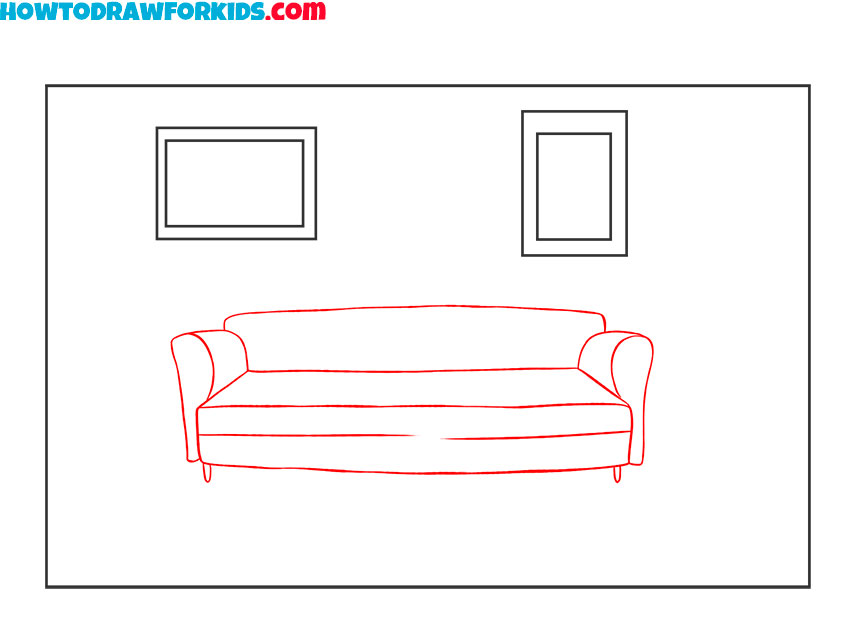
- Sketch out the sofa.
Depict the sofa in the center of your drawing using straight and curved lines.
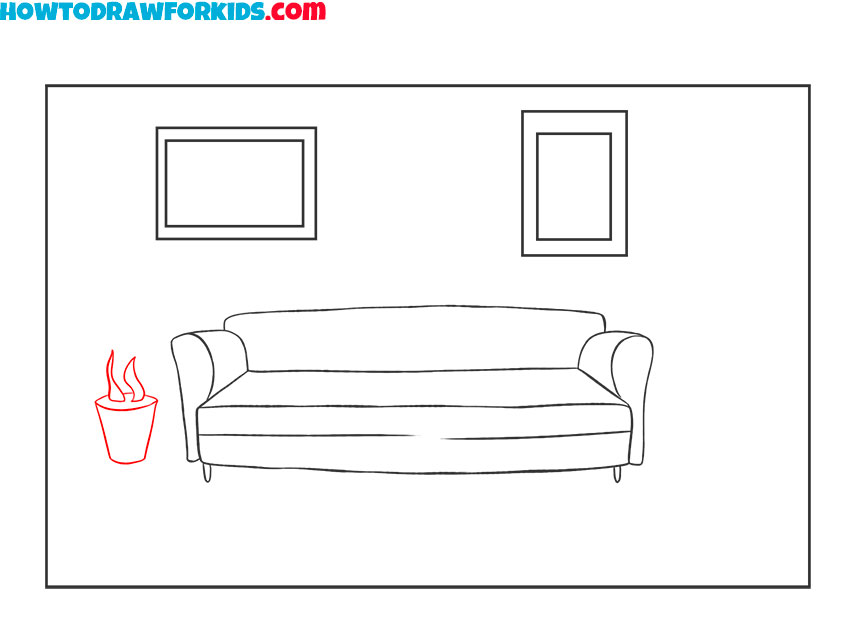
- Add the plant pot.
On the left side of the sofa, draw the pot with the plant inside.
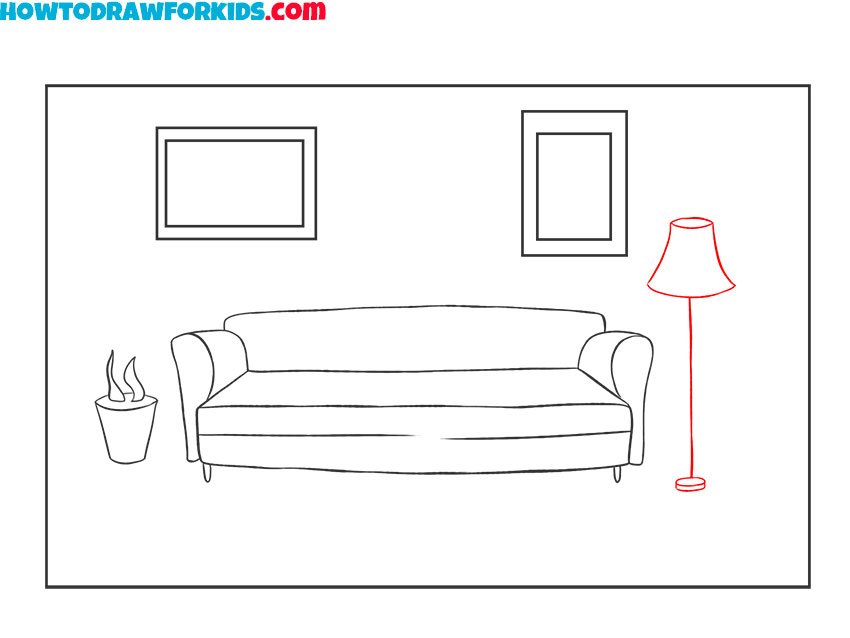
- Draw the floor lamp.
On the right side of the sofa, draw a straight line and add some arcs and ovals.
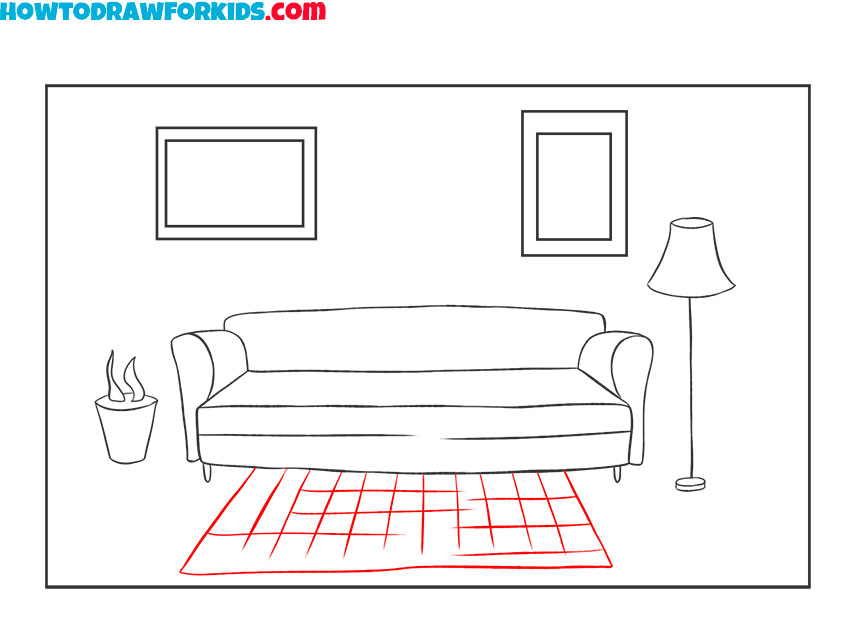
- Sketch out the carpet.
In front of the drawn sofa, depict the carpet using straight broken lines of different lengths.
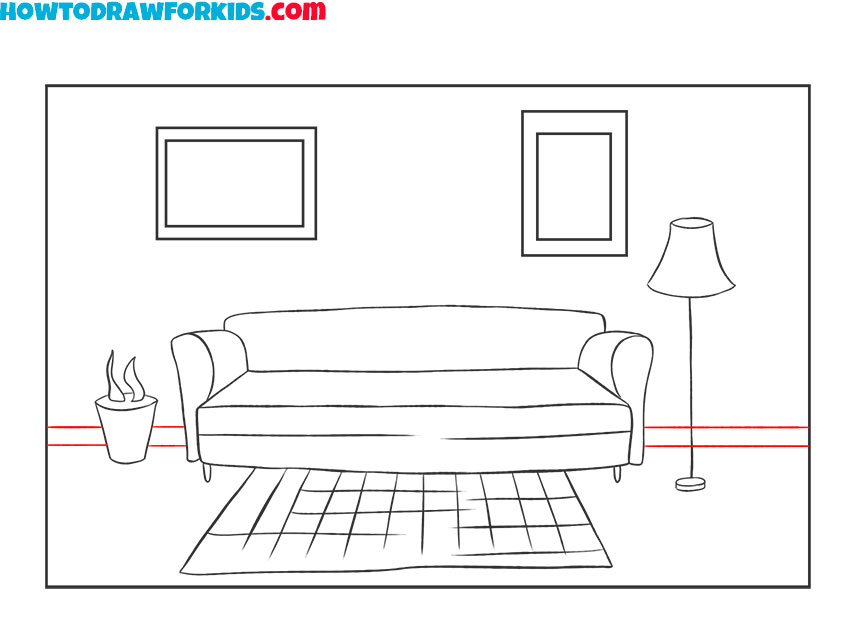
- Add the plinth.
To give the drawing a complete look, draw a few horizontal parallel lines.
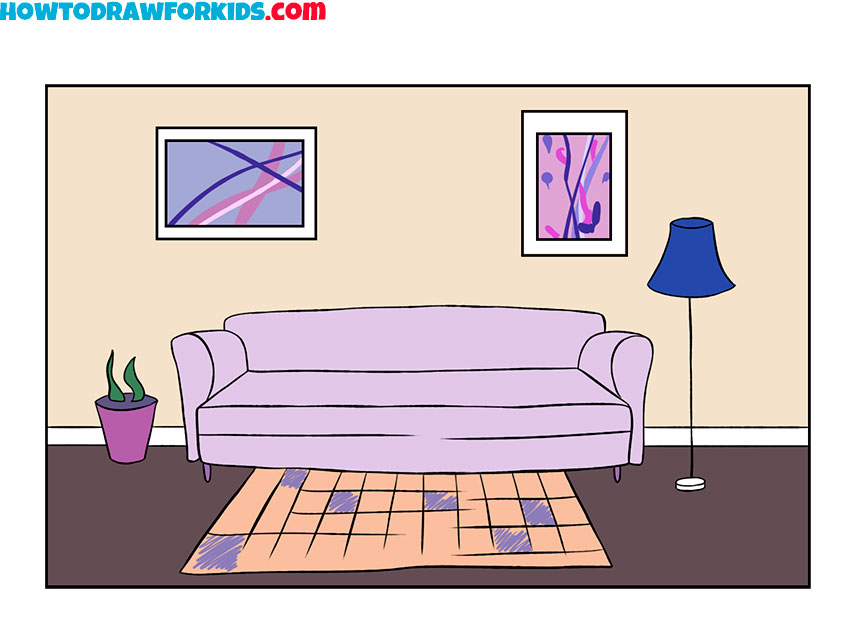
- Color the drawing.
To color the room, use beige, brown, shades of purple, green, and blue.
I remind you that for your convenience, you can download a PDF file that contains a short version of this lesson so that you can return to it at any time convenient for you, even if you are not connected to the Internet.