How to Draw a Rubik’s Cube
Today you will learn how to draw a Rubik’s Cube. I am sure that this guide will be useful for each of you.
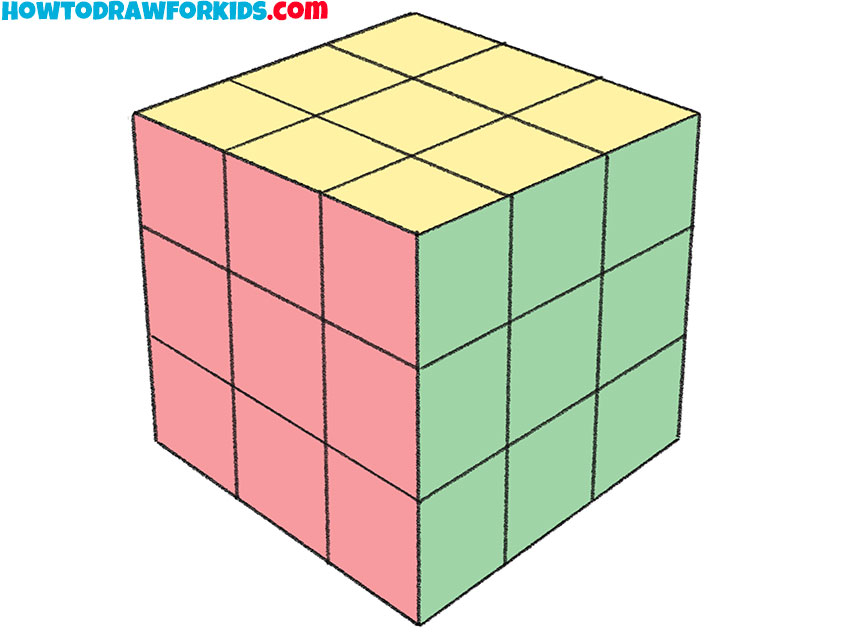
I decided to dedicate this lesson to drawing geometric shapes, and now I will show you how to draw a Rubik’s Cube. With this simple tutorial you will practice drawing a 3D shape.
The Rubik’s Cube is a mechanical puzzle that is a plastic cube with colored stickers. The player’s task is to rotate the faces of the cube so that in the end each face consists of squares of the same color.
In this lesson you will draw a lot of smooth straight lines. In the process, you can use any tools at hand or draw all the lines yourself. So grab all the art supplies you need to complete this tutorial and get to work.
Materials
- Pencil
- Paper
- Eraser
- Coloring supplies
Time needed: 30 minutes
How to Draw a Rubik’s Cube
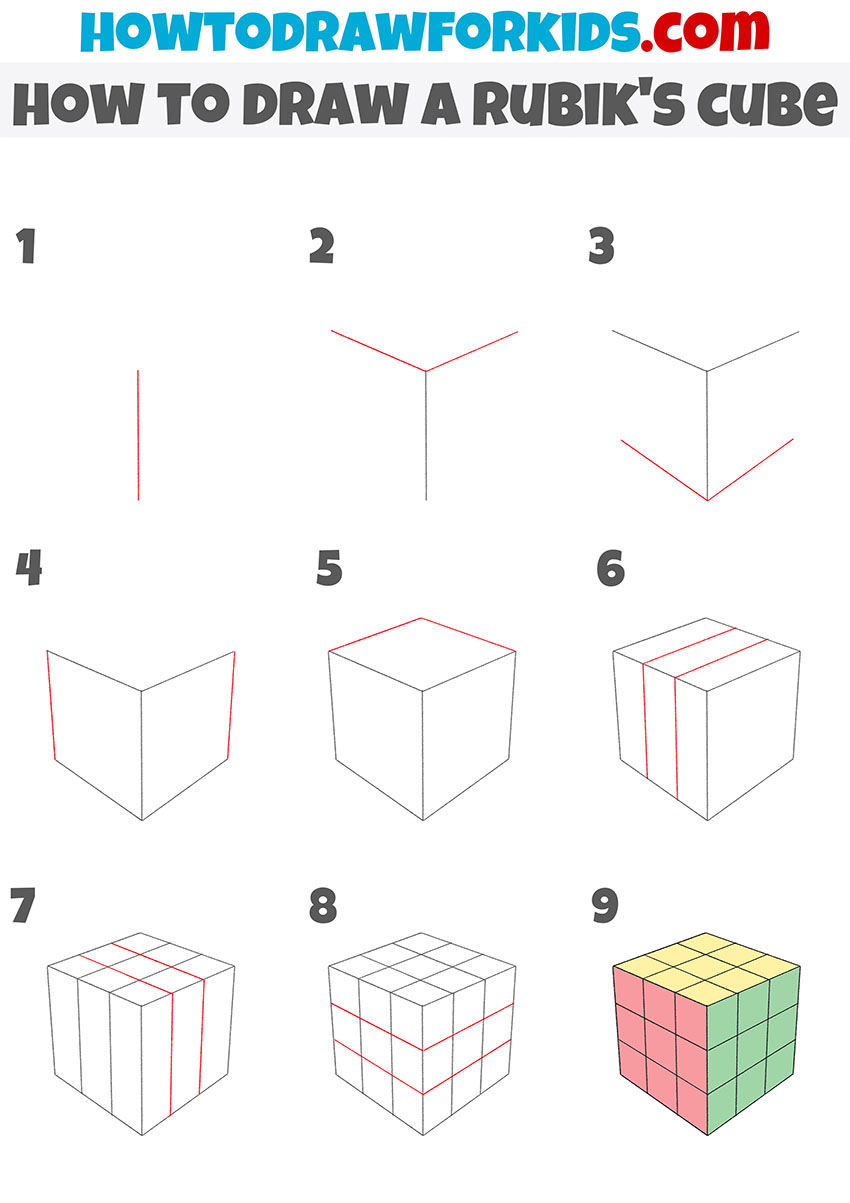
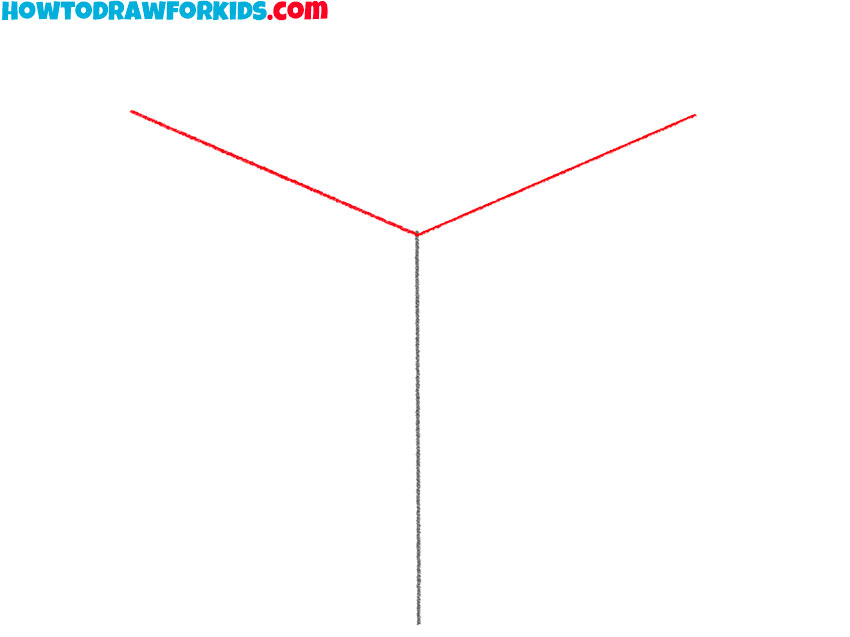
- Draw the center edge.
Determine the size of your drawing and draw a straight vertical line.

- Start drawing the top face.
At the top of the picture, draw two even, identical lines to the sides.
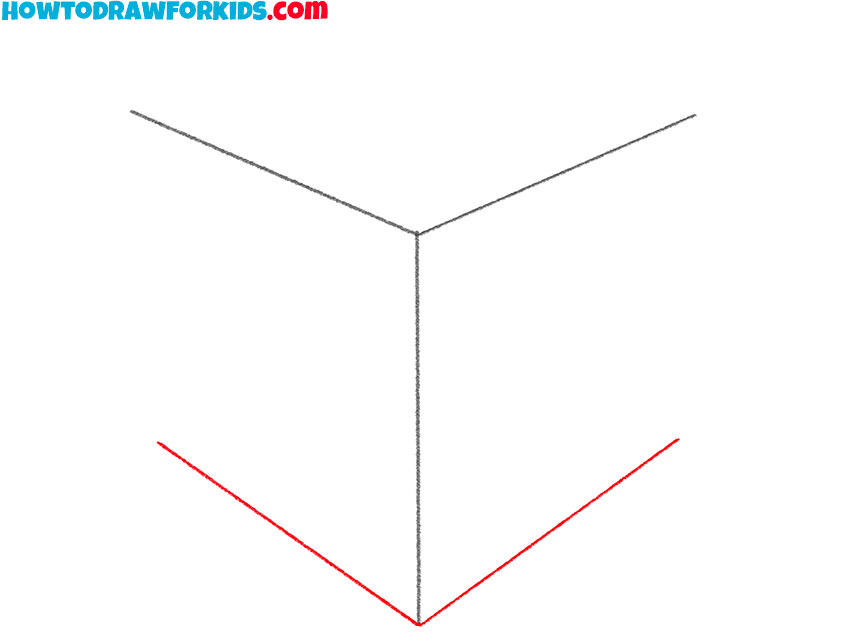
- Depict the bottom edges of the cube.
This step is similar to the previous one. At the bottom, draw two more lines located diagonally.
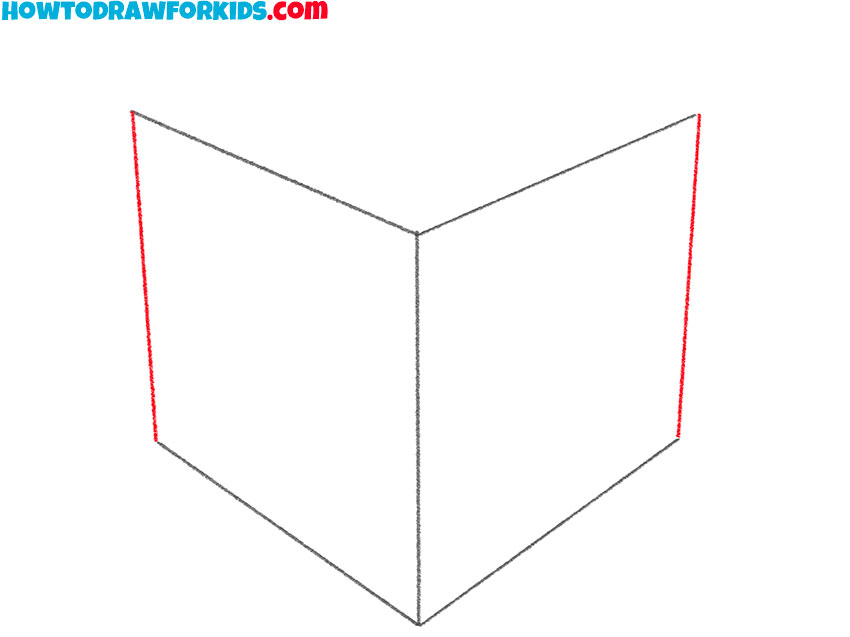
- Add the side edges.
Draw connecting lines on each side.
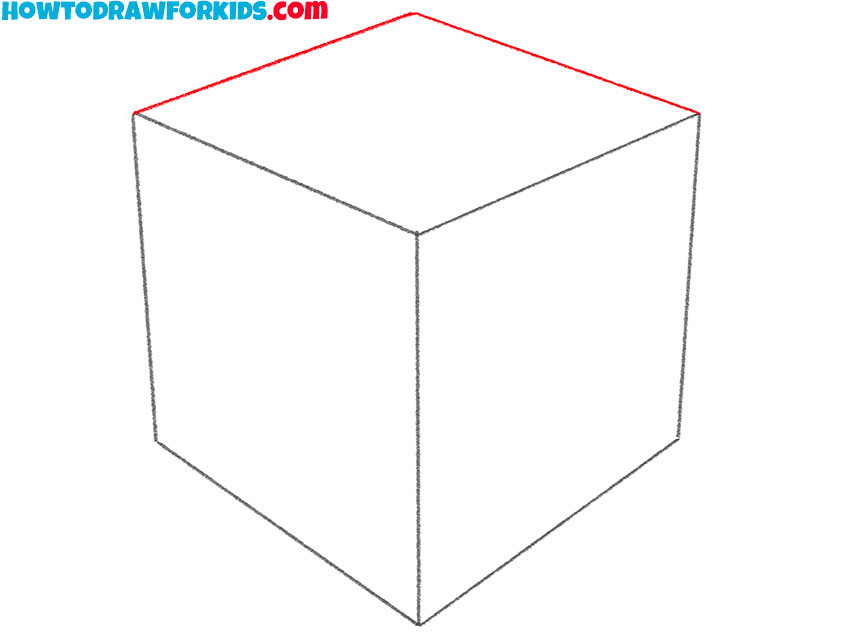
- Sketch out the top face.
At the top of the cube, draw two lines that are located at an angle.
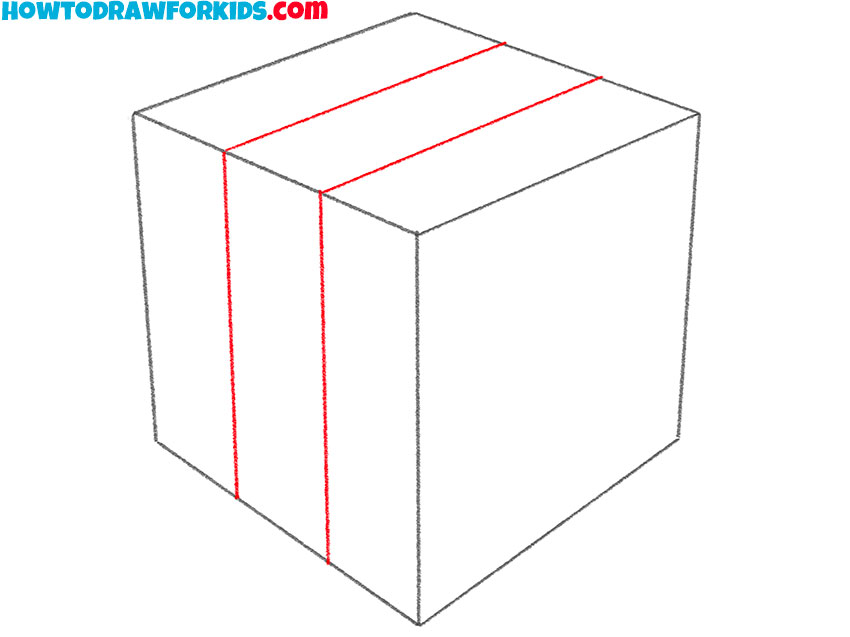
- Start drawing the individual cubes.
Draw even stripes on the left and top, as shown in the example.
- Continue adding details.
Repeat the previous step and on the other side draw the same stripes arranged symmetrically.
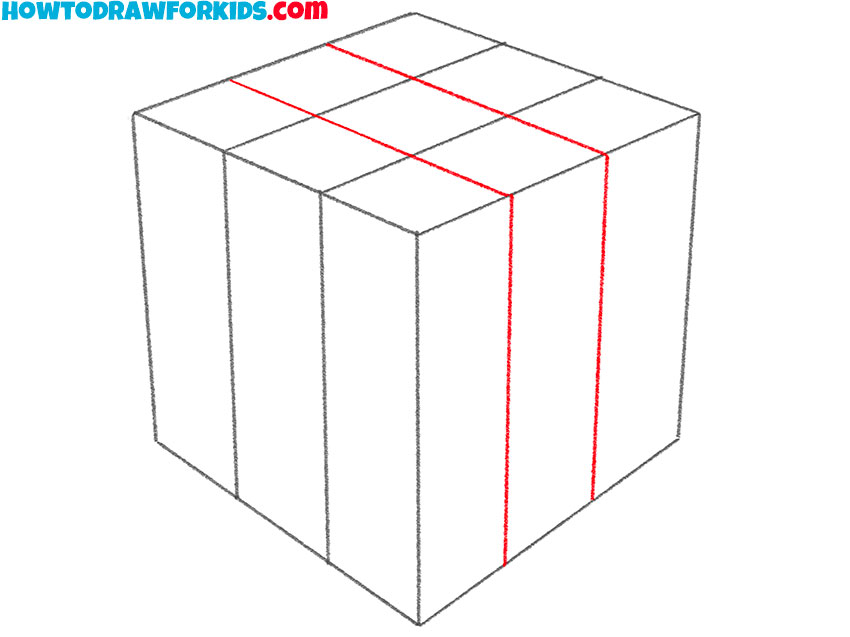
- Draw the cubes on the side faces.
On each side face, sketch out even stripes.
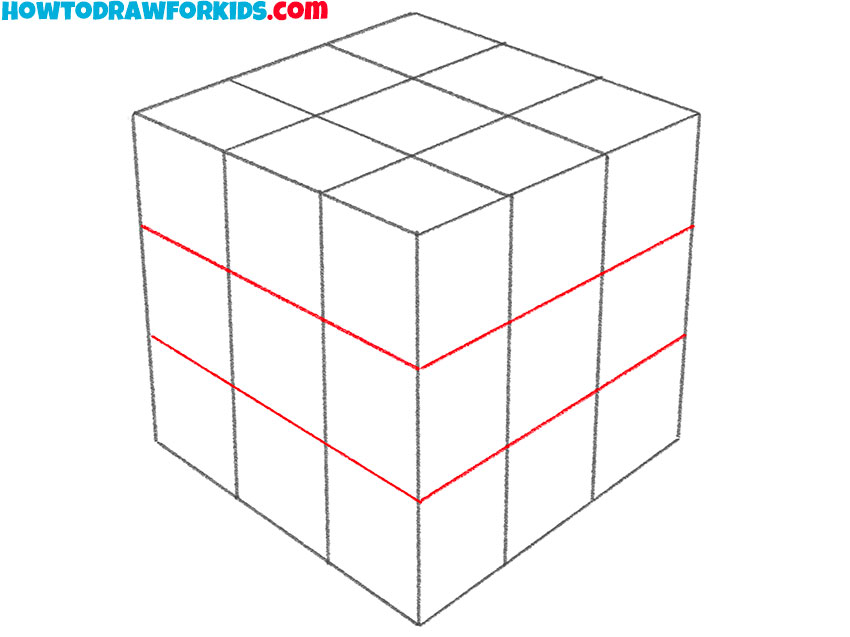
- Color the drawing.
You will need three bright colors – yellow, red, and green.

Rubik’s Cube is ready! Write if you managed to get a good result right away or if there were any difficulties in the process. If something did not work right away, then try repeating the whole process again. Download the Quick Start File so that you can return to this lesson at any time and complete it again.

