How to Draw an Archway
Today I will show you how to draw an archway. The acquired skills will definitely be useful to you in the future.
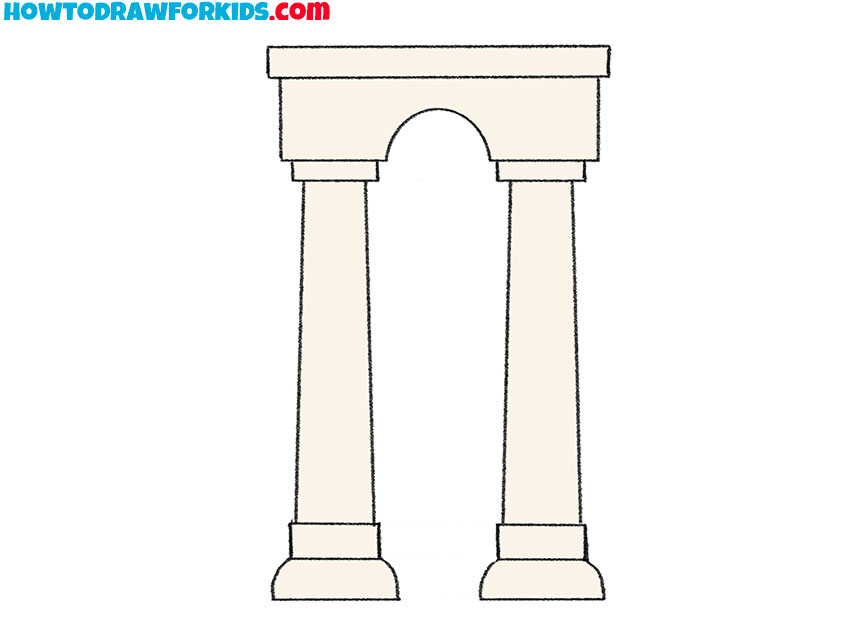
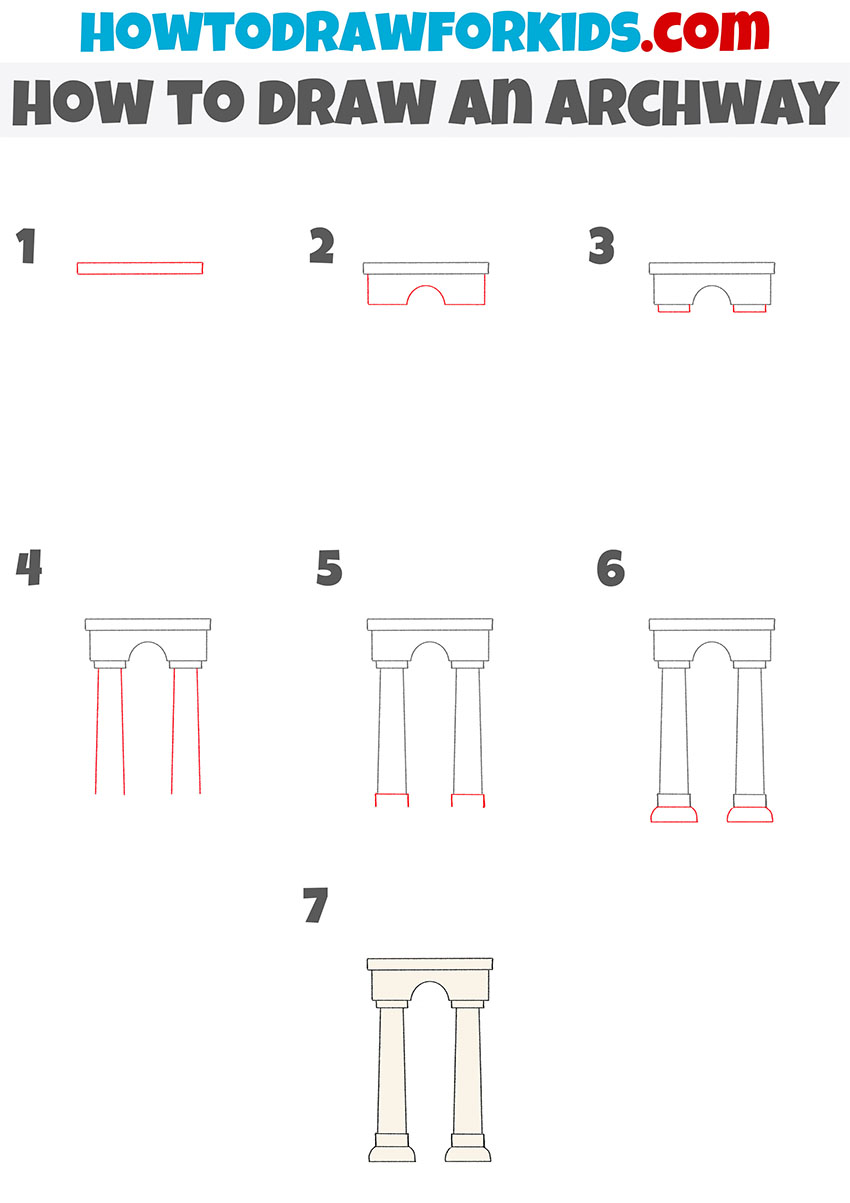
With the help of a simple instruction, you will learn how to draw an archway step by step. This lesson is designed specifically for kids and beginners, so simple lines and a minimum of elements is used here.
Now you have to draw two tall columns that are connected to each other at the top. In the process, you can use any tools at hand or draw all the lines yourself. Make sure both sides of the archway are symmetrical and proportionate.
Check if you have all the art supplies at the ready and start an exciting creative work, and I wish you success.
Materials
- Pencil
- Paper
- Eraser
- Coloring supplies
Time needed: 30 minutes
How to Draw an Archway
- Draw the topmost part.
Determine the size of the drawing and carefully draw a long, narrow strip.

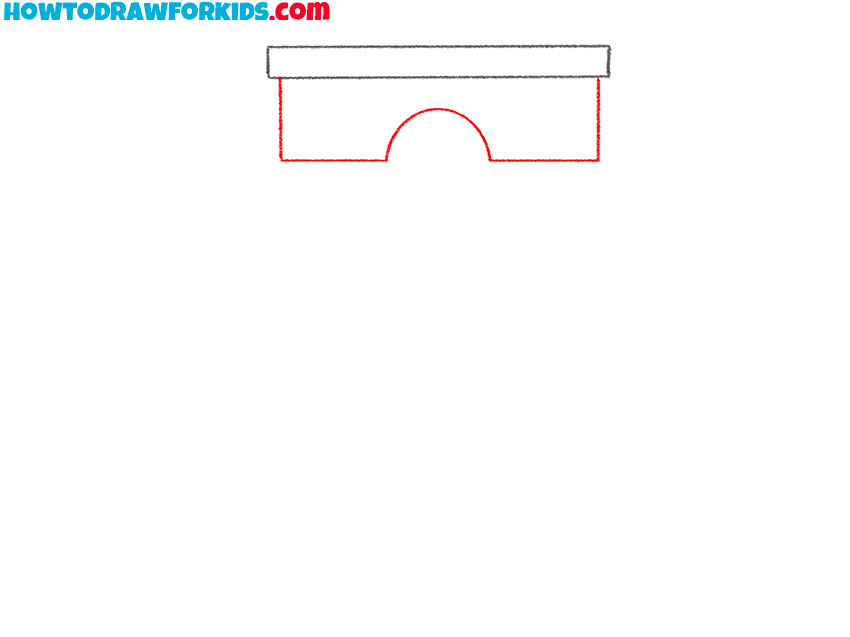
- Add the main part of the archway.
Draw this part of the arch with several straight lines and one semicircular line.
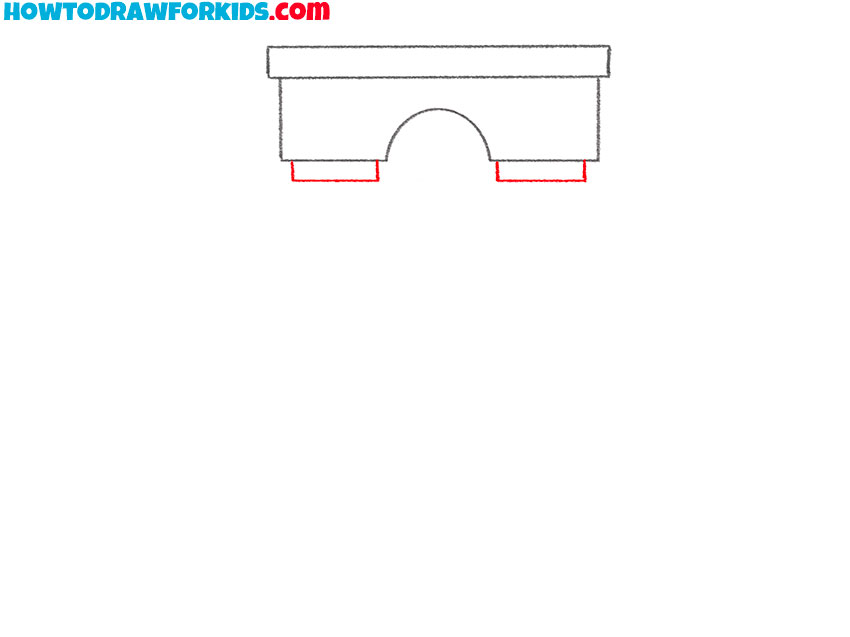
- Depict the tops of the columns.
On each side, draw the shapes in the form of horizontal elongated rectangles.
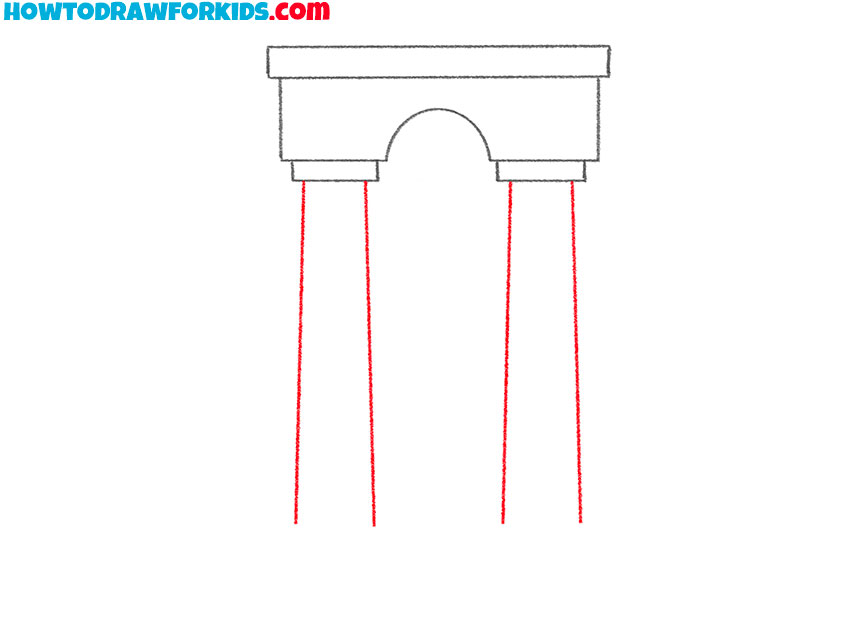
- Sketch out the columns.
With the help of several straight lines depict the tall columns on each side.
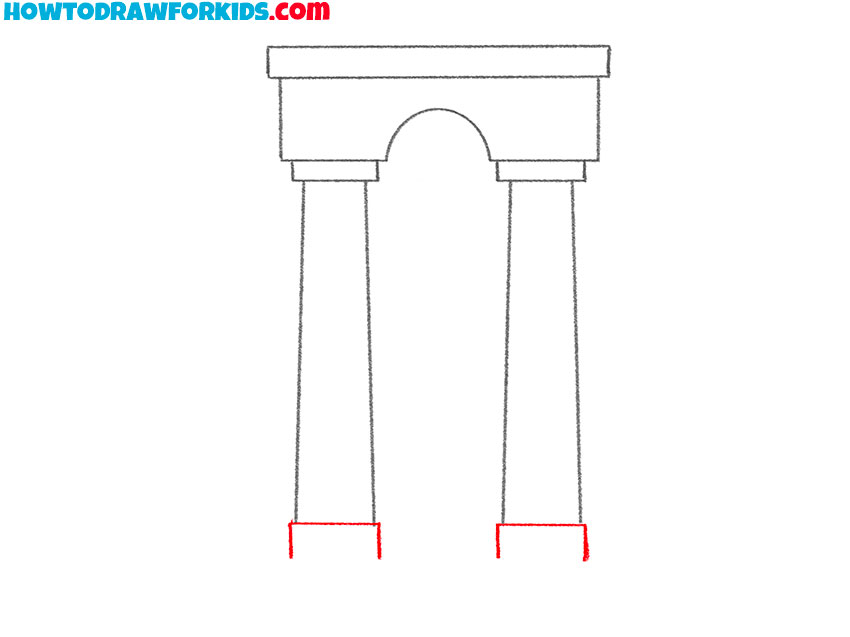
- Draw the bottom parts of the columns.
Depict a few straight lines at the bottom of the drawing, as shown in the example.
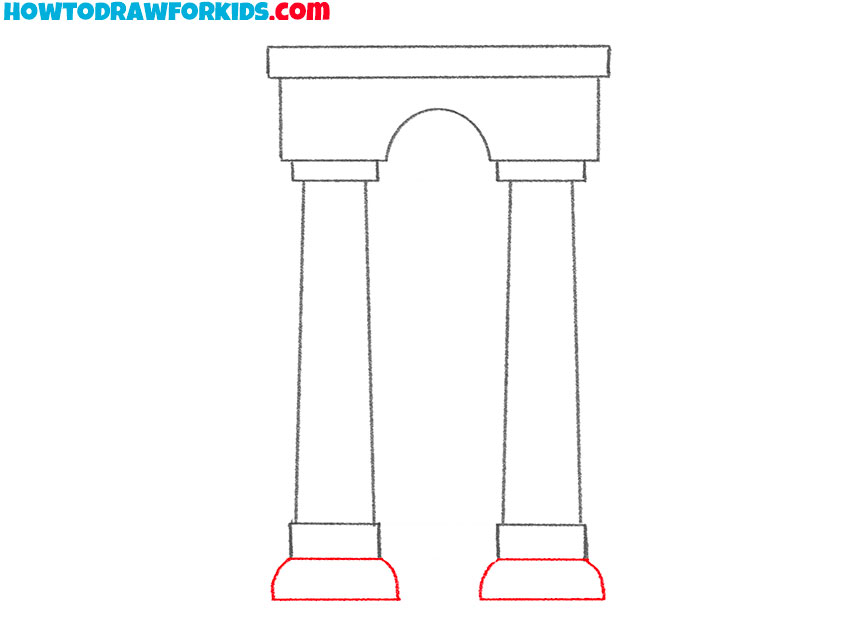
- Add the bases of the columns.
Sketch out a wide base at the bottom of each column.
- Color the drawing.
To color the archway, use a light gray or light beige color.

Now you have completed all the steps in this instruction and made sure that drawing an archway is not difficult at all. If you remember all the drawing steps, you will be able to apply the acquired skills in the future. Download the PDF file that contains a short version of this lesson and draw at any convenient time, even if the Internet is not available.


