How to Draw a Sandwich
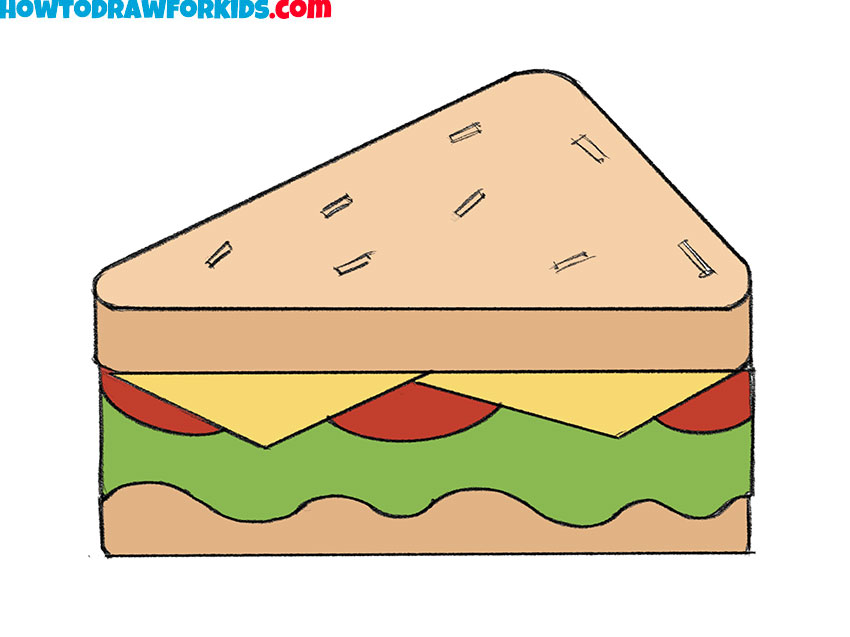
Here you’ll learn how to draw a sandwich, building it layer by layer to include a bread, lettuce, cheese, and other classic fillings.
How to Draw a Sandwich: Introduction
If you like drawing delicious food, then you will love this tutorial on how to draw a sandwich. This guide consists of nine simple and easy-to-understand steps. Follow my instructions to draw this beautiful sandwich.
A sandwich is a food typically consisting of vegetables, sliced cheese, or meat, placed on or between slices of bread, or more generally any dish wherein bread serves as a container or wrapper for another food type. The sandwich began as portable, convenient finger food in the Western world, though over time it has become prevalent worldwide.
So, I think it’s about time for you to prepare your drawing materials and get started on this drawing lesson.
Sandwich Drawing Tutorial
Materials
- Pencil
- Paper
- Eraser
- Coloring supplies
Time needed: 20 minutes
How to Draw a Sandwich
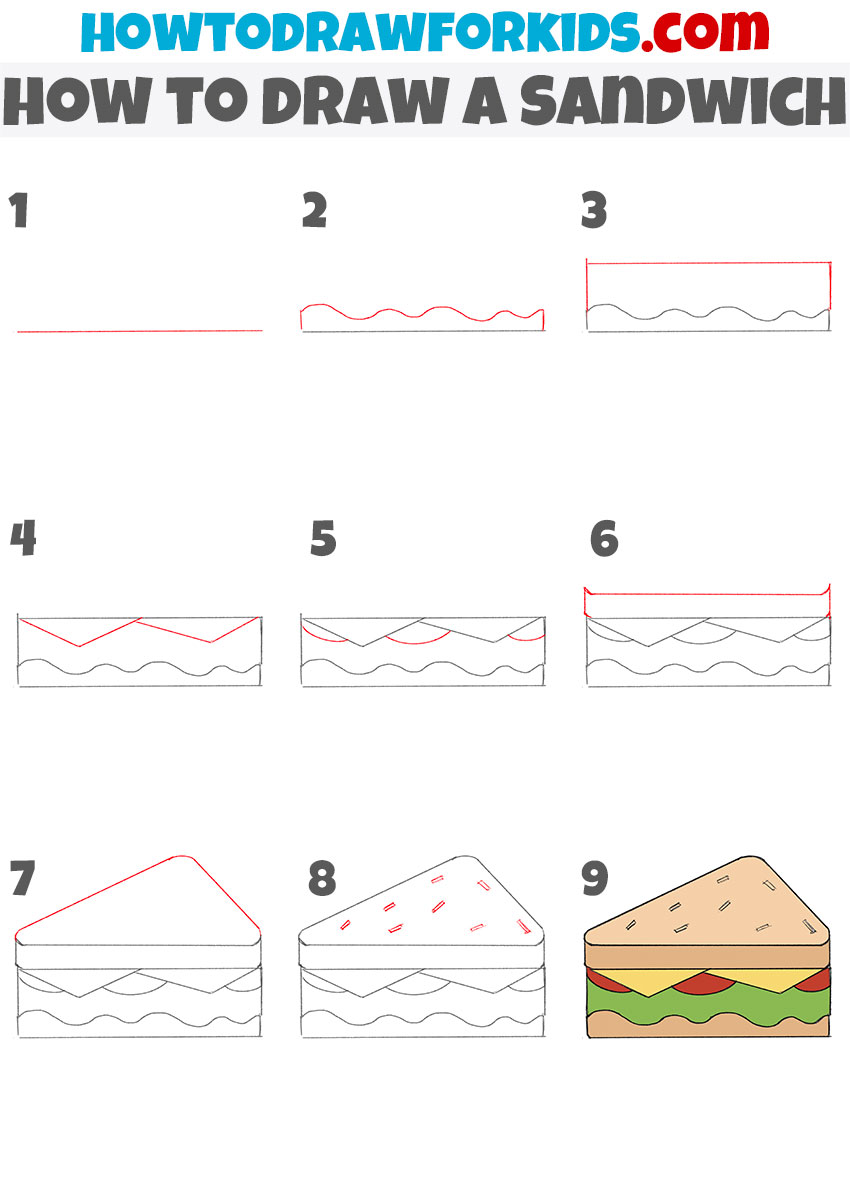
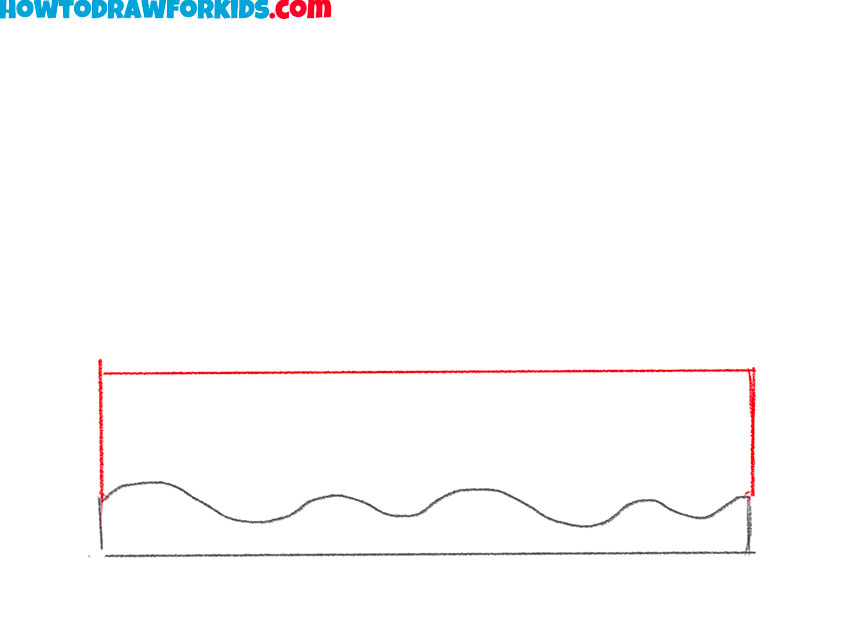
- Draw the baseline for your sandwich.
First, sketch a straight horizontal line across your paper. This will serve as the bottom edge of the sandwich drawing. I usually suggest to my students to keep this line light at first, so it’s easy to adjust later if needed. This baseline will also guide the placement of the fillings and bread layers.

- Sketch a wavy lettuce outline.
On top of the line, sketch a slightly wavy line to represent a layer of filling, such as lettuce. This wave doesn’t need to be perfectly even, in fact, a little irregularity makes the sandwich drawing feel more natural and appetizing.

- Draw the sandwich filling outline.
Above the wavy filling, draw two vertical lines on each side to form the sandwich’s edges, then connect them with a straight horizontal line for the top slice of bread. If you want your sandwich to appear thick and hearty, leave more space between the bread slices; for a thinner sandwich, keep it compact.
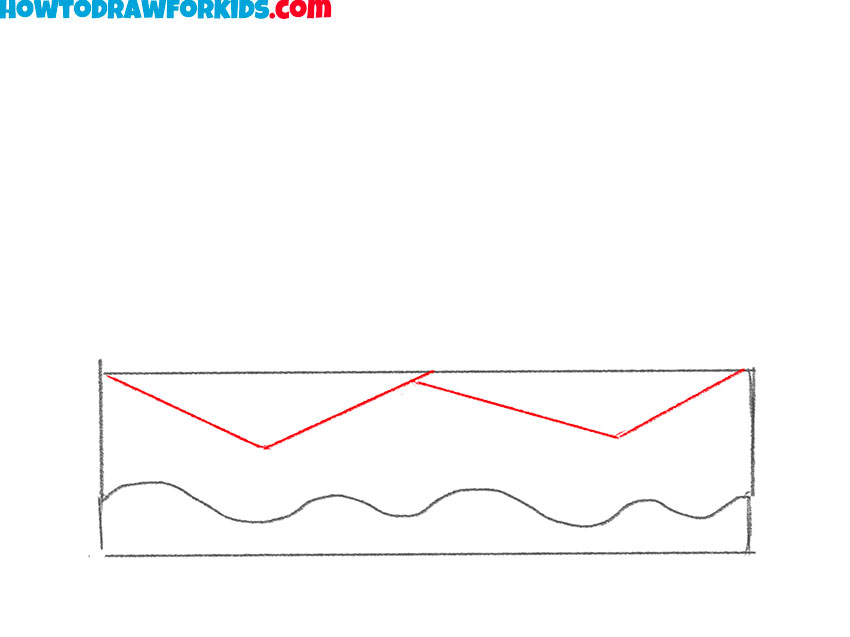
- Sketch cheese above the lettuce.
Inside the sandwich, between the top and bottom bread outlines, add another horizontal shape, such as a slice of tomato or cheese. For tomato slices, draw slightly curved arcs; for cheese, straighter lines as in my example work best.
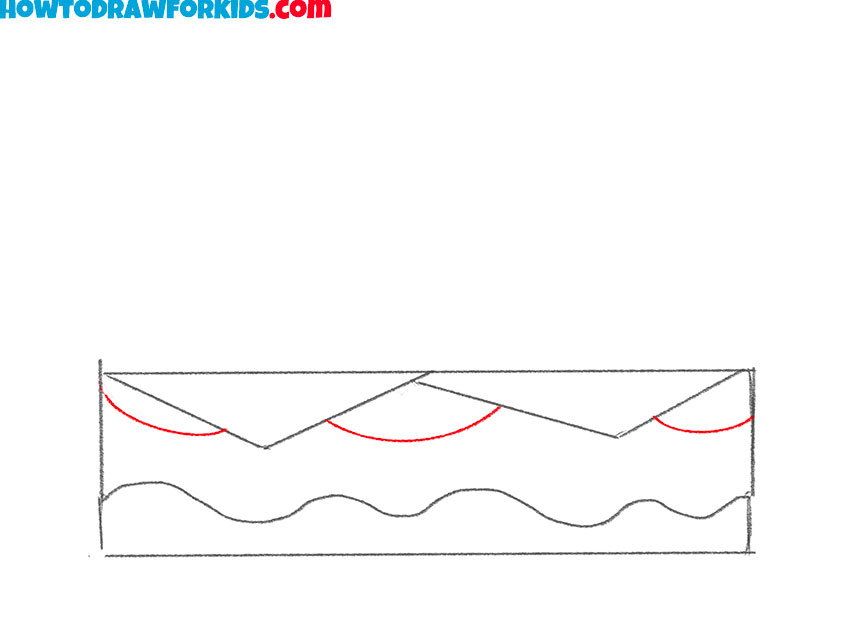
- Add a layer of tomato or meat.
In this step, sketch an additional layer overlapping the previous one to make the sandwich more interesting. You could add another wavy lettuce line, thin arcs for onion rings, or curved shapes for extra slices. The important thing is to make each layer distinct from the others.
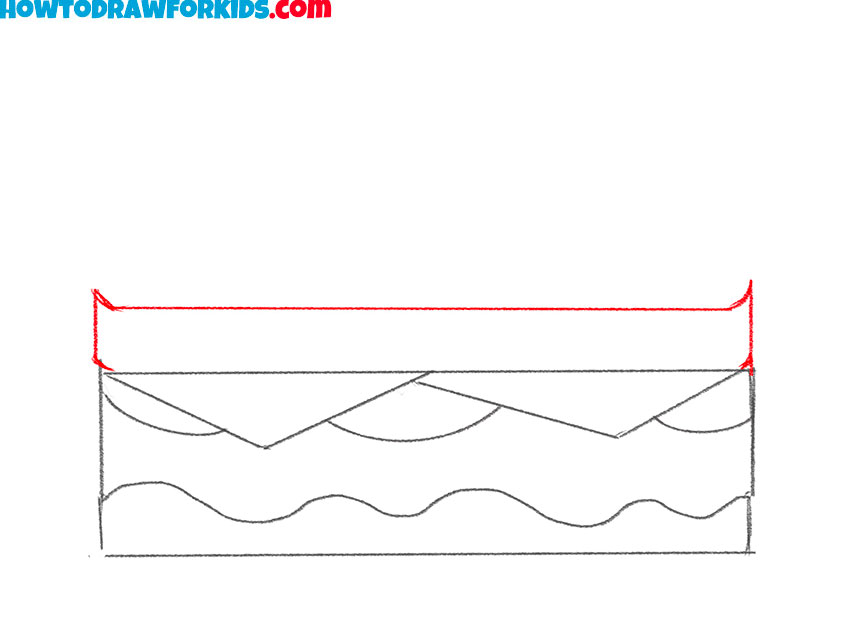
- Sketch the side edge of the upper bread.
Above your last filling, add a line to create the side edge of the top slice of bread. This shape helps give the sandwich some height and volume. Make sure this top edge aligns with the bottom bread slice so your sandwich doesn’t look lopsided.
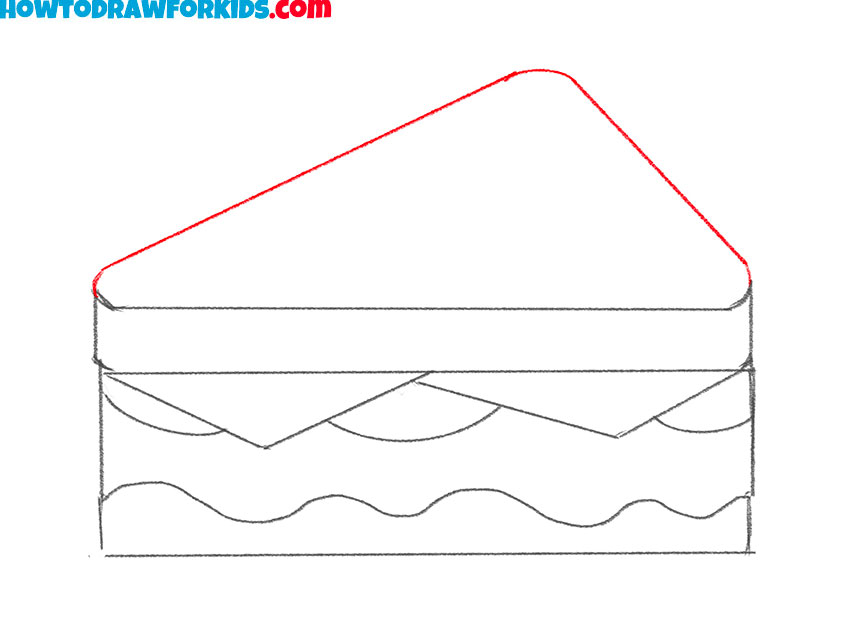
- Draw the upper bread of the sandwich.
Now draw a triangular outline on top to represent the cut portion of the sandwich. This can be a perfect isosceles triangle for a precise café look or slightly asymmetrical for a more casual, homemade style. Also, erase any remaining guidelines and unnecessary sketch marks.
- Sketch seeds or crumbs on the bread.
Lightly sketch small oval or dash shapes across the bread surface. These simple shapes represent seeds. Scatter them naturally, avoiding a repeating pattern, as that can look artificial. If you’re illustrating a sandwich with sesame or oat topping, vary the seed sizes and orientations slightly.

- Fill the sandwich with natural food colors.
Fill in your sandwich drawing with natural food colors. Use warm tones for bread, greens for lettuce, and reds for tomatoes. A little color variation within each layer makes the final piece more appealing. Food illustrations benefit from a touch of imperfection in coloring, it gives them a more organic look.

Additional Materials
I’ve also put together a PDF file for this lesson, arranged so all the main steps are easy to follow in a simple format. Along with the drawing guide, it includes extra pages – a coloring sheet, a tracing page, and a grid drawing worksheet. You can download it for free and keep it for times when you want to practice without going online.