How to Draw a T-shirt
I suggest you complete this fascinating drawing lesson, which shows you how to draw a T-shirt step by step.
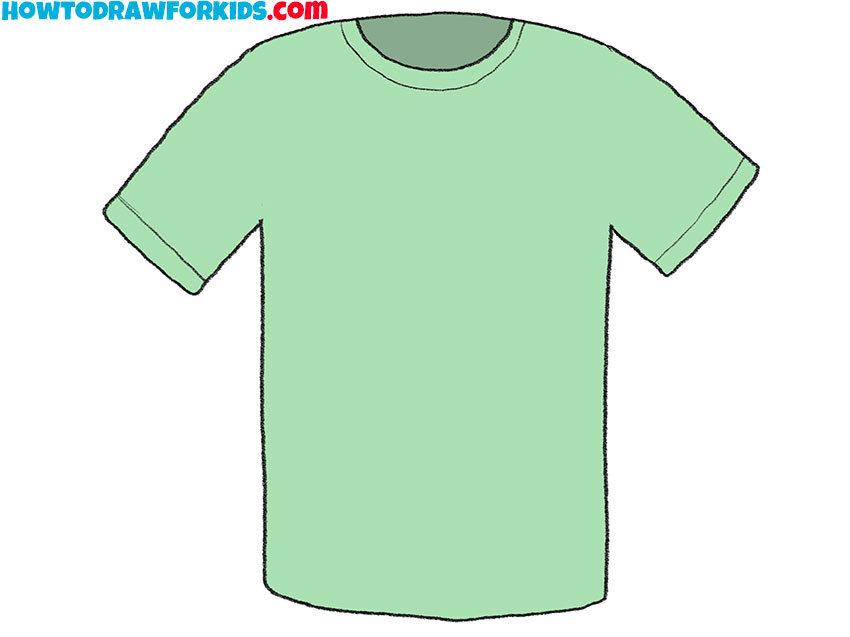
I have prepared for you an interesting and useful drawing lesson in which I would like to tell and show you how to draw a T-shirt step by step. So, you probably know that a T-shirt is an element of underwear.
T-shirts usually do not have buttons, collars or pockets. T-shirt sleeves are usually short. Initially, the T-shirt was created as a wardrobe item, which belonged to underwear and was worn under the shirt.
A T-shirt is a piece of clothing that can be worn by people of either gender. Often, T-shirts can have various inscriptions or images on them.
The ability to draw a T-shirt will definitely come in handy if you want to draw a person or character wearing this item of clothing. To complete this lesson, you need to be able to draw smooth lines.
Materials
- Pencil
- Paper
- Eraser
- Coloring supplies
Time needed: 30 minutes
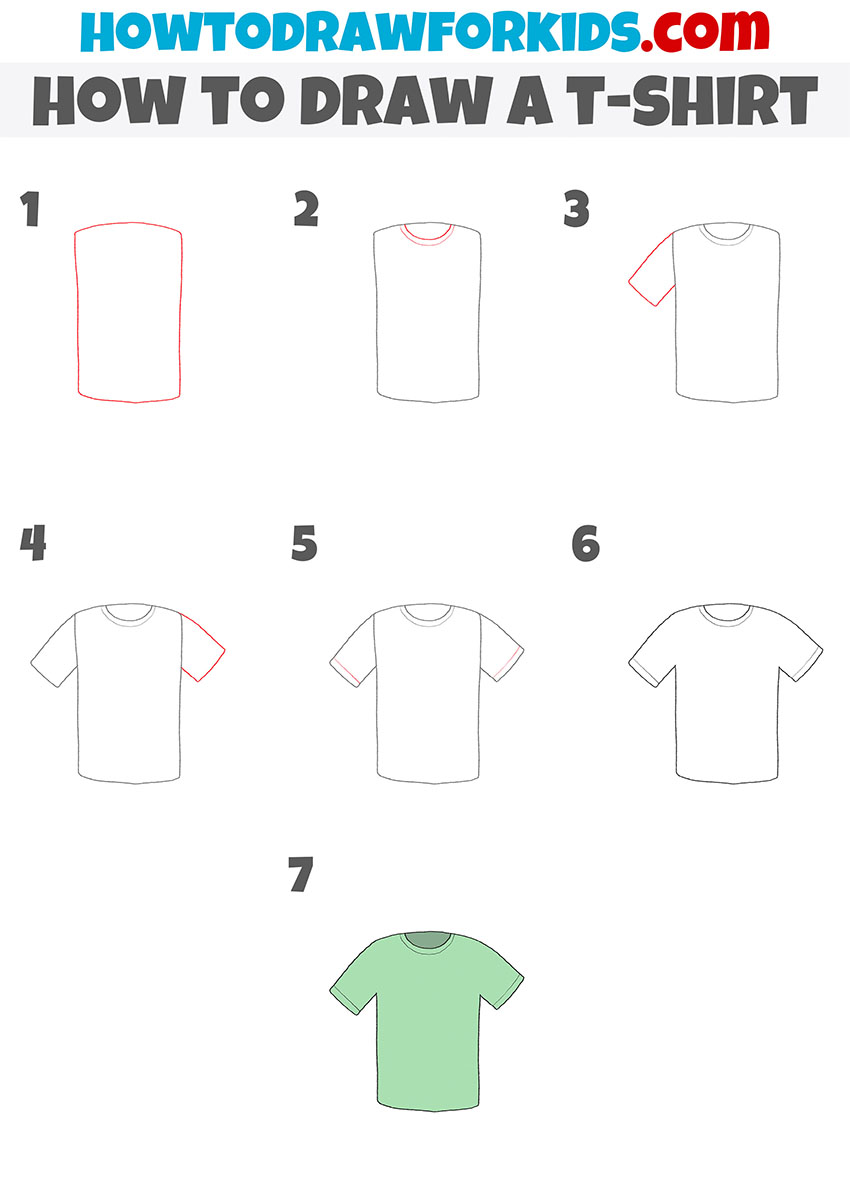
How to Draw a T-shirt
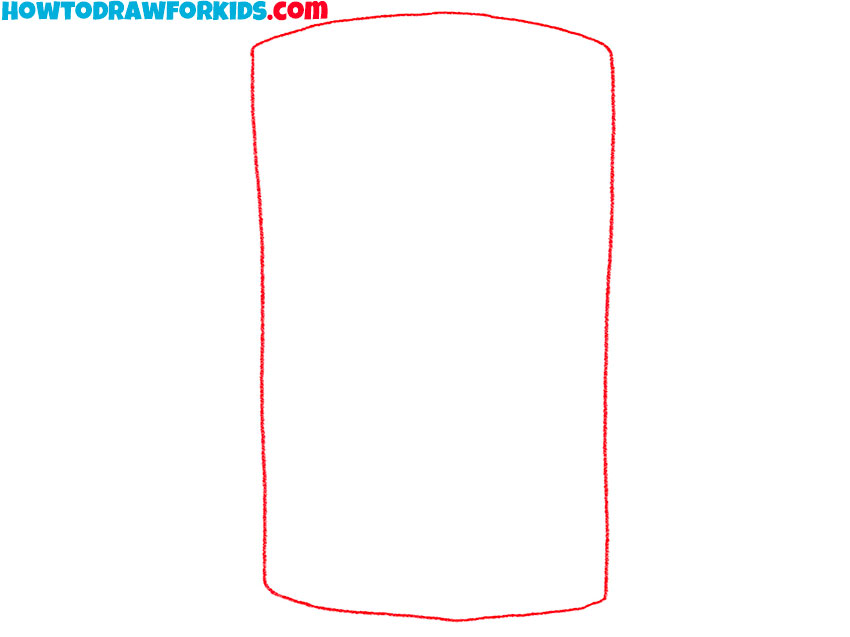
- Draw the outline of the main part of the T-shirt.
Depict this element as a shape that looks like a rectangle with curved sides.
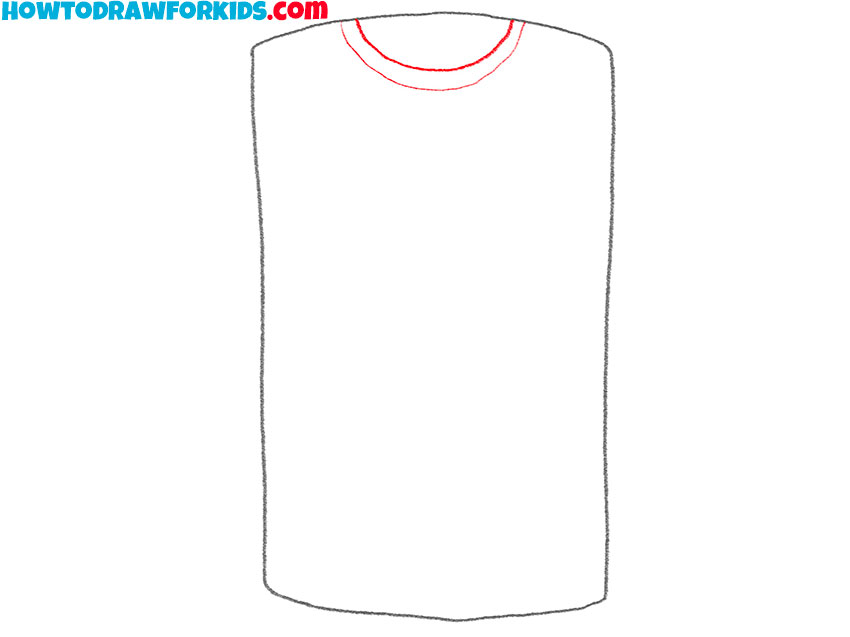
- Add the outline of the collar.
To complete this step, draw two different sized arcs across the top of the T-shirt.
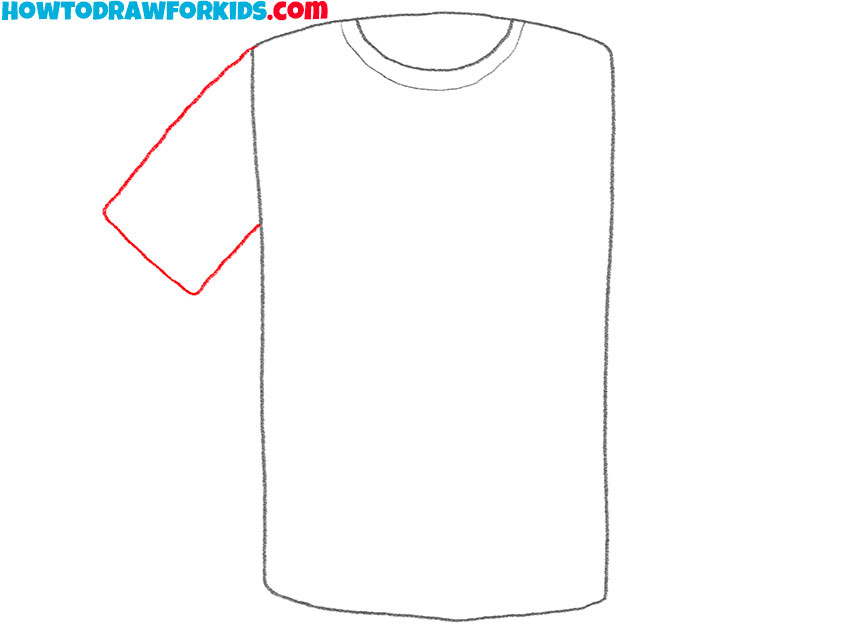
- Sketch out one sleeve.
On the left side, depict the sleeve using three straight lines of different lengths.
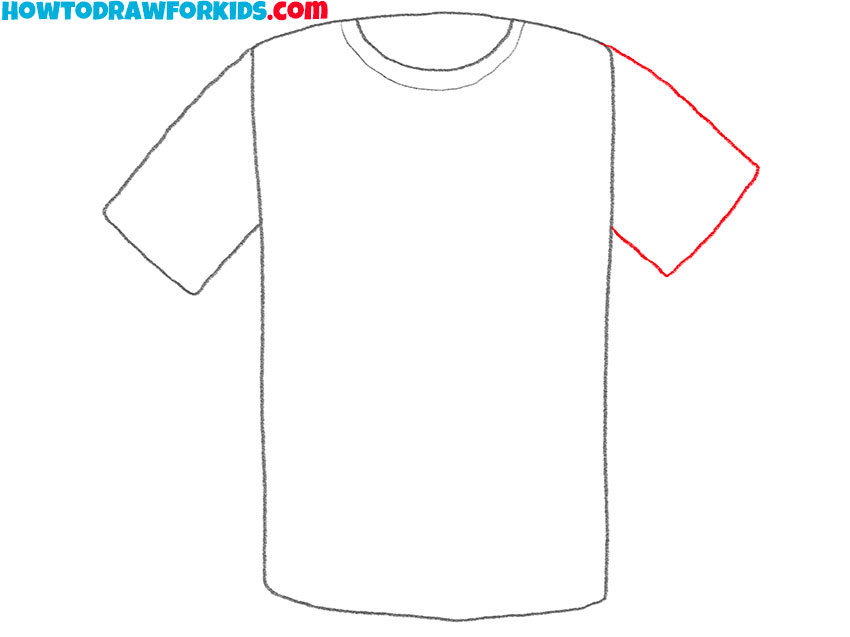
- Depict another sleeve.
Now draw the sleeve on the right side, symmetrical to the one drawn earlier.
- Add details.
Along the edges of the sleeves, add two identical straight lines.
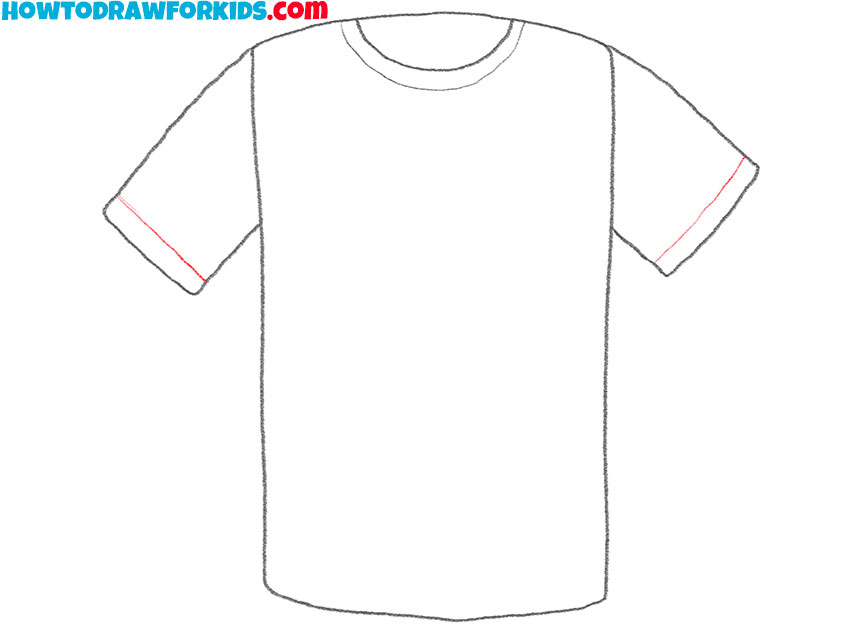
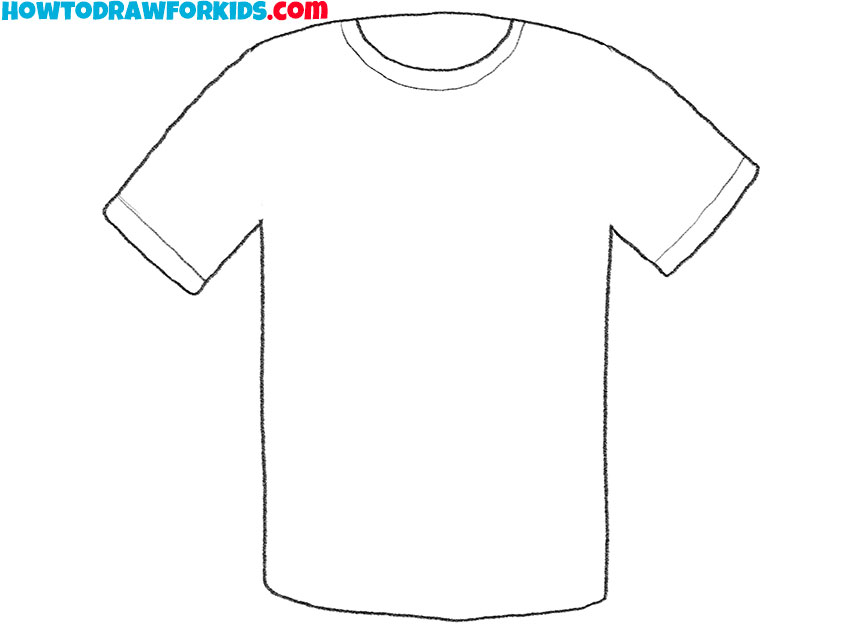
- Correct inaccuracies.
Use the eraser to remove any unnecessary guidelines.
- Color the drawing.
To color this t-shirt, use green or other colors.

Below, you can find a PDF file that contains a short version of this drawing lesson, as well as additional materials for your practice. Download this file in order not to lose it and return to this lesson at any time convenient for you.

